
A sensory bin is one of those activities that buys real, uninterrupted time while a toddler or preschooler genuinely learns through touch, scooping, and pouring. The setup is almost always cheaper and faster than it looks, and most of these ideas use things already sitting in a kitchen cupboard. These DIY sensory bin ideas cover every age, season, and budget, from a five minute pasta bin to a fully themed Christmas setup.
This post contains affiliate links. If you purchase through these links I may earn a small commission at no extra cost to you.
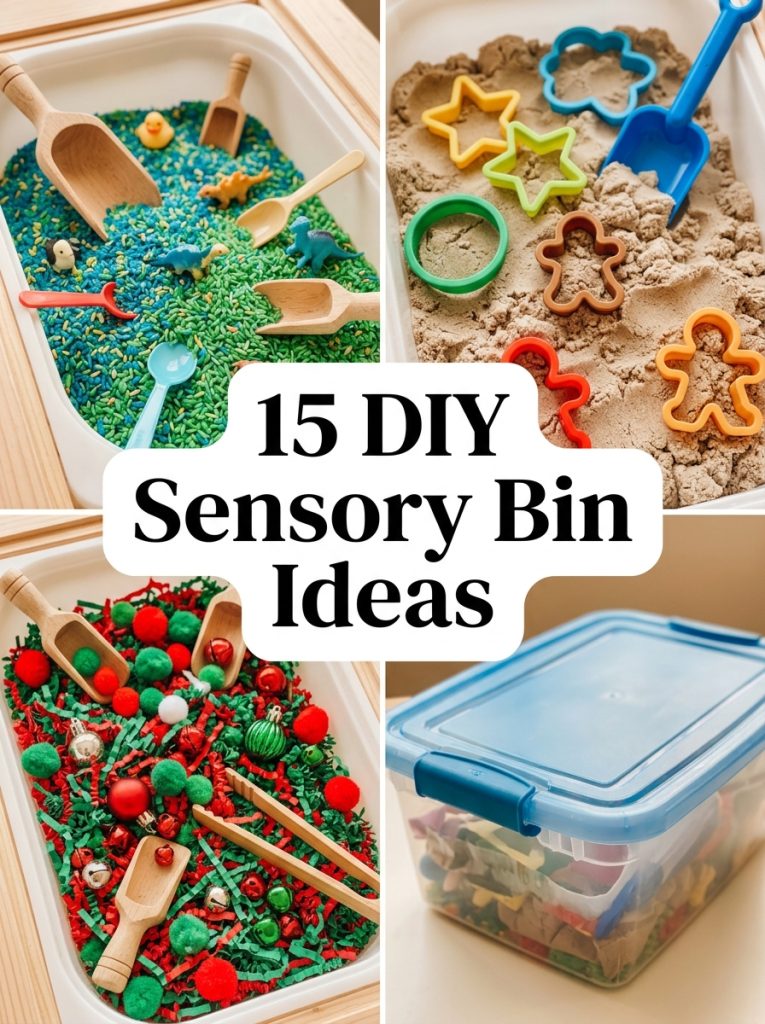
A good sensory bin keeps little hands busy and little minds genuinely engaged at the same time.
1. Use a Bin with a Lid for Easy Storage
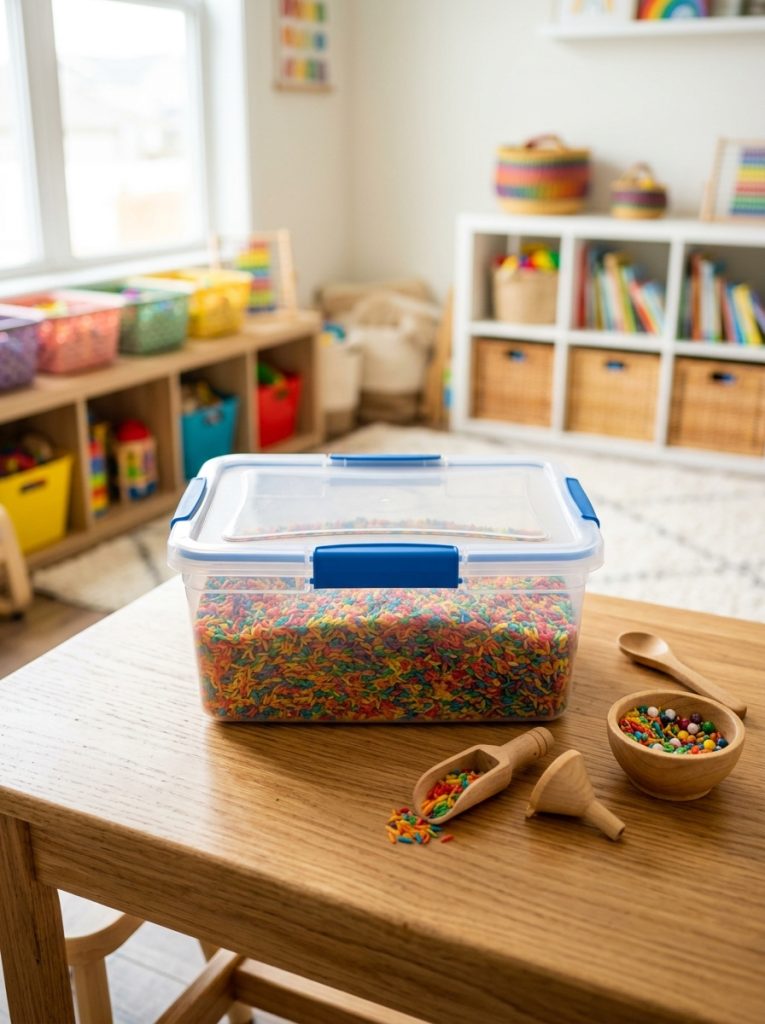
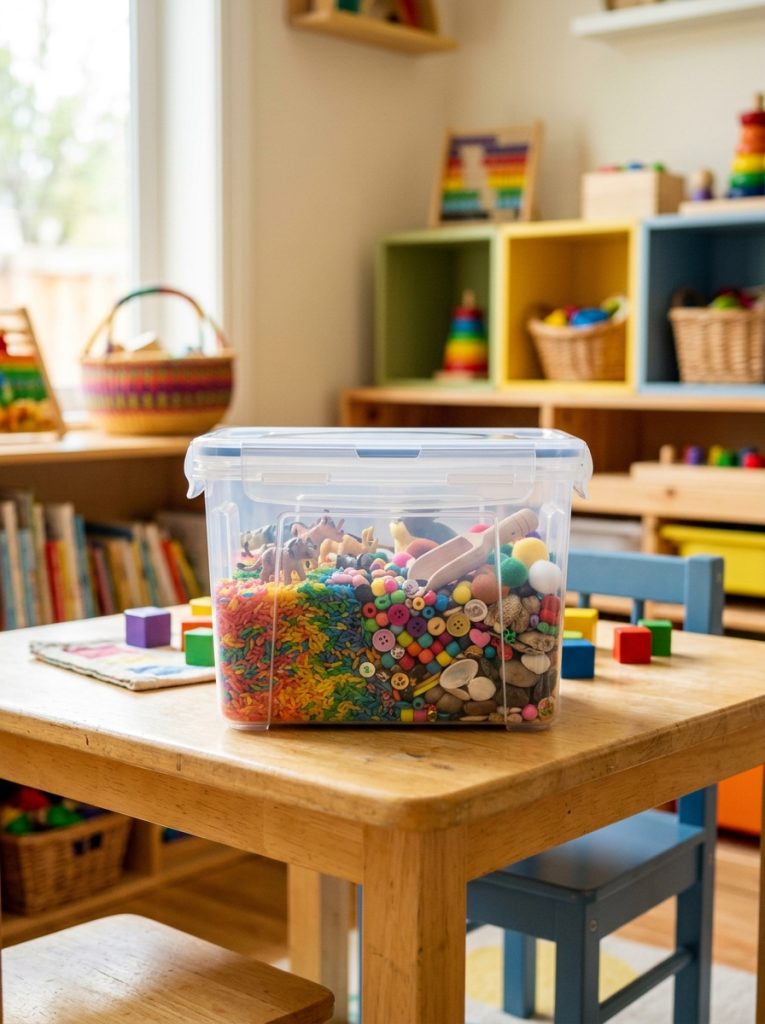
A bin with a snap on lid is the single most useful feature for any sensory bin setup, since it means the whole activity can be packed away mid-play and brought back out later without losing any of the filler material. This sensory bin table with lid keeps everything contained between sessions and stops dyed rice or sand from ending up across the floor when not in use. A lid also means one filler base can rotate through several different themes over time without buying new containers each time.

Sensory Bin with Lid
A snap on lid keeps sensory bin filler contained and ready to pack away or bring back out anytime.
Check Price on Amazon2. Dye Rice for a Colorful Sensory Base
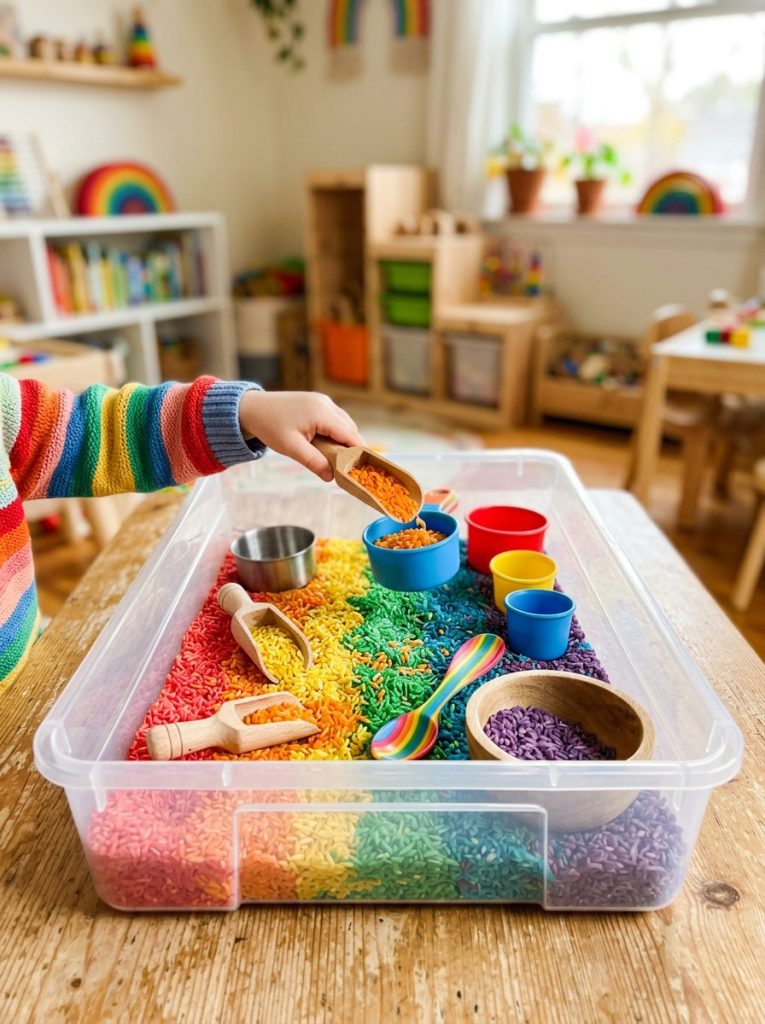
Dyed rice is one of the most popular sensory bin bases because it pours, scoops, and sifts beautifully while staying mess friendly compared to wetter materials. This sensory bin filler rice colored comes pre-dyed in vivid colors ready to pour straight into the bin, saving the step of dyeing rice yourself with vinegar and food coloring. Add small cups, funnels, and scoops alongside the rice and toddlers will happily pour and transfer it for genuinely long stretches.

Colored Rice Sensory Bin Filler
Pre-dyed vivid colored rice ready to pour straight into any sensory bin for instant rainbow play.
Check Price on Amazon3. Try Kinetic Sand for a Different Texture
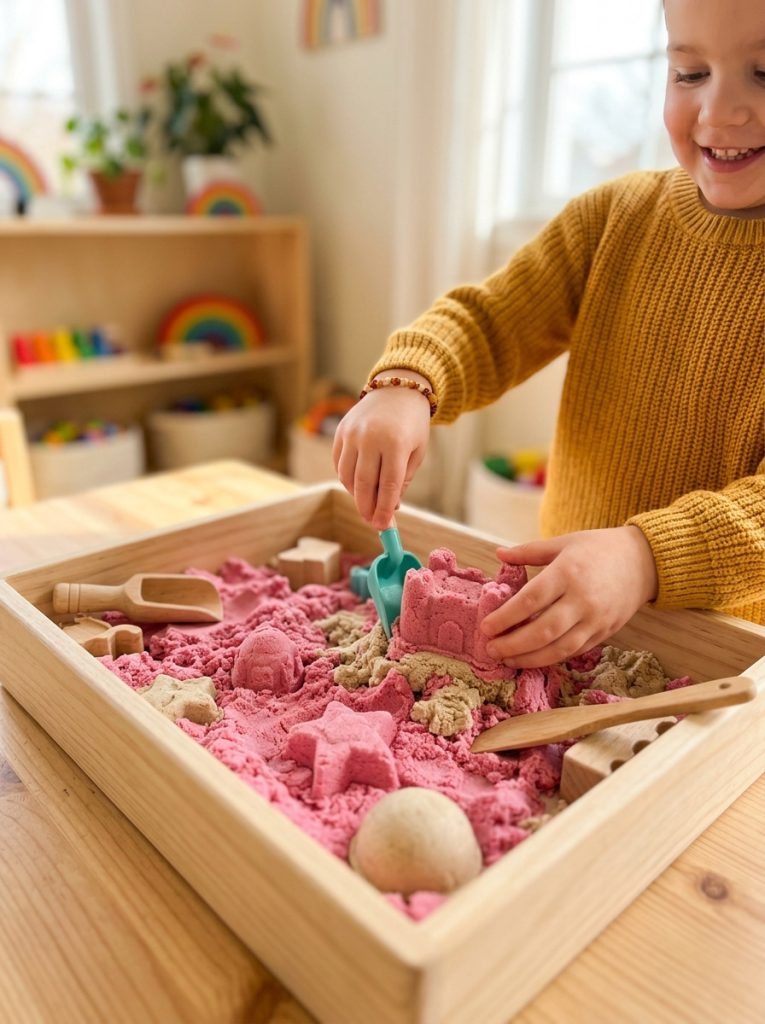
Kinetic sand has a moldable, slightly damp feeling texture that genuinely differs from anything else on this list, making it worth adding to a rotation rather than relying only on dry pourable fillers. This sensory bin filler kinetic sand holds its shape when pressed into molds but breaks apart easily for fresh play, and it stays contained far better than traditional play sand which scatters everywhere. Kids who get bored quickly with one texture often stay engaged longer once kinetic sand enters the rotation.

Kinetic Sand Sensory Filler
Moldable kinetic sand that holds shape for molds but stays far less messy than traditional sand.
Check Price on Amazon4. Use a Clear Container to See the Filler Easily
A clear container lets you check filler levels and clean state at a glance without needing to open the lid every time, which matters more than it sounds for a busy parent or teacher managing several bins. This sensory bin storage container clear is the right size for a single child or small group setup, and the transparency also adds a small visual appeal since toddlers can see the colorful filler from across the room before play even starts.

Clear Sensory Bin Storage Container
A transparent container that makes it easy to check filler condition and shows off colorful contents.
Check Price on Amazon5. Add Scoops and Tools for Extended Play
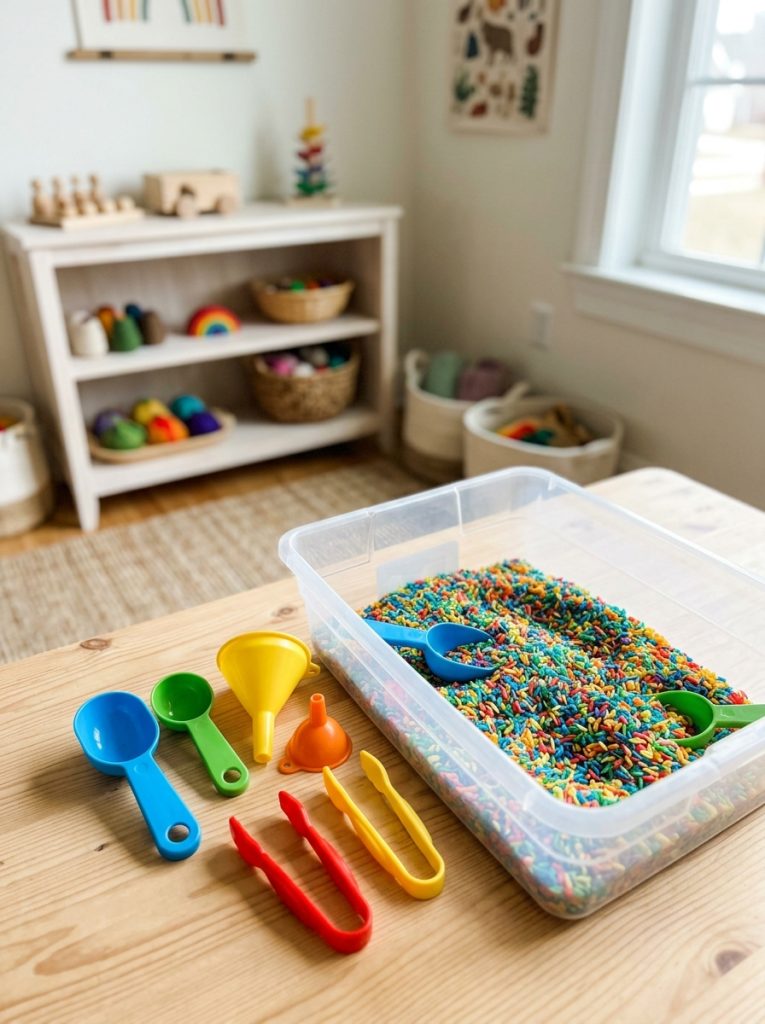
The filler material gets a child started, but small tools are what genuinely extend a sensory bin session from a few minutes to a real stretch of focused play. This sensory bin tools scoops set includes scoops, tongs, and small cups sized properly for little hands. Rotating which tools are available alongside the same filler is often enough to make a bin feel brand new again without changing anything else about the setup.

Sensory Bin Tools and Scoops Set
Scoops, tongs, and small cups sized for little hands that extend sensory play time significantly.
Check Price on Amazon6. Build a Proper Sensory Table for Toddlers
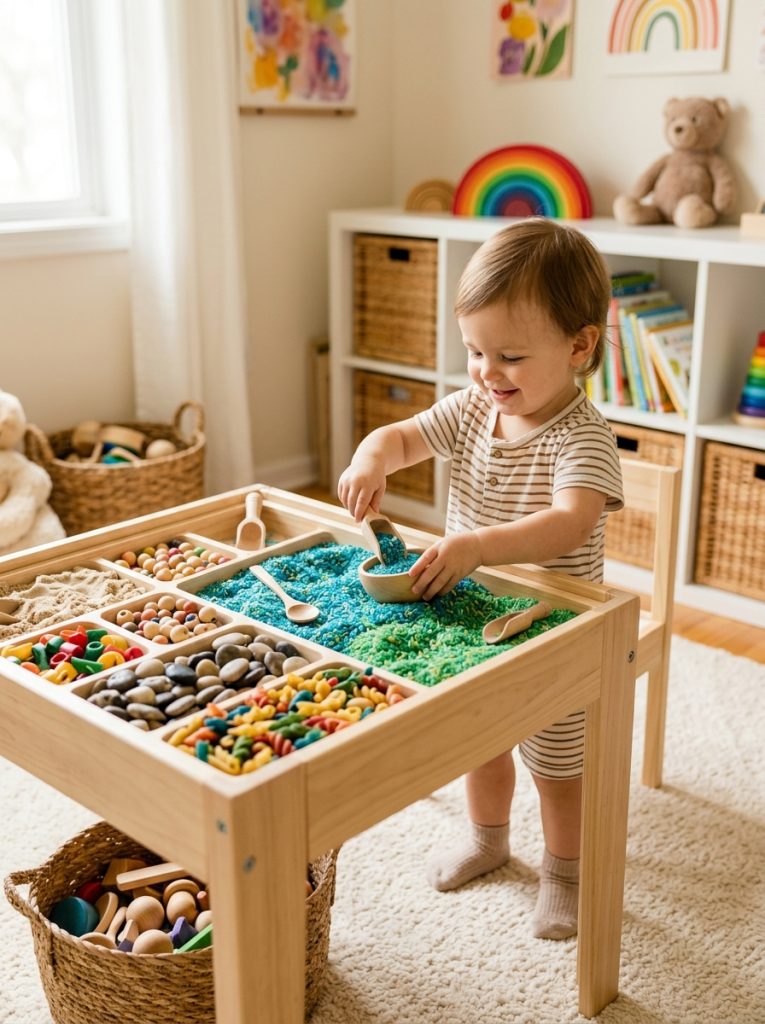
A dedicated sensory table at the right standing height saves a toddler’s back from hunching over a floor bin and gives the activity a permanent spot in the playroom rather than something set up and torn down each time. This sensory table toddler activity is built at the correct height for standing toddlers and preschoolers. A table also naturally contains spills better than a floor-level bin since the rim sits at the right edge for little arms to reach in without leaning over awkwardly.

Toddler Sensory Activity Table
A sensory table built at toddler standing height for comfortable, sustained sensory play.
Check Price on Amazon7. Use Dry Pasta for a Cheap First Sensory Bin

Dry pasta is one of the cheapest sensory fillers available and works especially well for a first attempt with a baby or very young toddler who is still mouthing objects, since plain dry pasta poses far less risk than smaller loose parts. Dye it with a little rubbing alcohol and food coloring for color variety, or leave it plain and add measuring cups for scooping practice. The large shapes are also easier for tiny hands to grip than rice or sand.
8. Set Up a Themed Christmas Sensory Bin
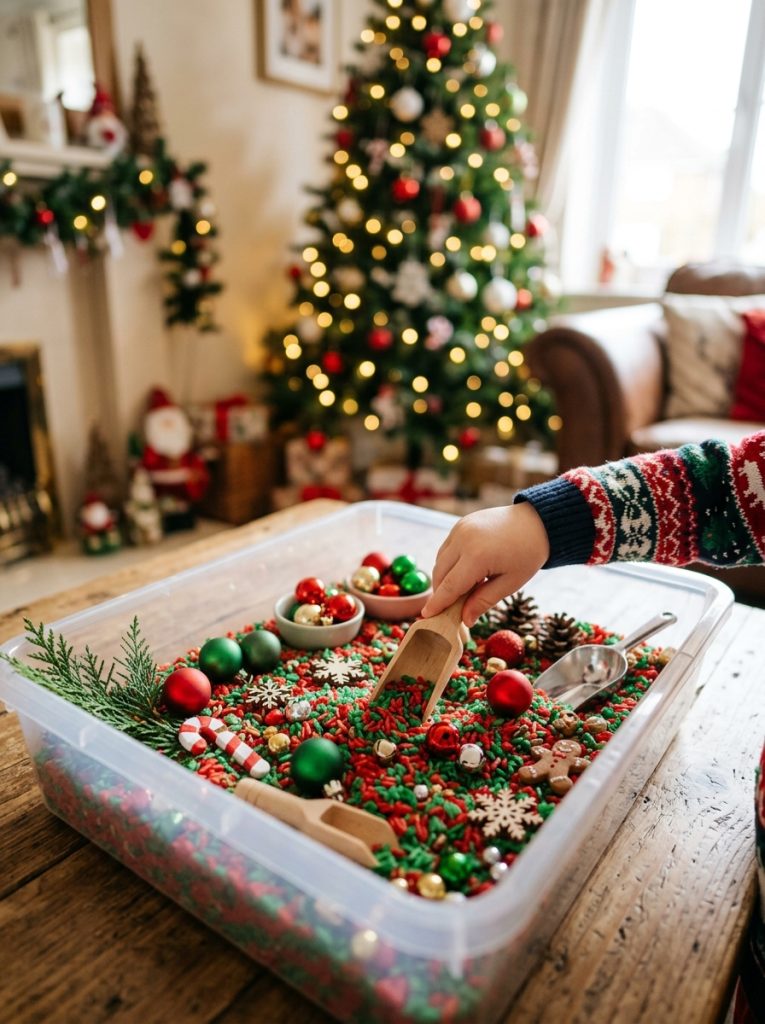
A Christmas themed bin brings holiday excitement into sensory play with red and green colored rice or pasta, small jingle bells, mini ornaments, and even a drop of peppermint or pine essential oil for scent. Hide small candy canes or wrapped chocolates for a treasure hunt element that keeps preschoolers digging through the filler with genuine enthusiasm. This seasonal swap works on the exact same base bin used the rest of the year, just with a holiday filler and theme items added.
9. Build a Cheap Bin from Materials Already at Home
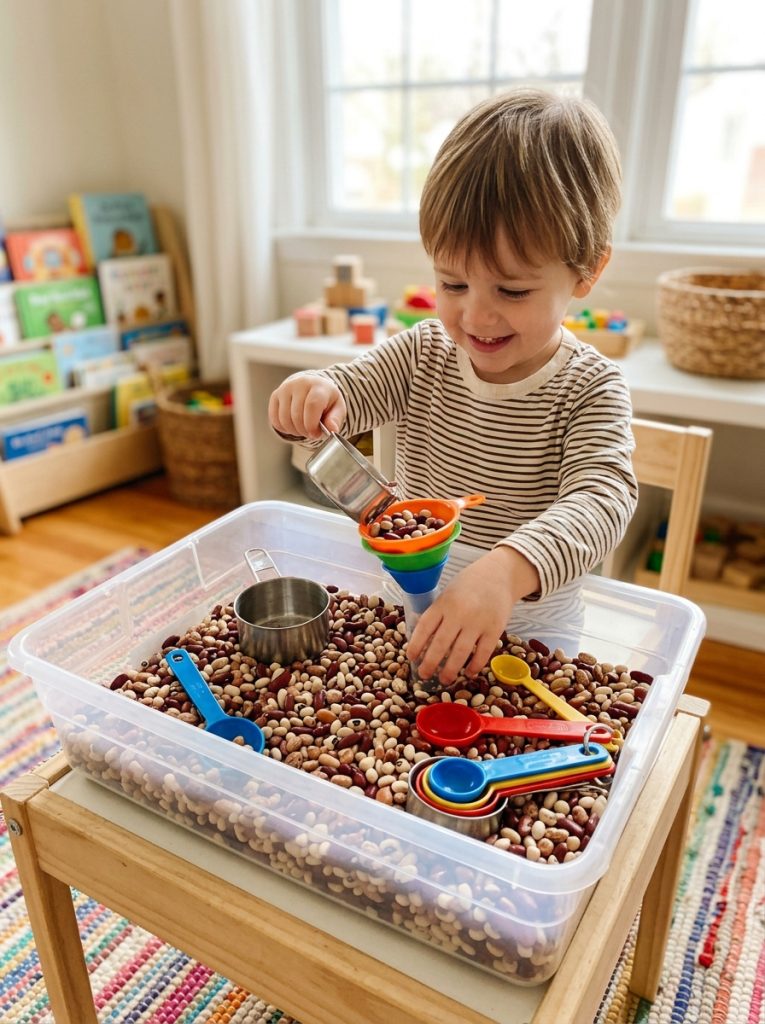
A genuinely cheap sensory bin needs nothing purchased specifically for the activity — dry beans, lentils, or even shredded paper from the recycling bin all work as a base, and kitchen measuring cups and spoons substitute perfectly for purpose made scoops. This approach proves that the activity itself, not the specific materials, is what holds a child’s attention. Anyone hesitant to spend money on a new activity can test interest level with zero cost before investing in dedicated fillers and tools.
10. Create an Edible Sensory Bin for Babies
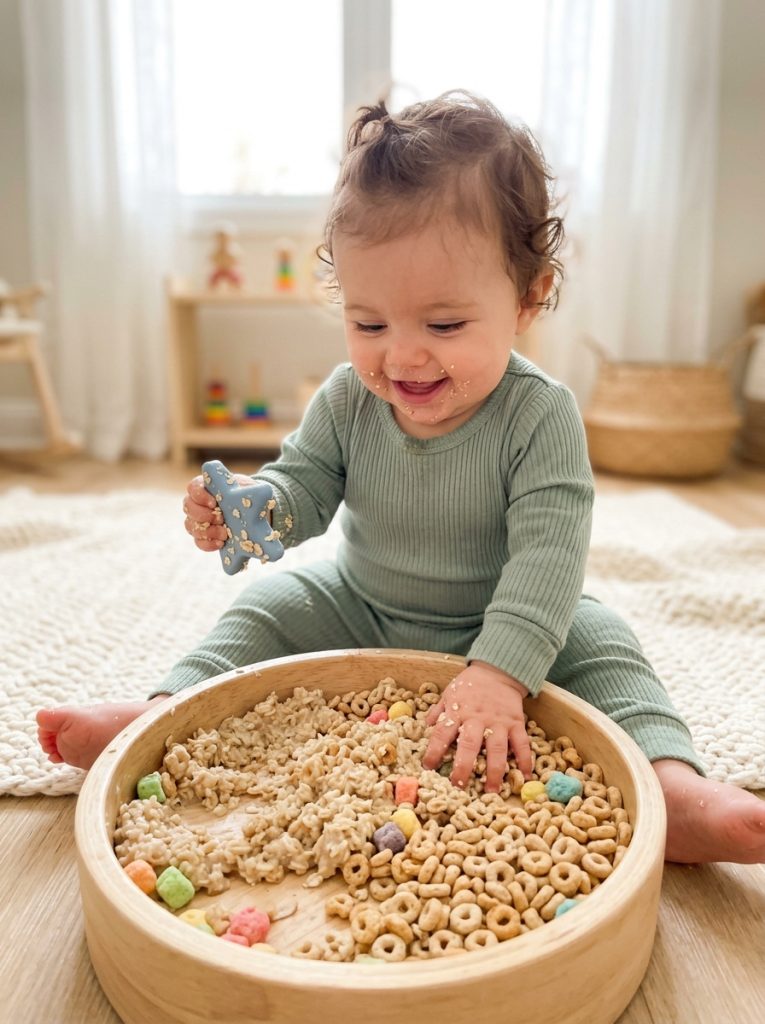
Babies and very young toddlers who still put everything in their mouths need a sensory bin filled with something genuinely safe to eat rather than rice or sand that poses a choking risk. Cooked and cooled oats, dry cereal pieces, or cooked spaghetti noodles cut into pieces all work as edible sensory fillers that satisfy the same scooping and squishing instinct safely. Supervise closely regardless, since edible filler is about reducing risk, not eliminating the need for attention during play.
11. Try a Sand Sensory Bin for Beach Day Play
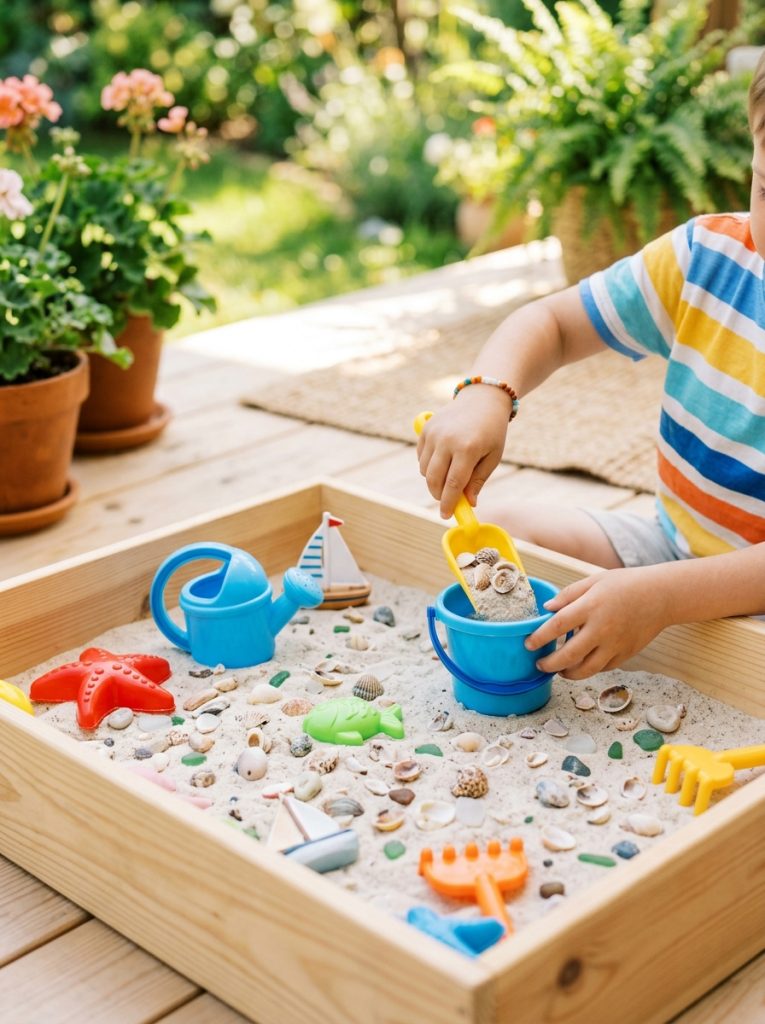
A sand sensory bin brings beach day fun indoors any time of year, especially useful during winter when an actual beach trip is not an option. Use play sand specifically formulated for indoor use rather than outdoor sandbox sand, since the indoor formula tends to be finer and less prone to tracking everywhere. Add small shells, plastic sea creatures, and a few beach toys for a complete summer themed setup that keeps the beach feeling alive through any season.
12. Choose a Summer Themed Bin with Bright Colors
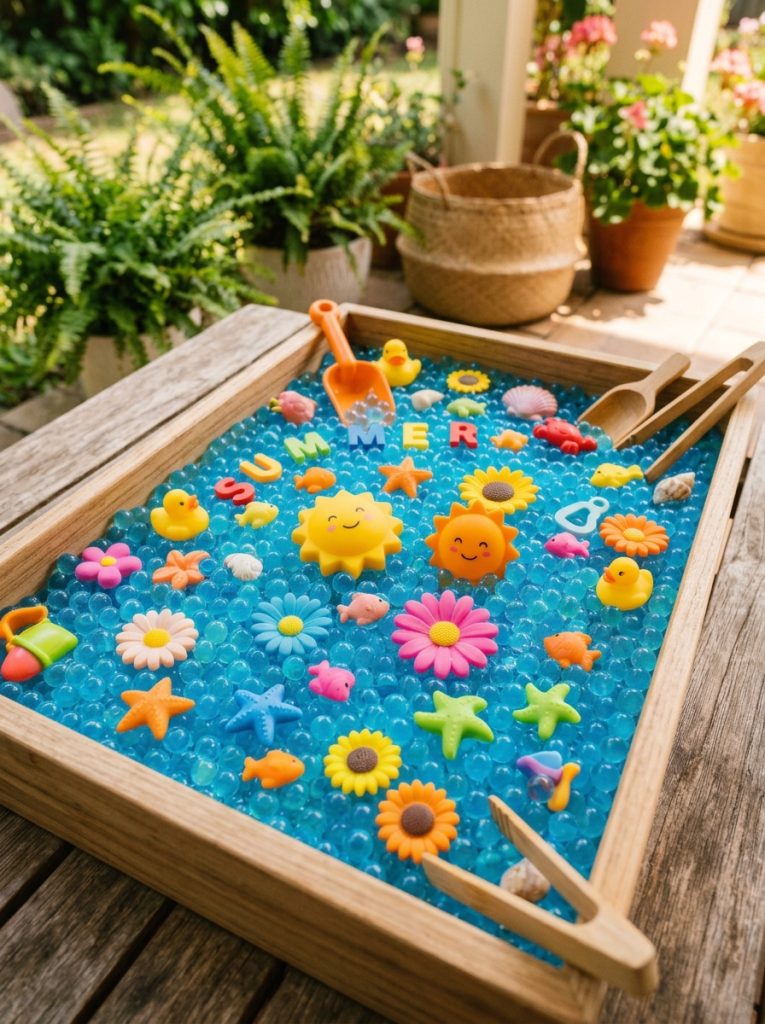
A summer themed sensory bin leans into bright saturated colors and warm weather imagery — think blue water beads representing a pool, small plastic sunflowers, or yellow rice standing in for sand. Pair the visual theme with a genuinely seasonal activity like counting small plastic ice cream scoops or sorting beach ball colors. The theme matters less than the consistency of tying the filler, colors, and small toys together into one cohesive seasonal story.
13. Build a Winter Sensory Bin with Cool Tones
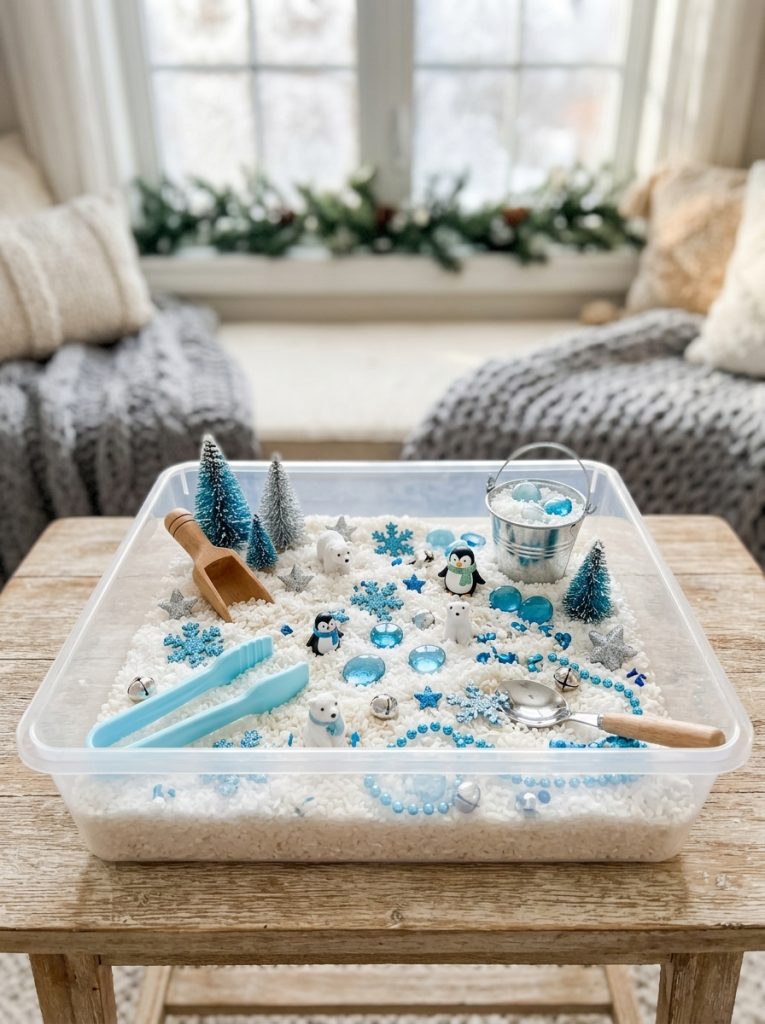
A winter bin swaps warm summer colors for white, blue, and silver tones using white rice dyed to look like snow, cotton balls for texture variety, and small winter animal figures like polar bears or penguins. Add a few small pom-poms in icy blue to represent ice chunks for an extra textural element. This seasonal theme genuinely helps reinforce winter vocabulary and concepts for preschool and kindergarten age children working through seasonal units at school.
14. Sort and Count for a Kindergarten Learning Bin
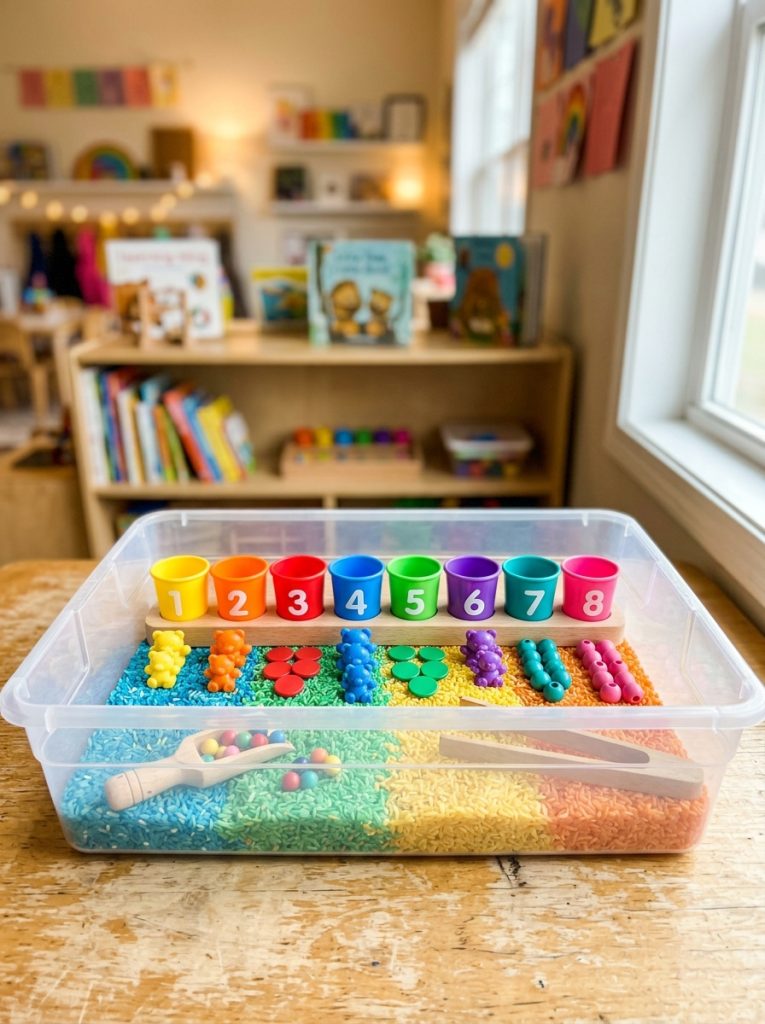
A kindergarten age sensory bin can lean further into early academic skills than a toddler version, incorporating numbered cups for counting practice, letter shapes hidden in the filler for an alphabet hunt, or small objects to sort by color and size into separate containers within the larger bin. This dual-purpose approach means the sensory play time doubles as genuine skill practice, which often appeals more to parents managing a busy schedule trying to fit in both play and early learning. For more kids organization ideas check out these kids closet organization ideas.
15. Gift a Themed Sensory Bin Kit
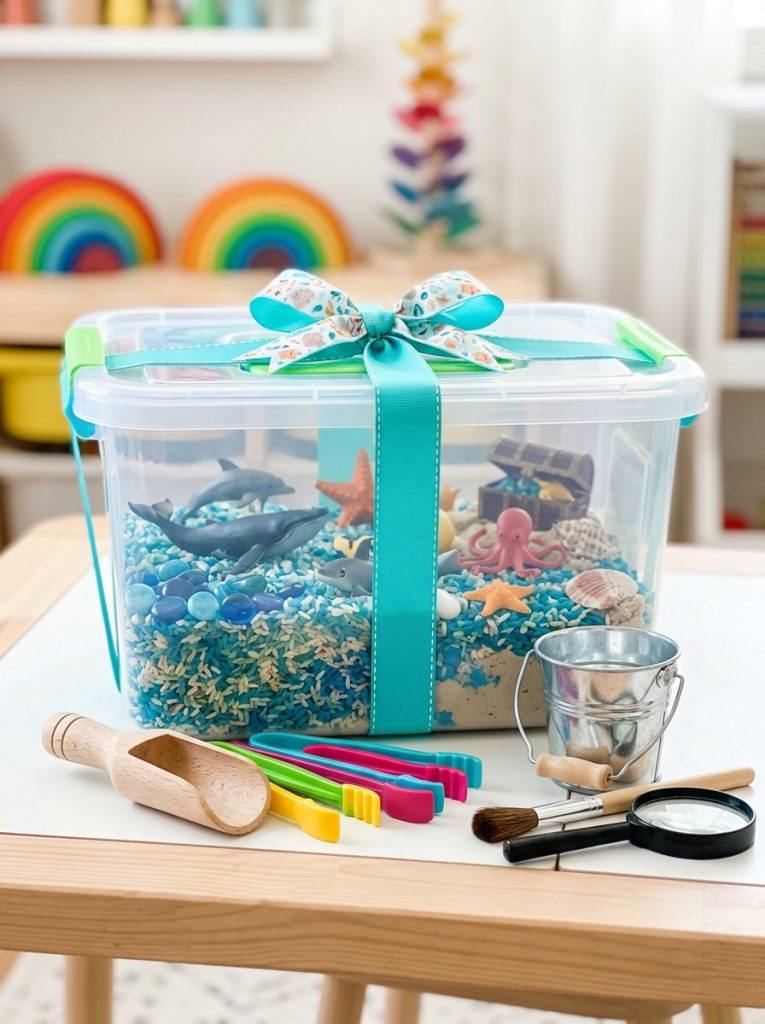
A fully assembled sensory bin makes a genuinely appreciated gift for a toddler or preschooler, especially compared to yet another toy that gets played with once and forgotten. Package the filler, a few small themed toys, and the scoops or tools together in the storage bin itself so the recipient can open it and start playing within minutes. This works particularly well as a birthday gift or a thoughtful addition to a holiday gift pile when paired with a seasonal theme. For more kids room organization ideas check out these Lego storage ideas and these kids desk ideas.
Final Thoughts on DIY Sensory Bin
A sensory bin earns its place as one of the most reliable activities for toddlers and preschoolers because it genuinely holds attention while building real skills through touch, scooping, and sorting. Whether built from pantry staples for almost no cost or set up as a fully themed seasonal activity, the right bin matches your child’s age and current interests. Pick one idea from this list and put together your first bin this week.

Amir Ali is the founder and site administrator of HomeDecorEdge, a modern home decor and interior design platform. Since starting the site, he has combined his passion for interior design, practical styling, and color coordination with hands-on content strategy and site management. He guides authors, curates high-quality articles, and ensures readers have access to actionable, visually inspiring, and user-focused home decor advice for apartments, small rooms, and family homes.