
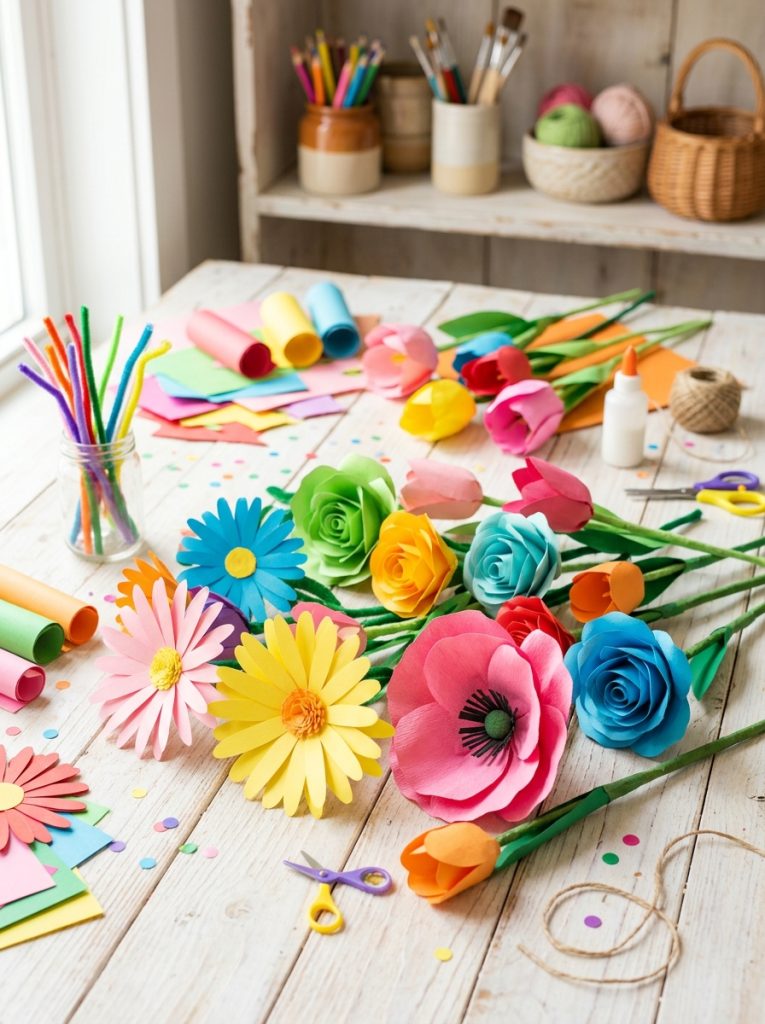
Paper flowers hold up longer than real ones, cost almost nothing, and come in any color imaginable without waiting for the right season. The range of what is possible is genuinely surprising once you move past the basic tissue pom-pom — from a single perfect crepe paper rose that fools most people at a glance to a giant wall backdrop that completely transforms a party or nursery wall. These DIY paper flower ideas cover every skill level and occasion, starting with ideas anyone can finish in under an hour.
This post contains affiliate links. If you purchase through these links I may earn a small commission at no extra cost to you.

Paper flowers are the one craft project that looks harder than it actually is.
1. Make Crepe Paper Flowers
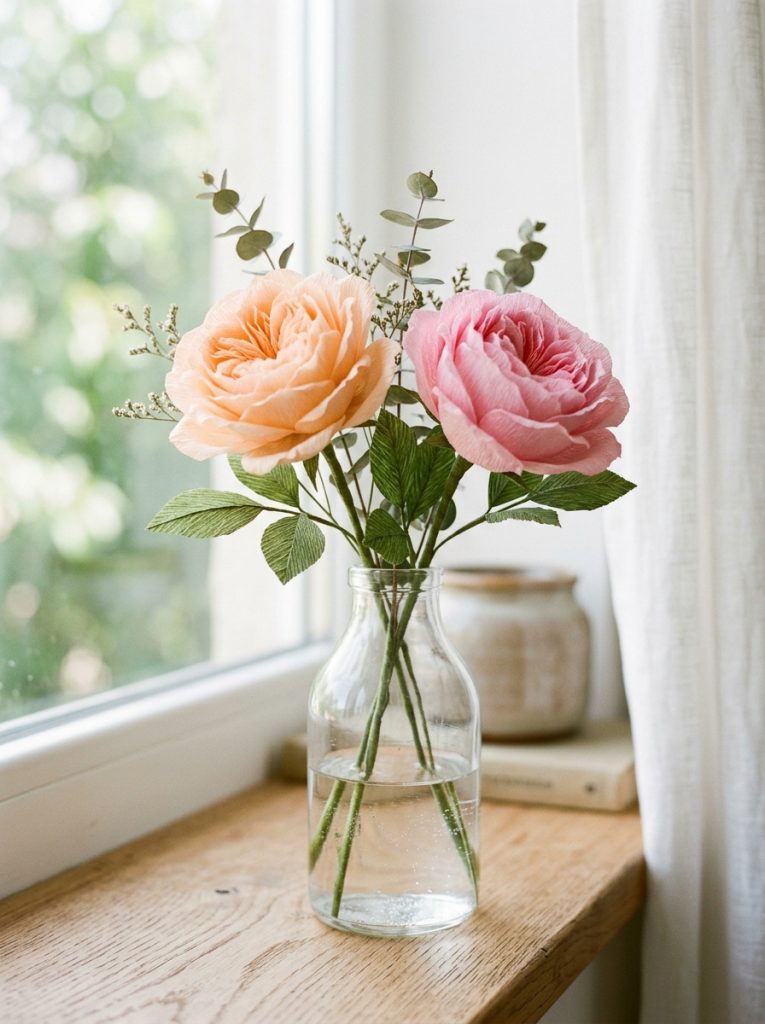
Crepe paper produces the most realistic flower look of any paper type because its natural stretch allows petals to be shaped and curled in a way flat paper cannot replicate. This crepe paper flowers making kit includes the right weight crepe paper and wire stems in one package rather than sourcing each component separately. Stretch each petal slightly between the fingers before assembling so the edges flare naturally rather than staying flat and obviously paper-like.
Materials Needed:
- Crepe paper in chosen flower colors
- Floral wire stems
- Floral tape
- Scissors
- Hot glue gun
How to Make It:
- Cut petal shapes from crepe paper, cutting with the grain for easy stretching.
- Gently stretch the center of each petal outward to create a cupped natural shape.
- Layer petals around a small center bud, securing each one with floral tape.
- Continue layering outward until the flower reaches the desired fullness.
- Wrap the stem with green floral tape and allow the finished flower to set before arranging.

Crepe Paper Flower Making Kit
Complete kit with crepe paper and wire stems for making natural looking paper flowers.
Check Price on Amazon2. Fold Giant Tissue Paper Flowers
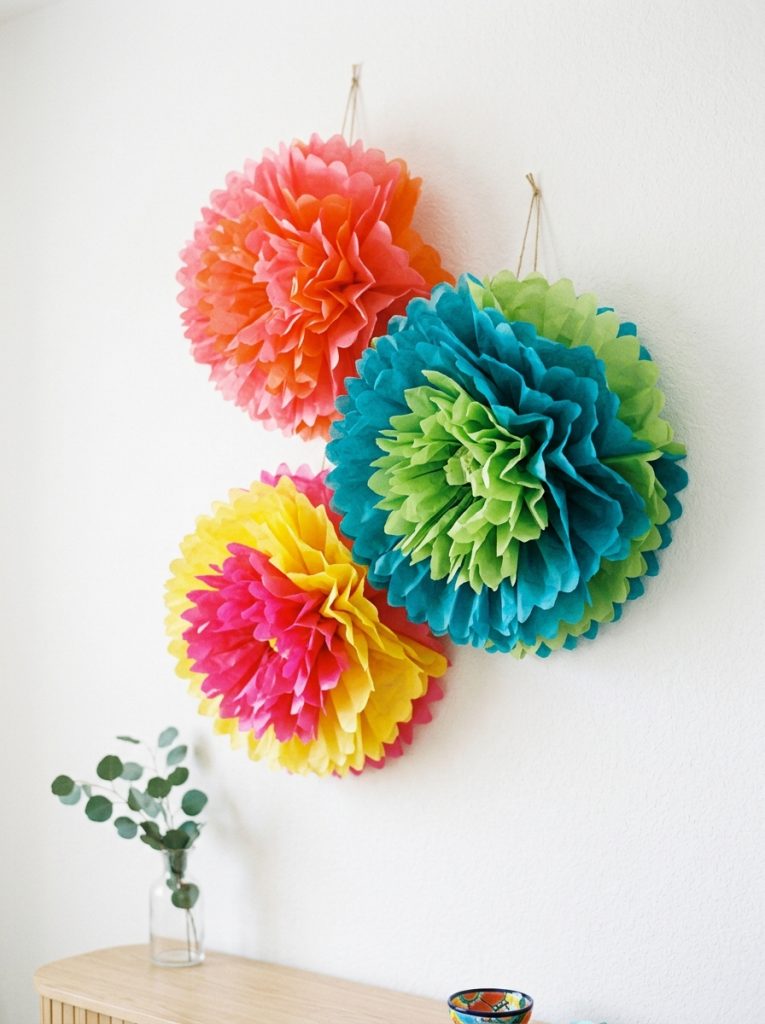
Giant tissue paper flowers are the fastest high-impact paper craft on this list, producing a flower that spans twelve to twenty inches across in about fifteen minutes of folding and fluffing. This tissue paper flowers large pack has enough sheets in multiple colors for a full wall arrangement without running out mid-project. The accordion fold method works for every skill level — fold, tie, cut, and fluff are genuinely all the steps involved.
Materials Needed:
- Large tissue paper sheets
- Thin wire or pipe cleaner
- Scissors
- String for hanging
How to Make It:
- Stack 8 to 10 sheets of tissue paper and accordion fold the whole stack together.
- Tie a wire or pipe cleaner tightly around the center of the folded stack.
- Trim both ends of the folded paper into rounded or pointed petal shapes.
- Carefully separate and pull each tissue layer upward toward the center one at a time.
- Fluff all layers evenly to form a full rounded flower, then hang by the center wire.

Large Tissue Paper Flower Pack
Multicolor tissue paper pack with enough sheets for a full wall flower arrangement.
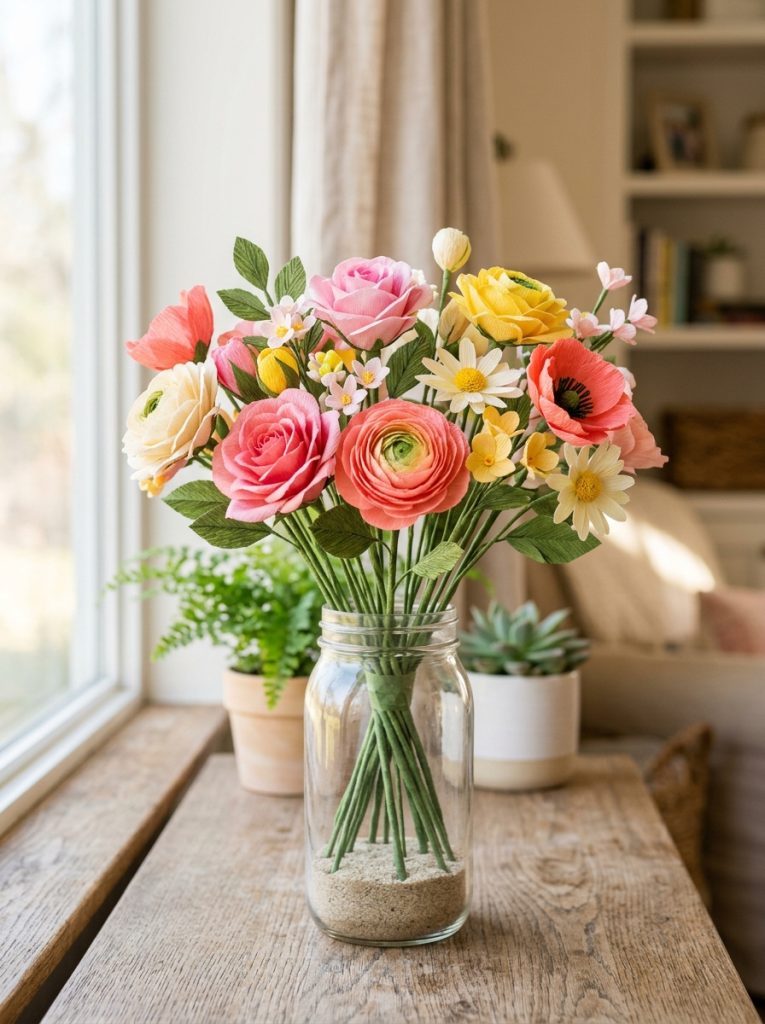
Check Price on Amazon3. Arrange a Paper Flower Bouquet
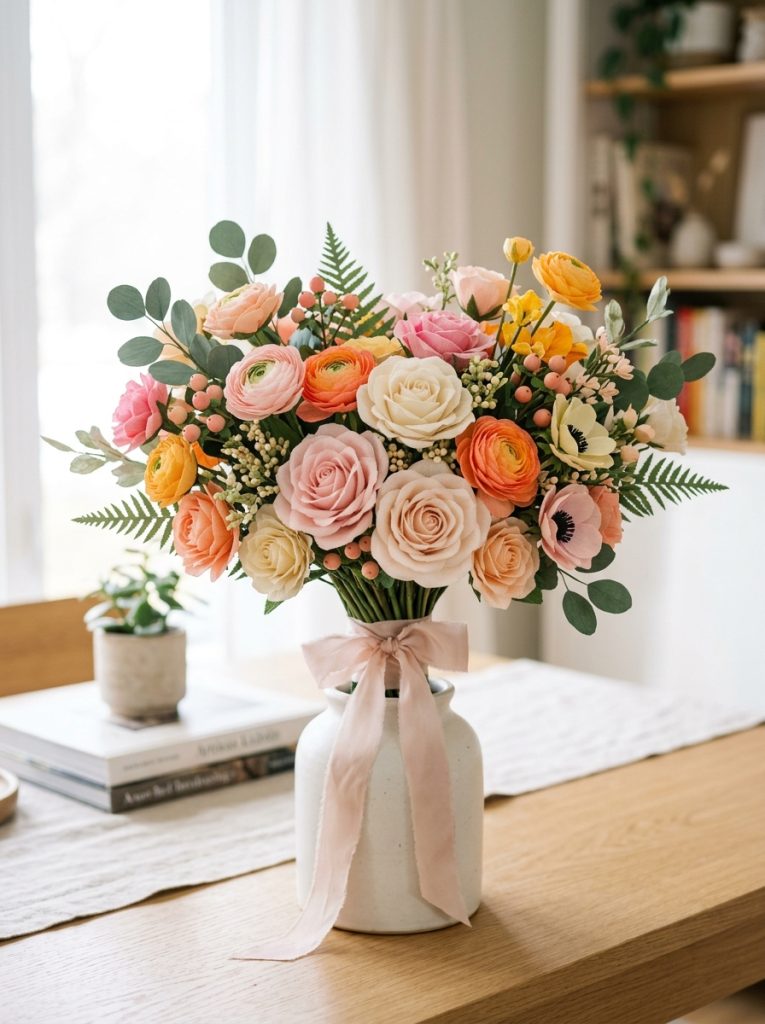
A paper flower bouquet makes a permanent keepsake version of a real flower arrangement, lasting indefinitely without water or wilting. This paper flowers bouquet artificial shows the finished bouquet style and scale to aim for. Mix flower types, sizes, and colors the same way a florist would rather than using one variety throughout, since varied textures and heights are what give a bouquet its natural abundant look.
Materials Needed:
- Various paper flower types on wire stems
- Floral tape
- Ribbon for wrapping
- Scissors
How to Make It:
- Build several individual paper flowers in different sizes and types.
- Hold the stems together and arrange taller flowers toward the back.
- Rotate the bunch as you add each flower, positioning shorter ones toward the front.
- Wrap all stems together firmly with floral tape from just below the flower heads down to the bottom.
- Tie a ribbon around the stems and trim all stems to an even length at the base.

Paper Flower Bouquet Reference
Full bouquet style and scale reference for arranging a lush permanent paper flower display.
Check Price on Amazon4. Use Cutting Dies for Perfect Petals
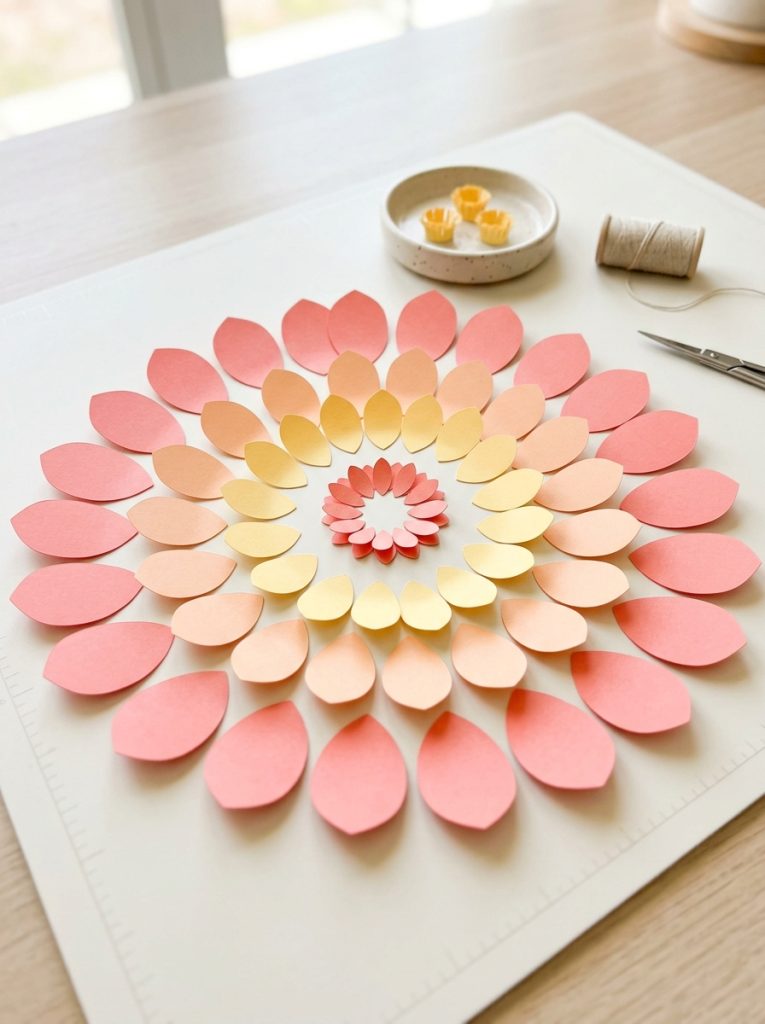
Cutting dies remove the most difficult part of paper flower making, which is cutting identical petals freehand in multiple sizes consistently enough for a layered flower to look balanced. This paper flower template cutting dies works with a standard die cutting machine and produces clean identical petal shapes every time. This approach is especially useful for a 3D quilled or layered flower where petal uniformity directly affects the finished appearance.
Materials Needed:
- Die cutting machine
- Paper flower cutting dies
- Cardstock in chosen colors
- Bone folder or stylus for shaping
- Hot glue gun
How to Make It:
- Run cardstock through the die cutting machine with the flower die to cut clean petal shapes.
- Use a bone folder or stylus to curl the edges of each cut petal slightly upward.
- Layer petals from largest at the bottom to smallest at the center, gluing each layer.
- Add a small button, bead, or rolled paper center on top of the smallest layer.
- Attach to a wire stem or mount flat on a surface depending on the intended use.

Paper Flower Cutting Dies Set
Die cutting templates that produce perfectly uniform petals for consistent layered flowers.
Check Price on Amazon5. Add Wire Stems for a Real Flower Look
A wire stem with proper floral tape wrapping is what separates a paper flower that looks genuinely flower-like from one that clearly belongs in a craft store display. This paper flower wire stem floral has the right gauge for supporting most paper flower head sizes without the stem bending over under the weight of the finished flower. Wrap the wire completely in green floral tape rather than leaving any bare wire visible for the most convincing finished result.
Materials Needed:
- Floral wire in appropriate gauge
- Green floral tape
- Completed paper flower heads
- Hot glue gun
- Wire cutters
How to Make It:
- Cut wire to the desired stem length using wire cutters.
- Form a small hook at the top of the wire to anchor the flower head securely.
- Apply hot glue to the hook and base of the flower head, pressing firmly onto the wire.
- Allow the glue to set before handling the stem.
- Wrap the full stem from just below the flower head to the bottom with green floral tape.

Floral Wire Stems for Paper Flowers
Proper gauge floral wire for creating natural looking stems on any paper flower project.
Check Price on Amazon6. Build a Giant Flower Wall Backdrop
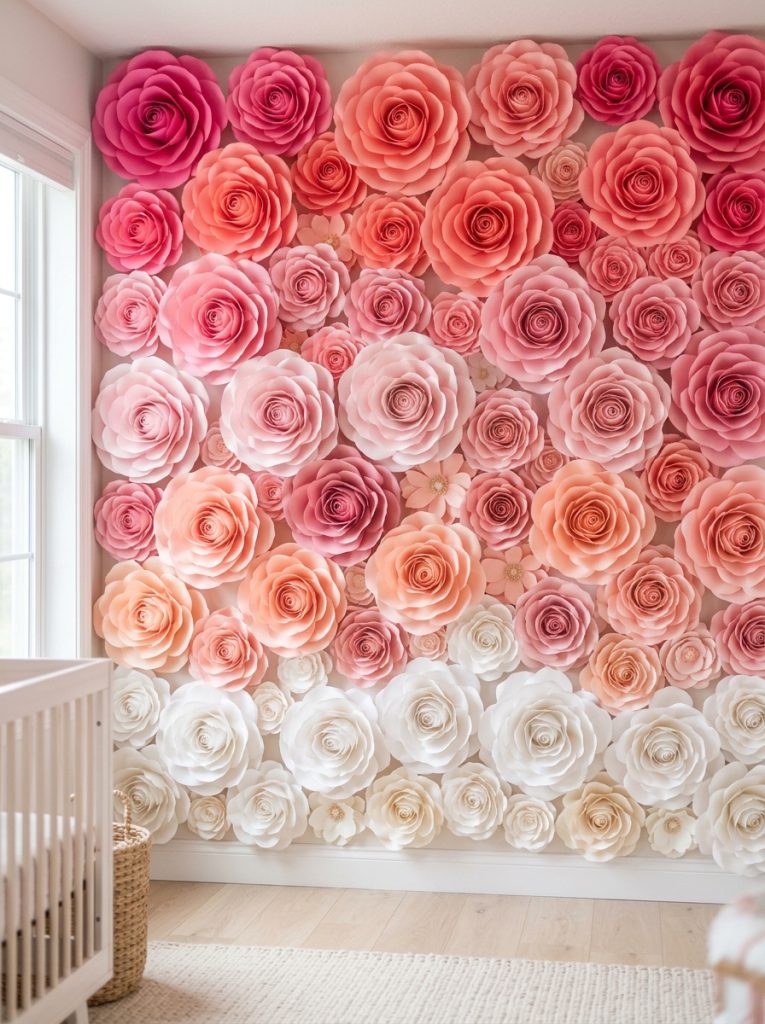
A paper flower wall backdrop is the most dramatic application of this craft, transforming a plain wall into a full floral installation for a party, nursery, or photo spot. This paper flower backdrop giant wall shows the density and color arrangement to aim for. Work in sections across the wall, mixing flower sizes and overlapping them slightly so no gaps show through, and vary the color placement rather than grouping all one color in one area. For more wall decor ideas check out these DIY room decor ideas.
Materials Needed:
- Large tissue paper or crepe paper flowers in various sizes
- Command strips or removable adhesive hooks
- Backdrop panel or blank wall
- Mix of flower colors
How to Make It:
- Make a large collection of flowers in at least three sizes and multiple colors.
- Plan the color arrangement on the floor before mounting anything.
- Start from the center of the wall and work outward in all directions.
- Attach each flower using a command strip or removable hook to avoid wall damage.
- Fill gaps with smaller flowers and adjust the arrangement until no wall shows through.

Giant Paper Flower Wall Backdrop
Large flower backdrop reference for density and color arrangement on a full wall display.
Check Price on Amazon7. Make Easy Paper Roses
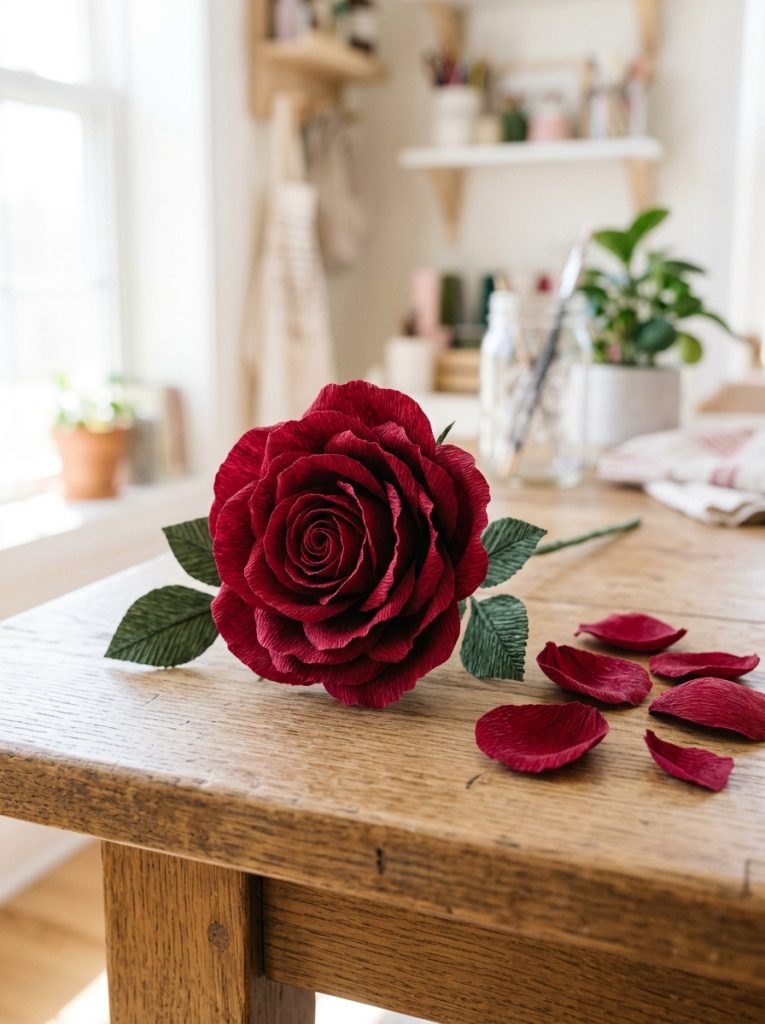
A paper rose is the single most requested paper flower for good reason — it is recognizable from a distance, universally appealing, and genuinely beautiful when made well. The key is in the center bud, which should be rolled tight before the outer petals are added loosely around it. A tight center and progressively looser outer layers are what create the layered dimensional look that makes a paper rose convincing rather than flat.
Materials Needed:
- Red or pink crepe paper
- Floral wire stem
- Floral tape
- Scissors
- Hot glue gun
How to Make It:
- Cut a long strip of crepe paper and roll one end tightly to form a compact bud.
- Secure the bud with hot glue at the base and attach to the wire stem.
- Cut individual petal shapes and curl each one slightly backward.
- Glue petals around the bud one at a time, each overlapping the previous slightly.
- Continue adding petals in progressively looser layers until the rose reaches full size.
8. Fold Paper Tulips for Kids

Paper tulips are the most approachable flower on this list for younger kids since the shape is simple, the folding is minimal, and the finished flower is immediately recognizable as a tulip without needing perfect technique. Use origami folding for the flower head and a simple folded green strip for the stem, and kids from about age five can produce a finished tulip independently. For more kids craft ideas check out these kids craft art supplies storage ideas.
Materials Needed:
- Square origami paper in bright colors
- Green paper for stems
- Scissors
- Glue stick
How to Make It:
- Fold a square of paper in half diagonally to form a triangle.
- Fold the two bottom corners up to meet the top point.
- Fold the top flaps outward slightly to open the tulip shape.
- Cut a green strip and fold it lengthwise for the stem.
- Glue the stem to the base of the tulip head.
9. Create a 3D Paper Flower Display
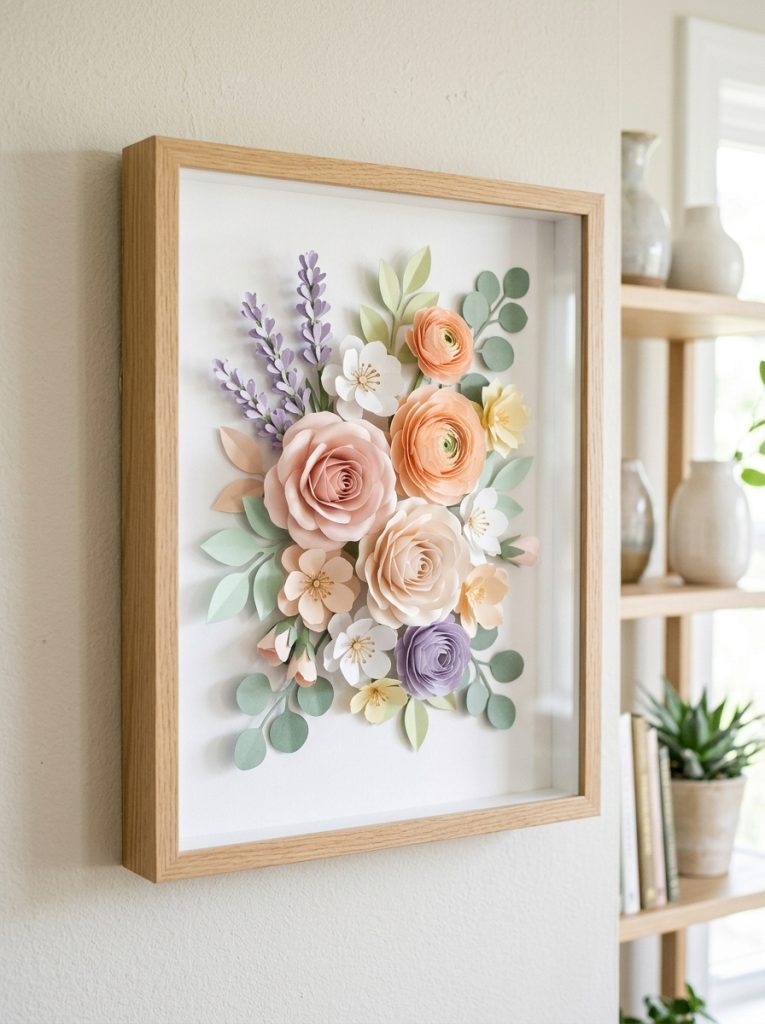
A 3D paper flower display mounts layered flowers in a shadow box or frame, creating wall art that has genuine depth rather than lying flat. The key is building flowers in two or three sizes per bloom and stacking them with foam adhesive spacers between each layer rather than gluing them flat. The dimensional result reads as significantly more sophisticated than a flat paper craft, which makes this a popular choice for nurseries and home office walls.
10. Make Paper Cherry Blossom Branches
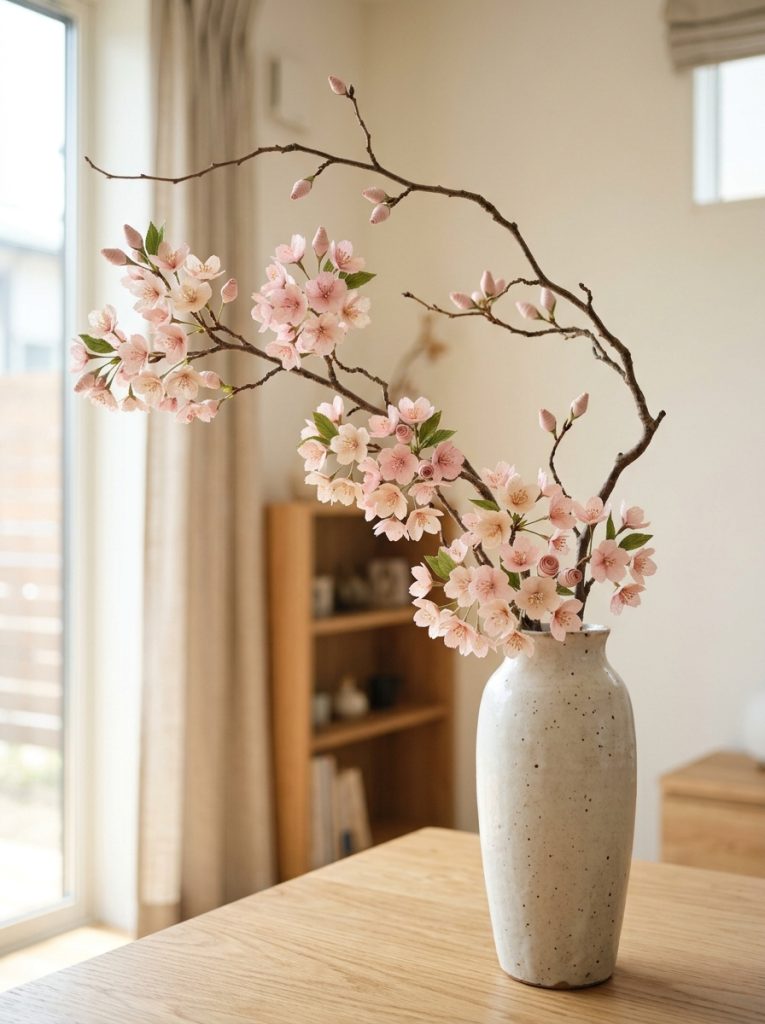
Paper cherry blossom branches bring a Japanese inspired elegance to a room that few other paper flowers can match, and the five-petal blossom shape is simple enough to cut freehand without a template. Attach small clusters of blossoms at intervals along a bare branch gathered from the yard, varying the cluster size so some sections of the branch are full and others more sparse for a natural seasonal look.
11. Craft Paper Peonies
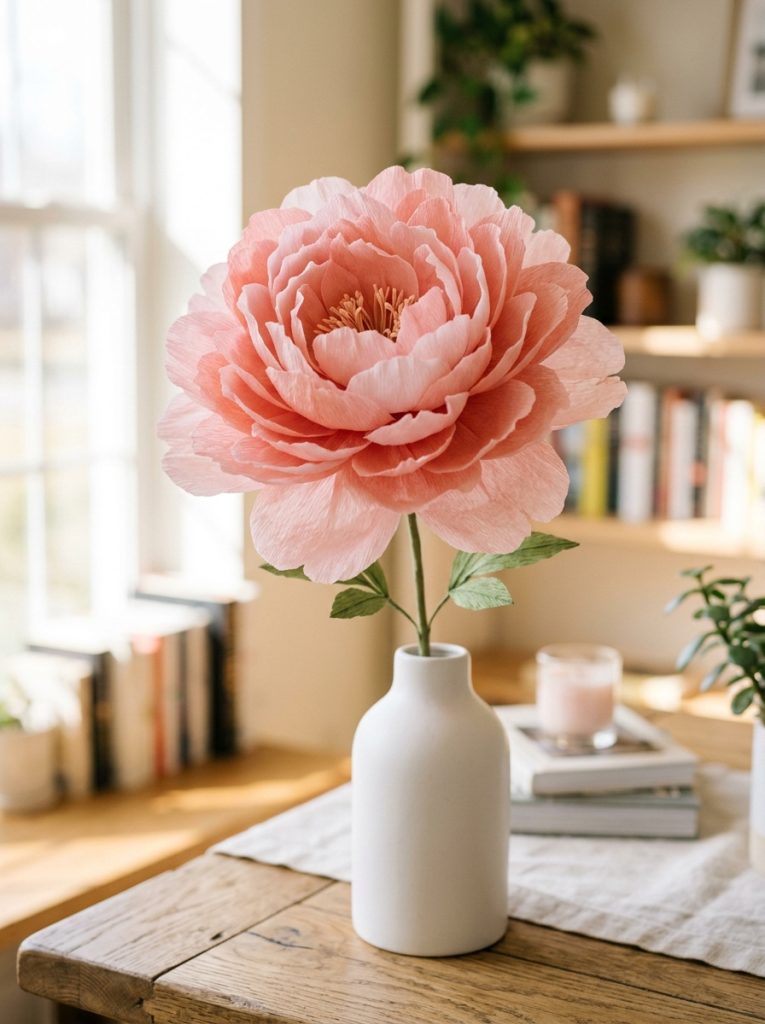
Paper peonies require more petals than most other paper flowers but the fullness of the finished bloom makes the extra effort genuinely worthwhile. Use tissue paper or thin crepe paper rather than cardstock for peony petals since the softness of the material contributes directly to how convincingly full and lush the finished bloom looks. A finished paper peony in full blush pink or white reads as genuinely sophisticated decor rather than craft project.
12. Make Simple Paper Flowers with Kids
The simplest paper flower for making with young kids uses a cupcake liner as the flower head and a craft stick as the stem, requiring no cutting at all for the flower itself and producing a finished result in under five minutes. Layer two or three cupcake liners in different colors on top of each other, push a brad through the center to hold them together, and tape the whole thing to a craft stick. This version suits the very youngest crafters who want to participate without the frustration of more complex folding.
Final Thoughts on DIY Paper Flowers
Paper flowers earn their place in any craft rotation because they are endlessly adaptable — the same basic skills that make a simple tulip for a five year old also underpin a giant wall backdrop or a sophisticated layered peony for a wedding table. Pick one style from this list that matches your skill level and available materials and make your first paper flower today.

Amir Ali is the founder and site administrator of HomeDecorEdge, a modern home decor and interior design platform. Since starting the site, he has combined his passion for interior design, practical styling, and color coordination with hands-on content strategy and site management. He guides authors, curates high-quality articles, and ensures readers have access to actionable, visually inspiring, and user-focused home decor advice for apartments, small rooms, and family homes.