

Concrete is one of the most rewarding DIY materials available because the finished result looks genuinely expensive and permanent while the actual process — mix, pour, wait, demold — is accessible to complete beginners. The mold does most of the work, determining the shape, texture, and size of the finished piece while the concrete itself just needs to be mixed consistently and given enough time to cure. These concrete molds DIY ideas cover every outdoor project from a simple round stepping stone to a large statement planter, with the steps and materials needed to get a clean result the first time.
This post contains affiliate links. If you purchase through these links I may earn a small commission at no extra cost to you.
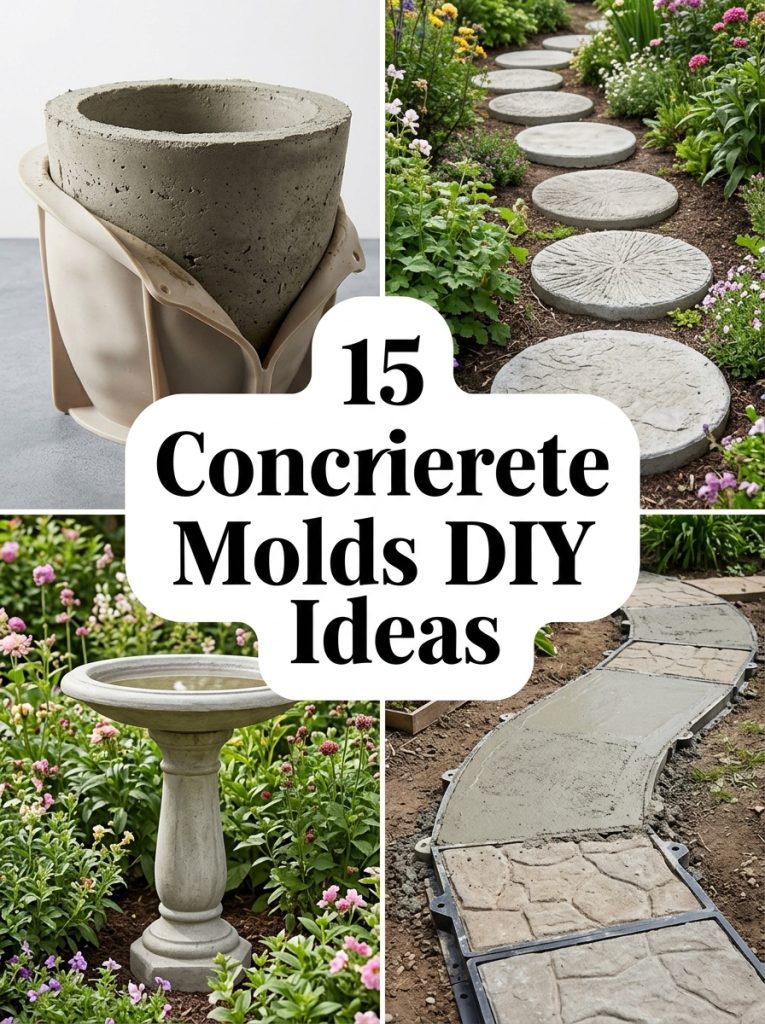
A concrete mold turns a simple mix of powder and water into a permanent outdoor piece that outlasts almost every other garden material.
1. Pour a Large Concrete Planter
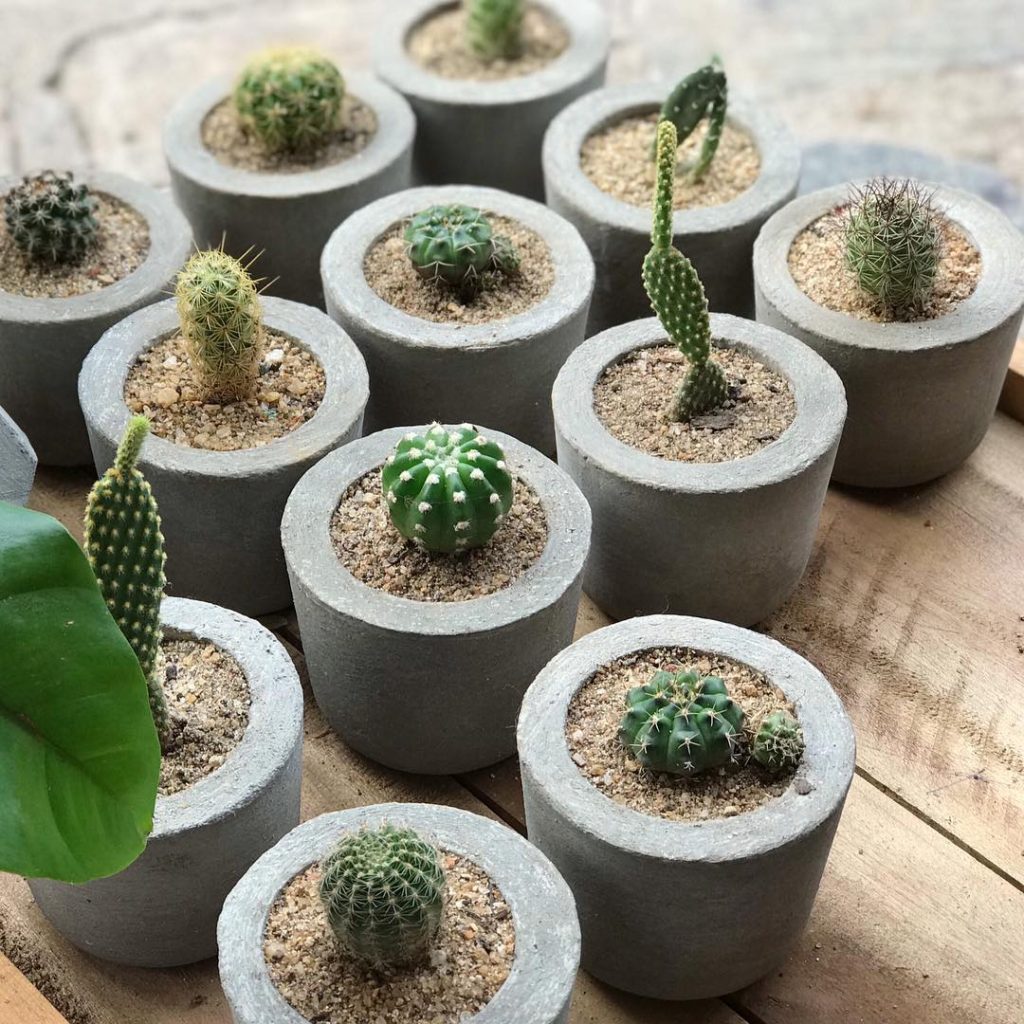
A large concrete planter made from a silicone mold produces one of the most striking garden pieces possible — weighty, textured, and looking like it cost ten times the material price. This concrete mold planter large silicone has the flexibility needed to release cleanly from the cured concrete without breaking the piece, which is the main advantage of silicone over rigid plastic for larger pours. Fill with potting mix and plant succulents, herbs, or trailing flowers for a finished display that immediately anchors any patio corner.
Materials Needed:
- Large silicone planter mold
- Quick set concrete mix
- Mixing bucket and stick
- Rubber gloves and safety glasses
- Plastic wrap or release agent
- Drainage gravel
How to Make It:
- Coat the inside of the silicone mold with a light release agent or cooking spray.
- Mix concrete to a thick pourable consistency — no dry lumps remaining.
- Pour a base layer into the mold and tap the sides to release air bubbles.
- Insert a smaller container or form in the center to create the planting cavity.
- Fill around the inner form and allow to cure fully for at least 48 hours before demolding.

Large Silicone Concrete Planter Mold
Flexible silicone mold that releases cleanly from large concrete pours without cracking the finished planter.
Check Price on Amazon2. Make Round Concrete Stepping Stones
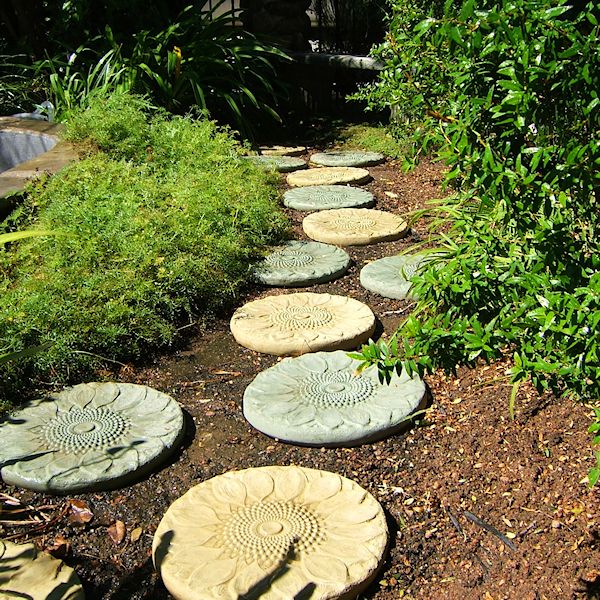
Round stepping stones are the most satisfying beginner concrete mold project because they cure quickly, demold cleanly, and immediately improve the look of any garden path. This concrete mold stepping stone round produces a consistent round shape with enough depth to stay stable underfoot without shifting. Press decorative elements like pebbles, tiles, or leaf imprints into the surface before the concrete sets for a personalized finish that makes each stone unique. For more garden path ideas check out these garden stepping stones DIY ideas.
Materials Needed:
- Round stepping stone mold
- Concrete mix
- Mixing bucket
- Decorative pebbles or leaves for surface detail
- Release spray
- Rubber gloves
How to Make It:
- Spray the mold interior lightly with release agent.
- Mix concrete to a firm consistency and fill the mold completely.
- Tap the mold on a flat surface to settle the concrete and remove air bubbles.
- Smooth the top surface flat with a trowel.
- Press any decorative elements into the surface immediately before leaving to cure for 24 hours.

Round Concrete Stepping Stone Mold
Reusable round mold that produces consistent stepping stones with clean edges for any garden path.
Check Price on Amazon3. Cast a Concrete Bird Bath
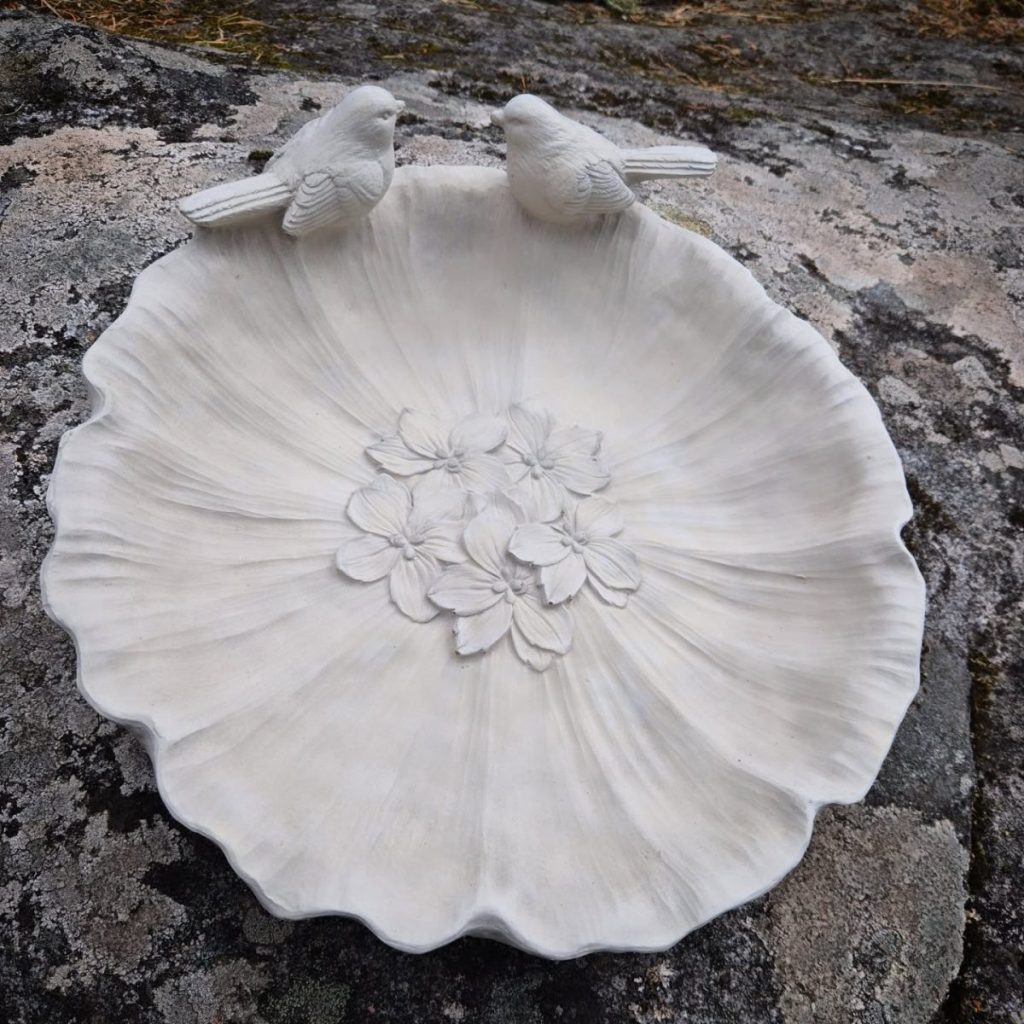
A concrete bird bath cast from a dedicated mold creates a genuinely heavy and permanent garden feature that stays stable through wind and weather unlike lightweight resin alternatives. This concrete mold bird bath produces the basin and pedestal components separately for easier handling during the pour and curing stages. Seal the finished basin with a waterproof concrete sealer before filling with water so the porous concrete surface does not absorb water and develop algae growth inside the material.
Materials Needed:
- Bird bath mold set (basin and pedestal)
- Concrete mix
- Waterproof concrete sealer
- Mixing bucket and trowel
- Release agent
- Rubber gloves and safety glasses
How to Make It:
- Apply release agent to both mold pieces before pouring.
- Mix concrete to a smooth pourable consistency and fill the basin mold first.
- Fill the pedestal mold and allow both pieces to cure for a minimum of 48 hours.
- Demold carefully and allow an additional 24 hours of air curing.
- Apply waterproof concrete sealer to the basin interior before setting up in the garden.

Concrete Bird Bath Mold
Basin and pedestal mold set for casting a permanent heavy concrete bird bath for any garden.
Check Price on Amazon4. Pour Concrete Pavers for a Walkway
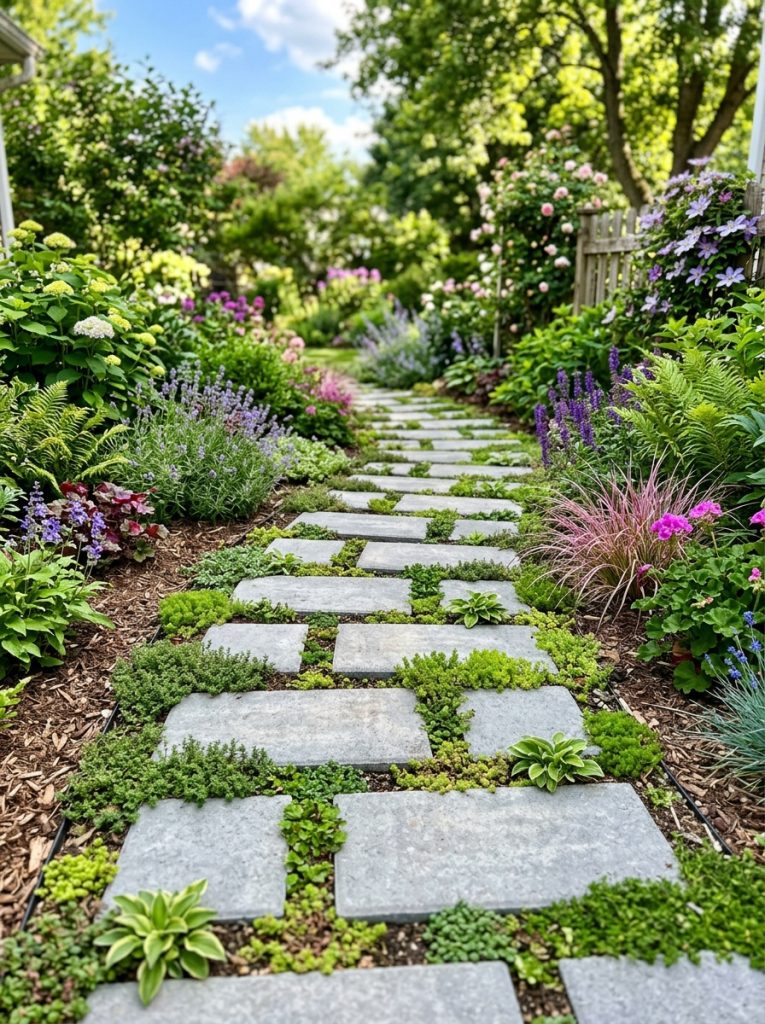
Concrete paver molds allow a full garden walkway to be built section by section at a fraction of the cost of buying pre-made pavers, and the finish quality of a properly mixed and cured DIY paver is indistinguishable from a purchased product. This concrete mold paver walkway produces multiple paver shapes in one pour, creating a realistic stone pattern that looks far more complex than the single mold used to make it. Space the finished pavers with low growing thyme or creeping phlox between them for a naturalistic path look.
Materials Needed:
- Paver walkway mold
- Concrete mix
- Mixing bucket and trowel
- Release agent
- Level for checking evenness
- Sand base for setting pavers
How to Make It:
- Prepare a level sand base where the pavers will be placed.
- Apply release agent to the mold and place on a flat surface.
- Mix concrete and fill each cavity in the mold to the top, smoothing flat.
- Allow to cure for 24 to 48 hours before demolding.
- Set finished pavers into the prepared sand base and press level before filling gaps.

Concrete Paver Walkway Mold
Multi-cavity paver mold that creates a realistic stone pattern walkway at a fraction of purchased paver cost.
Check Price on Amazon5. Use Quick Set Concrete Mix for Faster Results
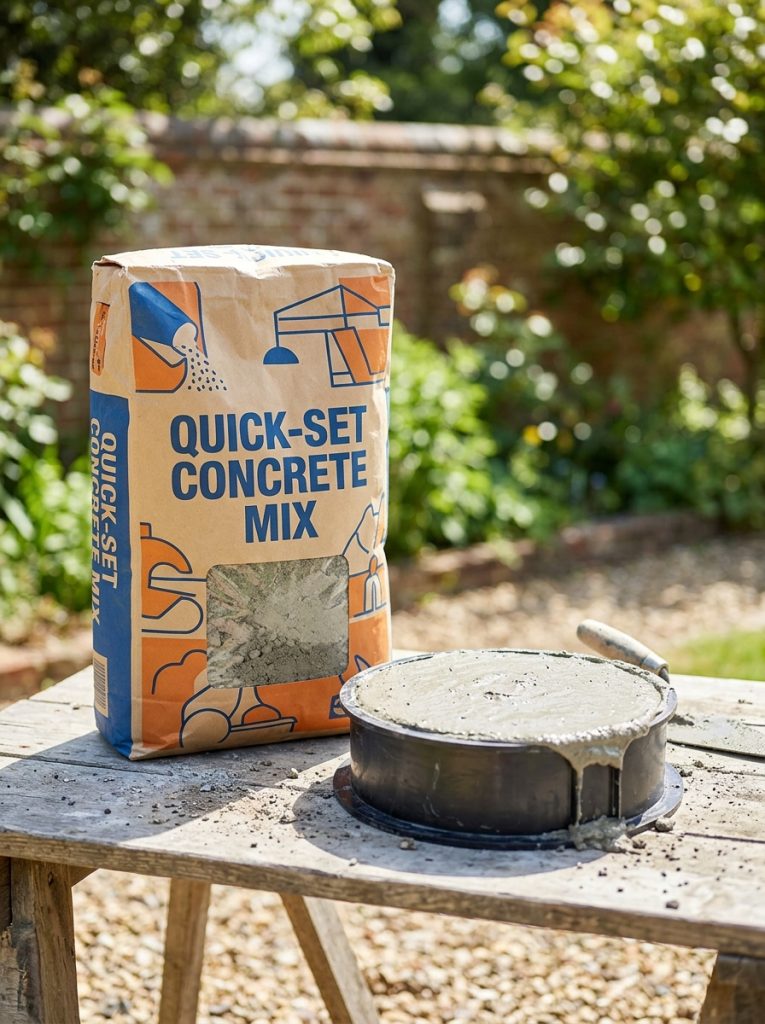
Quick set concrete mix cuts curing time from the standard 24 to 48 hours down to as little as 20 to 40 minutes for smaller projects, which means multiple pours can happen in a single afternoon rather than spacing them days apart. This concrete mix quick set outdoor is formulated specifically for outdoor projects and develops full weather resistance faster than standard mixes. Work quickly once the water is added since the shortened working window means the concrete begins setting while still in the mixing bucket if not poured promptly.
Materials Needed:
- Quick set concrete mix
- Water measured precisely per package ratio
- Mixing bucket and sturdy stick
- Mold prepared with release agent
- Timer for working window
- Rubber gloves and safety glasses
How to Make It:
- Read the package working time before starting — quick set typically gives 3 to 5 minutes.
- Measure water precisely to the ratio on the package for consistent results.
- Mix thoroughly until no dry powder remains and the consistency is smooth.
- Pour immediately into the prepared mold without delay.
- Tap the mold to release air bubbles and leave undisturbed until the set time passes.
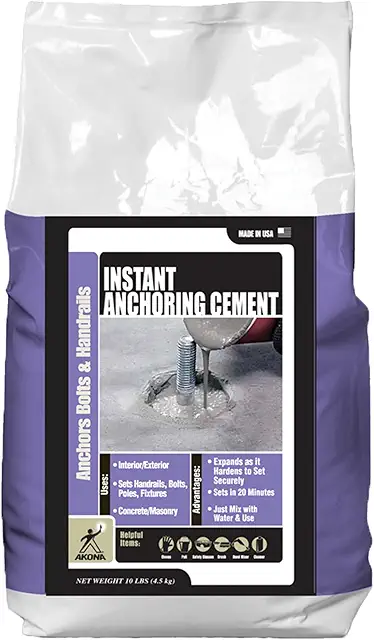
Quick Set Outdoor Concrete Mix
Fast curing outdoor concrete mix that sets in minutes for completing multiple pours in a single session.
Check Price on Amazon6. Use Reusable Plastic Forms for Landscaping
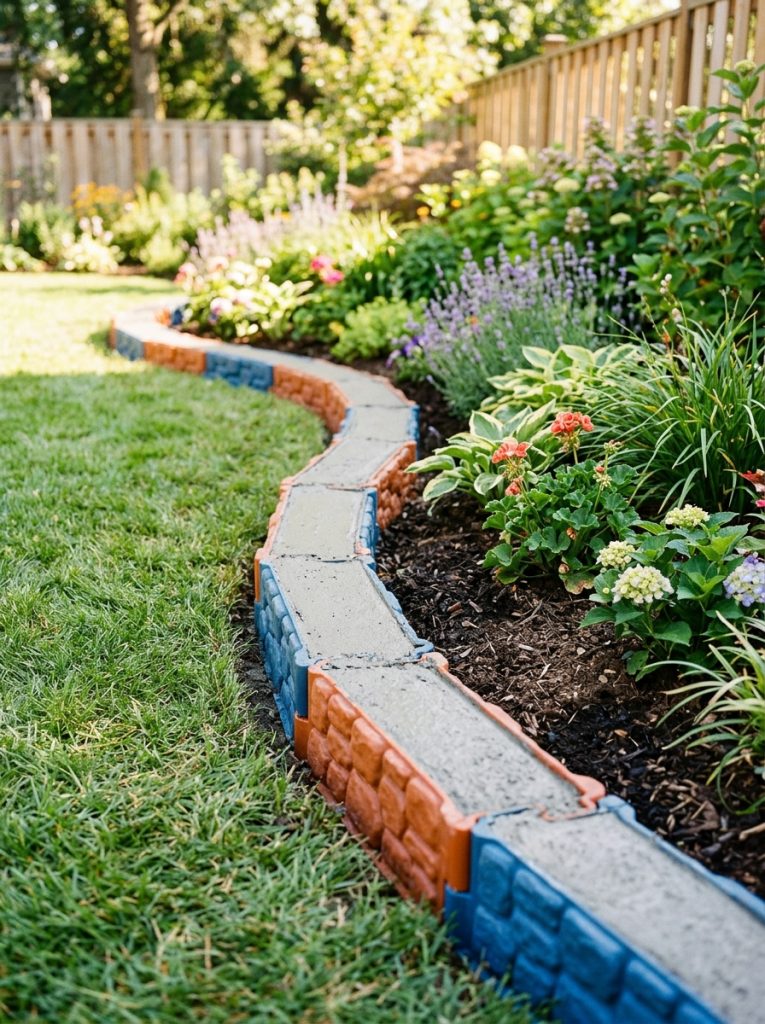
Reusable plastic forms are the most cost-effective option for any project requiring multiple identical pieces — landscaping edging, border blocks, or repeated decorative elements — since the same mold produces dozens of pieces before showing wear. This concrete mold reusable plastic forms is designed for repeated use and cleans easily between pours with a simple rinse. For more garden border ideas check out these brick landscape edging ideas.
Materials Needed:
- Reusable plastic concrete forms
- Concrete mix
- Mixing bucket
- Release agent or vegetable oil
- Trowel for smoothing
- Rubber gloves
How to Make It:
- Coat the inside of the plastic form with release agent or vegetable oil before each pour.
- Mix concrete to a firm workable consistency.
- Fill the form in layers, tamping each layer to eliminate air pockets.
- Smooth the exposed surface flat with a trowel.
- Demold after the recommended curing time, rinse the form immediately, and repeat.

Reusable Plastic Concrete Forms
Durable plastic molds that produce dozens of identical concrete pieces for landscaping and edging projects.
Check Price on Amazon7. Make a Concrete Leaf Imprint Stepping Stone
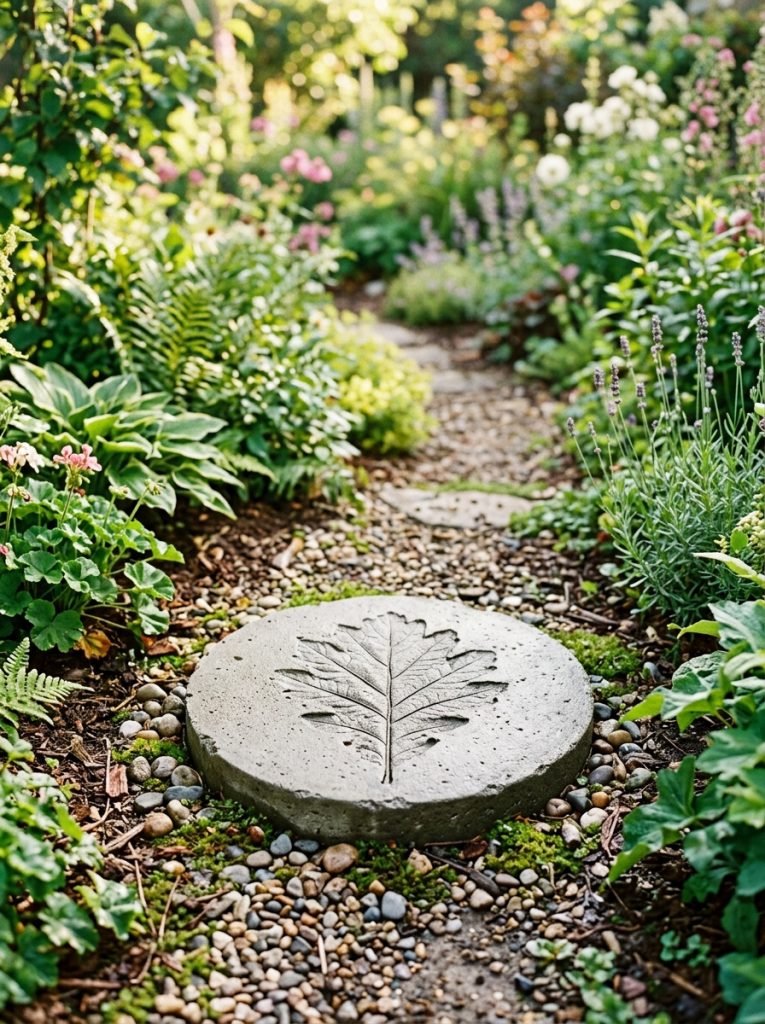
A leaf imprint stepping stone uses a large rhubarb, hosta, or elephant ear leaf as a natural mold, pressing it into freshly poured concrete to transfer every vein and texture detail before the concrete sets. The result is a stepping stone with an intricate botanical surface pattern that looks like it took hours of skilled work but actually requires only a large leaf, a bag of concrete, and a flat working surface. No purchased mold is needed for this technique.
Materials Needed:
- Large flat leaf with pronounced veins
- Concrete mix
- Flat plastic tray or board as base
- Vaseline for leaf release
- Trowel
- Rubber gloves
How to Make It:
- Coat the underside of a large leaf with a thin layer of Vaseline.
- Place the leaf veined side up on a flat plastic surface.
- Mix concrete and spread a generous layer directly over the leaf surface.
- Shape the edges into a neat round or oval stone shape.
- Allow to cure for 24 hours then carefully peel the leaf away to reveal the imprint.
8. Cast Concrete Bookends for Indoors
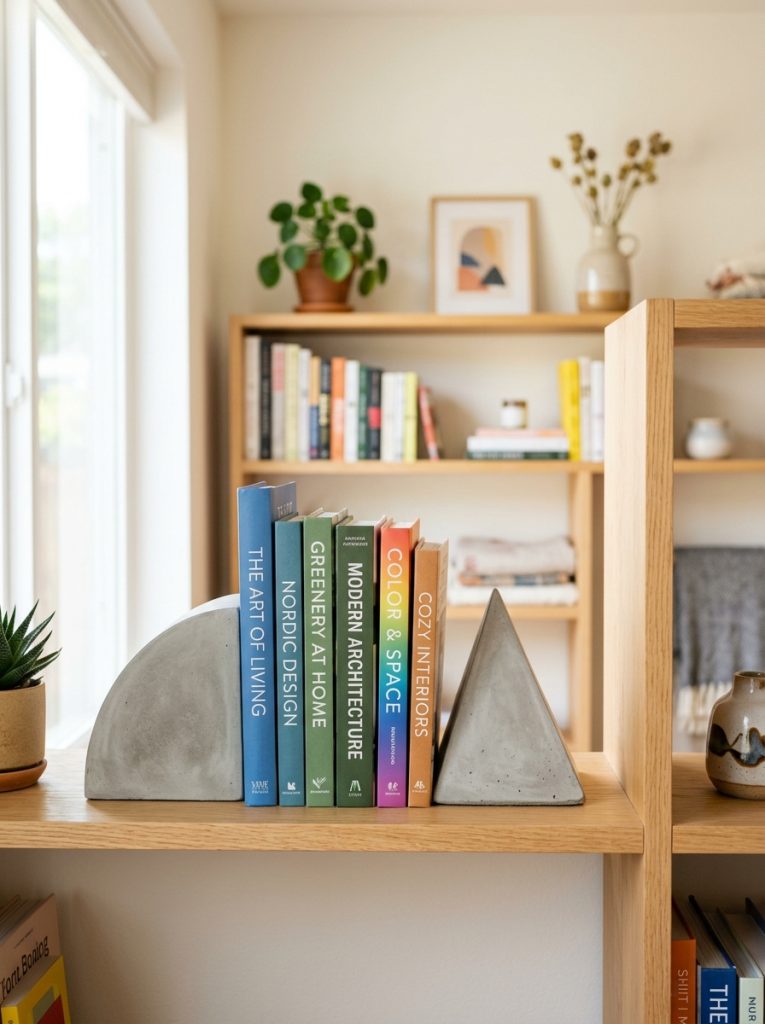
Concrete bookends are one of the most popular indoor concrete mold projects because the small scale makes them fast to pour and the finished result looks genuinely expensive on a shelf or desk. Use two matching silicone loaf pans, soap molds, or purpose-made geometric forms as the mold. The weight of concrete makes bookends function better than most other materials and the neutral grey tone suits virtually every interior color scheme without needing painting or finishing.
9. Pour Concrete Candle Holders
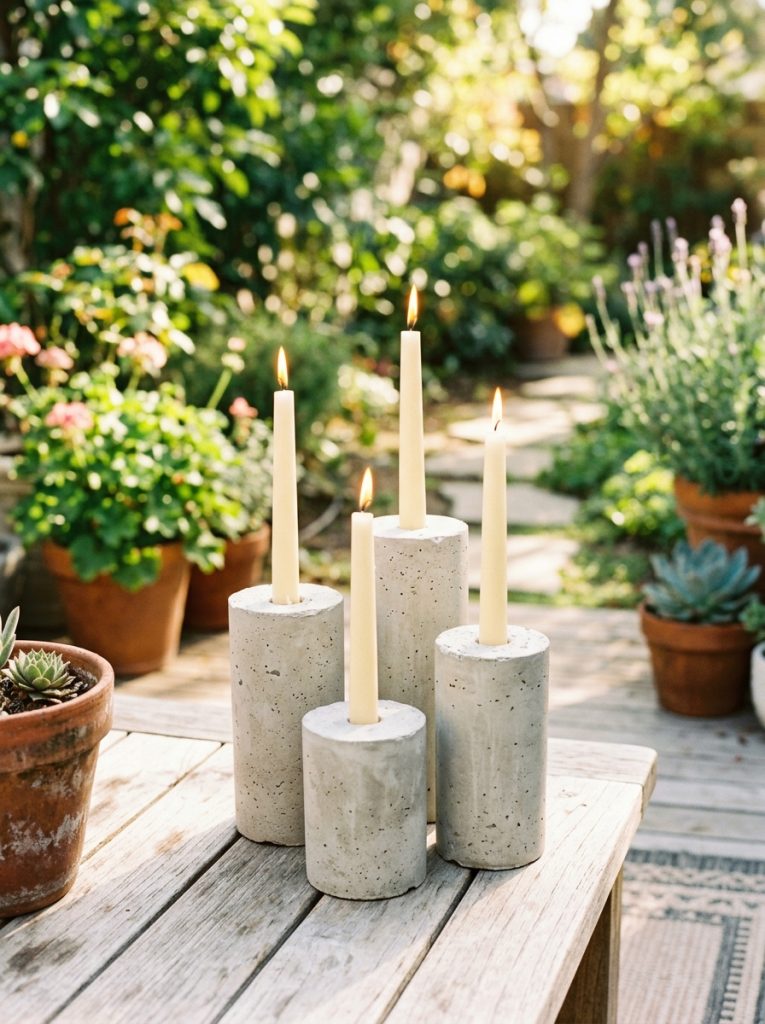
Concrete candle holders made from cylinder molds — plastic cups, PVC pipe sections, or toilet paper rolls — create modern minimalist home accessories that work both indoors and outdoors. The mold technique is simple: pour concrete into the outer cylinder, push a smaller cylinder into the center for the candle cavity, and allow to cure before removing both molds. Sand the rim smooth once cured and the finished holder looks like a design store purchase at the cost of a few cents of concrete.
10. Build Concrete Garden Edging
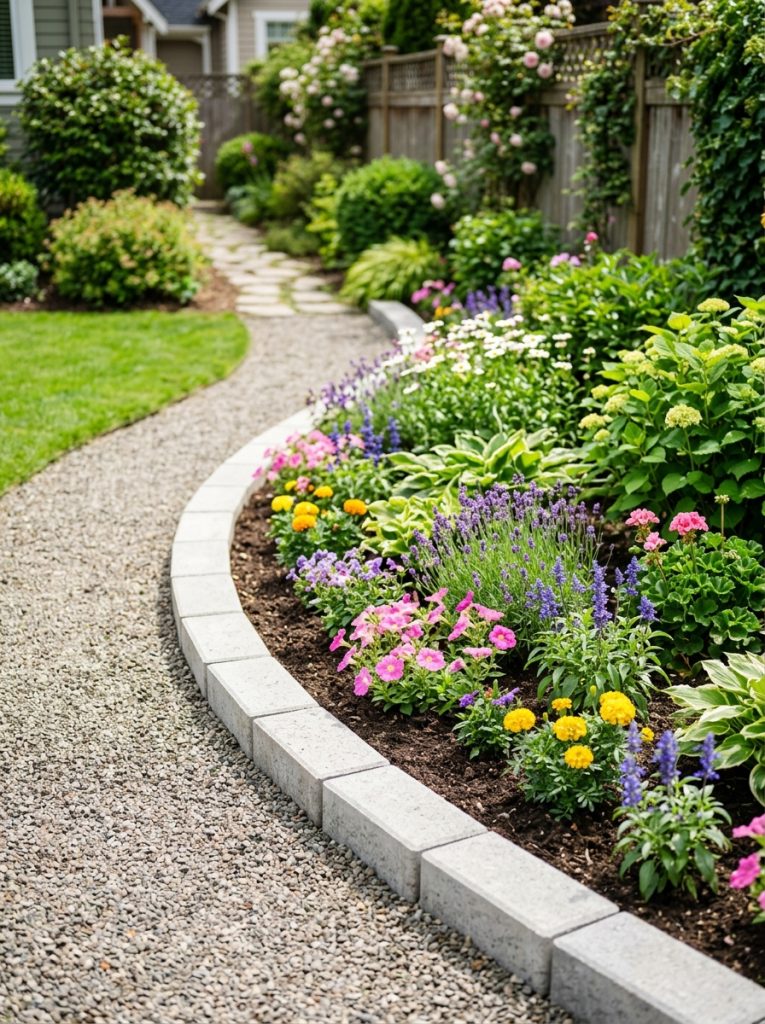
Concrete garden edging made from reusable forms creates a permanent border that never shifts, never rots, and requires no maintenance once installed. Cast edging pieces in batches using the same reusable form, cure fully, then set into a shallow trench along the garden bed edge with the top sitting just above soil level. The consistent concrete color and shape creates a cleaner, more professional garden border than timber, metal, or brick alternatives at a significantly lower material cost.
11. Make a Concrete Patio Table Top
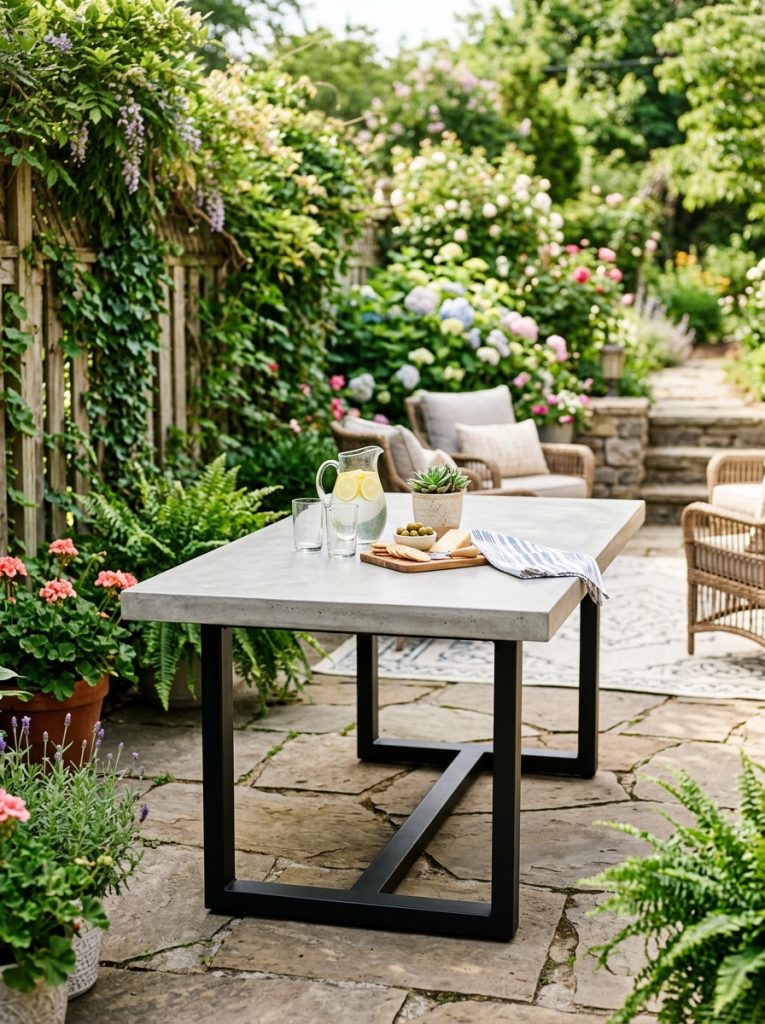
A concrete table top cast in a simple wooden form creates the most durable outdoor dining surface possible — heat resistant, weather resistant, and impervious to the fading and cracking that plastic and timber outdoor tables eventually develop. Build a shallow wooden form to the desired table dimensions, reinforce the pour with wire mesh or rebar in the center, and allow a full week of curing before removing the form and mounting on a metal or wood table base.
12. Pour Concrete Sphere Garden Ornaments
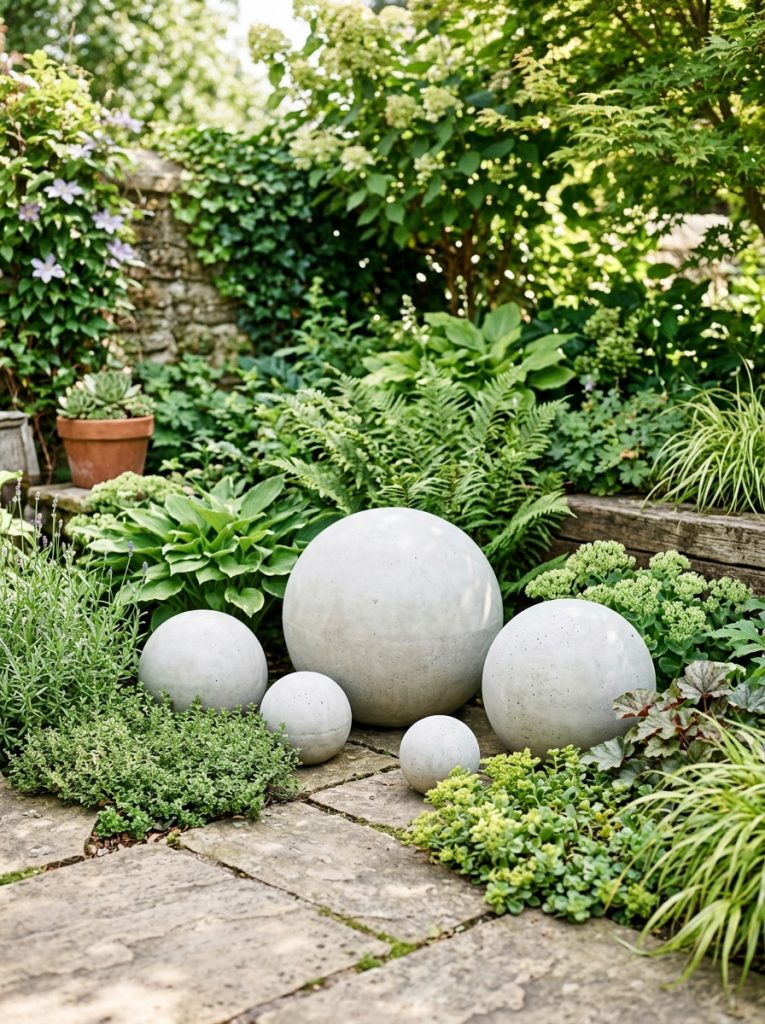
Concrete sphere ornaments cast in round balloon molds or purpose-made sphere forms create beautiful minimalist garden accents that look sculptural and considered rather than decorative in the traditional sense. Inflate a round balloon to the desired sphere size, coat with concrete slurry in layers allowing each layer to dry, and pop the balloon once the concrete is fully cured. The finished concrete sphere has an organic slight irregularity that makes each one unique.
13. Create Concrete Mosaic Stepping Stones
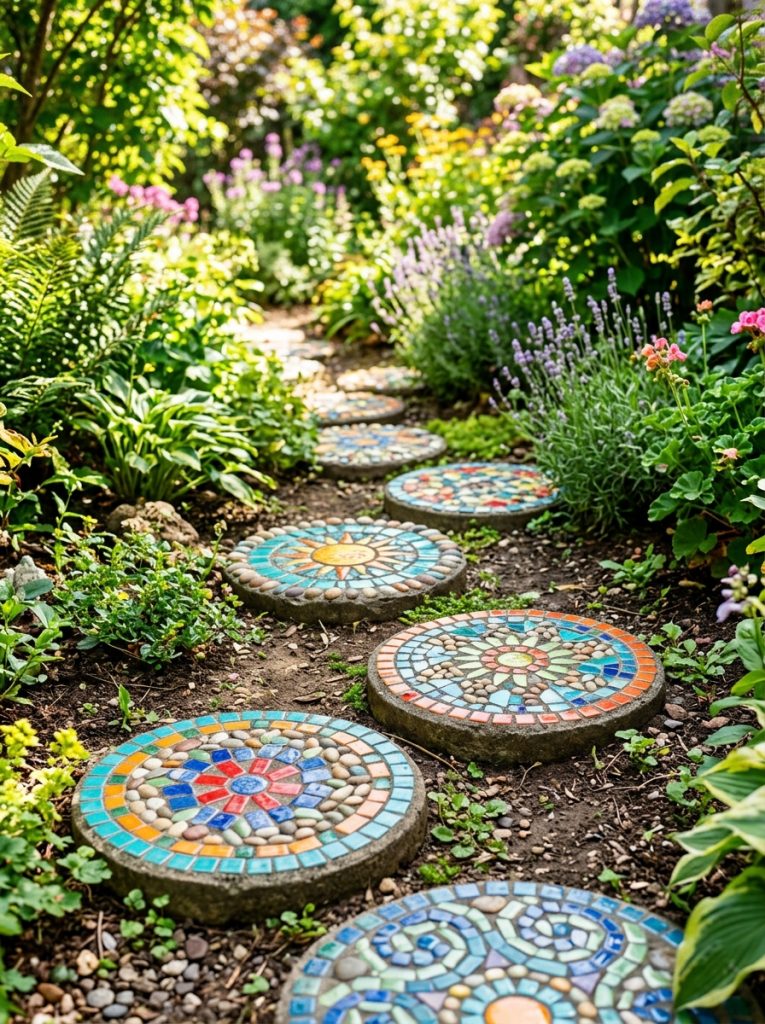
Mosaic concrete stepping stones embed colorful tile pieces, glass pebbles, or ceramic shards into the concrete surface before it cures, creating stepping stones that are genuinely decorative rather than purely functional. Pour a standard round stepping stone base, then immediately press a mosaic pattern into the surface using pre-arranged tile pieces. The concrete locks the mosaic in place permanently as it cures, producing a weatherproof decorative stepping stone that improves any garden path.
14. Cast a Concrete Wall Plaque
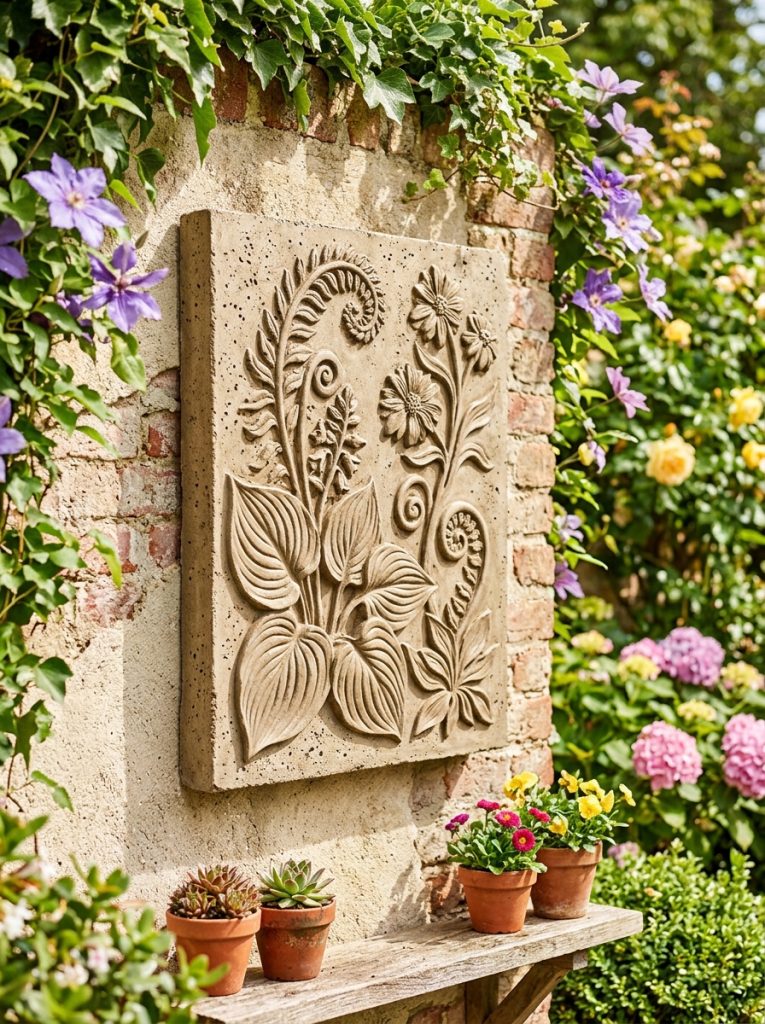
A concrete wall plaque cast from a textured silicone mold creates outdoor wall art that weathers beautifully over time as moss and patina develop on the surface. Botanical, geometric, and architectural relief designs all work well in concrete since the material holds fine detail faithfully during the pour and curing process. Mount on an exterior wall, garden fence, or freestanding outdoor wall for a permanent garden feature that looks better every year.
15. Pour a Large Concrete Backyard Fire Pit
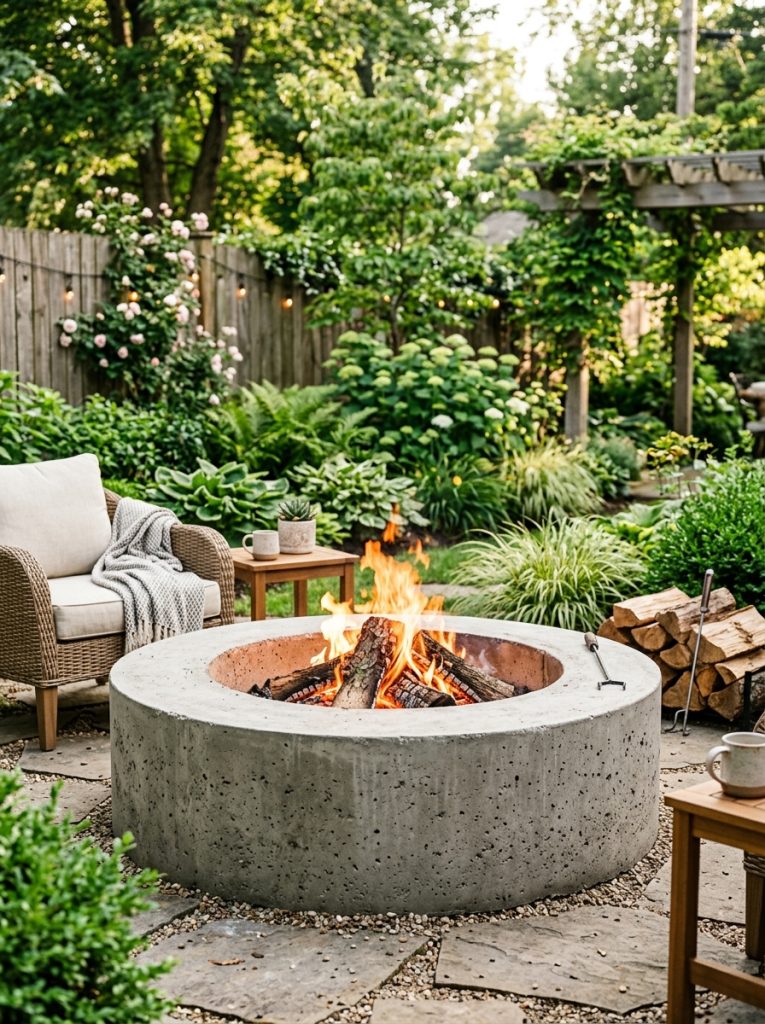
A concrete fire pit surround cast using a large circular form creates the most heat-resistant and permanent backyard fire feature available at a DIY price. Use a heat-resistant concrete mix specifically rated for fire pit applications rather than standard outdoor concrete, which can crack under repeated high-temperature exposure. Build the form from cardboard tubes and plywood, pour in sections if the full piece is too heavy to handle as one unit, and allow full curing before the first fire. For more backyard ideas check out these DIY ponds backyard ideas.
Final Thoughts on Concrete Molds DIY
Concrete molds transform one of the most basic construction materials into a genuinely creative medium, and the learning curve is shorter than most people expect. A first stepping stone or small planter teaches the fundamentals — mixing consistency, air bubble removal, curing time — that apply directly to every more ambitious project that follows. Start with a simple round stepping stone mold and by the third or fourth pour the process becomes second nature.

Amir Ali is the founder and site administrator of HomeDecorEdge, a modern home decor and interior design platform. Since starting the site, he has combined his passion for interior design, practical styling, and color coordination with hands-on content strategy and site management. He guides authors, curates high-quality articles, and ensures readers have access to actionable, visually inspiring, and user-focused home decor advice for apartments, small rooms, and family homes.