

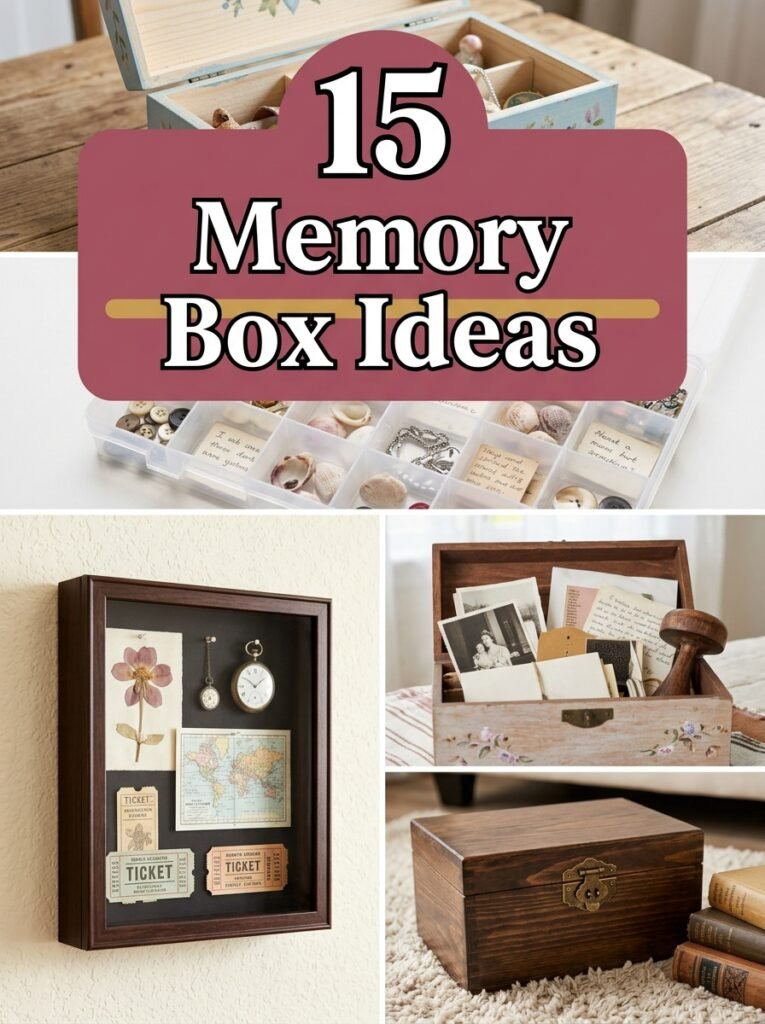
Ticket stubs, tiny baby socks, a folded note from someone who mattered, that kind of thing never fits neatly into a regular storage bin the way clothes or books do. A memory box gives those small, sentimental items an actual home instead of scattering them across drawers where they eventually get lost or forgotten. These 15 memory box ideas cover graduation, weddings, new babies, and every milestone worth holding onto.
This post contains affiliate links. If you purchase through these links I may earn a small commission at no extra cost to you.
1. Start with an Unfinished Wooden Box
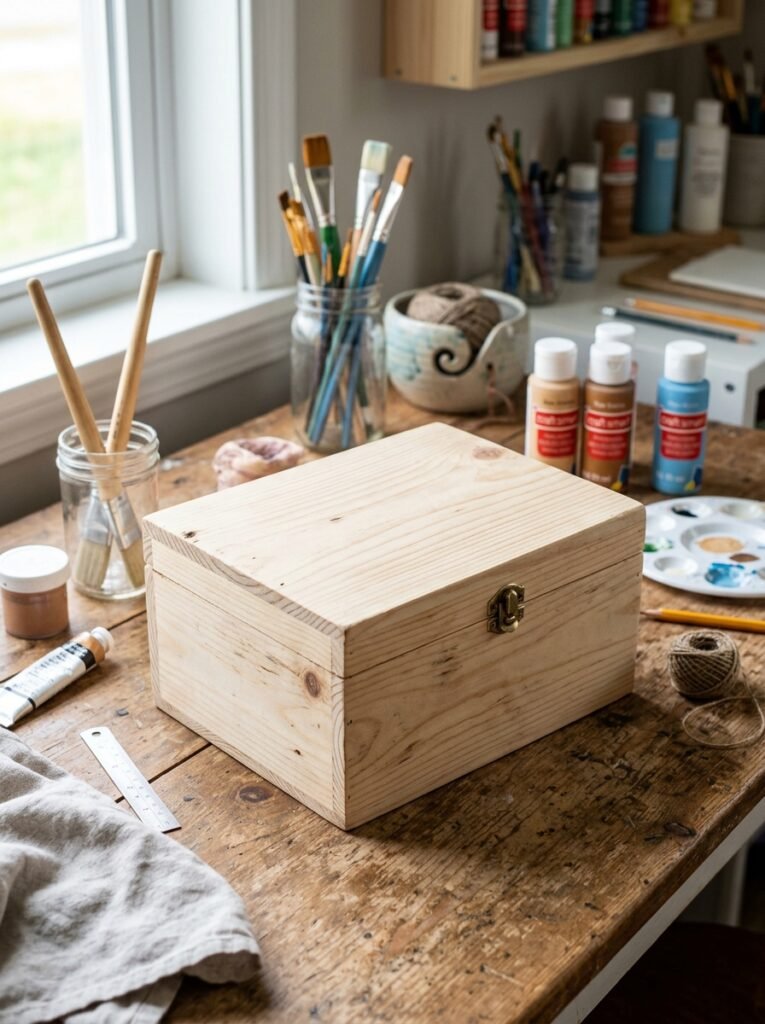
Starting with a blank wooden box gives full creative control over the final look, since nothing about it dictates color, finish, or theme ahead of time. This wooden memory box unfinished piece is sanded smooth and ready to paint or stain right out of the box, making it the natural starting point for nearly every other idea on this list.
Materials Needed:
- Wooden memory box unfinished
- Sandpaper for any final smoothing
- Paint or stain of choice
- Paintbrush
How to Make It:
- Wipe the box down to remove any dust before starting.
- Lightly sand any rough spots if needed for a smoother finish.
- Apply the first coat of paint or stain and let it dry fully.
- Add a second coat if the color needs more depth or coverage.
- Seal the finished box with a clear topcoat once fully dry.

Wooden Memory Box Unfinished
Blank wooden box ready for painting into any custom memory box design
Check Price on Amazon2. Organize Keepsakes with Compartments
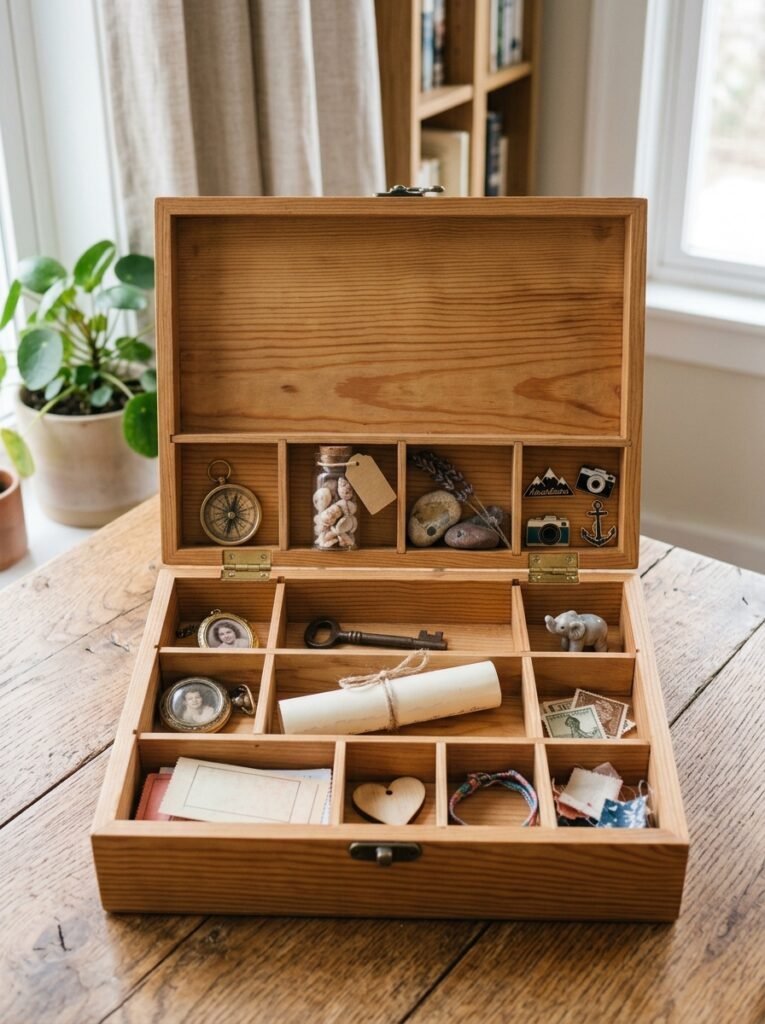
A box divided into compartments keeps a jumble of small items, ticket stubs, jewelry, tiny photos, from turning into one messy pile the moment the lid closes. This memory box with compartments already has the internal dividers built in, saving the extra step of adding your own separators for smaller keepsakes.
Materials Needed:
- Memory box with compartments
- Small keepsake items to store
- Soft cloth or tissue paper for padding
How to Make It:
- Sort keepsakes by type or size before placing them in the box.
- Line delicate compartments with tissue paper for extra padding.
- Fill each compartment with its designated category of items.
- Leave a little breathing room rather than packing compartments too tightly.
- Label the outside or inside lid if the categories aren’t obvious at a glance.

Memory Box with Compartments
Divided box for keeping small keepsakes sorted and organized
Check Price on Amazon3. Display Items in a Shadow Box
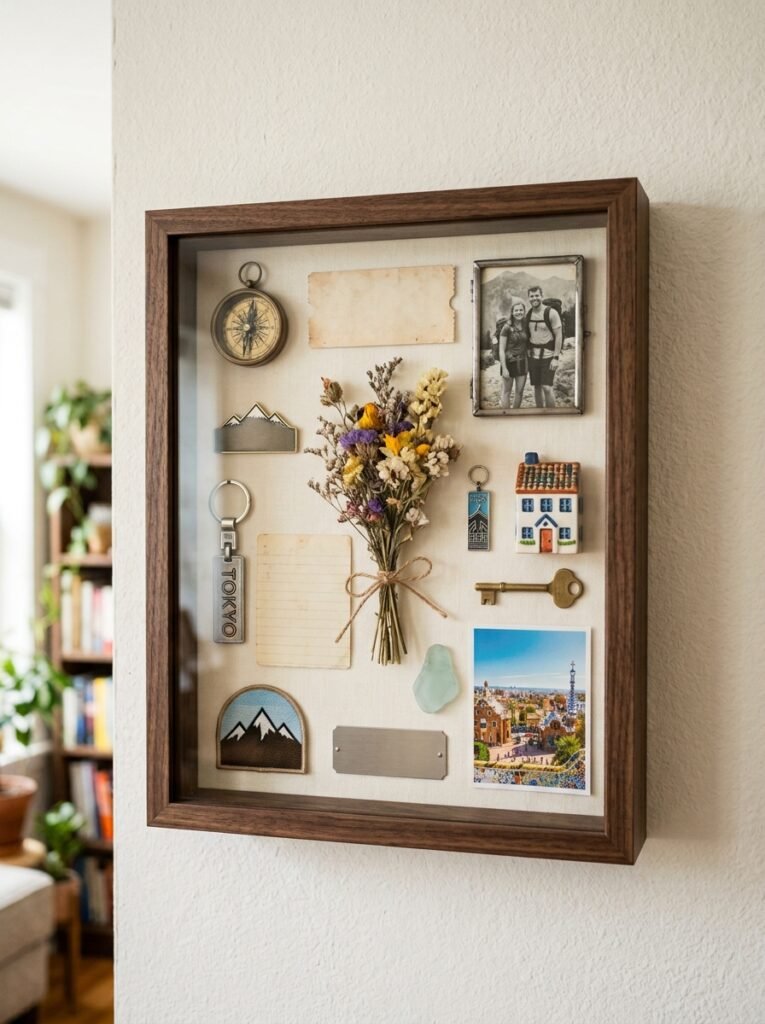
Some keepsakes deserve to be seen rather than tucked away in a closed box, and a shadow box solves that by putting them behind glass where they stay protected but visible. This shadow box display case works well for flatter items like ribbons, medals, or small framed photos that lay flat against the backing.
Materials Needed:
- Shadow box display case
- Keepsake items to display
- Small pins or adhesive mounts
- Backing fabric if desired
How to Make It:
- Plan the layout of items before attaching anything permanently.
- Add backing fabric to the display area if a colored background is wanted.
- Secure each item using small pins or adhesive mounts appropriate for its weight.
- Step back periodically to check the arrangement looks balanced.
- Close and seal the shadow box once the final layout is set.

Shadow Box Display Case
Glass fronted display case for showcasing memorabilia and keepsakes
Check Price on Amazon4. Paint a Custom Design on the Lid
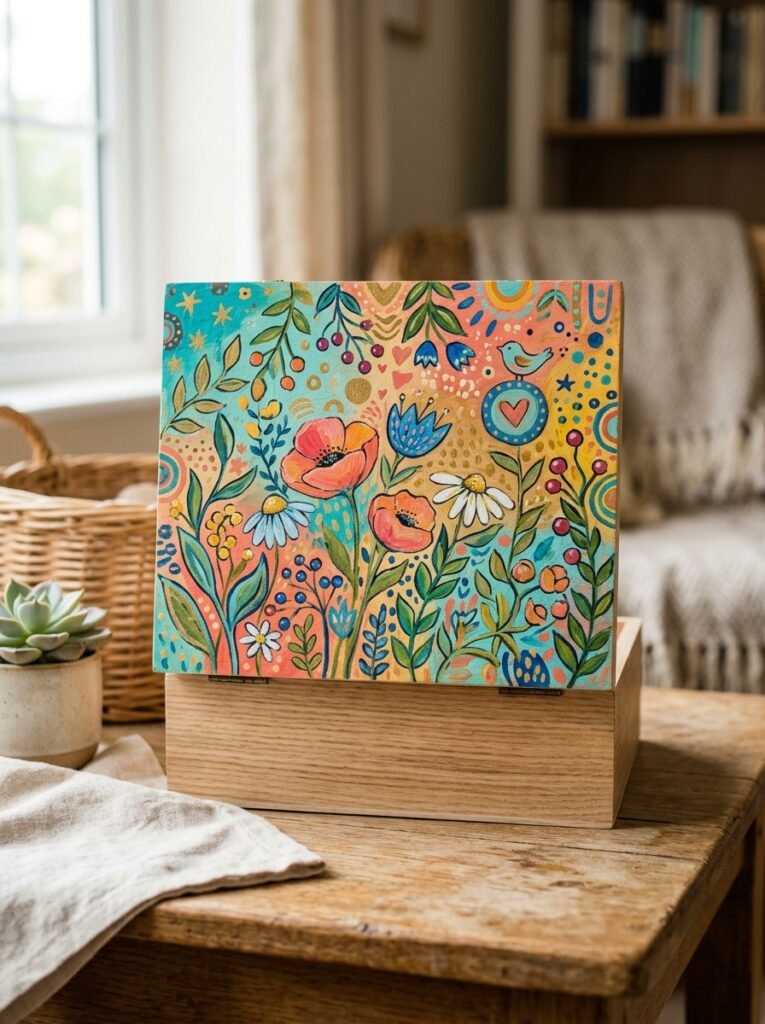
A hand painted design on the lid turns a plain box into something that immediately signals what’s inside without needing to open it first, whether that’s a name, a date, or a simple decorative pattern. This acrylic paint set craft collection covers enough colors to mix nearly any shade needed for a fully custom lid design.
Materials Needed:
- Acrylic paint set craft
- Paintbrushes in various sizes
- Pencil for sketching the design first
- Clear sealant
How to Make It:
- Lightly sketch the planned design on the lid in pencil.
- Block in the base colors first, letting each layer dry before adding detail.
- Add fine details and outlines once the base colors are fully dry.
- Let the finished design cure completely before handling.
- Apply a clear sealant coat to protect the painted surface.

Acrylic Paint Set Craft
Acrylic paint set for hand painting a custom memory box design
Check Price on Amazon5. Keep Private Keepsakes Behind a Lock
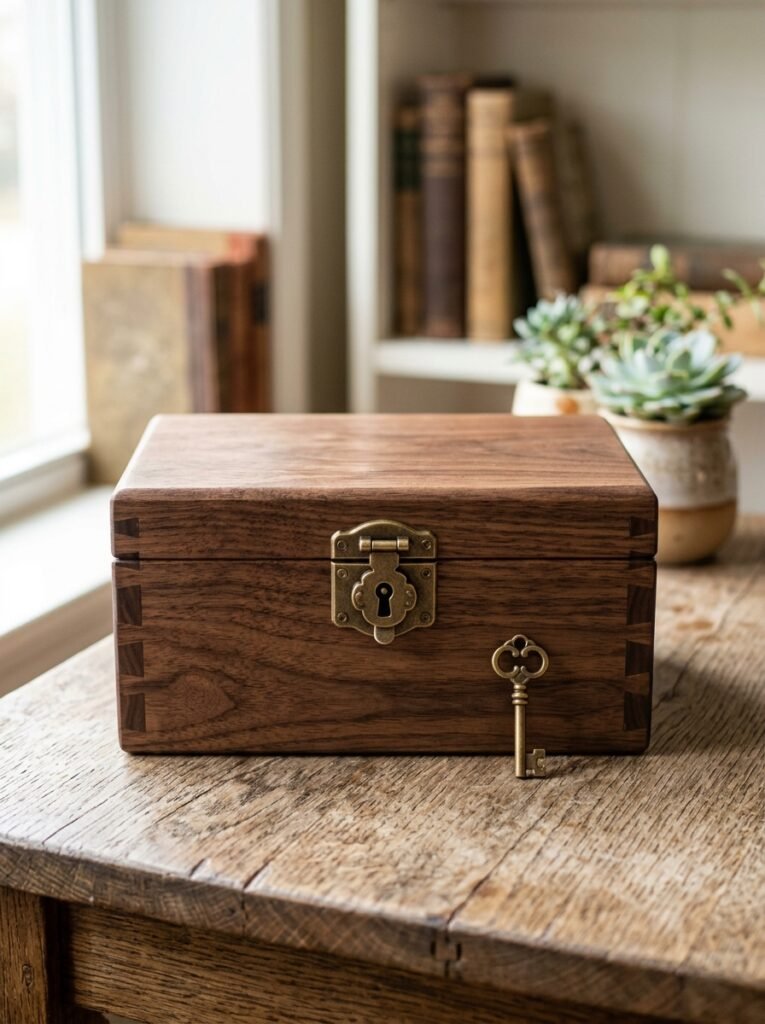
Some memories, love letters, private notes, journal pages, feel like they need a bit more protection than an open lidded box provides. This memory box lock keepsake piece includes an actual working lock and key, giving more personal or sentimental items a genuinely secure home.
Materials Needed:
- Memory box lock keepsake
- Items to store securely
- Safe spot to keep the key
How to Make It:
- Test the lock and key function before storing anything valuable inside.
- Arrange the keepsakes inside the box in whatever order feels meaningful.
- Lock the box once everything is placed as intended.
- Store the key somewhere memorable but separate from the box itself.
- Revisit and reorganize the contents occasionally as new keepsakes are added.

Memory Box Lock Keepsake
Locking keepsake box for storing private and sentimental items securely
Check Price on Amazon6. Build a Senior Year Memory Box
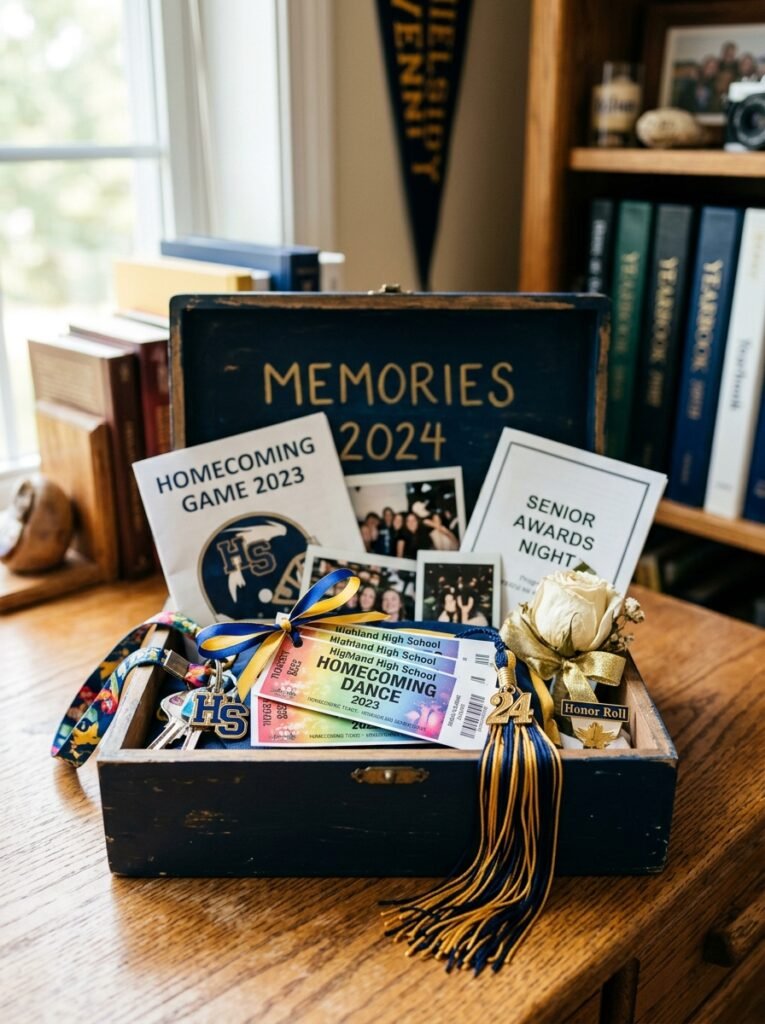
Senior year comes with a genuine flood of keepsakes, homecoming tickets, a graduation tassel, notes passed between friends, and a dedicated box keeps all of it from getting mixed in with everyday clutter during an already busy year. Labeling the box with the graduation year makes it easy to identify on a shelf years later without opening it to check.
7. Create a Freshman Year Time Capsule
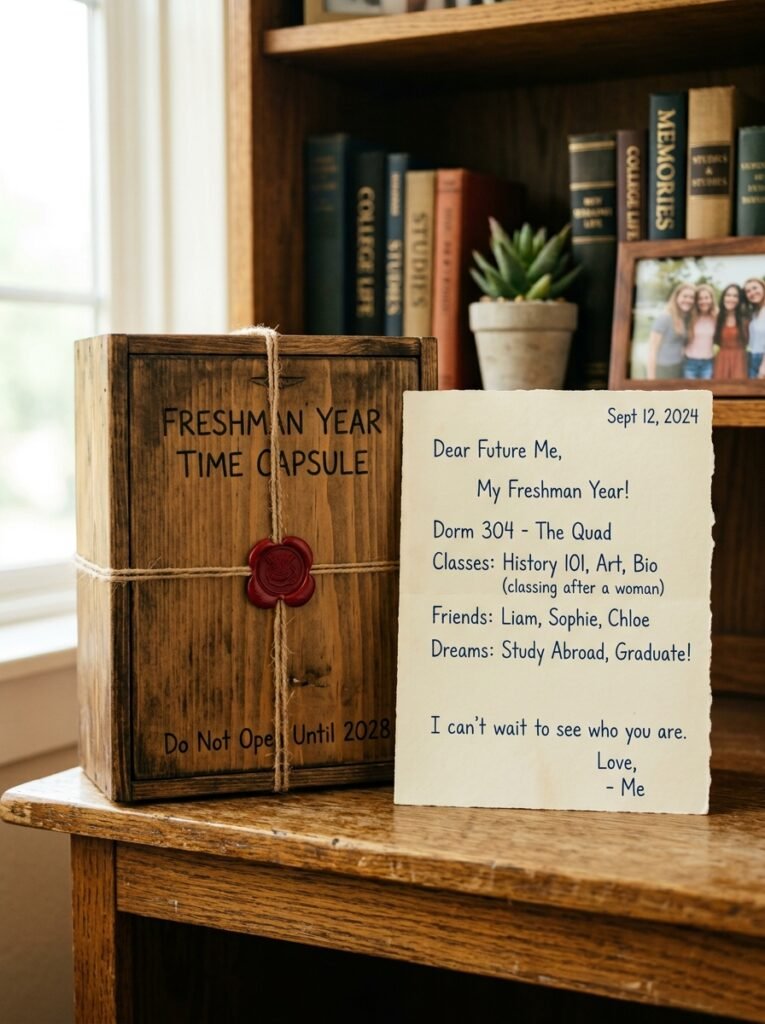
A freshman year box works well as a genuine time capsule, meant to be sealed and reopened at graduation rather than added to gradually. Including a written letter to your future senior self alongside the physical keepsakes adds a layer that a box of objects alone doesn’t quite capture.
8. Design a Box for a Boyfriend or Partner
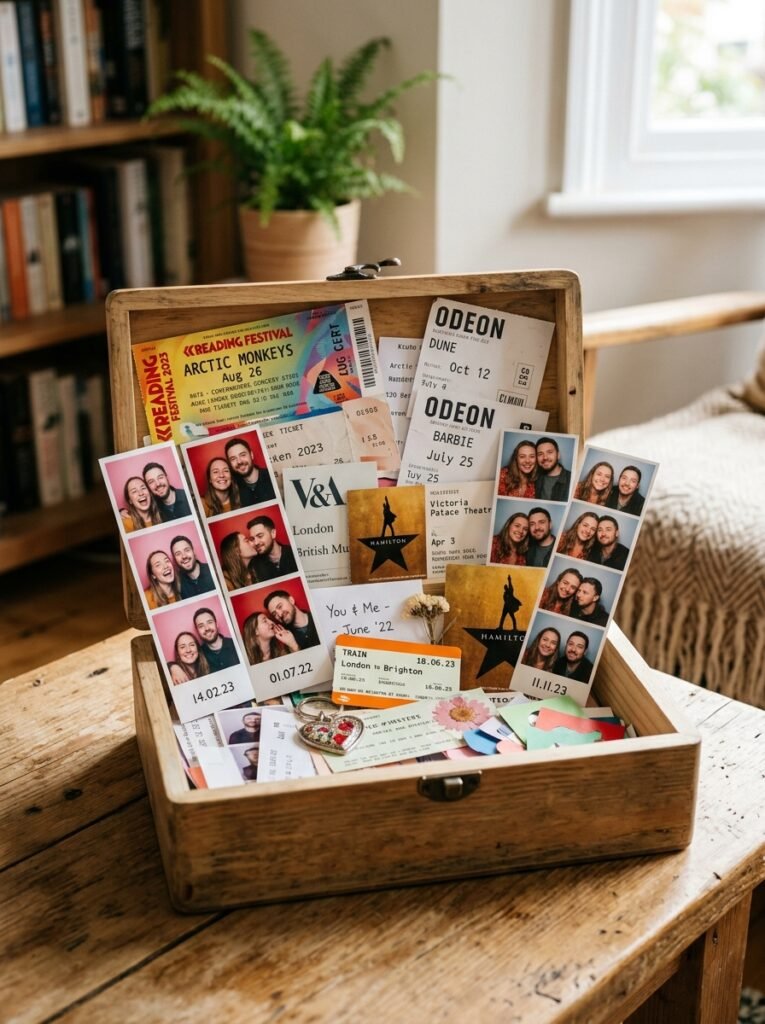
A memory box built around a relationship, movie ticket stubs, photo booth strips, a pressed flower from a first date, becomes a genuinely meaningful gift precisely because it’s assembled from real shared moments rather than store bought items. This idea pairs well with the personalized thinking used in scrapbook ideas for other relationship keepsake projects.
9. Fill a Box with Wedding Day Keepsakes
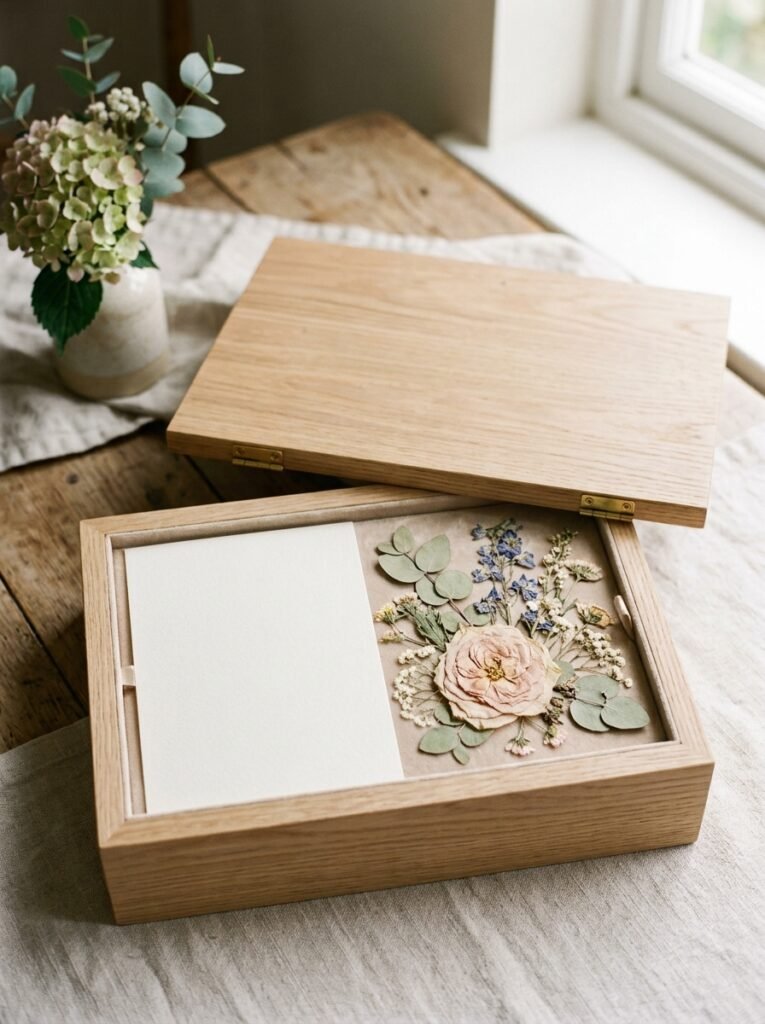
A wedding memory box holds the small items that don’t fit anywhere else after the big day, an invitation, a pressed bouquet flower, the guest book. Organizing these chronologically from the proposal through the reception gives the box a sense of narrative rather than a random collection.
10. Preserve Newborn Baby Milestones
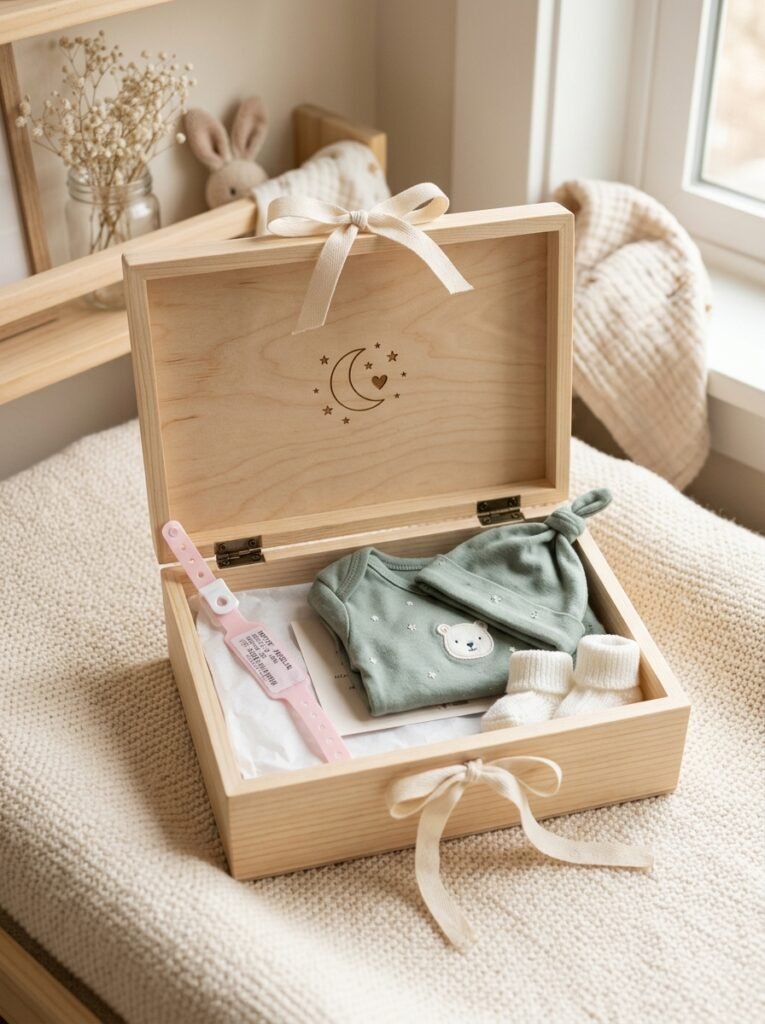
A newborn memory box typically holds the hospital bracelet, a lock of hair from the first haircut, and the going home outfit, small items that carry outsized sentimental weight. Keeping this box somewhere climate controlled matters more here than with other memory boxes, since fabric and paper items can degrade faster in humid or sunny storage spots.
11. Style a Pink Aesthetic Memory Box
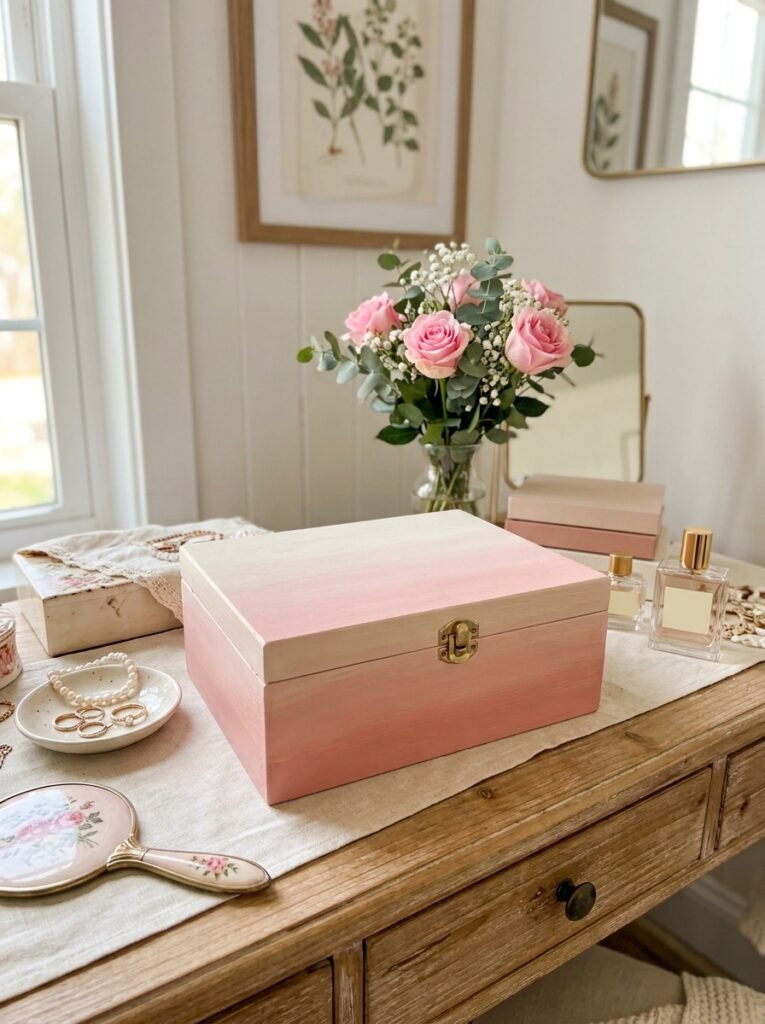
A soft pink color palette gives a memory box a cohesive, aesthetic look that photographs well and fits naturally into a styled bedroom or vanity display. This works especially well combined with the painted lid technique covered earlier, using varying pink tones to create an ombre or gradient effect.
12. Organize an 8th Grade Milestone Box
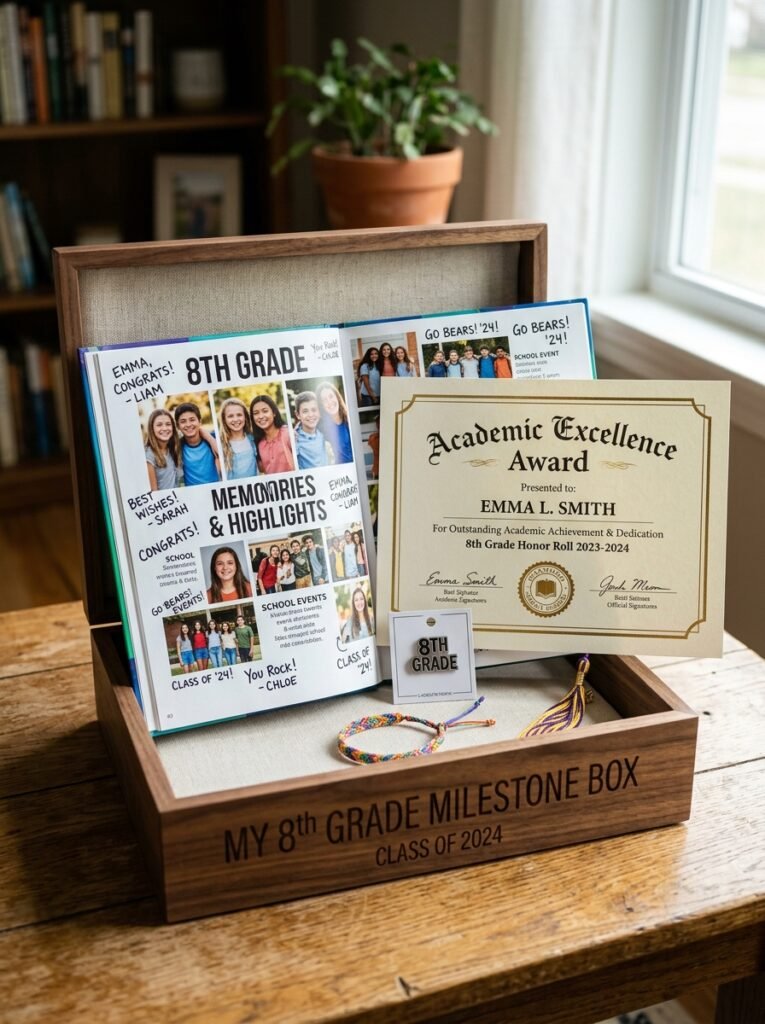
Middle school milestones, a first school dance photo, a yearbook signature page, or an award certificate, deserve their own dedicated box before the transition into high school brings a new wave of keepsakes. This smaller milestone often gets overlooked compared to senior year, making a dedicated box even more valuable as a record of that specific chapter.
13. Build a Concert Ticket Keepsake Box
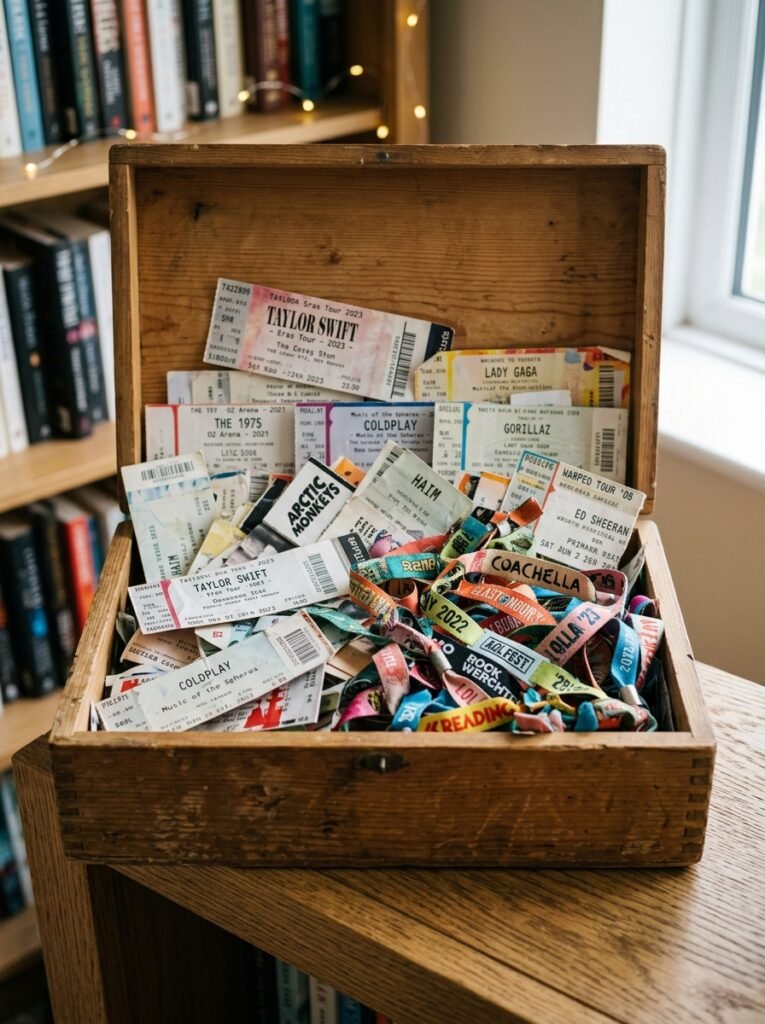
A box dedicated specifically to concert stubs, wristbands, and setlists creates a running record of live music memories that grows more meaningful the longer it’s kept. Arranging tickets chronologically inside lets you flip through years of shows in the order they actually happened.
14. Create a Cheer or Sports Memory Box
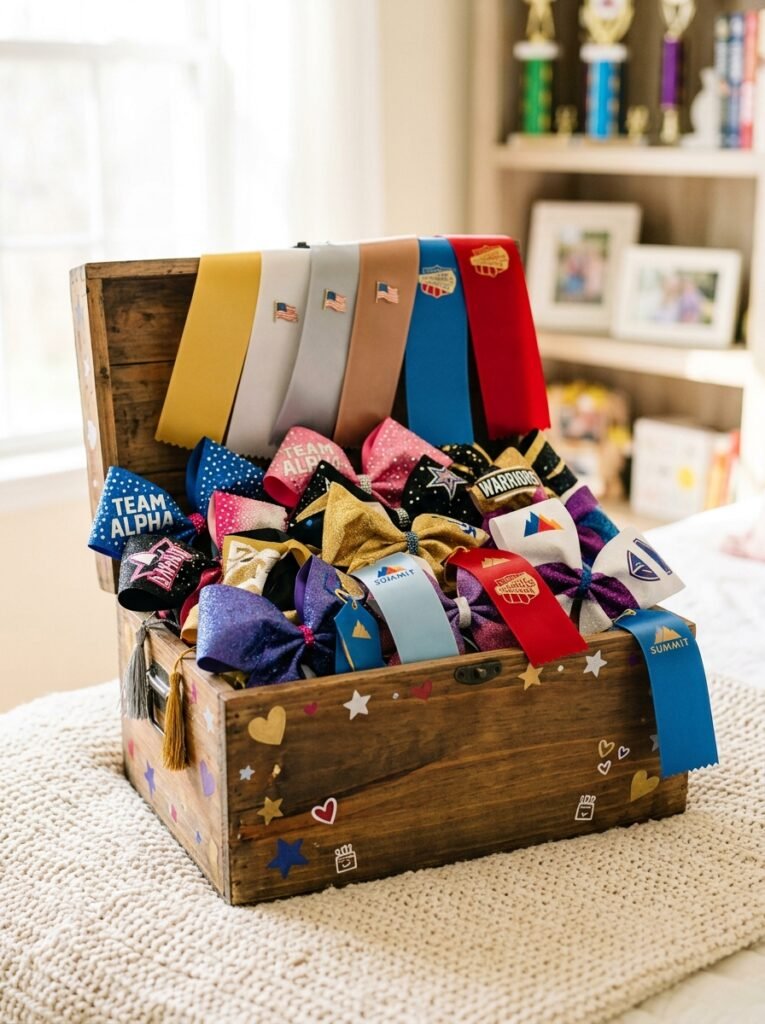
Cheer bows, team pins, and competition ribbons pile up quickly over a sports season, and a dedicated box keeps that collection from scattering across a bedroom. This category specific approach works well alongside the display thinking used in hair bow storage ideas for anyone with an especially large ribbon and bow collection to manage.
15. Design a Dog Memory Keepsake Box
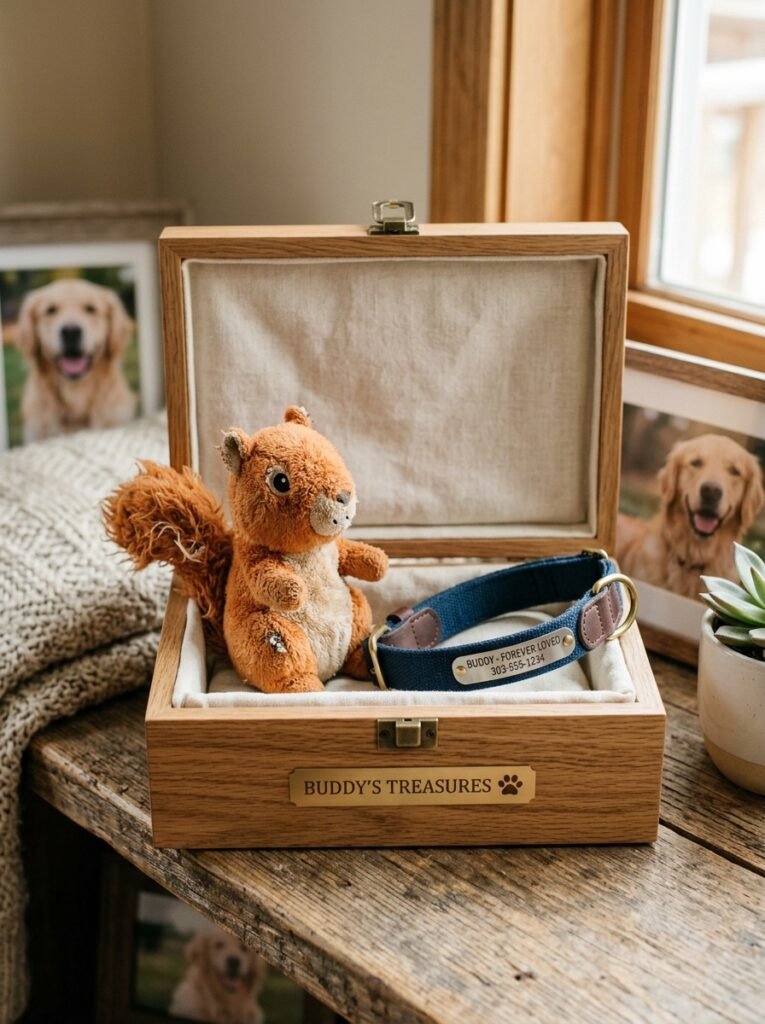
A memory box for a beloved dog, a collar, a favorite toy, a paw print impression, gives pet owners a genuine place to keep these items rather than letting them sit scattered around the house. Adding a small printed photo inside the lid personalizes the box further without needing any additional decoration.
Final Thoughts on Memory Box Ideas
A good memory box earns its place by actually getting used, filled gradually over time rather than assembled once and forgotten on a closet shelf. Starting with a simple painted wooden box or a compartment organizer makes the whole idea approachable, and the box itself tends to matter less over the years than the small, ordinary items it ends up holding.


Amir Ali is the founder and site administrator of HomeDecorEdge, a modern home decor and interior design platform. Since starting the site, he has combined his passion for interior design, practical styling, and color coordination with hands-on content strategy and site management. He guides authors, curates high-quality articles, and ensures readers have access to actionable, visually inspiring, and user-focused home decor advice for apartments, small rooms, and family homes.