

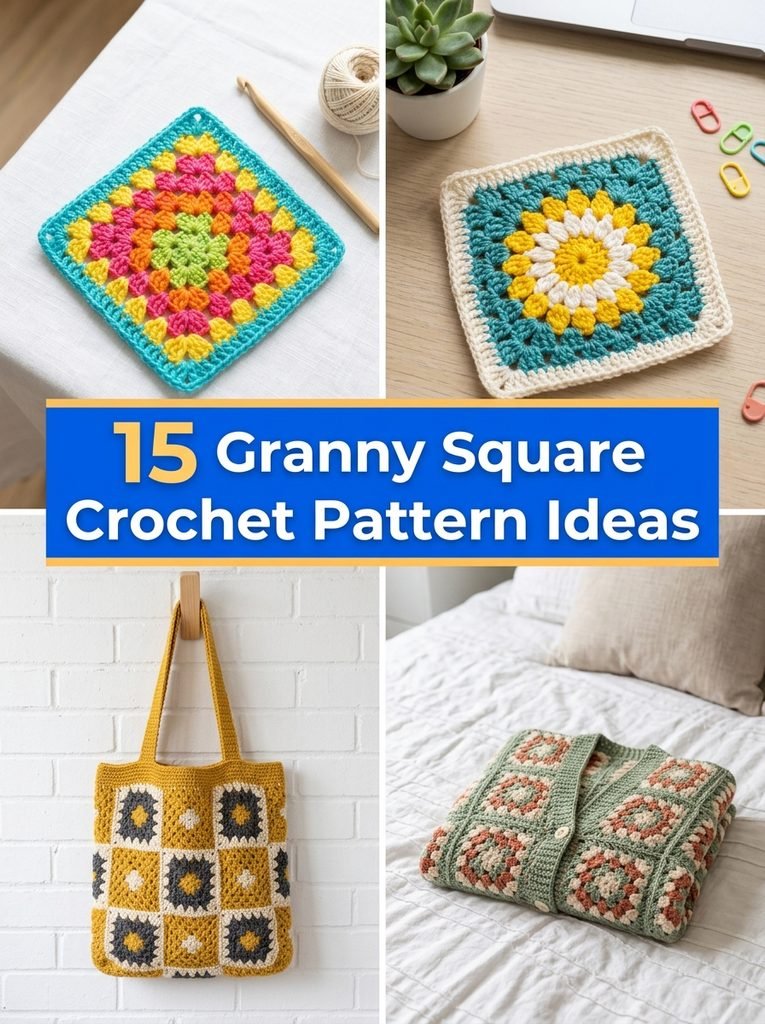
There’s a reason granny squares never go out of style. They’re small, they’re portable, and once you learn one, your hands remember it forever. I honestly made my first one on a long train ride, and by the time I got home I had six. The best part is how flexible they are. Change the colors and it looks brand new. Join a few together and suddenly you have a bag, a blanket or even a cardigan. Below you’ll find a free classic pattern, a simple guide to reading diagrams, and 13 more ideas to try, each with a tip that makes the process easier.
1. Classic Granny Square With a Free Pattern
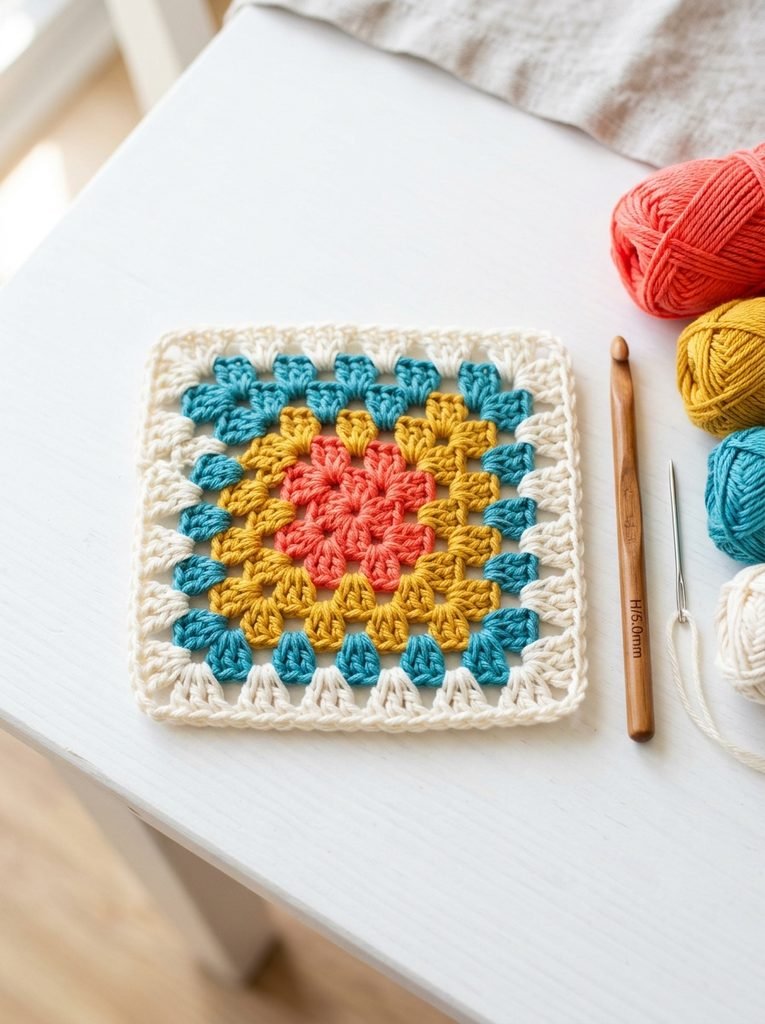
This is the free granny square crochet pattern that every other idea builds on. Once you’ve made it two or three times, you won’t need to look at the steps again.
Materials Needed: Worsted weight cotton or acrylic yarn in 2 to 4 colors, a 5 mm crochet hook, scissors, and a tapestry needle for weaving in ends.
Stitches Used (US terms): Chain (ch), slip stitch (sl st), double crochet (dc).
How to Make It: Round 1: Chain 4 and slip stitch into the first chain to make a ring. Chain 3 (this counts as your first dc), then work 2 dc into the ring. Chain 2. Now work 3 dc into the ring and chain 2, three more times. You’ll have 4 groups of 3 dc with a chain 2 space between each one. Slip stitch into the top of the first chain 3 to join.
Round 2: Slip stitch across to the next chain 2 space. This is your corner. Chain 3, then work 2 dc, chain 2 and 3 dc all into that same corner space. Chain 1. In the next corner space, work 3 dc, chain 2, 3 dc, then chain 1. Repeat in the last two corners and join with a slip stitch to the top of the chain 3.
Overwhelmed by Clutter?
15 minutes a day for 30 days, and your home feels calm again.
Round 3: Slip stitch to the next corner space. Chain 3 and work 2 dc, chain 2, 3 dc into that corner. Chain 1, then work 3 dc into the next chain 1 space on the side. Chain 1 and work your next corner. Keep going around: every corner gets 3 dc, chain 2, 3 dc, and every side space gets 3 dc. Join to finish the round.
Keep adding rounds the same way. Each new round adds one more group of 3 dc along each side. To change colors, fasten off at the end of a round and join the new color in any corner space. A tip I picked up: start each new color in a different corner. It spreads out the joins so you can’t spot where the rounds begin.
2. How to Read a Granny Square Diagram
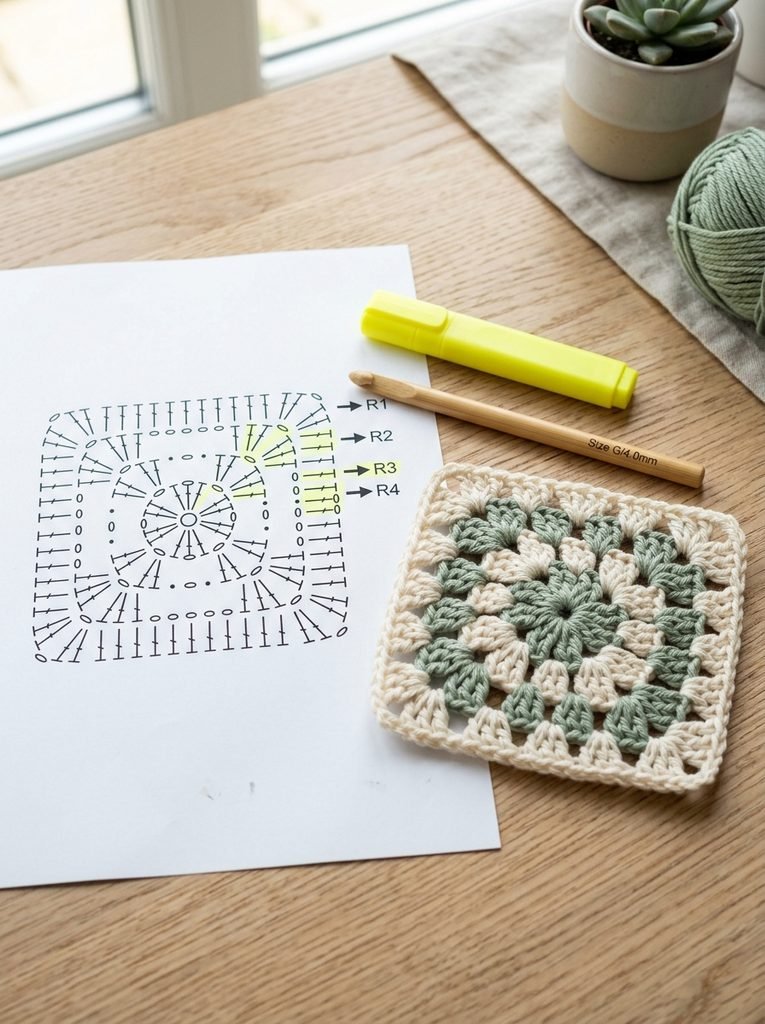
A lot of the prettiest granny square patterns online are shared as diagrams instead of written steps. They look confusing at first, but they’re honestly easier than words once you know the symbols.
Materials Needed: A printed diagram, a highlighter or pencil, your yarn and hook.
How to Make It: Learn the four main symbols first. A small oval is a chain. A small dot or filled oval is a slip stitch. A tall T shape with one short line across the middle is a double crochet. A plain T without the line is a half double crochet. Diagrams for squares start in the center and grow outward in rounds, and you read each round counterclockwise if you crochet right handed. Most diagrams also color each round differently so you can follow along. Work one round at a time and highlight it on the paper as you finish. In my experience, comparing your square to the diagram after every round is the fastest way to catch a missed cluster before it throws off the whole square.
Inside the 30-Day Declutter Challenge
- Daily 15 minute tasks
- Room checklists
- Printable labels
3. Solid Granny Square
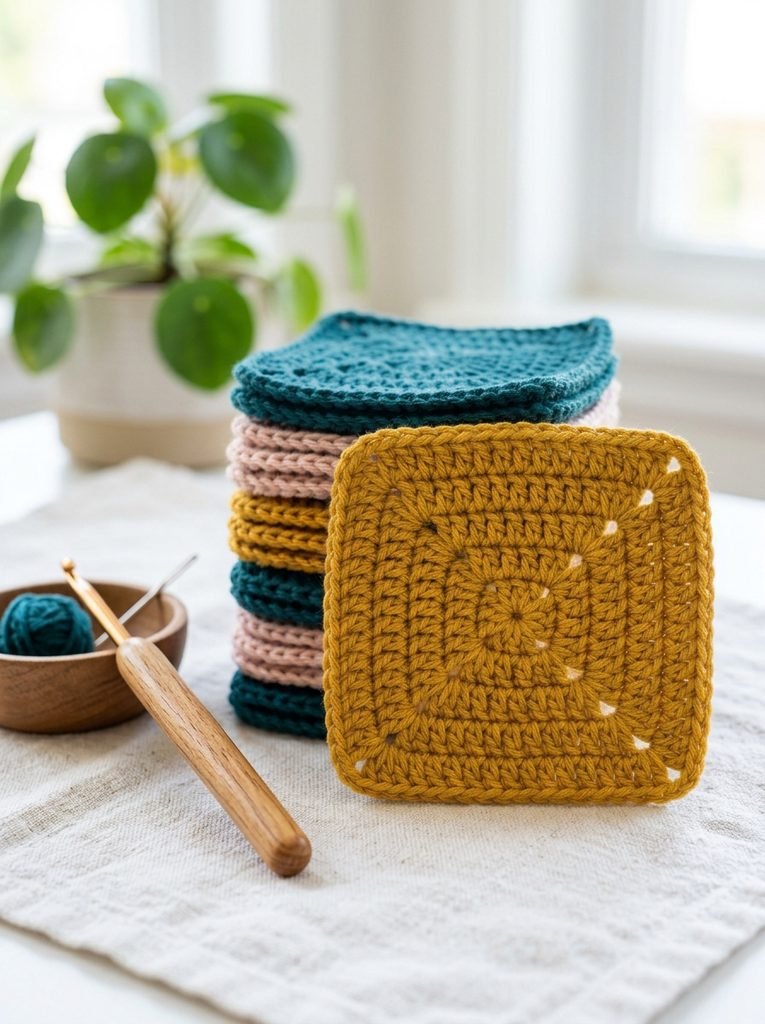
A solid granny square has no holes, so it feels warmer and looks more modern. It’s perfect for pillows and bags where you don’t want things poking through.
Materials Needed: Worsted weight yarn in 1 to 3 colors, a 5 mm hook, scissors and a tapestry needle.
How to Make It: Round 1 is the same as the classic square: chain 4, join into a ring, then chain 3, 2 dc, chain 2, and (3 dc, chain 2) three more times. Join. For every round after that, chain 3, then work 1 dc into every single stitch along the side. In each corner space, work 2 dc, chain 2, 2 dc. Join at the end of every round. That’s it. A tip I picked up: count your stitches along one side after each round. Every round should add 4 stitches per side, and checking early keeps your square perfectly square.
4. Flower Granny Square
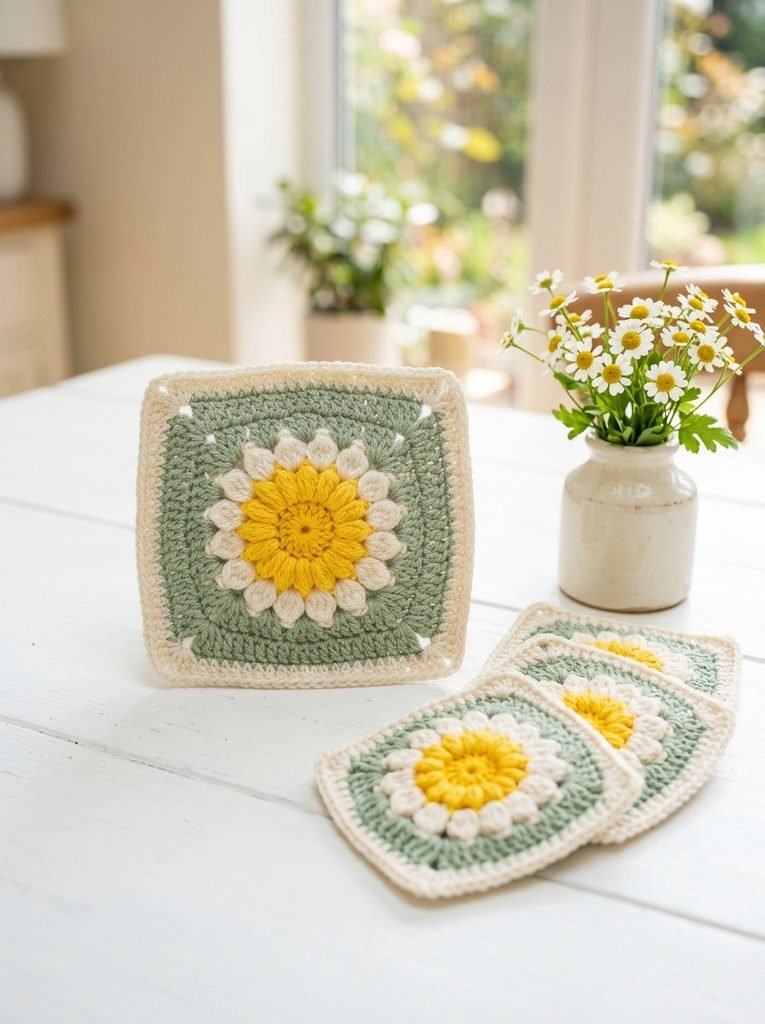
Flower granny squares are probably the most popular squares on Pinterest, and for good reason. They look like a little garden. The center starts as a small flower with puffy petals, then you square it off with a round of tall stitches in each corner. I like a yellow center, white petals and a green frame for that classic daisy look. Honestly, these make the sweetest blankets and pillow covers. A tip I picked up: block each flower square before joining. The petals sit flatter and the squares line up much better.
5. Heart Granny Square
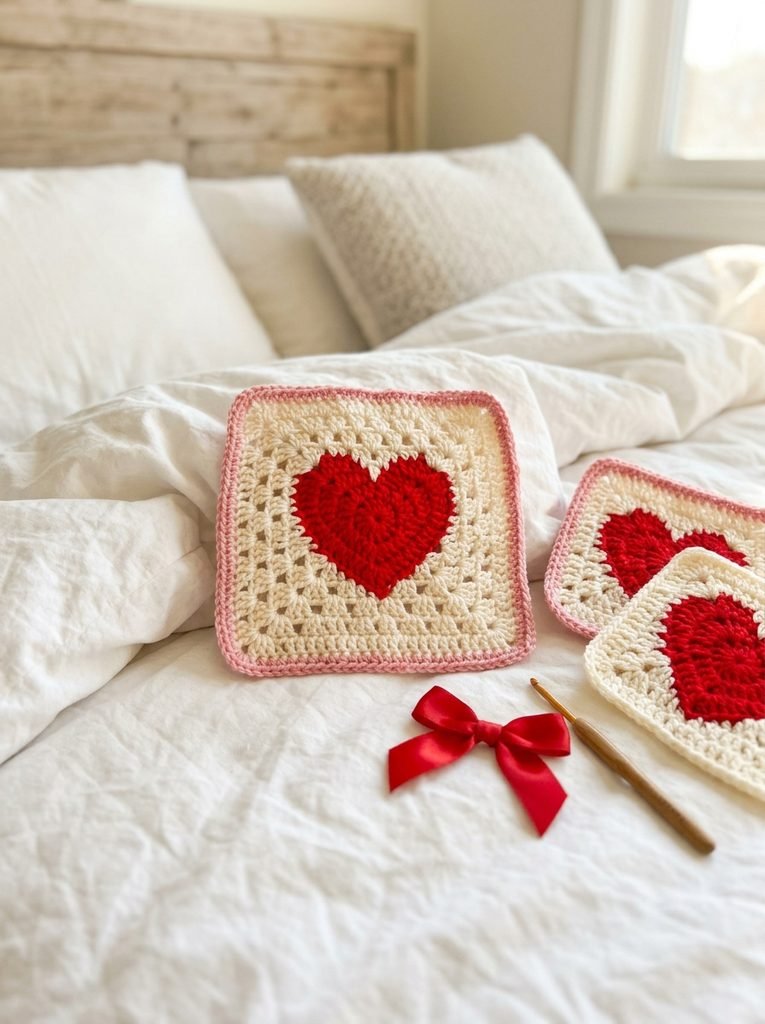
A heart in the middle of a granny square is so sweet, and it’s perfect for Valentine’s Day projects or a gift for someone you love. The heart is worked first as a small motif, then the rounds build around it into a square. Red, pink and cream are classic, but I love a mustard heart on sage for something different. In my experience, heart squares look best joined into a small pillow or a baby blanket where the motif can really shine.
6. Star Granny Square
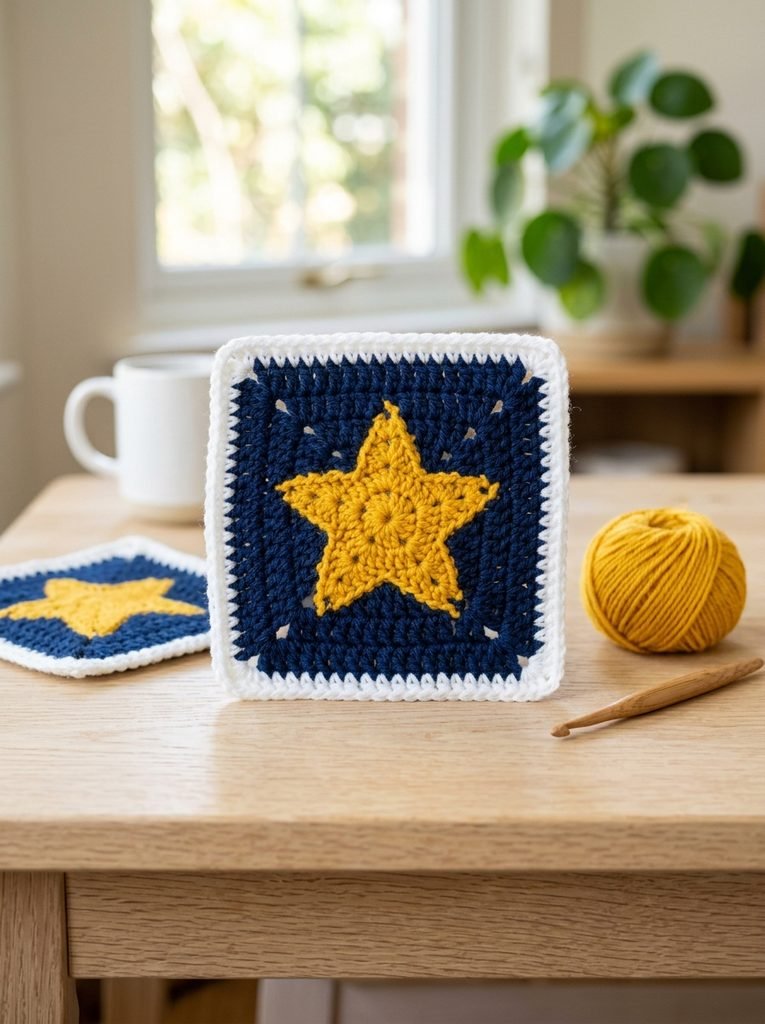
A star square has a bold, graphic look that feels a bit more modern. The star sits in the center, and the rounds around it turn the shape into a square. A golden star on navy is my favourite, but white on red works beautifully for holiday projects too. Honestly, a few star squares scattered through a blanket of plain squares look amazing. A tip I picked up: use a slightly smaller hook for the star so the points stay sharp.
7. Mosaic Granny Square
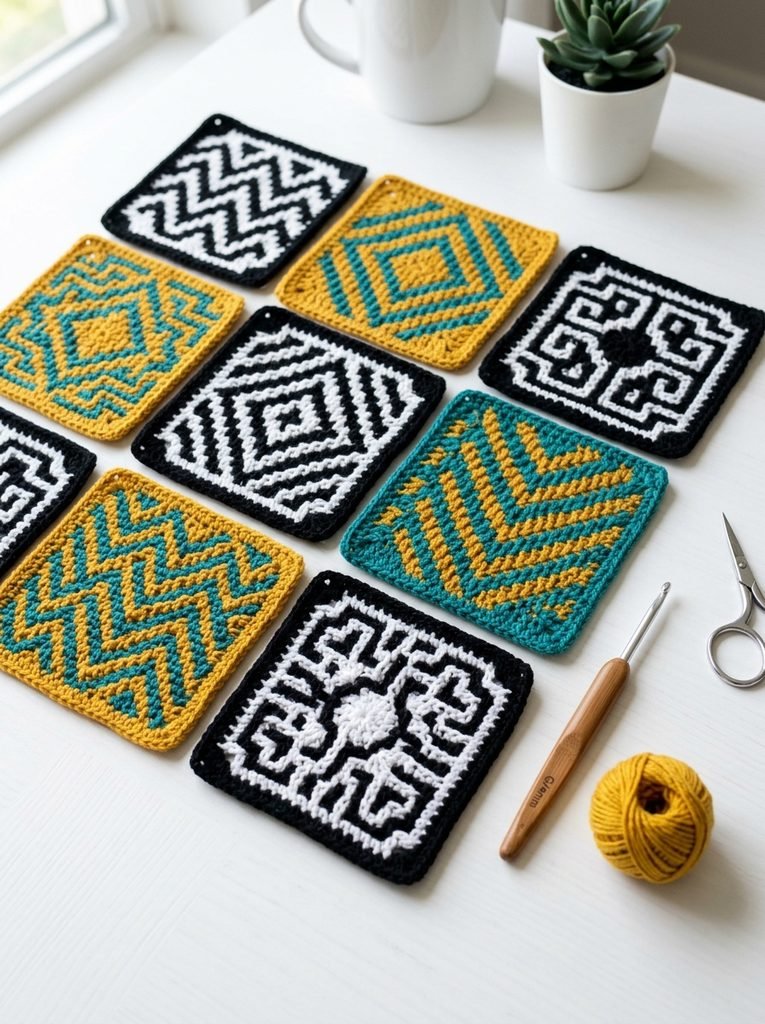
Mosaic squares use a clever technique where you drop stitches down into earlier rounds to create bold geometric patterns. They usually use just two colors, and the result looks like tile work. Black and white is striking, but mustard and teal feels warm and modern. In my experience, mosaic squares take a little more focus, so follow the pattern round by round. The payoff is a square that looks way more complicated than it really is.
8. Modern Two Color Granny Square
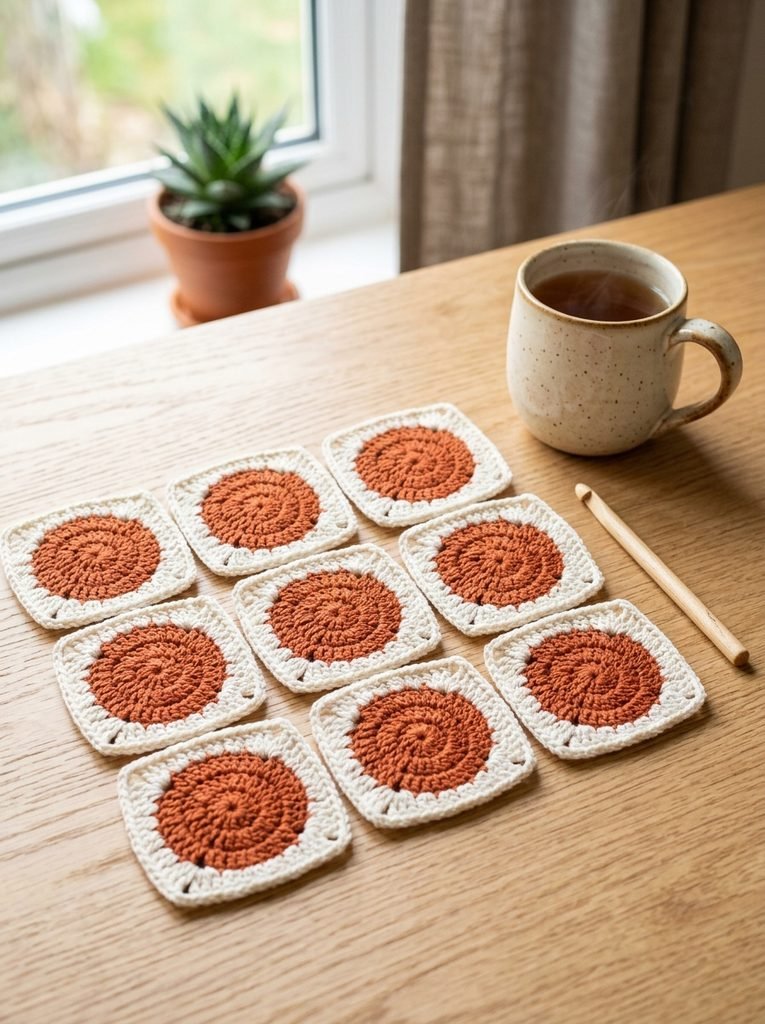
If the rainbow granny square feels too busy for you, try just two colors. It instantly looks clean and modern. I like a deep color in the center and a soft neutral for the outer rounds, like terracotta and cream or forest green and oatmeal. Honestly, it’s my favourite way to make a granny square blanket fit into a modern living room. A tip I picked up: lay the squares out in a checkerboard by alternating which color is in the center.
9. Christmas Granny Square
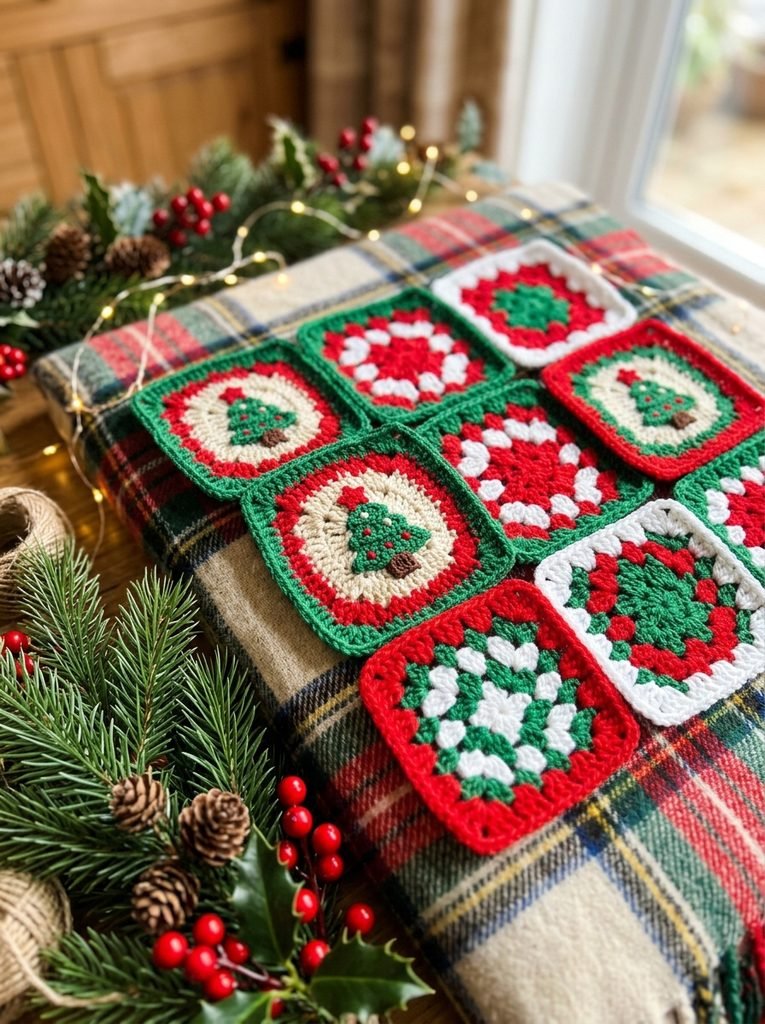
Christmas granny squares are the perfect cozy project for the holidays. Classic red, green and white rounds look festive on their own, or you can add a small tree or star motif in the center. Join them into a holiday pillow, a table runner or a stocking. In my experience, a few squares made each evening in November turns into a lovely finished project by December. They also make great little coasters for hot cocoa.
Start Your 30-Day Home Reset
Stop waiting for a "perfect" free weekend. Grab the 30-day plan and start feeling lighter in your own home by tomorrow.
View the 30-Day Plan Printable PDF · Instant download10. Gothic Granny Square
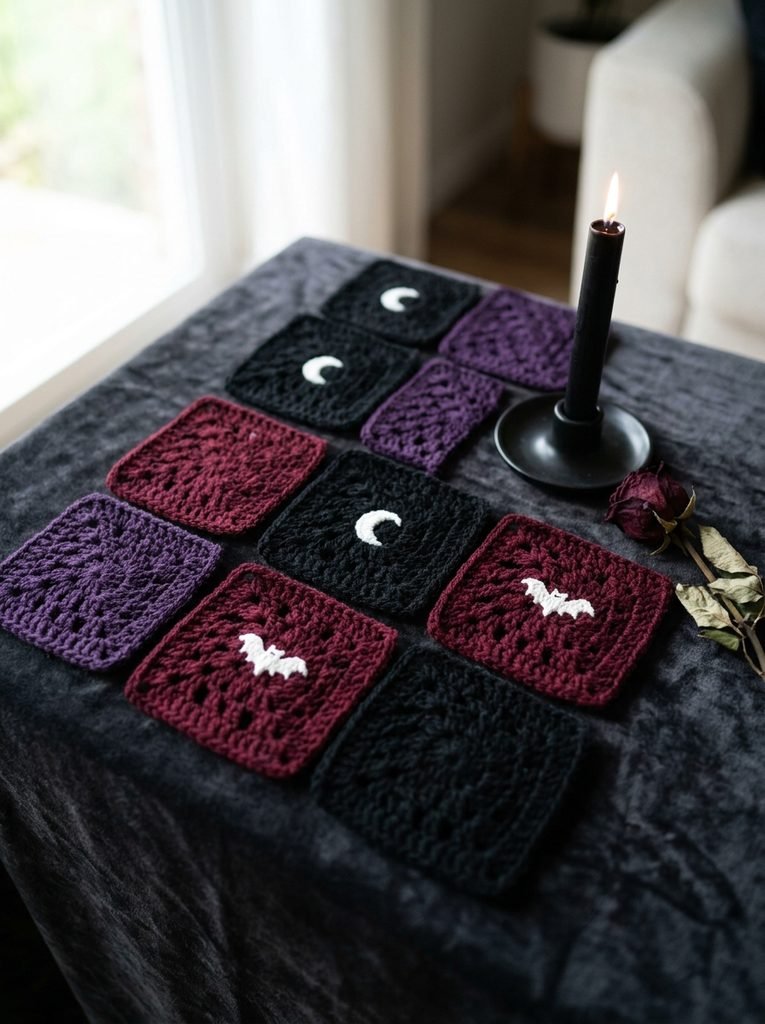
For a darker look, gothic granny squares in black, burgundy and deep purple are really striking. Add a small moon, bat or spiderweb motif in the center for extra character. They look amazing as a bag, a cushion or a cozy throw. A tip I picked up: black yarn is hard to see while you work, so crochet in good light and use a stitch marker at the start of each round. It saves you a lot of squinting.
11. Bear Face Granny Square
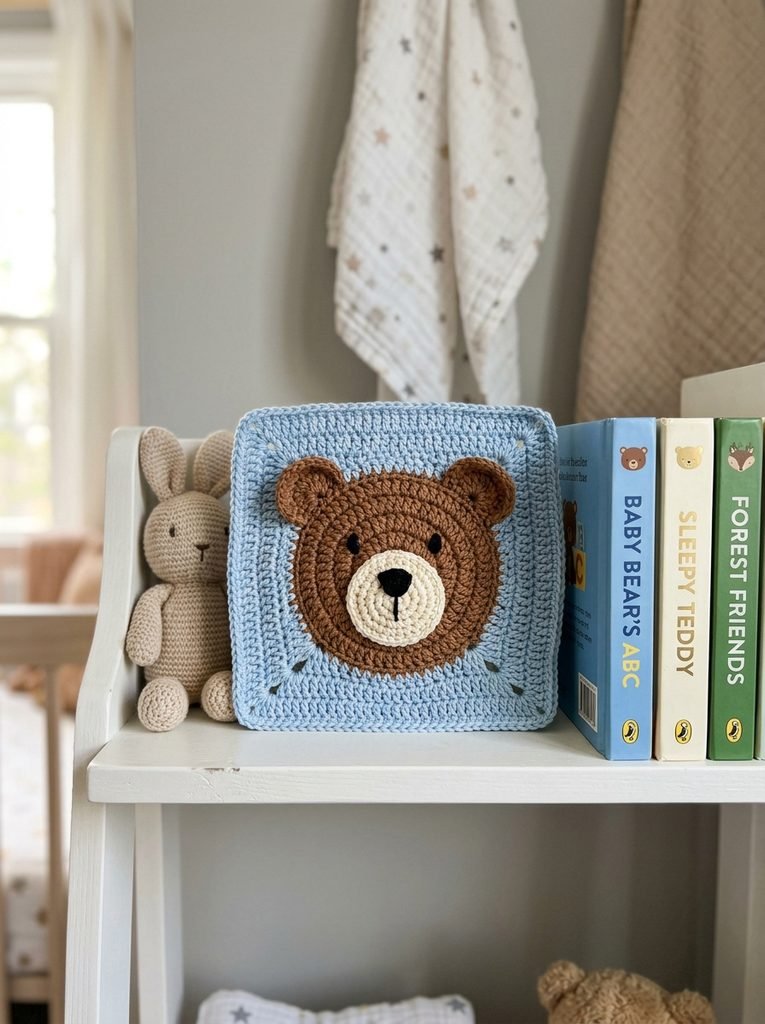
A bear face granny square is adorable for baby blankets and nursery decor. The bear’s face is worked in the center with two little ears, then framed with rounds to make a square. Embroider the eyes and nose instead of using plastic safety eyes if it’s for a baby. Honestly, these get so many happy reactions. I like pairing bear squares with plain pastel squares so the bears stand out.
12. Chicken Granny Square
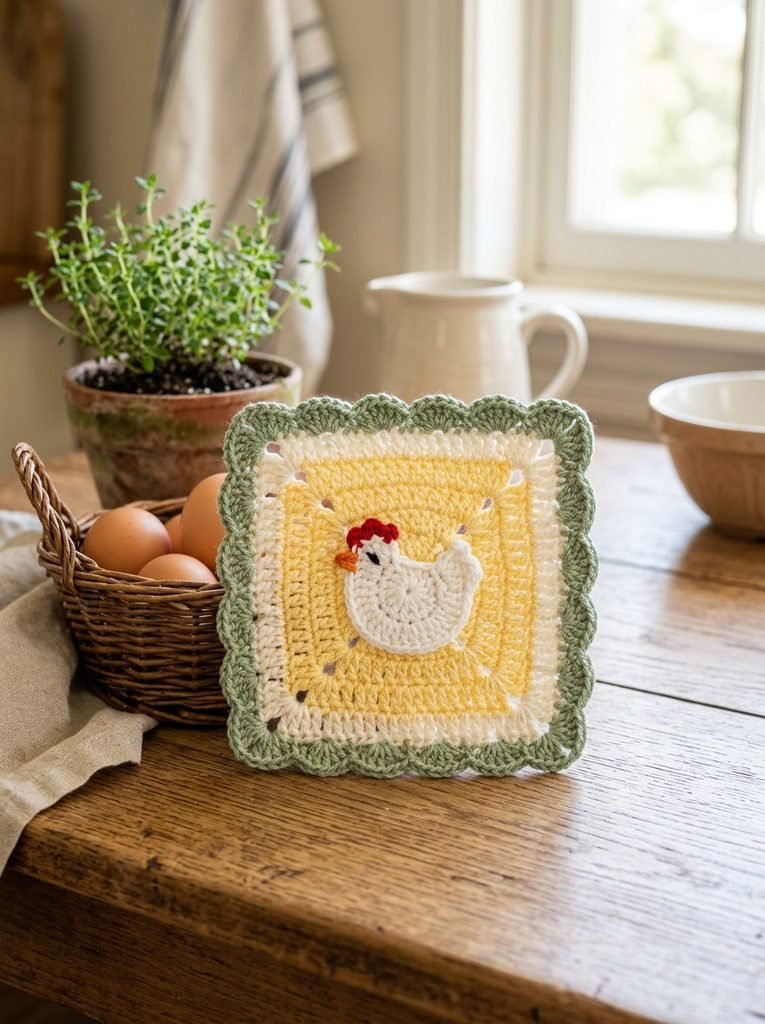
Chicken granny squares are having a moment, and they’re so charming in a farmhouse kitchen. The little chicken sits in the center with a red comb and an orange beak. Join a few into a pot holder, a tea towel border or a fun tote bag. In my experience, a cheerful yellow or sage frame makes the white chicken really pop. They’re a fun gift for anyone who keeps backyard hens.
13. Large Granny Square Blanket
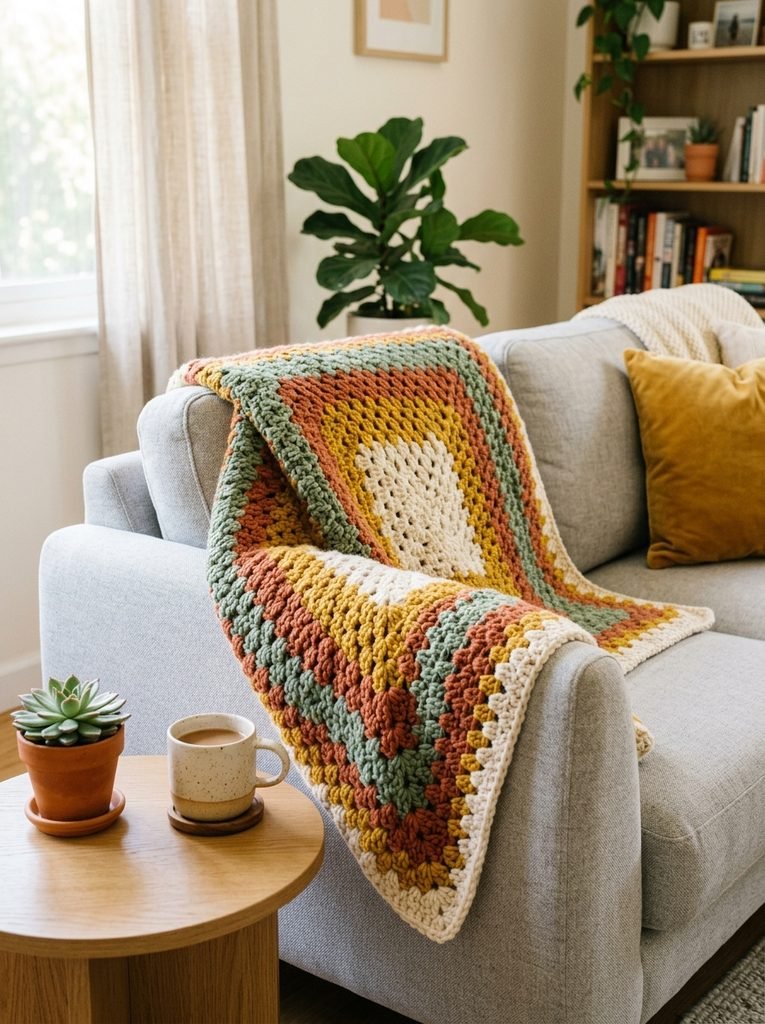
Here’s a secret: you don’t have to join dozens of squares to make a blanket. Just keep working the classic pattern from idea 1, round after round, until it’s big enough. One giant granny square means no joining at all. Honestly, it’s the most relaxing blanket you’ll ever make because there’s nothing to count. A tip I picked up: change colors every few rounds so it never gets boring, and the color stripes make it look really thoughtful.
14. Granny Square Bag
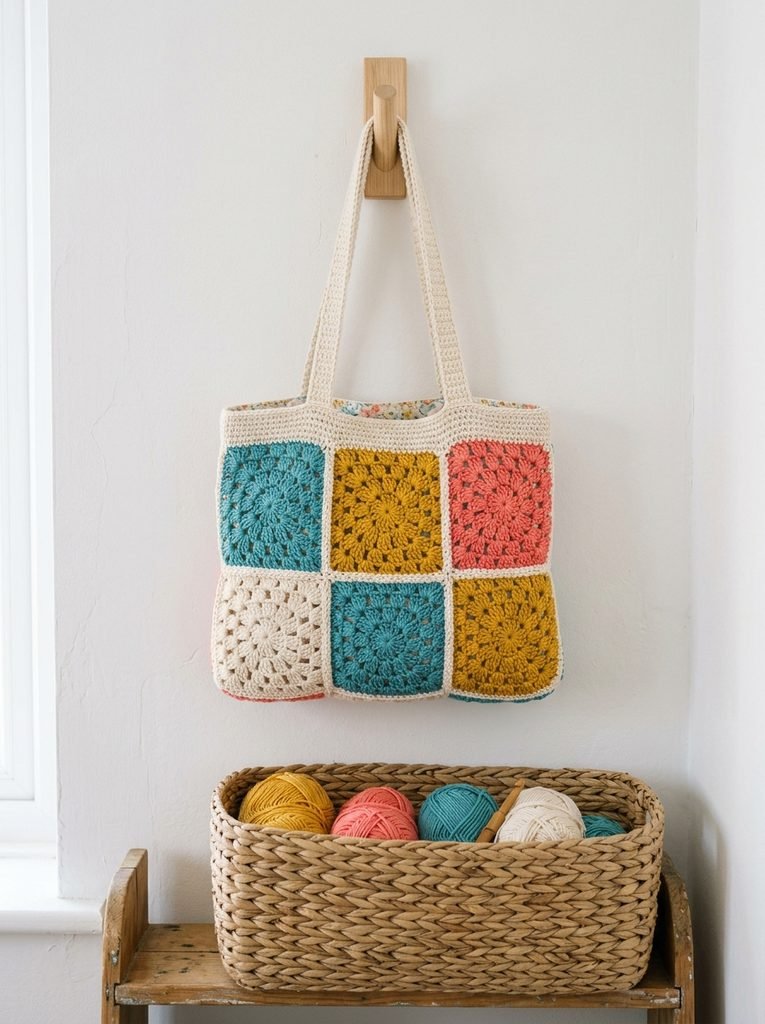
A granny square bag is one of the easiest ways to turn squares into something you’ll use every day. Six squares make a simple tote: two for the front, two for the back and two for the sides and bottom. Add crochet handles or ready made leather straps. I’d suggest using cotton yarn because it holds its shape. In my experience, sewing in a simple fabric lining makes the bag much sturdier and stops small things from slipping through the holes.
15. Granny Square Cardigan and Sweater
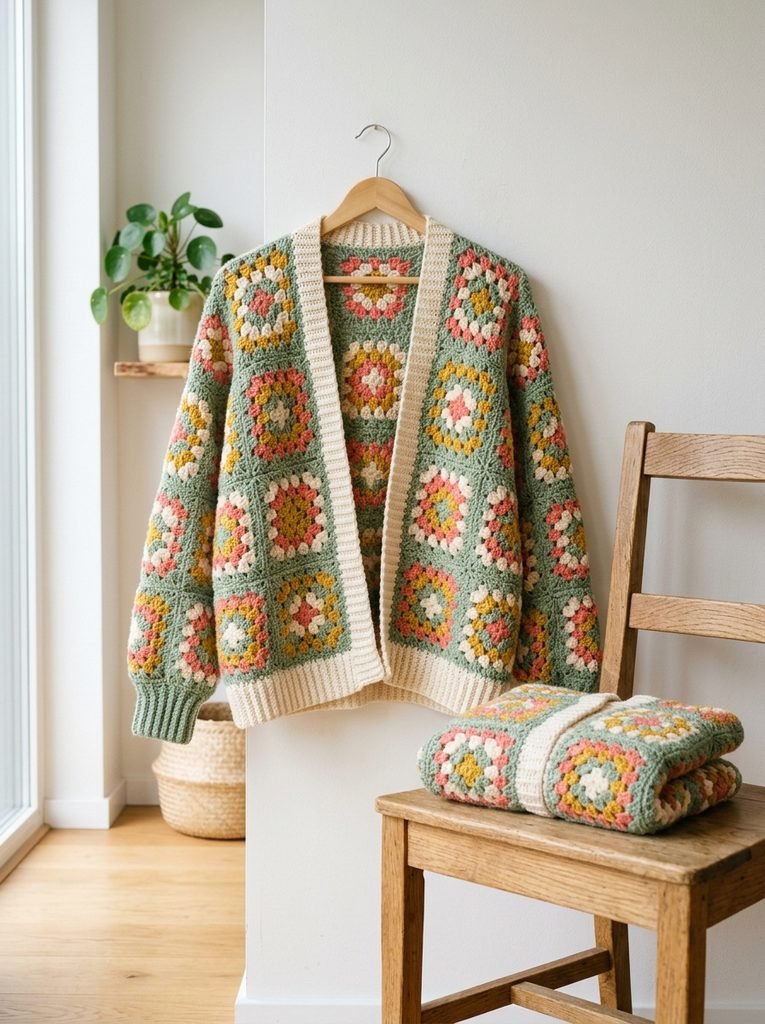
A granny square cardigan or sweater is the ultimate granny square project, and it’s easier than it looks. Most designs are just squares joined into large rectangles for the body and sleeves. A cardigan is open at the front, while a sweater joins all the way around with a neckline. Measure a sweater you love to work out how many squares you need. Honestly, choosing the color palette is the hardest part. I’d suggest picking four colors and repeating them in a pattern so it looks planned and polished.
Final Thoughts on Granny Square Crochet Pattern
A granny square crochet pattern is one of the most useful things you can learn. Start with the free classic square, practice reading a diagram, and then try a flower, a heart or a fun bear. Honestly, once you’ve made a few squares, you’ll start seeing bags, blankets and cardigans everywhere you look.


Amir Ali is the founder and site administrator of HomeDecorEdge, a modern home decor and interior design platform. Since starting the site, he has combined his passion for interior design, practical styling, and color coordination with hands-on content strategy and site management. He guides authors, curates high-quality articles, and ensures readers have access to actionable, visually inspiring, and user-focused home decor advice for apartments, small rooms, and family homes.