

Ever notice how some flower beds look full and lush while others look like a few plants dropped into a pile of mulch? The difference is almost always layers.
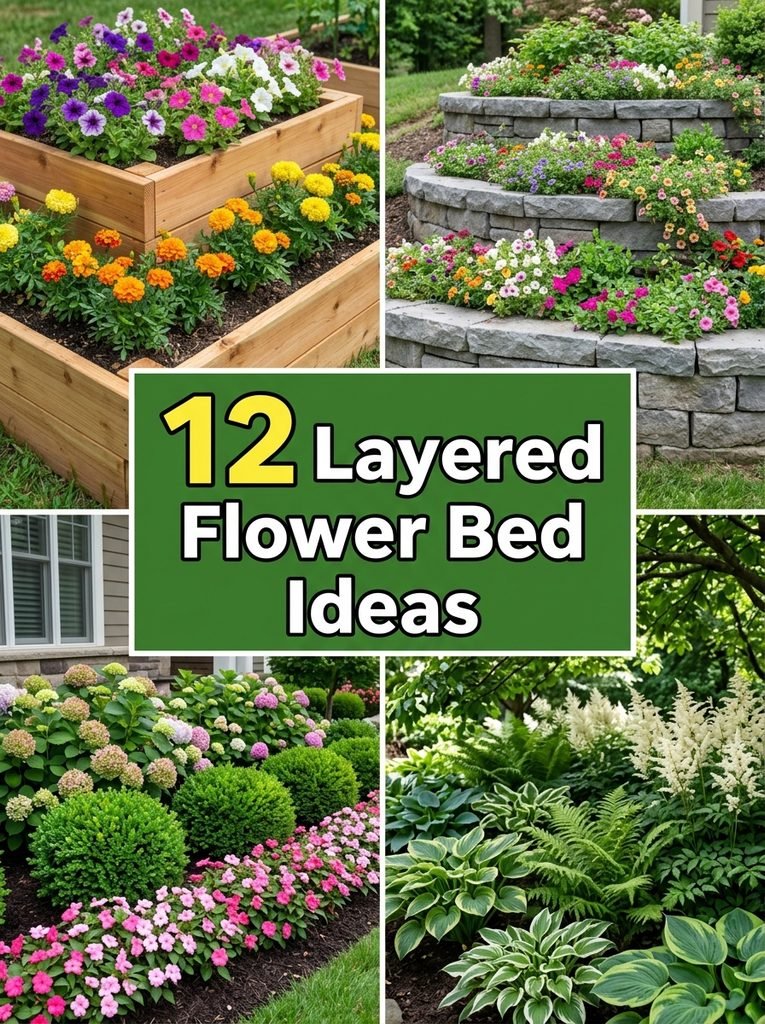
A layered bed puts tall plants at the back, medium plants in the middle and low spreading plants at the front. Your eye moves from top to bottom, every plant gets seen, and the whole bed looks planned even if it isn’t. You can also build the layers with real height, using two or three tiers of raised beds. In this post you’ll find 12 layered flower bed ideas, from simple DIY tiered beds to planting plans for full sun, shade and the front of your house.
1. DIY Two Tier Raised Flower Bed
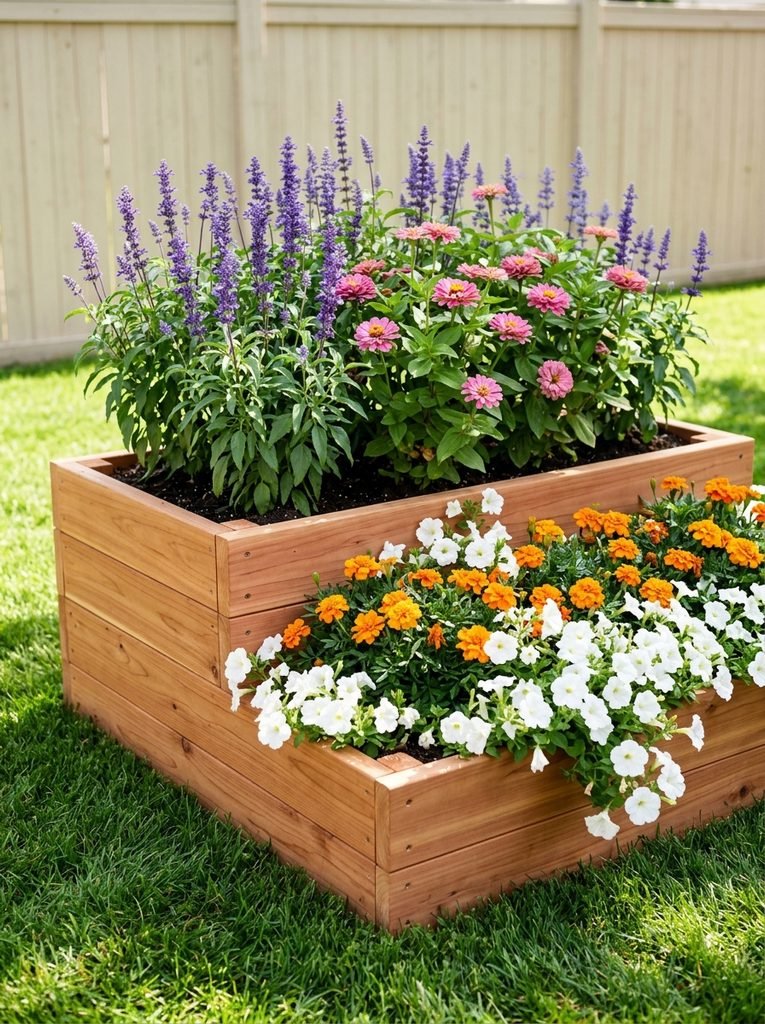
A two tier raised bed gives you layers instantly. The back box sits taller, so the plants in it rise above the front box without needing to be tall plants. It’s a great choice if your soil is poor or if you want flowers closer to eye level.
I built mine from cedar because it lasts for years outside without any chemicals. The whole project took one Saturday.
Materials Needed: Six cedar boards 2×8 and 8 feet long, four 4×4 cedar corner posts cut to 16 inches and four cut to 8 inches, 3 inch exterior screws, a drill, a saw, a level, landscape fabric, and garden soil mixed with compost.
How to Make It:
- Pick a sunny flat spot and mark out a rectangle about 8 feet long and 4 feet deep.
- Build the back tier first: screw two stacked boards to the 16 inch posts to make a box 8 feet long and 2 feet deep.
- Build the front tier the same way with one board high on the 8 inch posts, 8 feet long and 2 feet deep.
- Set the back tier in place, then set the front tier right against it, checking both with a level.
- Lay landscape fabric on the bottom to stop weeds, then fill both tiers with soil and compost.
- Plant taller flowers in the back tier and trailing or low flowers along the front edge.
A tip I picked up: water the soil and let it settle for a day before planting. It always sinks a few inches, and you’ll want to top it up first.
2. DIY Three Tier Stacked Stone Flower Bed
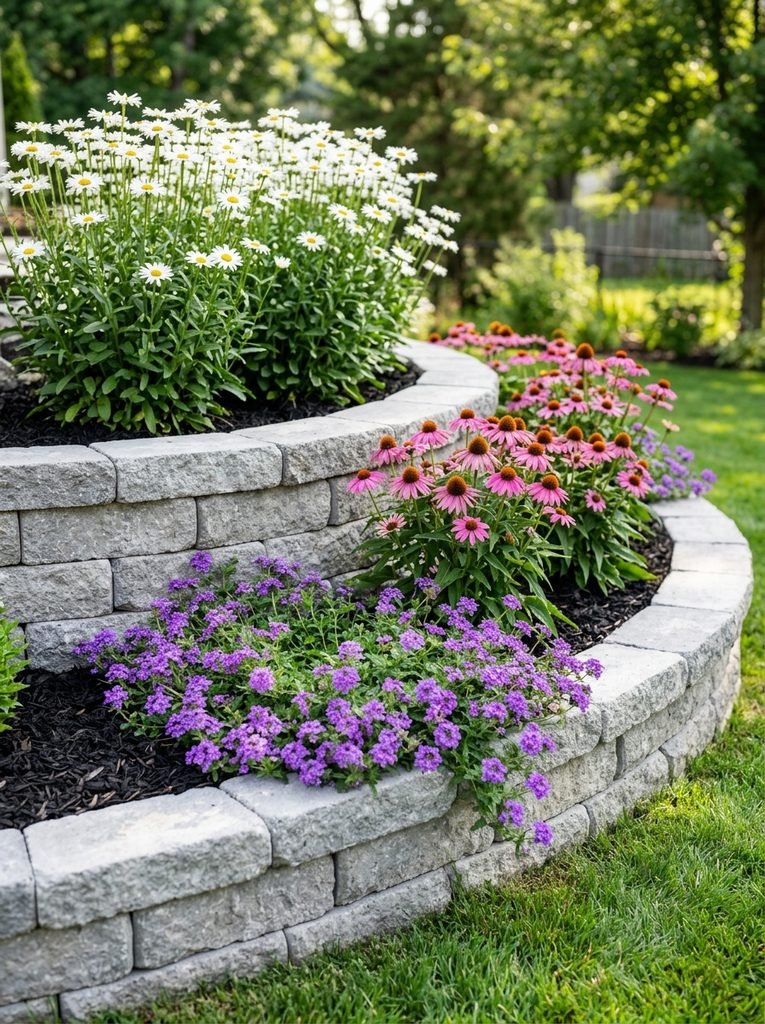
Three tiers of stone make a bold statement in any yard. Each level steps down toward the front, so you get three layers of flowers built right into the design. It looks like a lot of work, but retaining wall blocks just stack, with no mortar needed.
In my experience, curved tiers look softer and more natural than straight ones, especially in a corner or around a tree.
Materials Needed: Retaining wall blocks (about 60 for a medium bed), a shovel, a rubber mallet, a level, paver base or gravel, landscape adhesive, landscape fabric, garden soil, compost, and a garden hose to mark the curves.
How to Make It:
- Lay a garden hose on the ground to shape the outer curve of the bottom tier.
- Dig a shallow trench about 3 inches deep along the hose and fill it with gravel, packing it down firmly.
- Lay the first row of blocks on the gravel, tapping each one level with the mallet.
- Fill behind the first tier with soil, then mark the second tier about 18 inches back and lay its blocks the same way.
- Repeat for the third tier, gluing the top row of each tier with landscape adhesive so it stays put.
- Fill every tier with soil and compost, then plant tall flowers on top and trailing ones at the front of each level.
Keep each tier no more than two blocks high if you’re doing it yourself. Taller walls need proper drainage and footing.
3. Plan and Plant a Three Layer Flower Bed
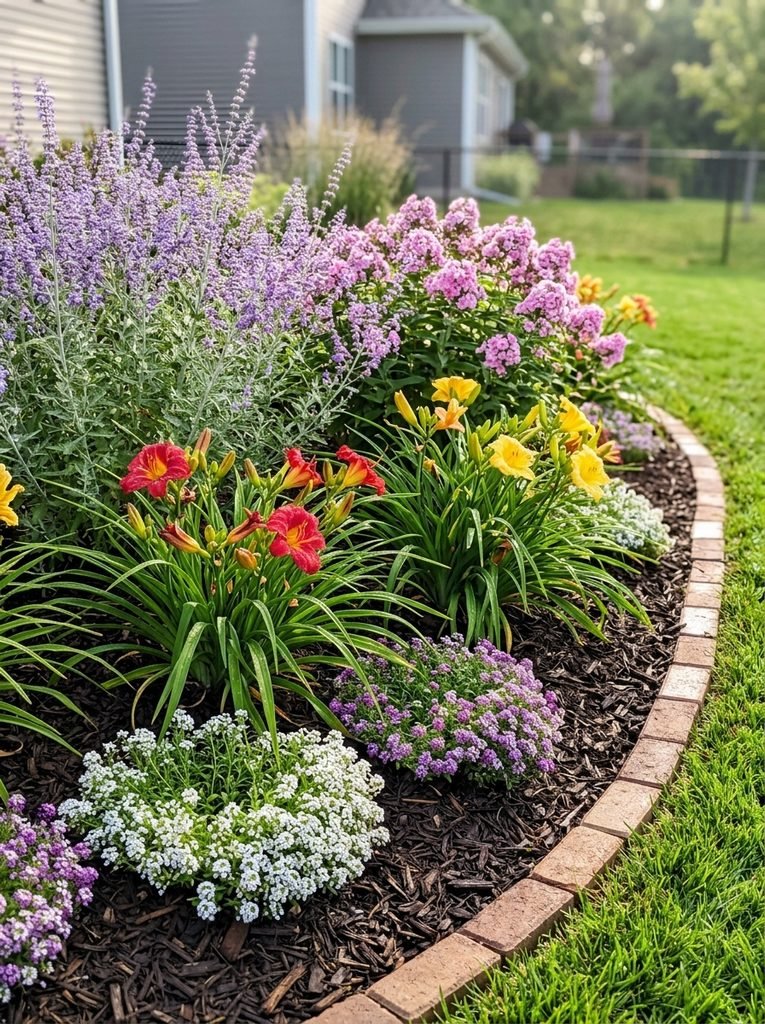
You don’t need any building to create a layered bed. You just need a plan. The simple rule is tall at the back, medium in the middle, short at the front. Follow it and even a brand new bed looks full and grown up.
Honestly, this is the step most people skip. They buy plants they love and put them anywhere. A ten minute plan on paper fixes that.
Materials Needed: A notebook and pencil, plant tags or a phone to check plant heights, a measuring tape, garden soil, compost, mulch, a spade, and your chosen plants for each layer.
How to Make It:
- Measure the bed and draw it on paper, marking three bands: back, middle and front.
- Pick back layer plants that grow 3 to 5 feet tall, middle layer plants that grow 1 1/2 to 3 feet, and front layer plants under 1 foot.
- Choose two or three colors and repeat them in every layer so the bed looks connected.
- Mix compost into the soil across the whole bed before planting.
- Plant the back layer first, then the middle, then the front, spacing each plant by the width on its tag.
- Spread 2 inches of mulch between the plants and water everything deeply.
Plant in odd numbers, like groups of three or five. It looks more natural than pairs or single plants dotted around.
4. Layered Front of House Foundation Bed
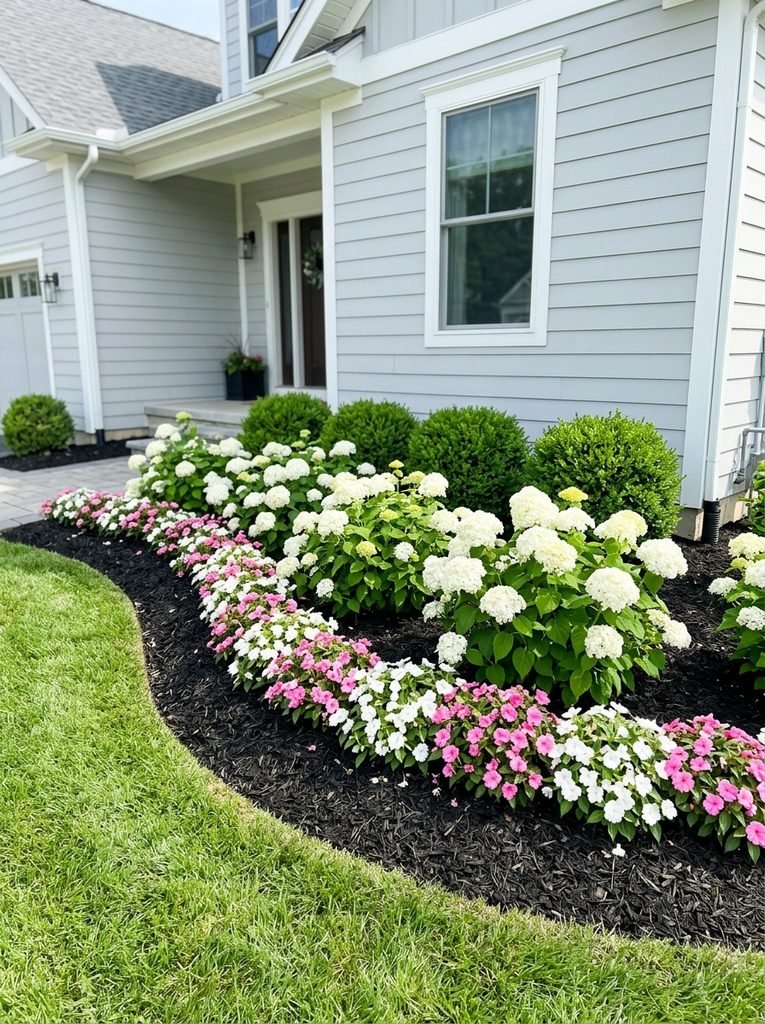
The bed along the front of your house is the first thing people see. Layering it makes the house look finished and welcoming. Put evergreen shrubs at the back near the wall, flowering shrubs in the middle and colorful annuals along the front.
A tip I picked up: keep the back layer at least 2 feet from the wall. Plants need air, and you’ll need room to paint or clean the house later.
You’ll need: 3 to 5 boxwoods or other small evergreens, 3 flowering shrubs, a flat of annuals and enough mulch for 2 inches of cover.
5. Full Sun Layered Bed

Full sun beds are the easiest to fill with color. Most flowers love at least six hours of sun, so you have tons of choices. For the back, try coneflowers or black eyed susans. For the middle, salvia or lantana. For the front, portulaca or dusty miller.
I love these plants because they handle heat and dry spells without much fuss. Water deeply once or twice a week rather than a little every day.
Start Your 30-Day Home Reset
Stop waiting for a "perfect" free weekend. Grab the 30-day plan and start feeling lighter in your own home by tomorrow.
View the 30-Day Plan Printable PDF · Instant downloadYou’ll need: 3 tall, 5 medium and 7 short sun loving plants, compost and mulch.
6. Shade Layered Bed with Hostas and Ferns
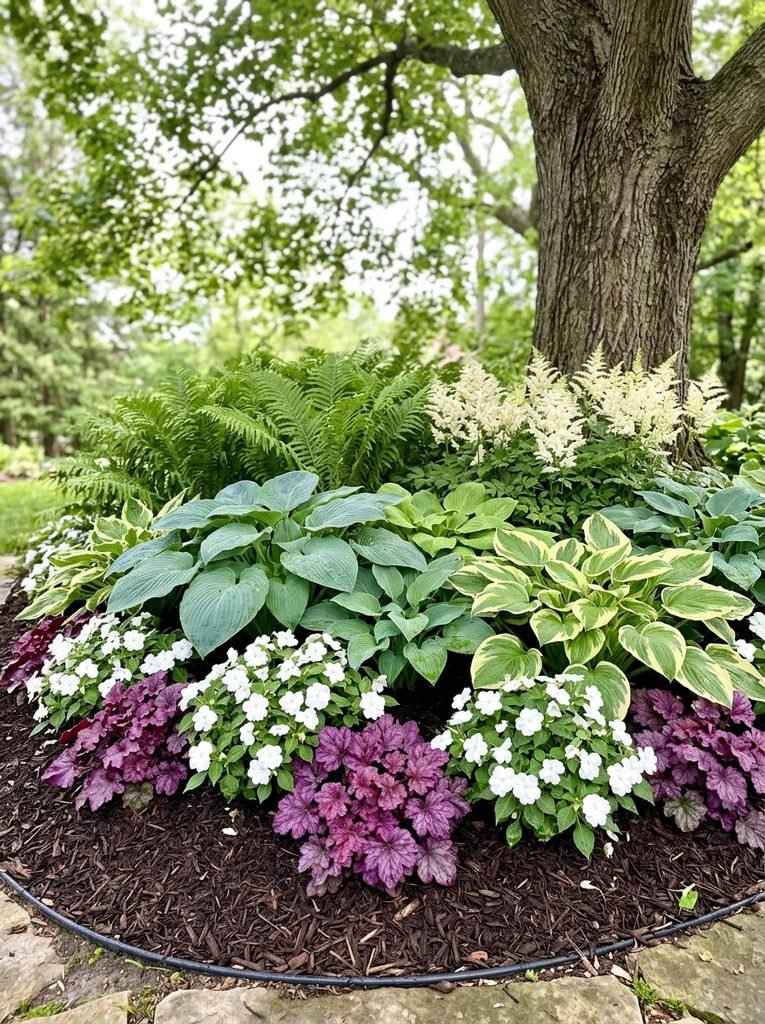
Shade doesn’t mean boring. A shady layered bed relies on leaf color and texture as much as flowers. Ferns and astilbe make a soft back layer, hostas fill the middle with big bold leaves, and heuchera or impatiens add color along the front.
In my experience, mixing leaf shapes is the secret. Feathery ferns next to wide hosta leaves look amazing together, even without a single bloom.
You’ll need: 3 ferns or astilbe, 3 hostas, 5 heuchera or a flat of impatiens, and leaf mulch or bark.
7. Hydrangea Backed Layered Bed
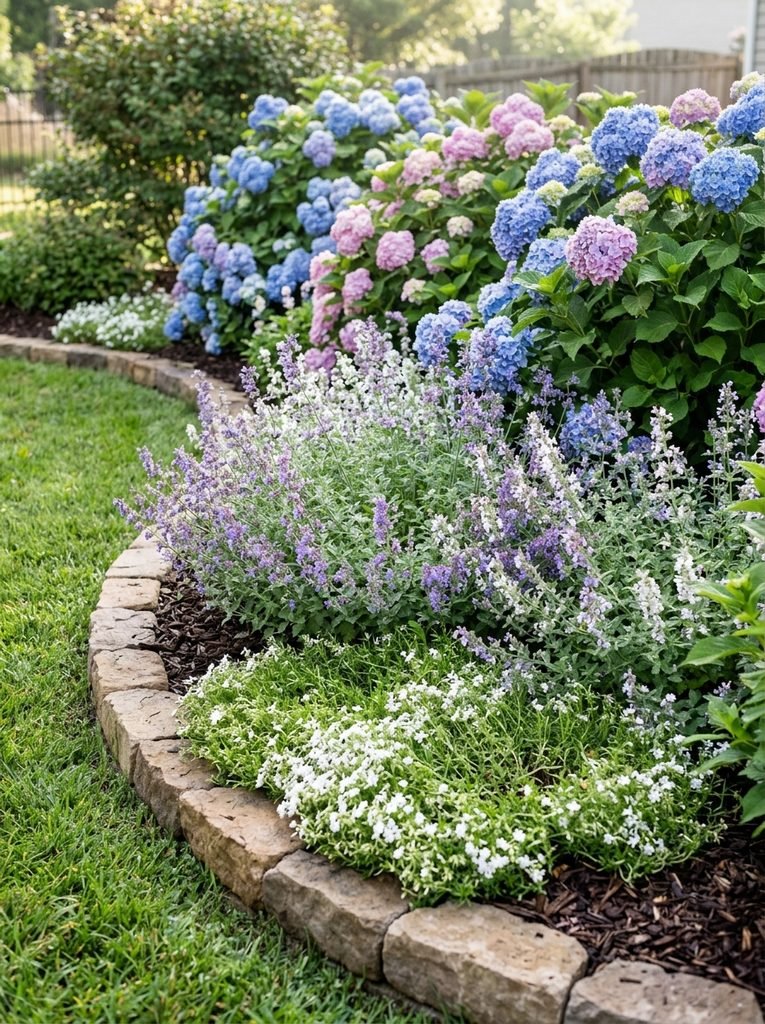
Hydrangeas make a perfect back layer. They’re big, full and covered in blooms all summer. Put catmint or lavender in front of them for a soft purple middle, and finish with a low creeping plant at the edge.
Give hydrangeas morning sun and afternoon shade if you can. Hot afternoon sun makes them droop by evening.
You’ll need: 2 or 3 hydrangeas, 5 catmint or lavender plants, a flat of creeping phlox and mulch.
8. Multi Level Terraced Bed for a Slope
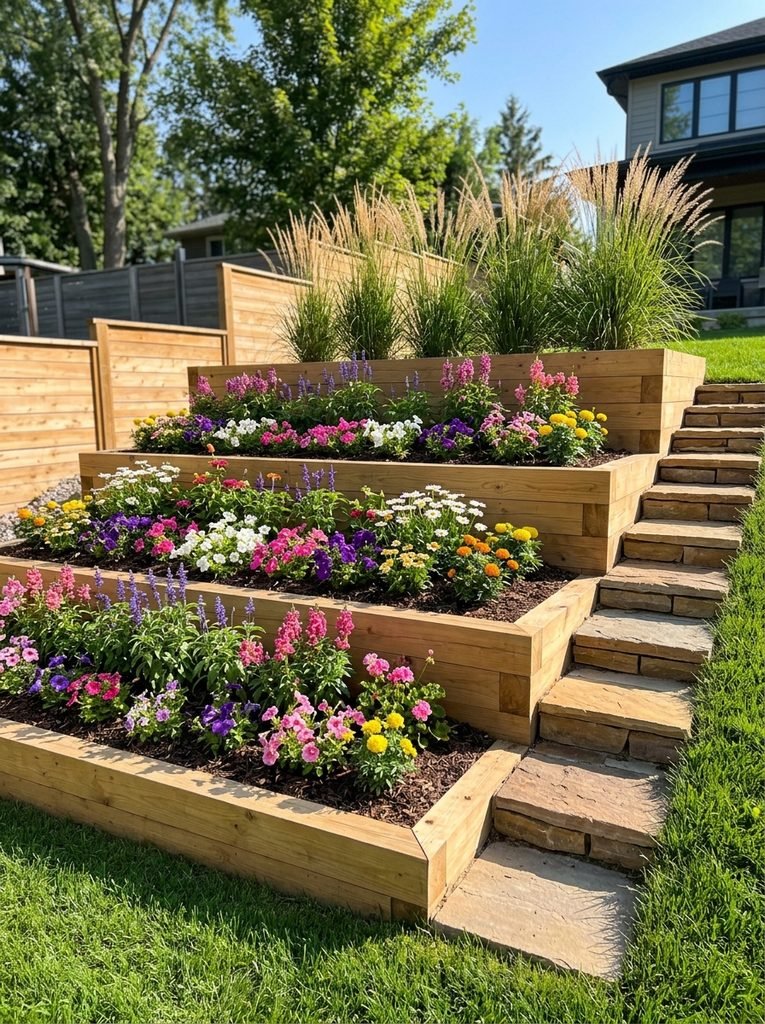
A slope can be hard to mow and even harder to plant. Turning it into multiple terraced levels fixes both problems. Each level becomes a small flat bed, and together they make one big layered display.
I’d add a few simple steps on one side so you can reach every level for weeding and deadheading.
You’ll need: timber sleepers or landscape blocks, rebar stakes to hold timber in place, soil, compost and mulch.
9. Curved Layered Border Along a Walkway
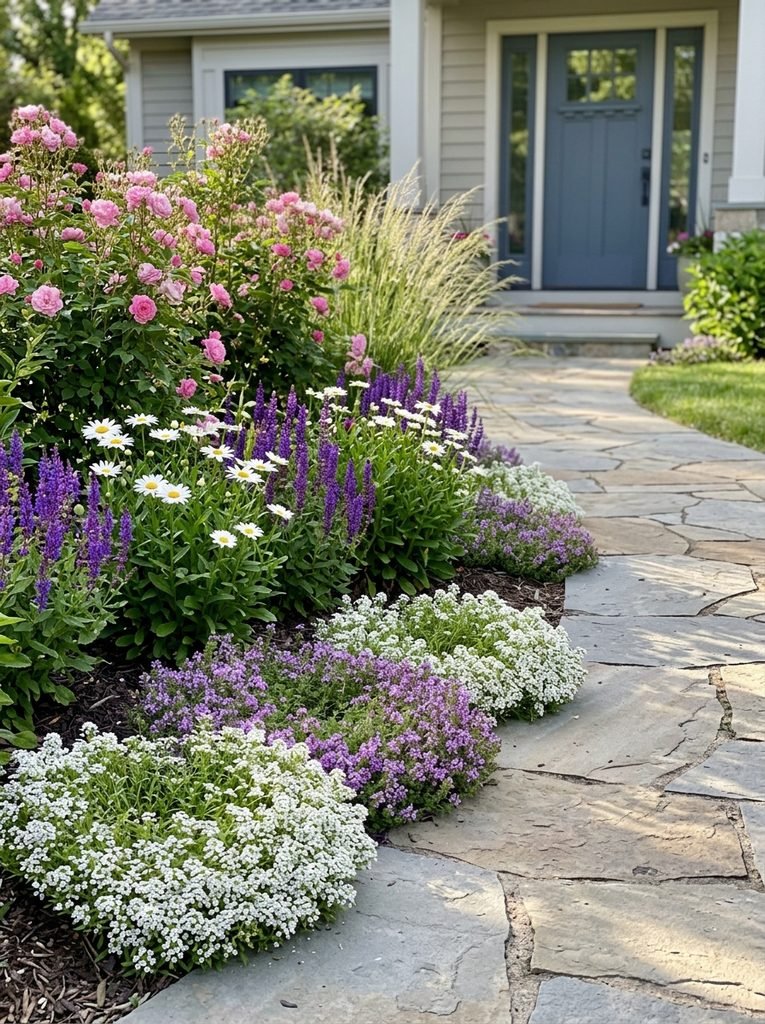
A layered border along a walkway makes every trip to the front door feel special. Follow the curve of the path and keep the lowest plants right at the edge so they soften the stone.
A tip I picked up: plant something fragrant like alyssum or thyme near the path. You’ll smell it every time you walk past.
You’ll need: medium and low plants for the path side, a few tall plants for the back, edging and mulch.
10. Layered Corner Flower Bed
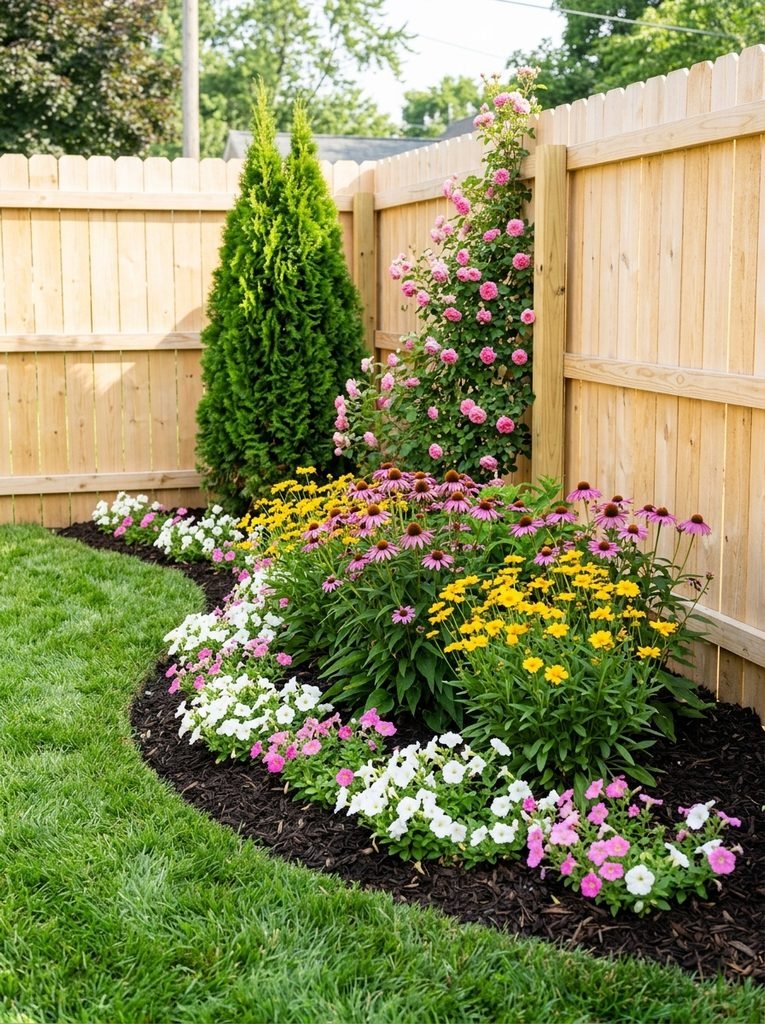
The corner of a yard is the perfect spot for a layered bed. The tallest plant goes right into the corner, and everything steps down toward you in a curve. It fills an empty spot and makes the yard feel cozy.
I like a tall evergreen or a climbing rose on a trellis for the corner. It gives you height all year.
You’ll need: 1 tall corner plant or trellis, 5 medium plants, 7 low plants, a hose to mark the curve and mulch.
11. Evergreen Backbone Bed for Year Round Color
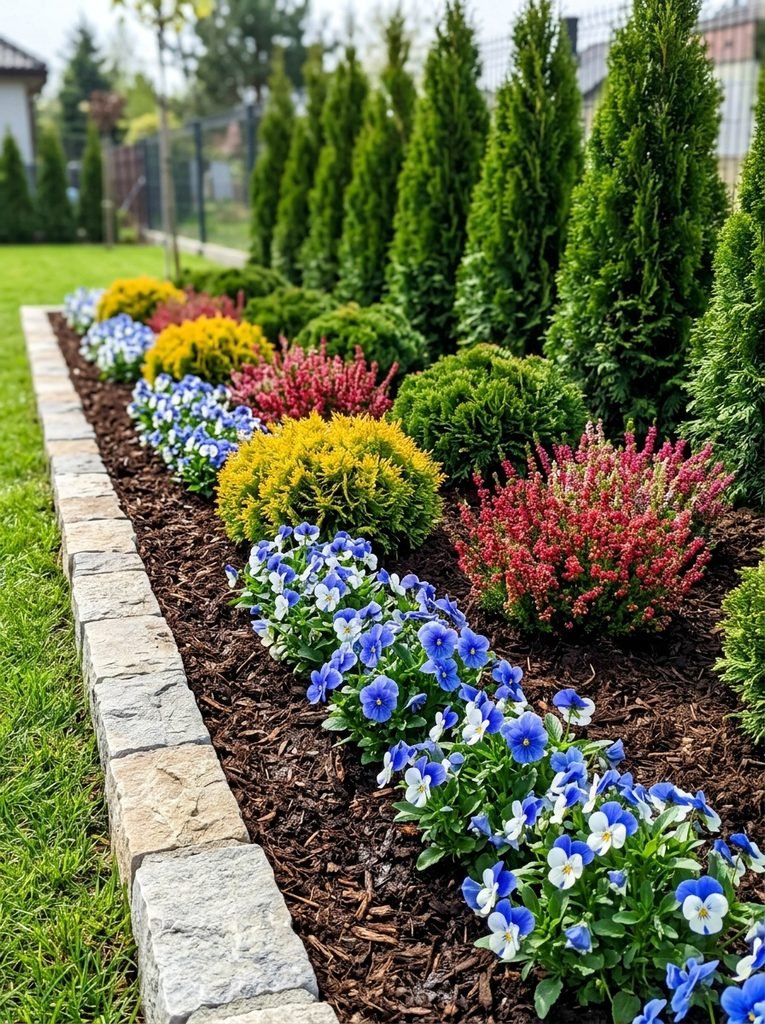
Most flower beds look empty in winter. Add an evergreen backbone and yours won’t. Slim evergreens at the back and dwarf conifers in the middle stay green all year, while seasonal flowers at the front give you fresh color.
Honestly, this is the lowest maintenance idea here. The evergreens do the work, and you only swap the front layer each season.
You’ll need: 3 slim upright evergreens, 3 to 5 dwarf conifers or heather, and seasonal flowers for the front.
12. Island Bed with a Tall Center
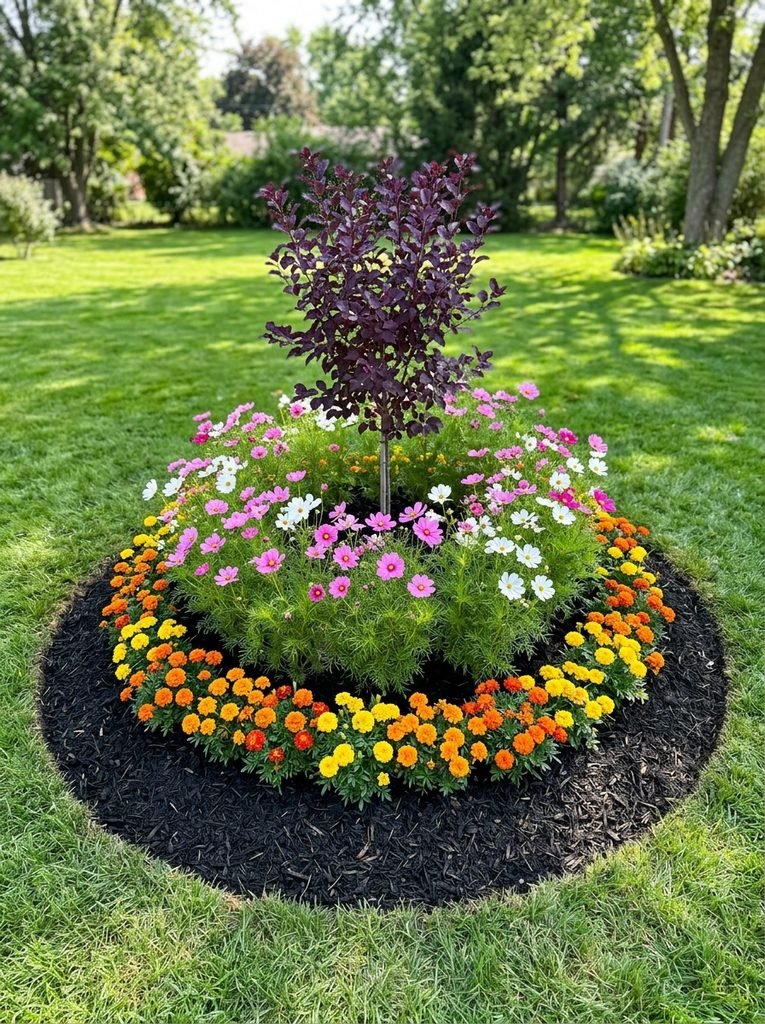
An island bed sits in the middle of the lawn, so people see it from every side. That means the layers go from the center out, not back to front. Put your tallest plant in the middle, a ring of medium flowers around it, and a low ring along the edge.
I’d keep the shape a simple oval or a soft kidney shape. Sharp corners are hard to mow around.
You’ll need: 1 small tree or tall shrub, 7 to 9 medium plants, 12 to 15 low plants, edging and mulch.
Final Thoughts on Layered Flower Bed Ideas
The best layered flower bed ideas all follow one simple rule: tall at the back, medium in the middle, low at the front. Add real height with two or three tiers, choose plants that suit your sun or shade, and repeat a few colors through every layer. Start with one bed this season, and you’ll see how much fuller your garden looks.


Amir Ali is the founder and site administrator of HomeDecorEdge, a modern home decor and interior design platform. Since starting the site, he has combined his passion for interior design, practical styling, and color coordination with hands-on content strategy and site management. He guides authors, curates high-quality articles, and ensures readers have access to actionable, visually inspiring, and user-focused home decor advice for apartments, small rooms, and family homes.