

The first cutting board I made was a little lopsided, one corner slightly thicker than the other. I gave it to my mom anyway. Years later, it’s still the board she reaches for every single day.
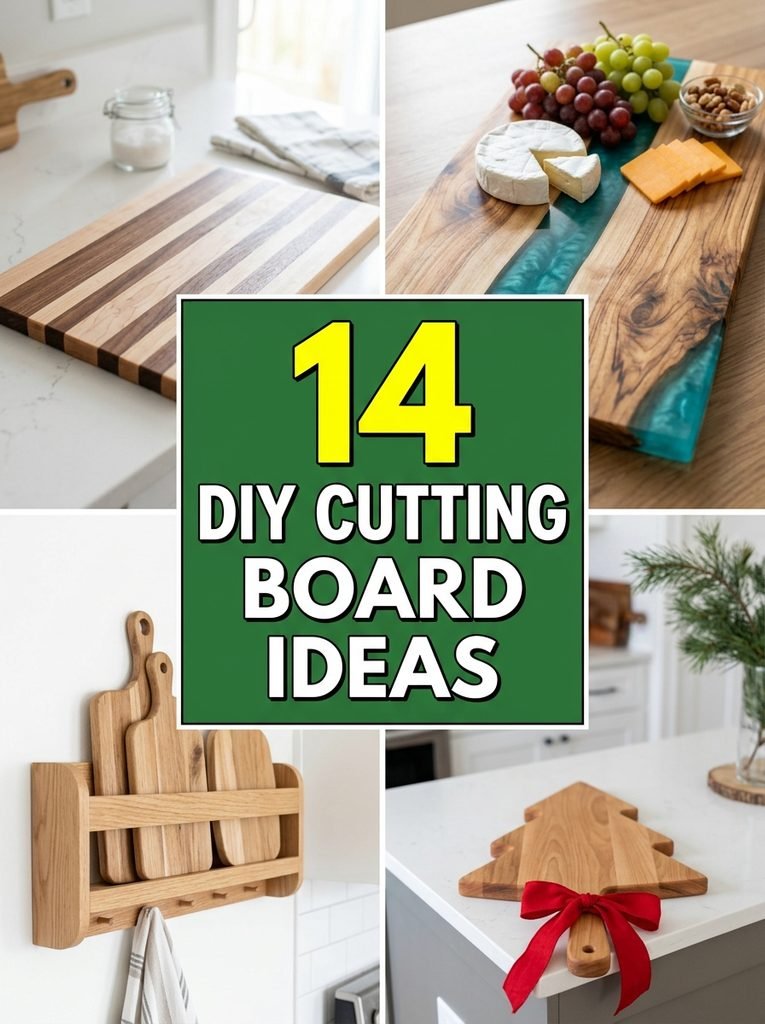
That’s the magic of a DIY cutting board. It’s useful, it’s beautiful, and it’s one of the easiest woodworking projects to start with. It also makes one of the best handmade gifts you can give. Below you’ll find 14 DIY cutting board ideas: how to make a classic board and a resin serving board, ways to personalize and paint them, Christmas and kids’ versions, and smart ways to store and display the boards you already have.
1. Classic DIY Wooden Cutting Board
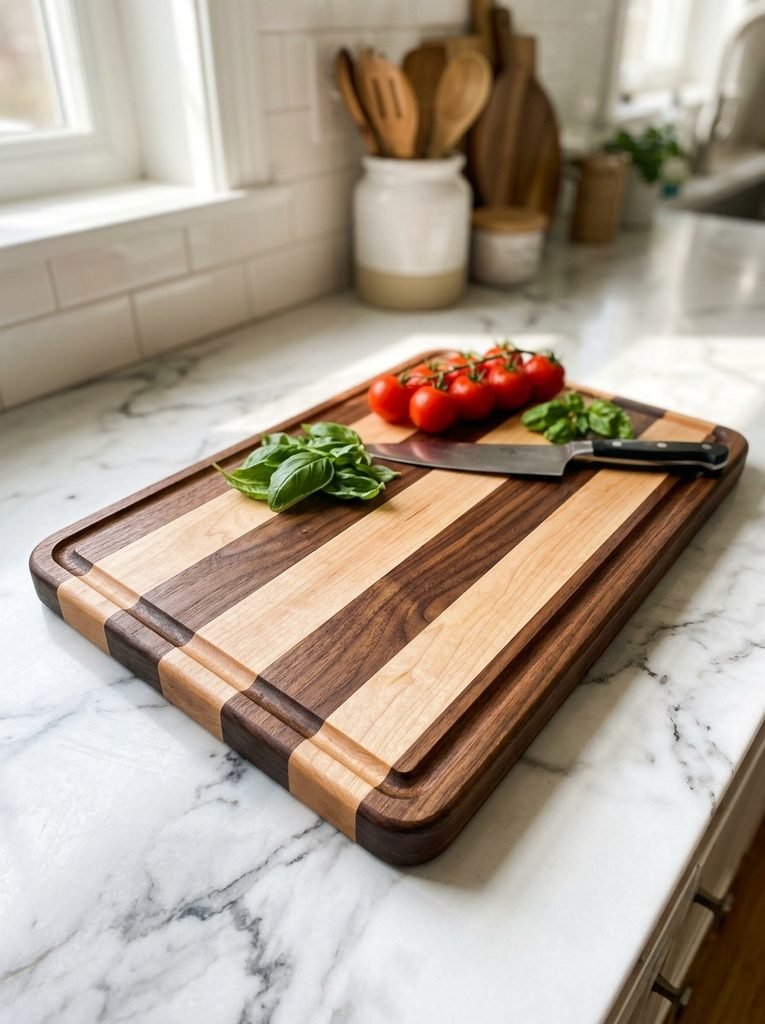
This is the board every beginner should make first. Strips of hardwood are glued side by side, then planed flat, sanded smooth and oiled. Mixing a light wood and a dark wood gives you those pretty stripes without any extra work.
I use maple and walnut because both are hard, food safe and easy to find. Avoid softwoods like pine. They scratch easily and hold onto bacteria.
Materials Needed: Hardwood boards like maple, walnut or cherry about 3/4 inch thick, food safe waterproof wood glue, four or five bar clamps, a table saw or circular saw, a random orbit sander with 80, 120, 180 and 220 grit sandpaper, food safe mineral oil, board wax, and a router with a round over bit (optional).
How to Make It:
- Cut the hardwood into strips about 1 1/2 inches wide and 16 inches long, enough strips to make a board about 11 inches wide.
- Arrange the strips in a pattern you like, alternating light and dark woods.
- Spread glue on the long edges, press the strips together and clamp them tight, wiping off any glue that squeezes out.
- Let the glue cure for 24 hours, then trim both ends square with a saw.
- Sand the whole board, working from 80 grit up to 220 grit, and round the edges with a router or sandpaper.
- Wipe the board with a damp cloth, let it dry, sand once more with 220 grit, then flood it with mineral oil and finish with a coat of board wax.
A tip I picked up: wipe the board with a damp cloth before the last sanding. It raises the tiny wood fibers, so the board stays smooth after its first wash instead of going fuzzy.
2. DIY Resin and Wood Serving Board
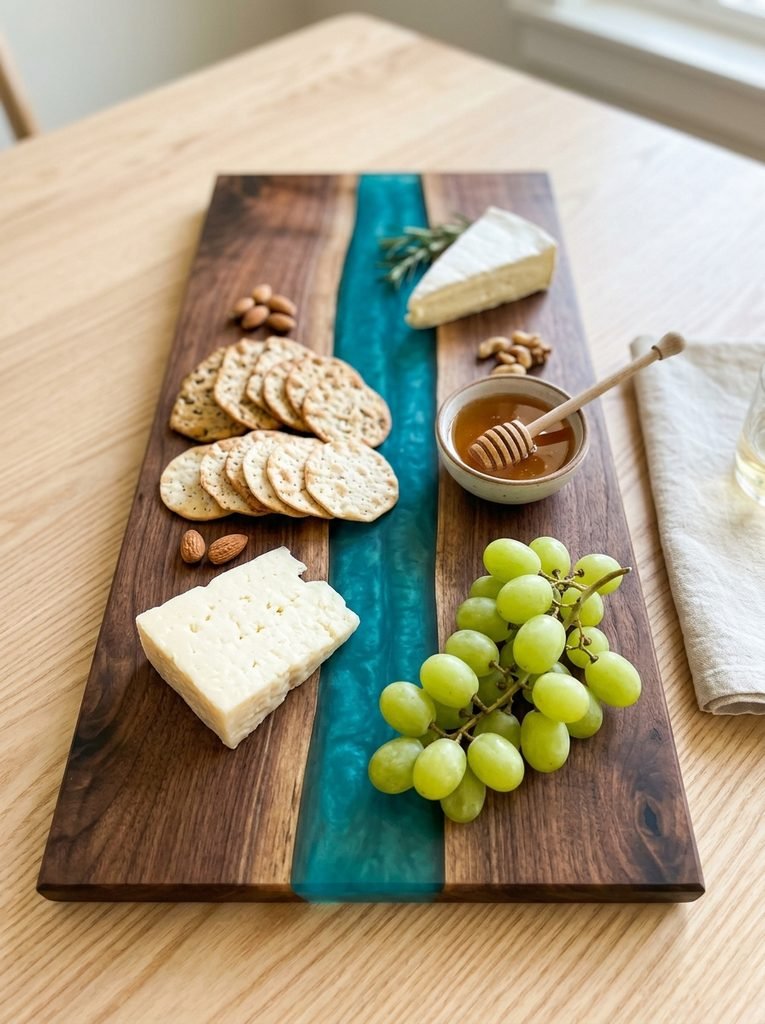
A resin and wood board looks like a piece of art. A colored resin river runs between two pieces of live edge wood, and it’s a showstopper on any table. It makes an amazing gift for anyone who loves to host.
Here’s the honest part: use it as a serving board, not for chopping. Knives scratch resin, and you don’t want tiny resin bits in your food. Choose a resin labeled food safe once cured.
Materials Needed: Two live edge walnut or oak slabs, a food safe deep pour epoxy resin, resin color pigment, a melamine or sheathing tape lined mold, silicone, a mixing cup and stir stick, a heat gun or small torch, a sander with 80 to 400 grit sandpaper, food safe oil, and gloves and a mask.
How to Make It:
- Build a simple mold from melamine boards and seal the inside corners with silicone so resin can’t leak.
- Place the two wood slabs in the mold with the live edges facing each other and a gap in the middle.
- Mix the resin and pigment exactly as the label says, then pour it slowly into the gap.
- Pass a heat gun over the surface to pop any bubbles, then leave it to cure fully for the time on the label, usually several days.
- Remove the board from the mold and sand it from 80 grit all the way up to 400 grit until the resin is glossy and smooth.
- Oil the wooden parts with food safe oil and let it soak in overnight.
Always work in a ventilated space and wear gloves while mixing resin. Your future self will thank you.
3. DIY Wall Mounted Cutting Board Rack
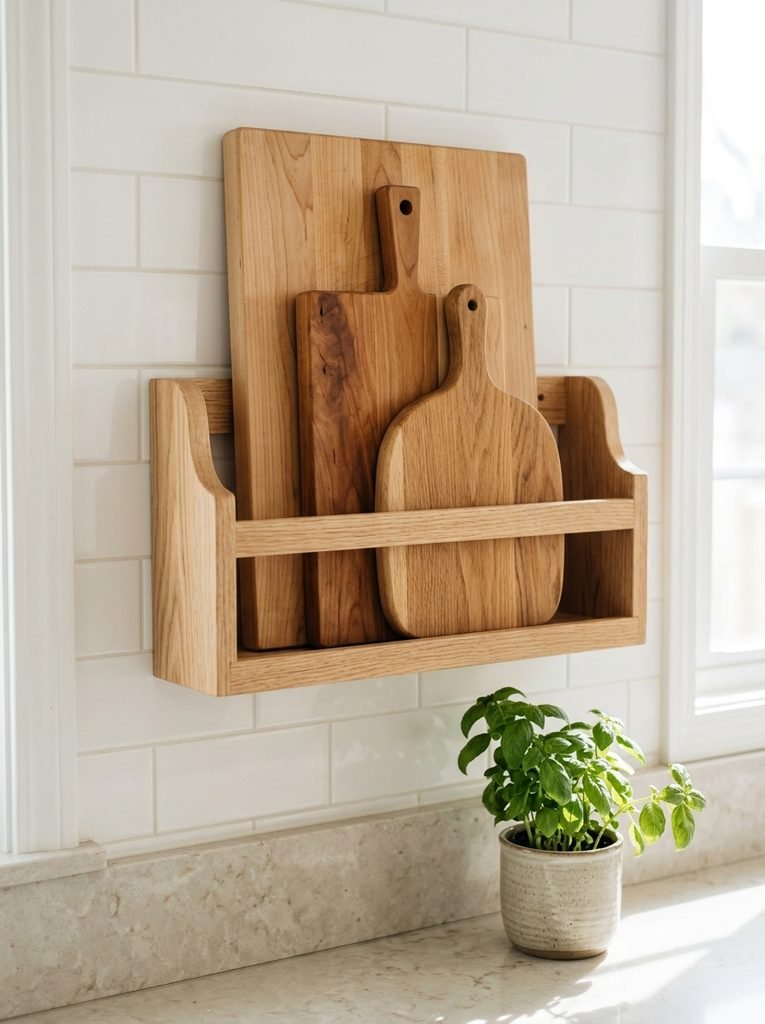
Once you start making boards, you’ll have a lot of them. A wall mounted rack stores them upright, so air can reach both sides and they dry properly after washing. It also turns your favorite boards into kitchen decor.
I built mine to hold three boards, from a big chopping board to a small bread board.
Materials Needed: One 1×4 board about 24 inches long for the back, one 1×3 board the same length for the bottom ledge, one 1×2 board the same length for the front rail, two short 1×2 side pieces, wood glue, 1 1/4 inch screws, sandpaper, stain or clear finish, and wall screws with anchors.
How to Make It:
- Glue and screw the 1×3 ledge to the bottom edge of the 1×4 back board so it sticks out like a shelf.
- Screw the two short side pieces at each end of the ledge, standing upright.
- Attach the 1×2 front rail across the side pieces, about 3 inches above the ledge.
- Sand everything smooth and seal it with stain or a clear finish so it handles splashes.
- Mount the rack on the wall into studs or strong anchors, checking it with a level.
- Slide the boards in behind the rail, largest at the back.
Leave a small gap between the ledge and the wall, about 1/4 inch. Water drips straight down instead of pooling under the boards.
4. Personalized Wood Burned Board
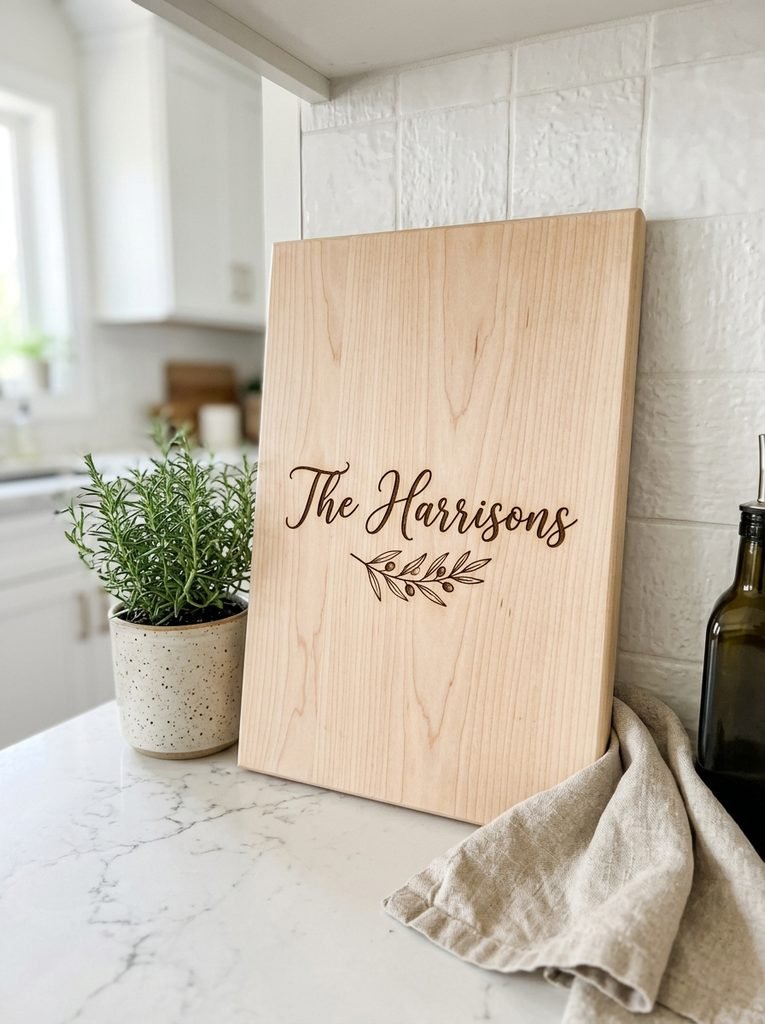
A personalized board is one of the most loved gifts you can make. Wood burn a family name, a wedding date or a favorite recipe onto the back of the board. The front stays smooth for cutting, and the back becomes a keepsake.
Print your design, trace it with transfer paper, and then go over the lines slowly with a wood burning pen. Practice on a scrap piece first.
You’ll need: a wood burning pen, transfer paper, a printed design and a finished hardwood board.
5. Painted Handle Cutting Boards
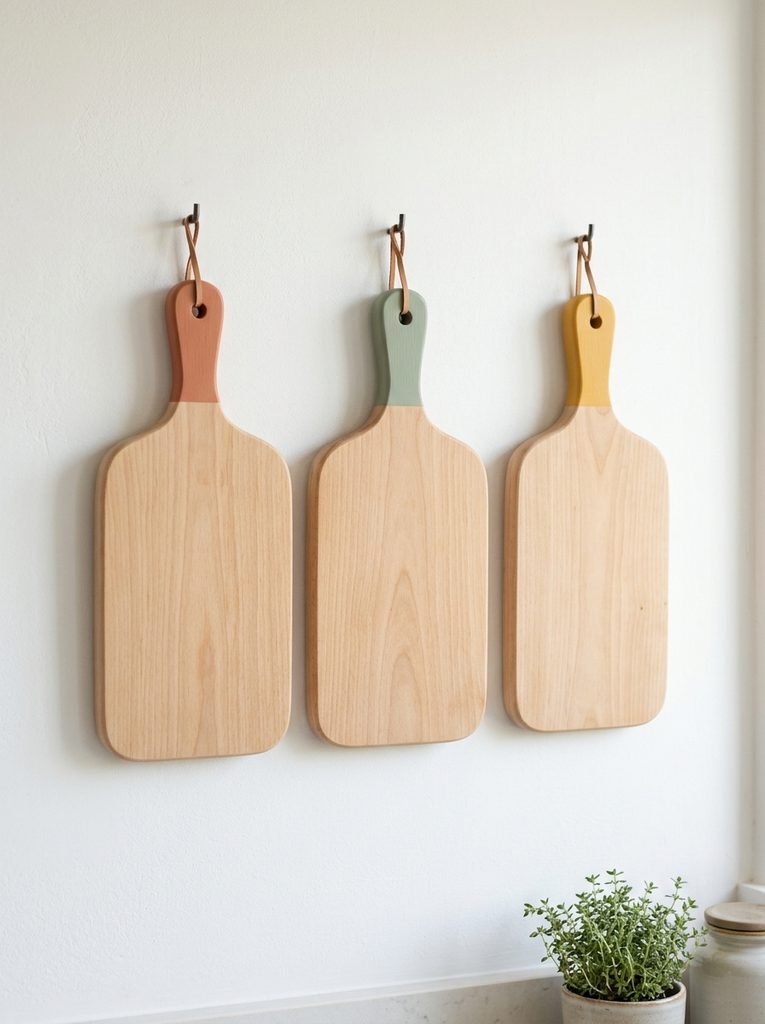
Painted handles turn plain boards into colorful kitchen decor. Tape a straight line across the handle, then paint below the line. It looks fresh, modern and very gift worthy.
Only paint the handle or the back, never the cutting surface. Use a food safe sealer over the paint and leave the cutting side bare with oil only.
Start Your 30-Day Home Reset
Stop waiting for a "perfect" free weekend. Grab the 30-day plan and start feeling lighter in your own home by tomorrow.
View the 30-Day Plan Printable PDF · Instant downloadYou’ll need: painter’s tape, acrylic or milk paint, a small brush and a food safe sealer.
6. Christmas Tree Shaped Cutting Board
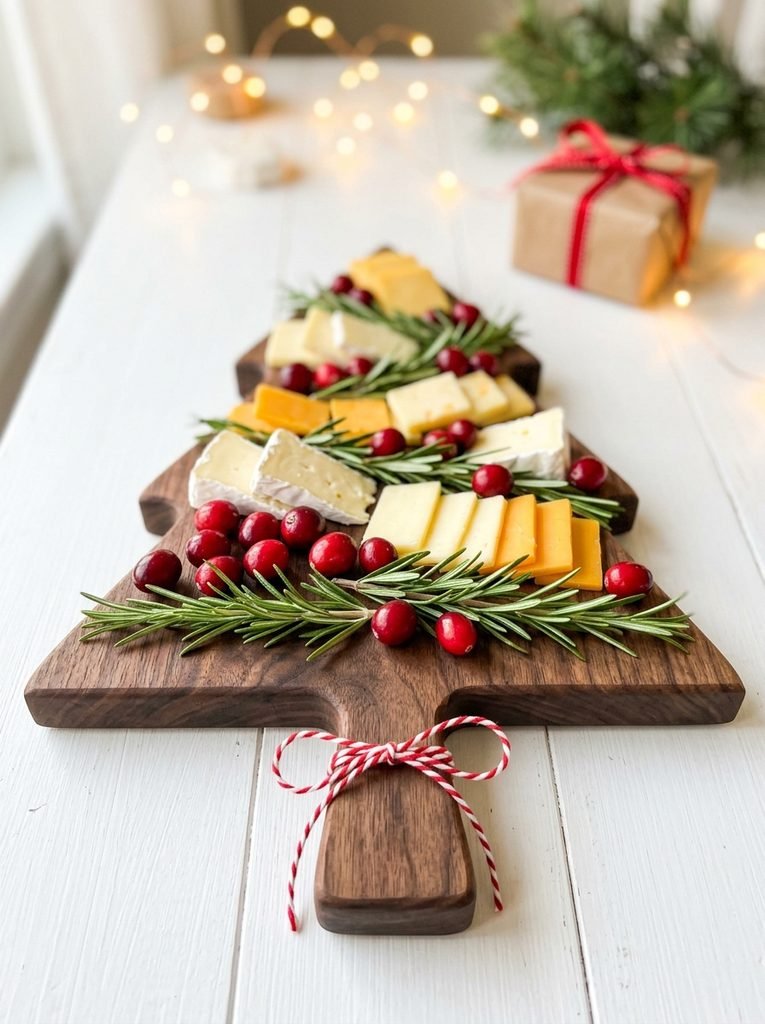
A Christmas tree shaped board is a festive gift and a fun serving board for holiday parties. Lay out cheese, crackers and rosemary in rows and it actually looks like a decorated tree.
I cut mine with a jigsaw from one solid board. Sand the points well so they’re soft and safe.
You’ll need: a hardwood board, a printed tree template, a jigsaw, sandpaper and food safe oil.
7. How to Oil and Finish Your Board
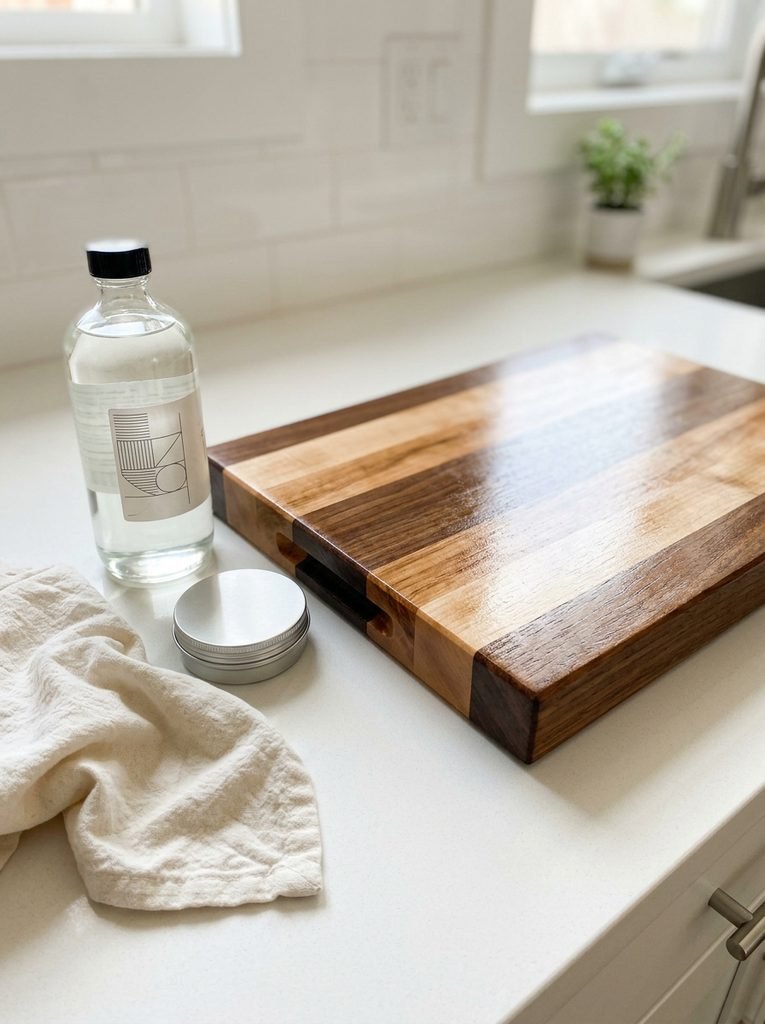
Oil is what keeps a wooden board from cracking and drying out. Flood it with food safe mineral oil, let it soak in overnight, and wipe off the extra. Finish with a board wax for a soft shine and a little water resistance.
A tip I picked up: oil your board once a month, or whenever the wood looks pale and dry. Never use olive or vegetable oil. They can go rancid and smell over time.
You’ll need: food safe mineral oil, board wax and a soft cotton cloth.
8. Mini Cutting Boards for Kids
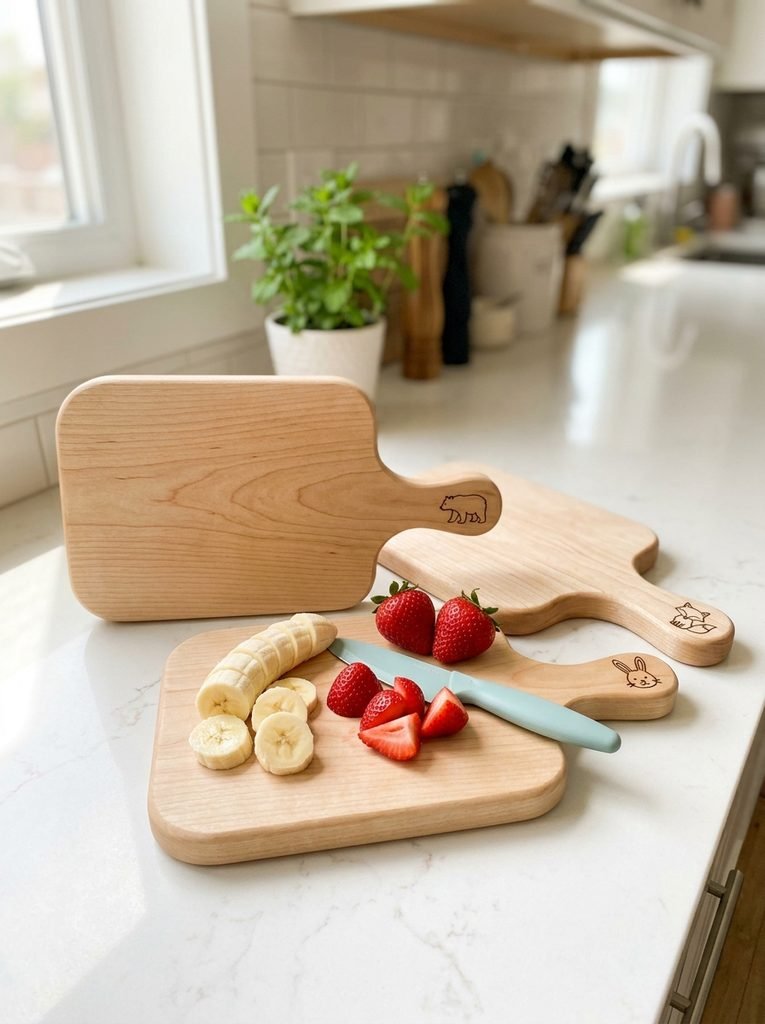
Kids love helping in the kitchen, and a small board of their own makes them feel like real chefs. Make it lighter and smaller than a regular board, with very round edges. A little wood burned animal on the handle makes it theirs.
I’d give it with a child safe nylon knife. It’s a sweet gift for grandkids, nieces and nephews.
You’ll need: a small maple board, sandpaper, a wood burning pen for the design and food safe oil.
9. Leaning Boards as Kitchen Counter Decor
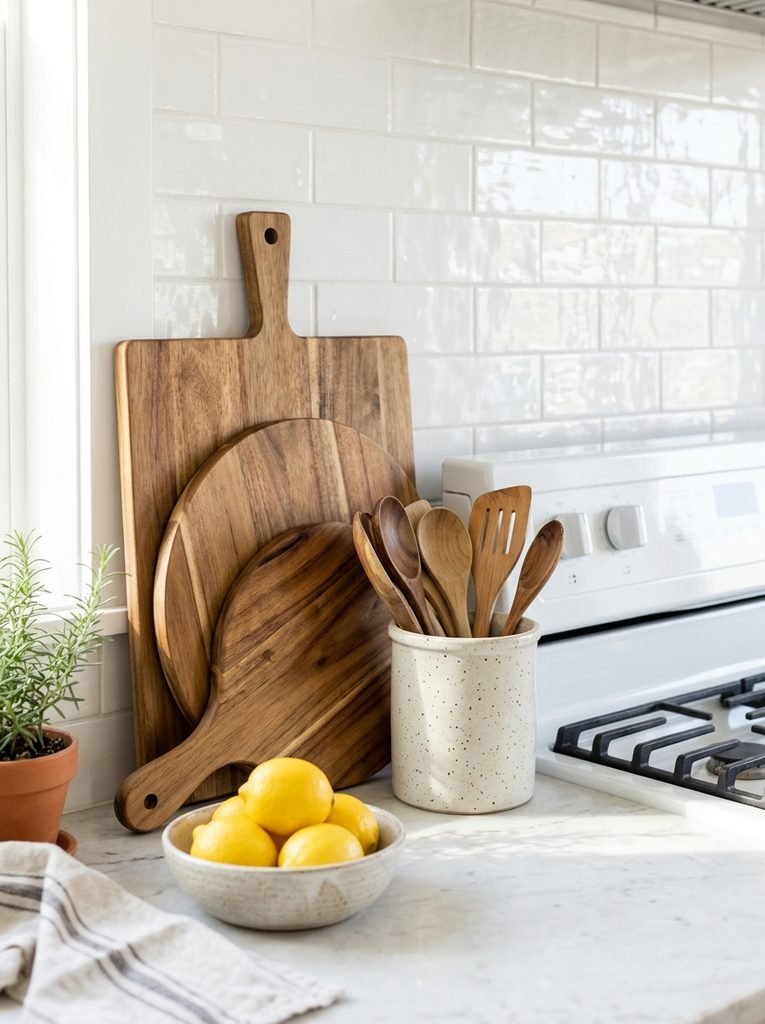
Cutting boards look beautiful leaning against the backsplash. Layer two or three in different shapes and wood tones, biggest at the back. Add a crock of wooden spoons in front and your counter instantly looks styled.
Honestly, it’s the easiest kitchen decor there is, and everything is still useful.
You’ll need: two or three boards in different shapes and a crock or small bowl to style in front.
10. Countertop Cutting Board Stand
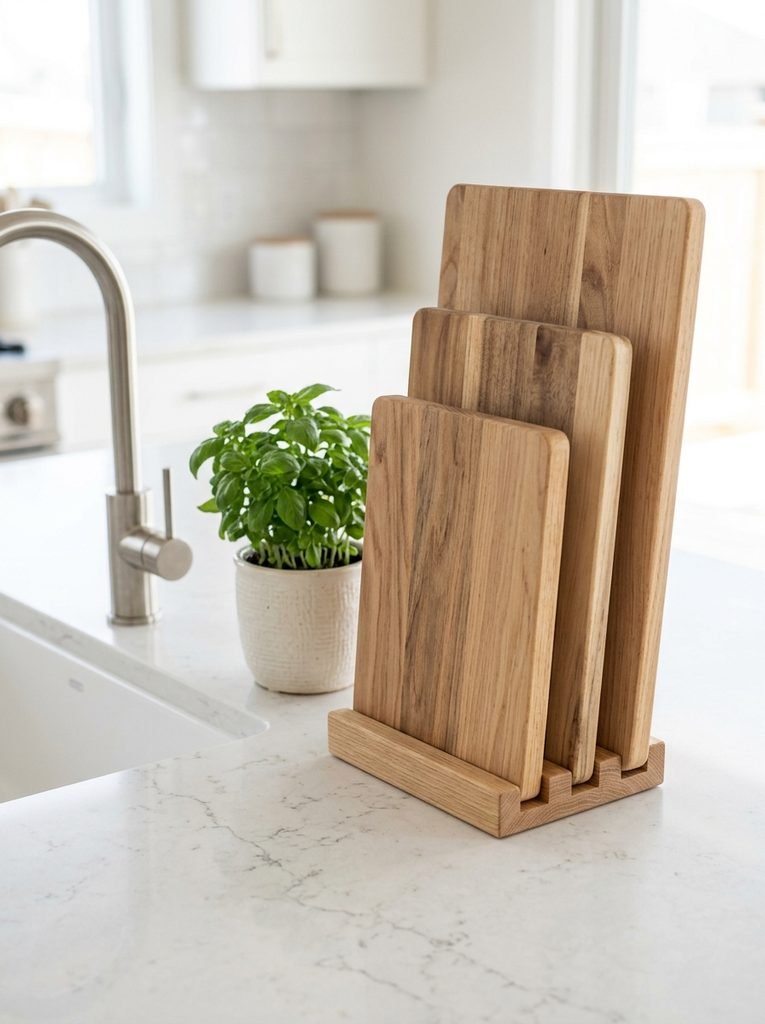
A slotted stand keeps boards upright on the counter, close to where you cook. They dry faster standing up, and they take up very little counter space.
I keep mine right next to the sink, so freshly washed boards go straight in.
You’ll need: a slotted wooden or metal cutting board stand.
11. Storage on the Inside of a Cabinet Door
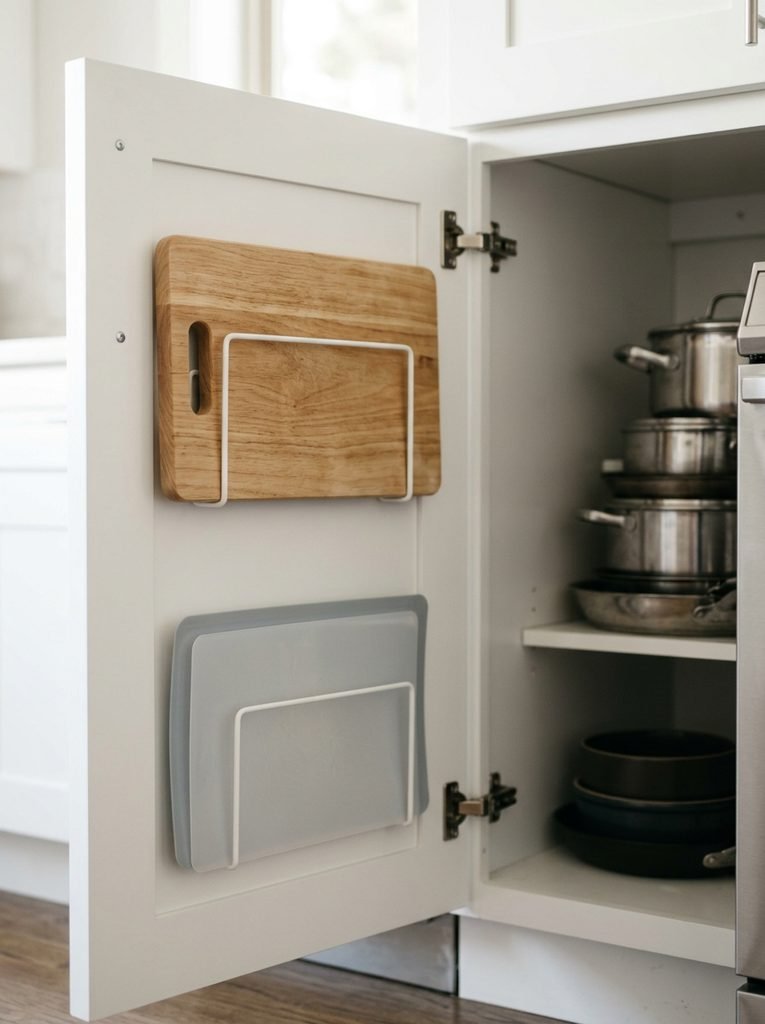
If your counter is already full, store boards on the inside of a cabinet door. A slim rack holds a board or two and a few flexible cutting mats, out of sight but easy to reach.
Measure the depth inside the cabinet first, so the door still closes with the boards in place.
You’ll need: a slim over the cabinet door rack or two adhesive wire holders.
12. Charcuterie Board Gift Set
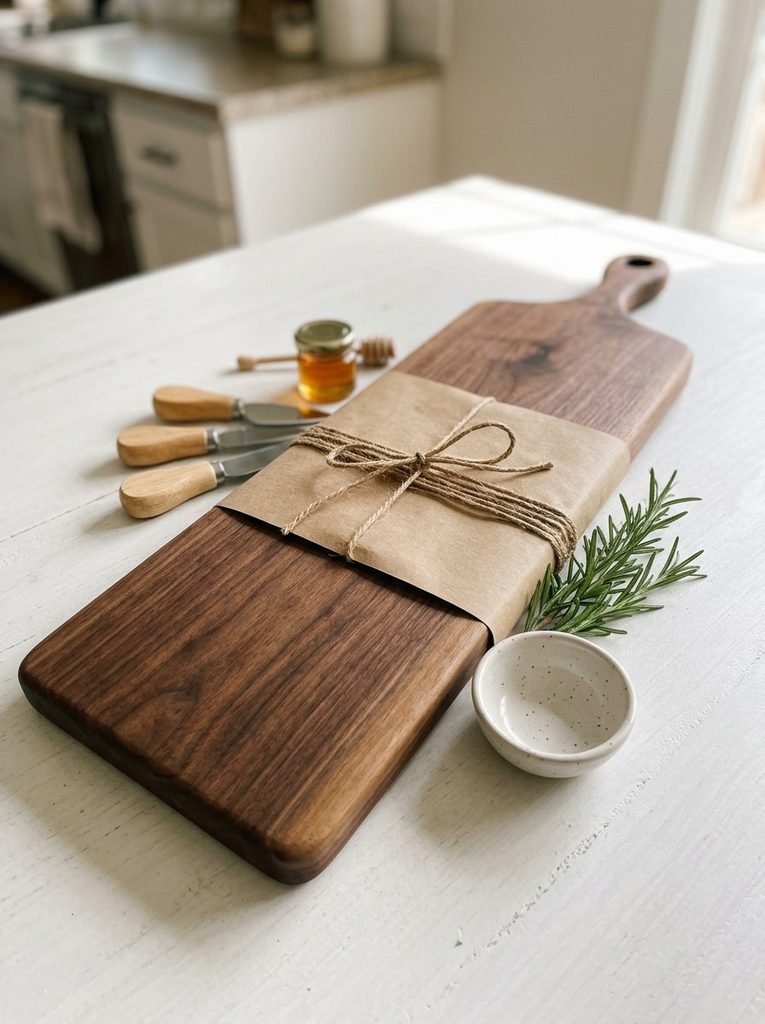
Turn a handmade board into a complete gift set. Add a set of cheese knives, a little jar of honey or jam and a small dip bowl. Wrap it all with kraft paper and twine.
It’s a perfect housewarming, wedding or hostess gift, and it looks far more expensive than it cost.
You’ll need: a long serving board, cheese knives, a small jar of honey or jam, a dip bowl, kraft paper and twine.
13. Mini Boards as Coasters and Trivets
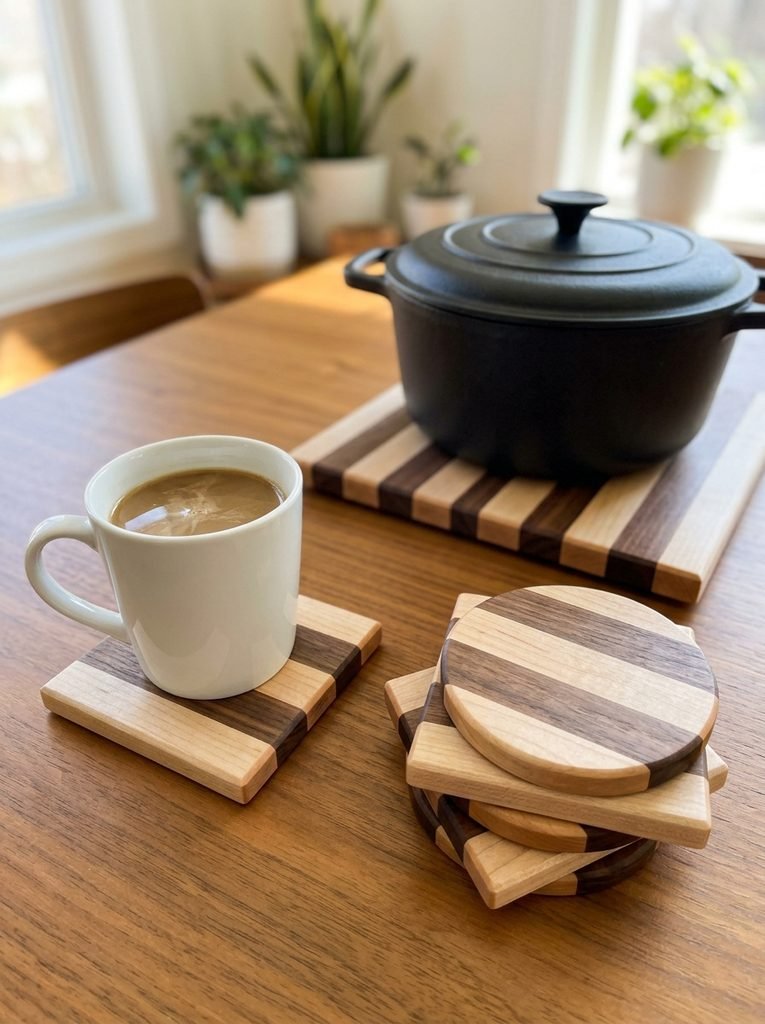
Leftover strips from your cutting board projects are too pretty to throw away. Glue them into small panels and cut them into coasters or trivets. They match your boards and make a great add on gift.
I seal coasters with a water resistant finish, since they’ll sit under wet glasses.
You’ll need: scrap hardwood strips, wood glue, clamps, sandpaper and a water resistant finish.
14. Paddle Board with a Rope Handle
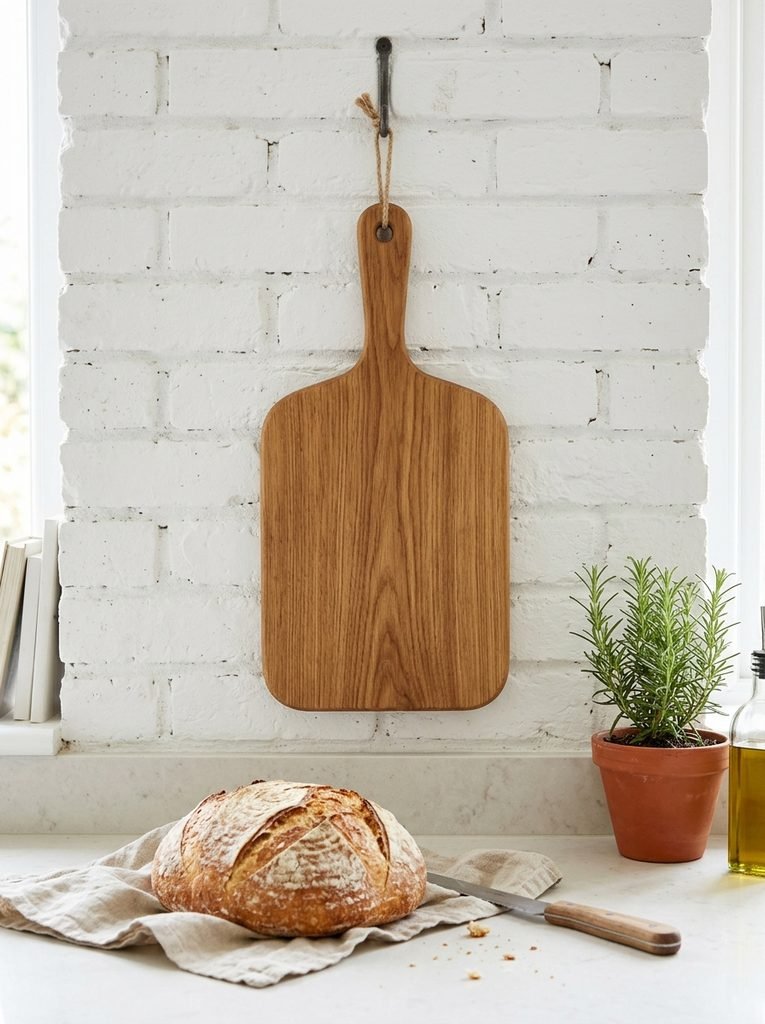
A paddle shaped board with a rope loop through the handle looks charming hanging on the kitchen wall. It’s great for bread, pizza and serving, and it’s easy to grab right off the hook.
Drill the hole near the end of the handle and sand the inside well, so the rope doesn’t fray.
You’ll need: a hardwood board, a jigsaw, a drill with a 1/2 inch bit, sandpaper, jute rope and food safe oil.
Final Thoughts on DIY Cutting Board Ideas
A DIY cutting board is one of the most rewarding projects you can make. Start with a simple striped board, then try a resin serving board, a personalized gift or a holiday shape. Keep your boards oiled, store them upright so they dry, and they’ll last for years, maybe even as long as my mom’s lopsided first board.


Amir Ali is the founder and site administrator of HomeDecorEdge, a modern home decor and interior design platform. Since starting the site, he has combined his passion for interior design, practical styling, and color coordination with hands-on content strategy and site management. He guides authors, curates high-quality articles, and ensures readers have access to actionable, visually inspiring, and user-focused home decor advice for apartments, small rooms, and family homes.