

The hum of the lights. The crinkle of tinsel stuck to your socks for weeks. That one ornament everyone fought over every single year.
If you grew up in the 90s, you know exactly what I mean. The tree was never perfect. It was bright, a little crowded and full of personality.
Honestly, I think that is why the look is back. People are tired of trees that look like store displays. They want something that feels warm and a bit silly again.
So here are 12 ways to bring that feeling home this year. Some are full tree looks, and three are easy DIY projects you can finish in an afternoon.

Quick Picks
- Most nostalgic: Classic Colored Lights Tree (idea 1)
- Easiest build: DIY Tinsel Star Topper (idea 7)
- Most fun: Tacky Maximalist Tree (idea 4)
- Prettiest: DIY Flocked 90s Tree (idea 3)
1. Classic Colored Lights Tree
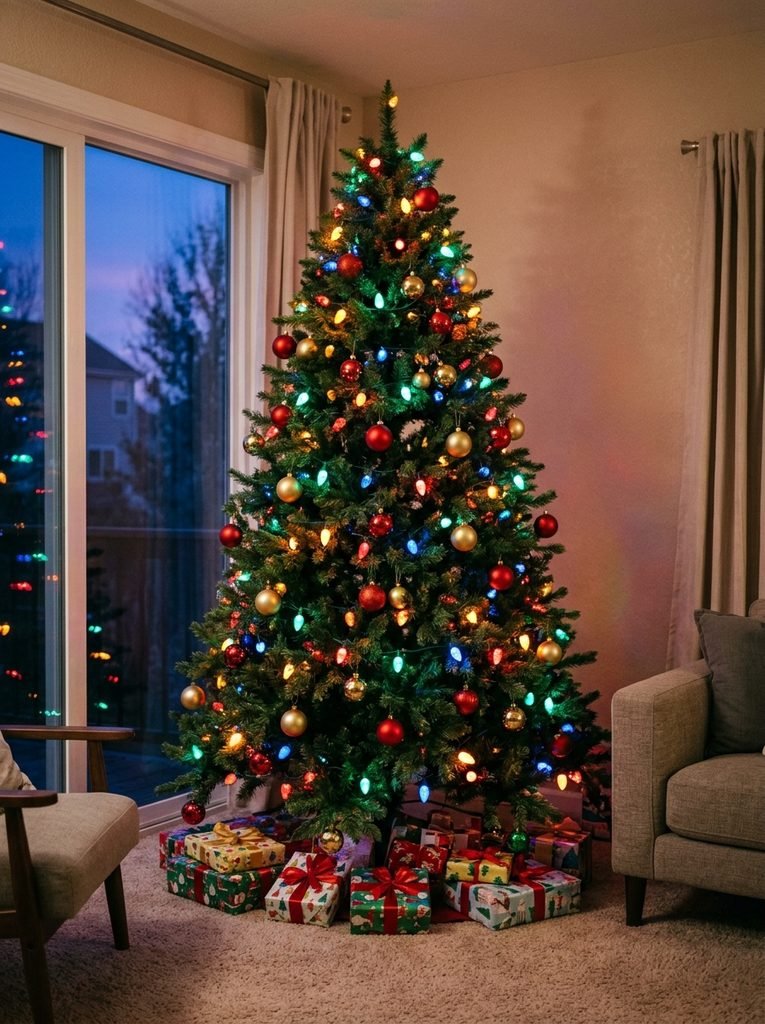
This is the tree most of us picture first. Big chunky bulbs in every color, glowing against a dark window. Nothing else says 90s quite like it.
The trick is choosing the right bulbs. I’d suggest C9 multicolor LED lights for that big bulb look. Wrap them deep into the branches, not just on the tips, so the whole tree glows from inside.
Best for: anyone who wants pure childhood nostalgia
2. Silver Tinsel Icicle Tree
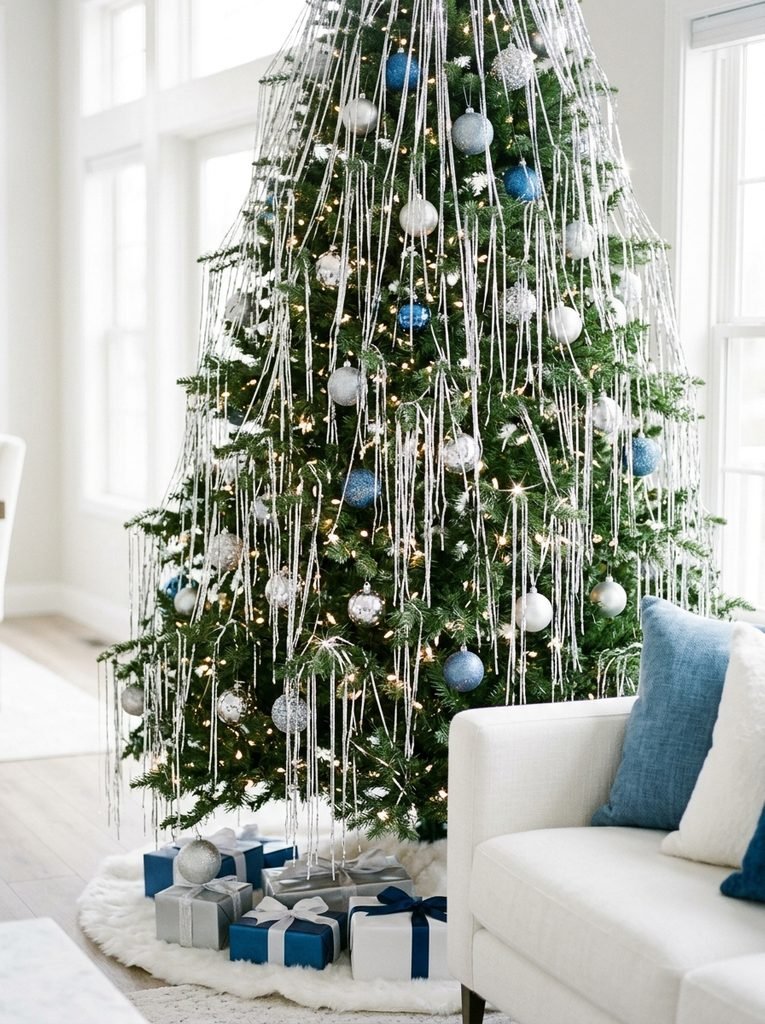
Remember tossing handfuls of tinsel at the tree and calling it done? This is the grown up version. You hang the strands one small bunch at a time, and the tree turns into a shimmering curtain.
Go slow and hang from the inner branches too. In my experience, tinsel looks best with white lights behind it, because the light bounces off every strand. It’s messy, but that’s half the charm.
You’ll need: silver tinsel icicle strands, a few blue glass ornaments
Best for: homes without cats or puppies
3. DIY Flocked 90s Tree
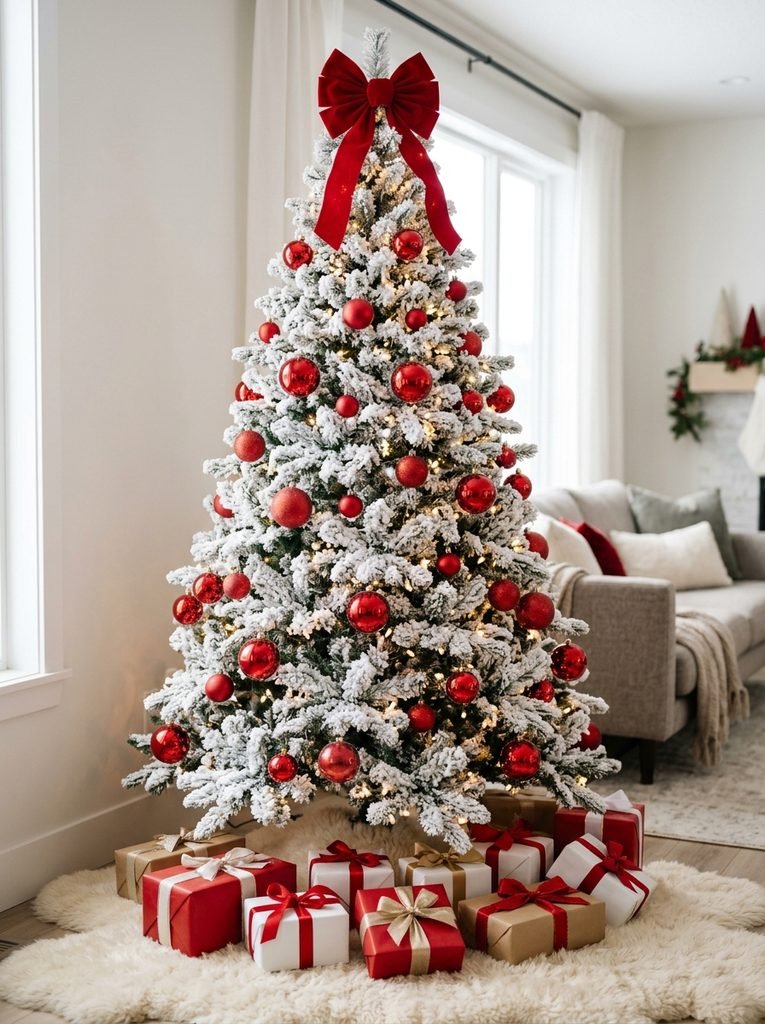
Flocked trees felt so fancy when I was a kid. They were the ones you saw in the department store window, never at home. Good news: you can flock your own artificial tree for a fraction of the cost.
I like red glass balls on a flocked tree. The white makes the red pop like candy. Do this outside or in a garage, because the powder gets everywhere.
⏱ 3 hours plus drying💲 Medium🛠 Easy
Materials Needed
- An artificial Christmas tree, unlit is easiest
- Christmas tree flocking powder
- Continuous mist spray bottle with water
- Large drop cloth or old sheet
- Dust masks and a fine mesh sieve
How to Make It
- Set up the tree outside on the drop cloth and fluff every branch.
- Put on a mask, then mist one section of branches lightly with water.
- Shake flocking powder through the sieve onto the wet tips, working top to bottom.
- Mist again lightly to set the powder, then repeat around the whole tree.
- Let it dry for 24 to 48 hours before you bring it in and decorate.
Tip: Always wear a mask and flock outdoors or in a well ventilated garage. Keep kids and pets away until it is fully dry, and never flock a pre lit tree with the lights plugged in.
Printable Bundle
Christmas Printable Bundle
Christmas planner, 24 advent activity cards, 36 gift tags, handmade labels, Santa letter and family games.
4. Tacky Maximalist Tree
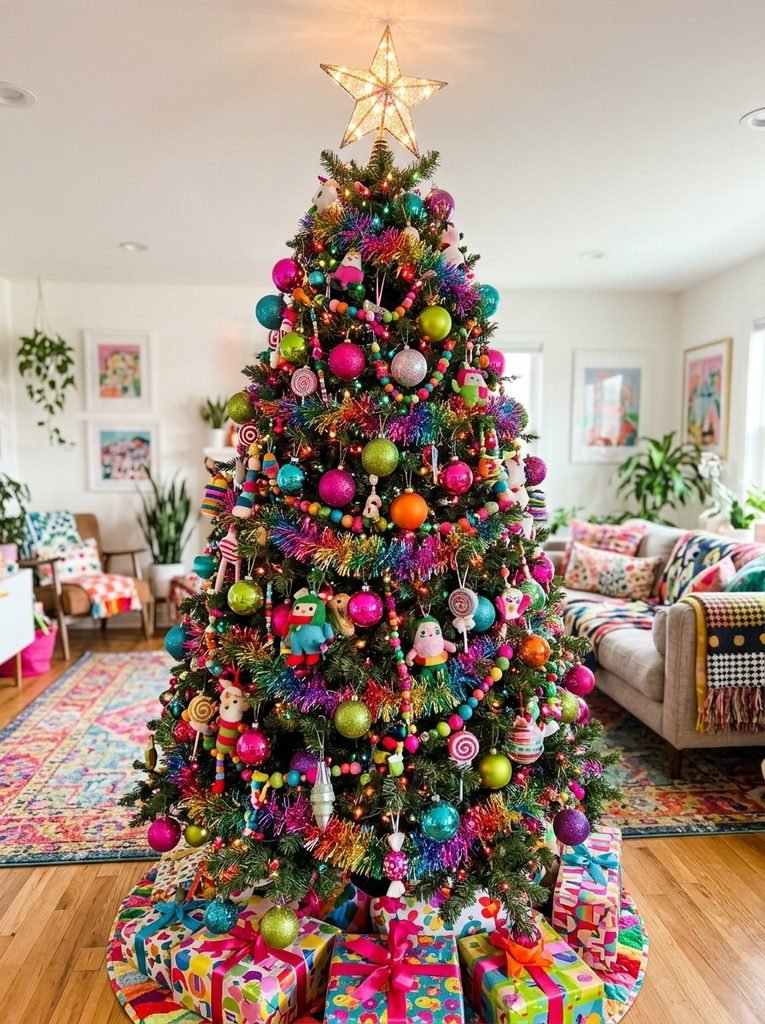
Here’s a secret. The 90s tree was never about matching. It was about putting every ornament you owned on it, and then a few more.
Lean into it. Mix glitter, felt, plastic candy and shiny balls. A bag of assorted shatterproof ornaments fills the gaps fast. Honestly, the more you add, the better it looks.
Best for: families with lots of handmade and mismatched ornaments
Printable Games
Christmas Party Games Pack
9 fun games for family, friends and office parties: trivia, charades, gift swap and more.
5. Glass Ball Ornament Tree in Bright Colors
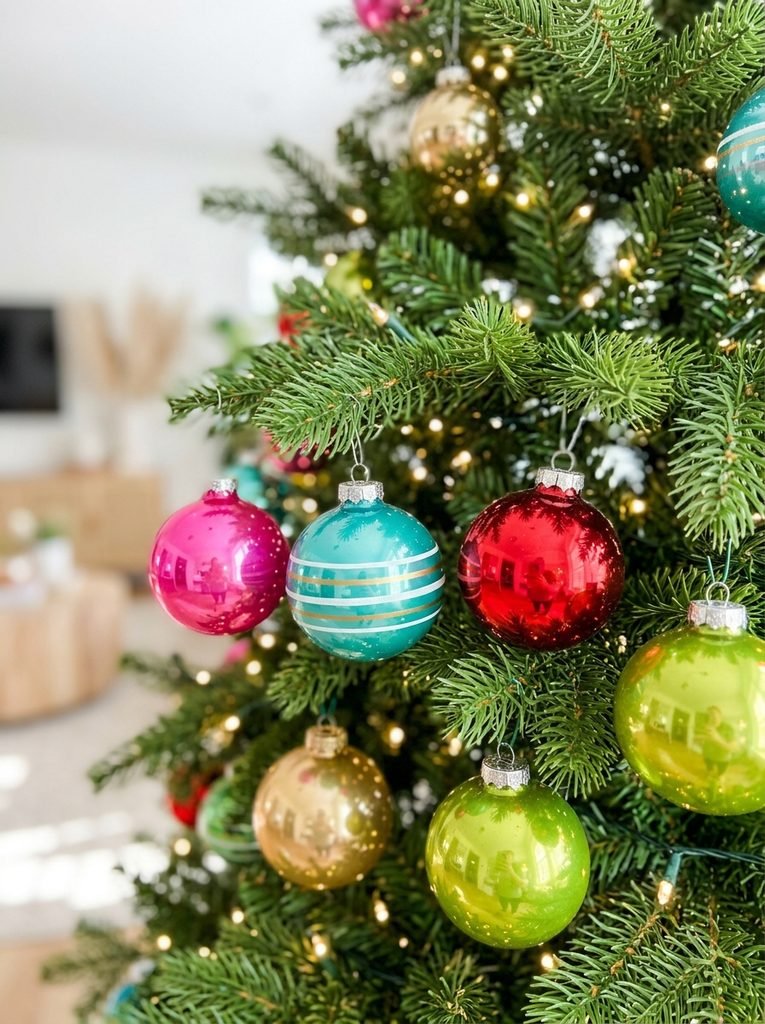
Those shiny glass balls in candy colors were on every tree in the neighborhood. The striped ones always felt extra special.
Pick four or five bright colors and stick to them. That keeps the tree playful but not chaotic. I hang the heavier balls closer to the trunk, where branches are strongest.
You’ll need: bright glass ball ornaments, green wire ornament hooks
Best for: homes with older kids and a bold color style
6. DIY Quilted Tree Skirt
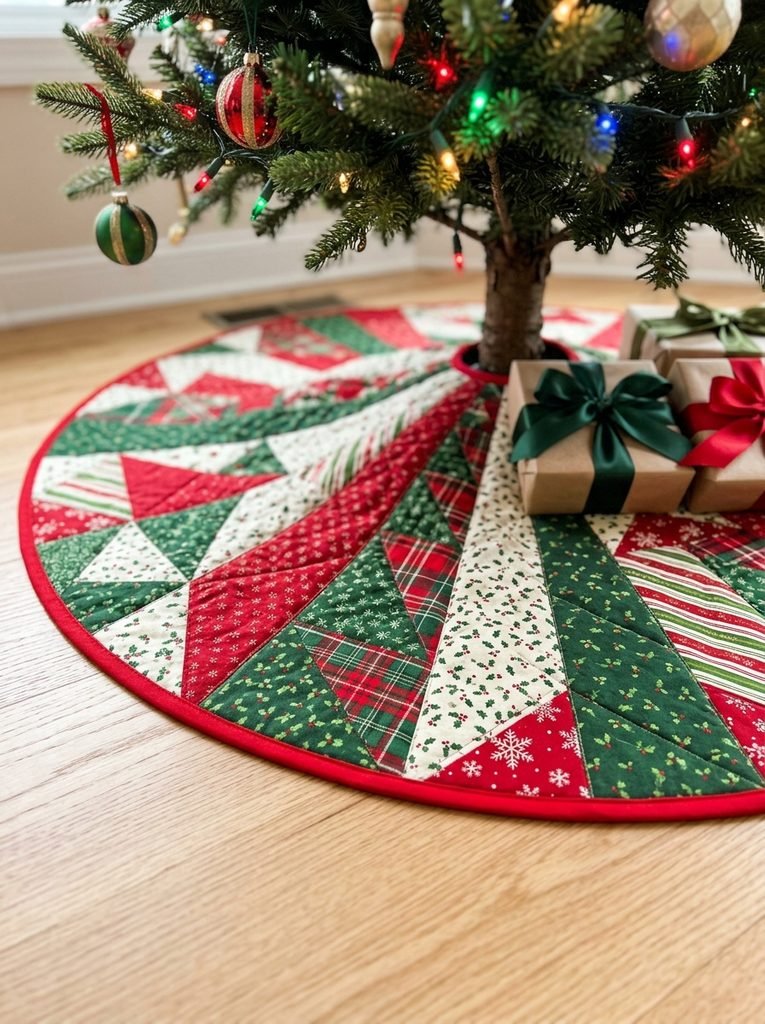
Every 90s tree had a quilted skirt underneath. Usually red and green, usually a little lumpy, and always covered in gifts by Christmas Eve.
Making one is easier than it looks. You just sew fabric squares into a big panel and cut a circle. A tip I picked up: use precut squares, and the whole thing goes twice as fast.
⏱ 4 hours💲 Medium🛠 Intermediate
Materials Needed
- Christmas precut fabric squares
- Cotton quilt batting
- Solid red cotton fabric for the backing
- Red double fold bias tape
- Sewing machine, pins, string and a pencil
How to Make It
- Sew the squares into a square panel about 48 inches wide.
- Layer the backing, batting and patchwork top, then pin all three together.
- Quilt straight lines along the seams to hold the layers.
- Use the string and pencil to draw a big circle and a small center circle, then cut one straight slit from edge to center.
- Sew bias tape around every raw edge, including the slit and center hole.
Tip: Prewash your fabric so the skirt doesn’t shrink later. If you use a real tree, keep the skirt away from the water dish so it stays dry and clean.
7. DIY Tinsel Star Topper
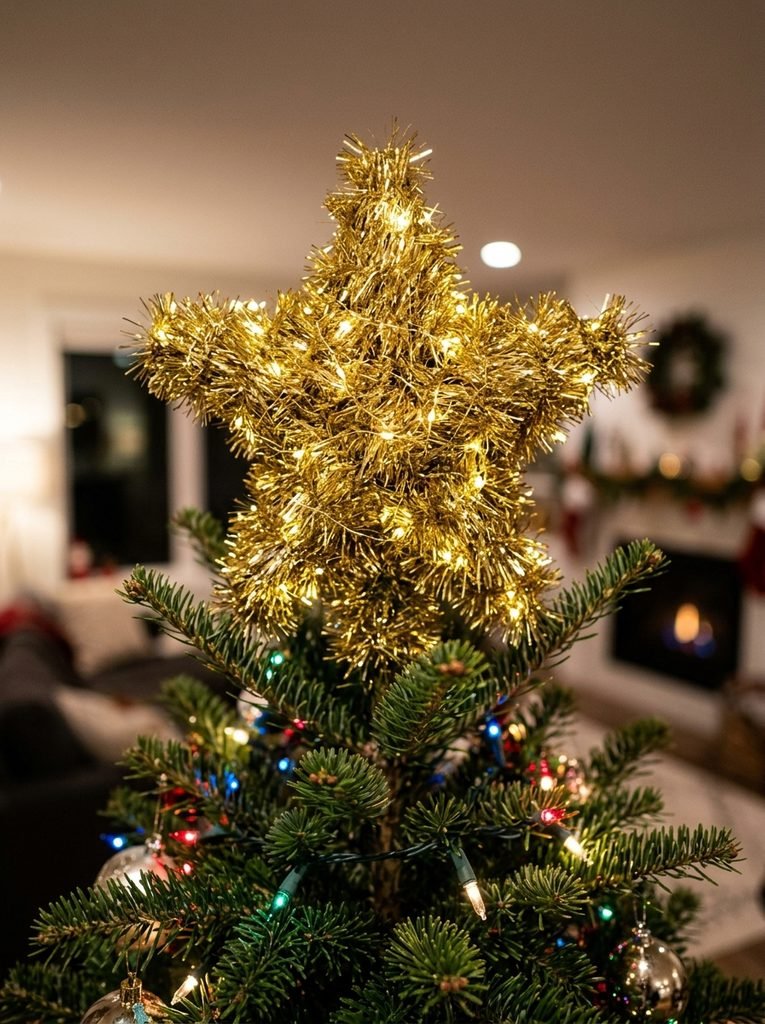
The topper was always the big moment. Someone got lifted up to place it, and the whole room cheered.
This tinsel star brings that sparkle back for almost nothing. A cardboard star, some gold tinsel and a string of tiny lights. I love how fluffy and glowing it looks at night.
⏱ 1 hour💲 Low🛠 Easy
Materials Needed
- Thick corrugated cardboard
- Thick gold tinsel garland
- Battery fairy lights with timer
- Mini hot glue gun
- Two pipe cleaners or floral wire
How to Make It
- Draw a star about 10 inches wide on cardboard and cut out two copies.
- Glue the two stars together for strength.
- Wrap gold tinsel tightly around each point, adding small dots of glue as you go.
- Weave the fairy lights through the tinsel and tuck the battery pack at the back.
- Glue two pipe cleaners to the back bottom and twist them around the top branch.
Tip: An adult should handle the hot glue gun. Use battery lights only, never plug in lights near loose tinsel at the top, and use a sturdy step stool to place the star.
8. All White Lights Tree
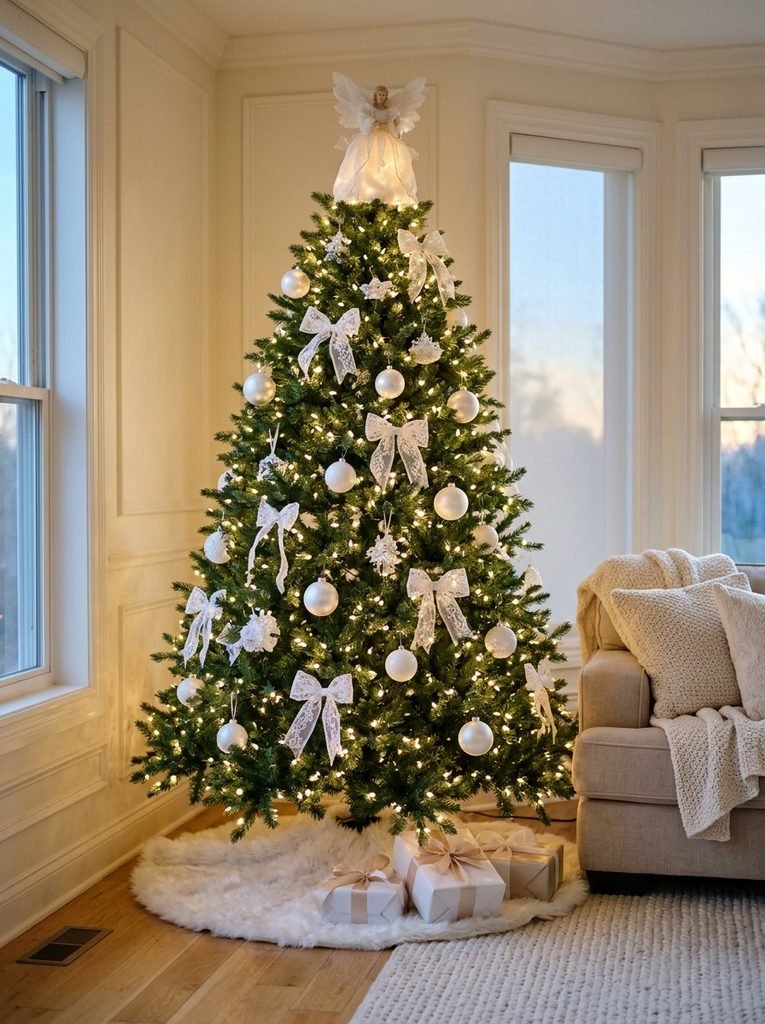
Not every 90s tree was loud. Some homes went all white, with satin balls, lace bows and tiny clear lights. It felt so grown up and calm.
Use a lot of lights here, more than you think. I’d aim for about 100 lights per foot of tree. White satin ornaments bring back that soft, glowy 90s feel.
You’ll need: warm white mini lights, white satin ball ornaments
Best for: neutral rooms and quiet, elegant style
9. 80s and 90s Retro Mix Theme
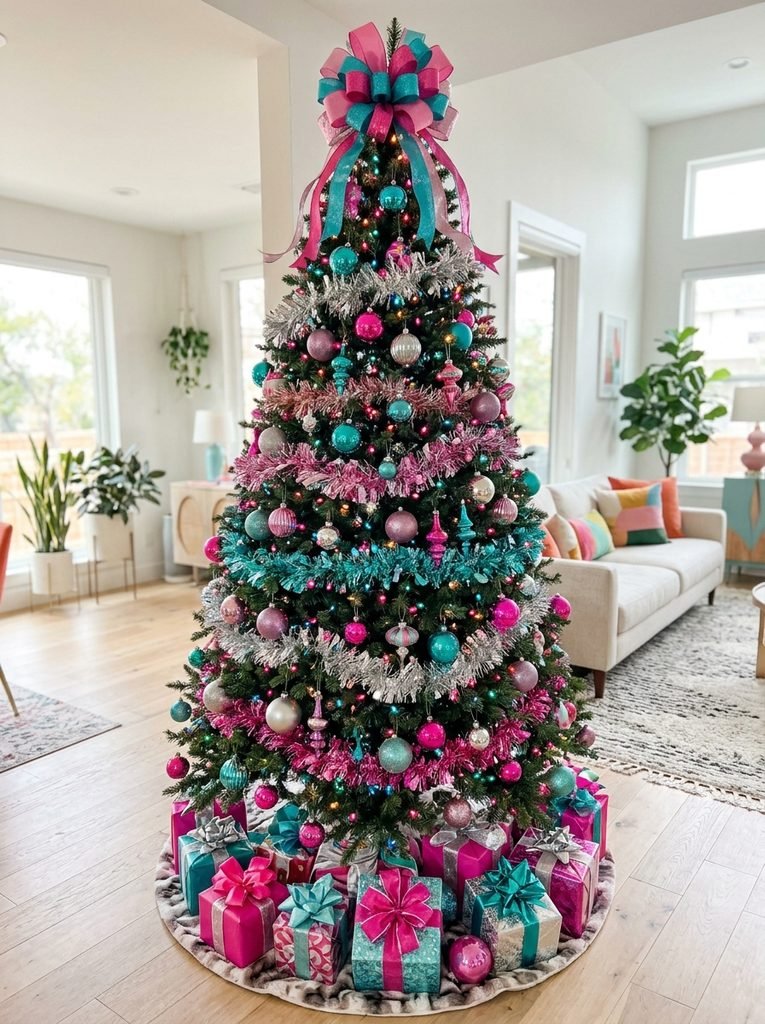
Mauve, teal and hot pink were everywhere in the late 80s and early 90s. Put them on a tree, and it instantly feels like a mall at Christmas in 1992.
Pair those colors with silver to keep it festive. Shiny foil garland swagged in big loops finishes the look. It’s playful, and I think it photographs beautifully.
You’ll need: teal and pink ornaments, metallic foil garland
Best for: a themed tree in a playroom or teen room
10. Modern Take on the 90s Tree
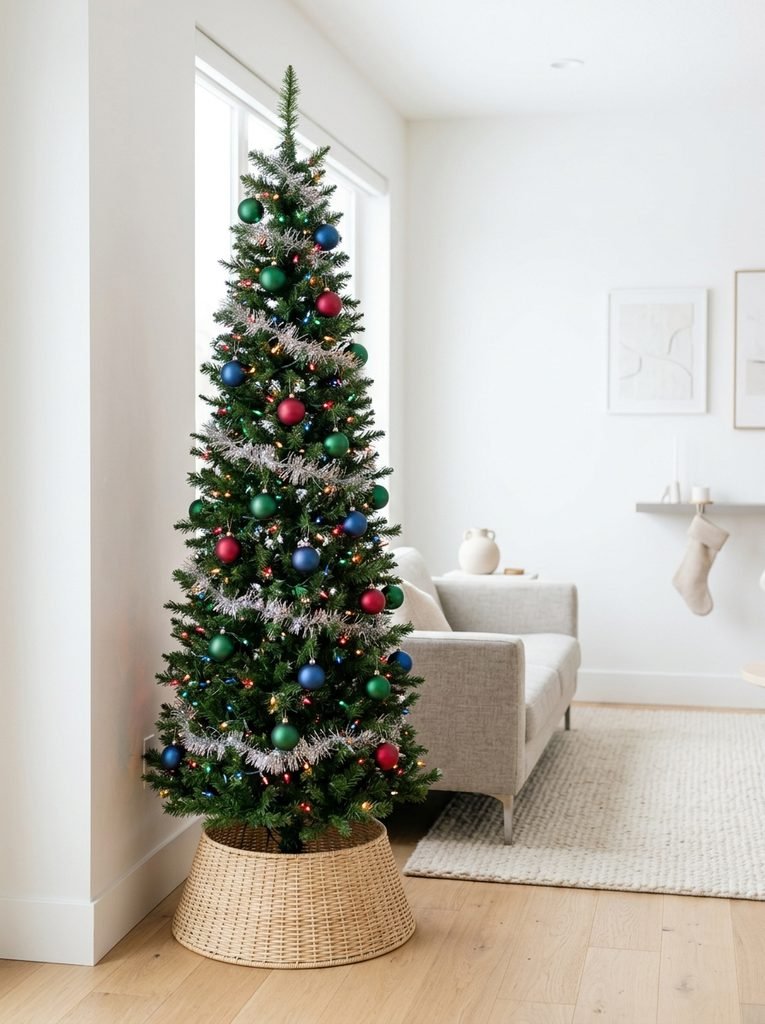
Love the nostalgia but live in a modern home? You can keep the spirit and lose the clutter. Take two or three 90s details and leave the rest out.
A slim tree with colored lights and just a touch of tinsel does the job. I like matte jewel tones here, because they feel current while the lights bring the memories.
You’ll need: slim pencil Christmas tree, matte jewel tone ornaments
Best for: small apartments and modern spaces
11. Red and Green Plaid Traditional Tree
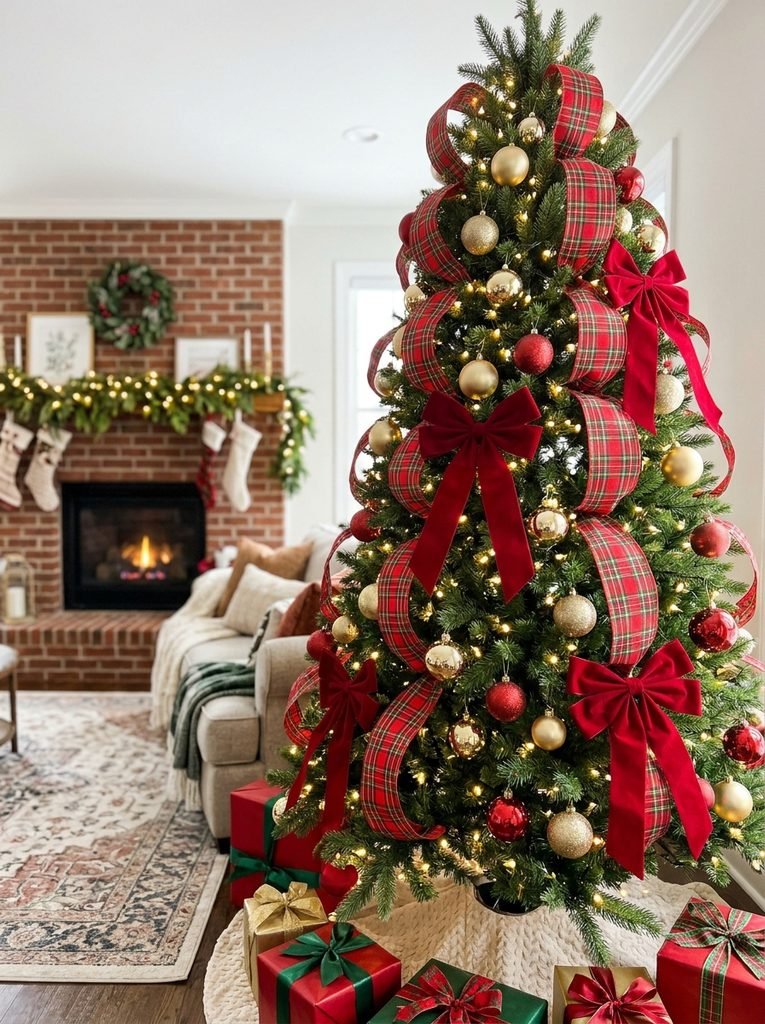
Tartan ribbon and fat velvet bows. That was the “nice” tree, the one at grandma’s house that you weren’t allowed to touch.
Wired ribbon is the key, because it holds its shape. Tuck one end deep into the tree, let it fall in loops, then tuck it in again. Add bows to fill any bare spots.
You’ll need: wired tartan ribbon, red velvet bows
Best for: classic homes with a fireplace
12. Bubble Lights and Bead Garland Tree
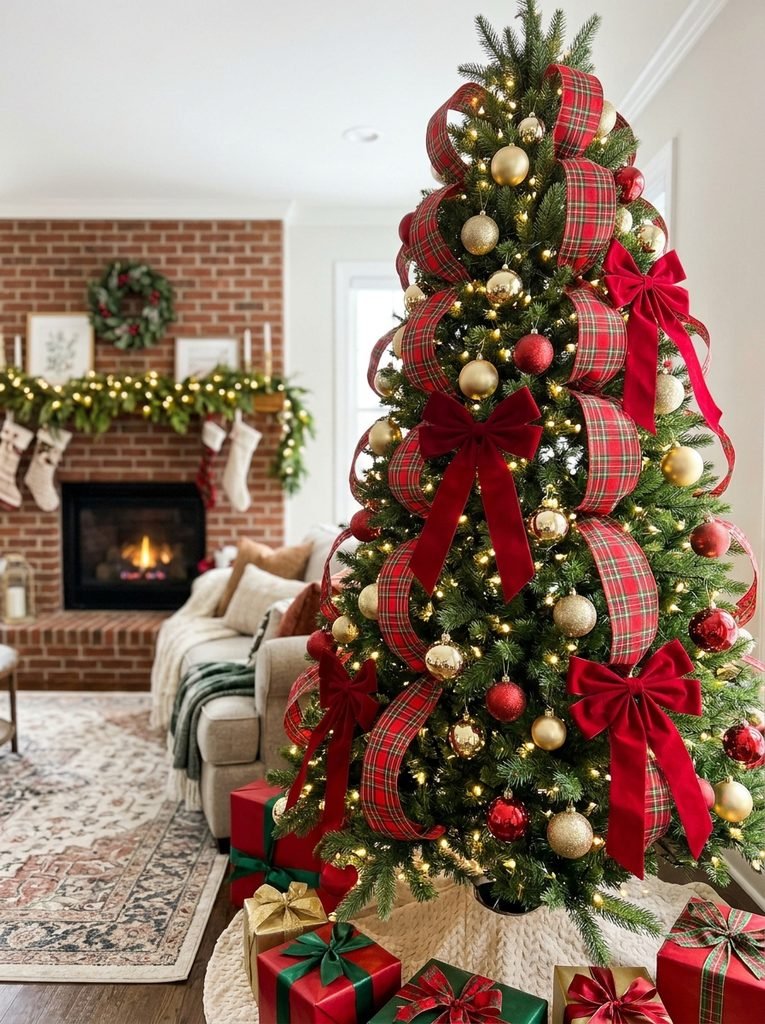
Bubble lights were pure magic. You’d sit and stare at them for ages, waiting for the bubbles to start. They still have that effect on me.
Clip a set onto the outer branches, then drape shiny bead garland in soft swags between them. The beads catch the colored glow. It’s simple, and it looks like a memory.
You’ll need: Christmas bubble lights, acrylic bead garland
Best for: anyone who wants a true conversation piece
Frequently Asked Questions
What makes a Christmas tree look 90s?
Colored lights, silver tinsel, shiny glass balls and a quilted skirt are the big clues. A full, slightly crowded look matters more than perfect matching.
Can I use my old light strings from the 90s?
I wouldn’t. Old wiring can crack and overheat. New LED lights give the same look, use less power and stay cool.
Is tinsel safe for pets?
No, tinsel is risky for cats and dogs if they swallow it. In a home with pets, use bead garland or ribbon instead.
Are bubble lights safe to leave on?
They get warm, so keep them off dry branches and away from paper decor. Turn them off when you leave the room or go to bed.
How many ornaments do I need for a 90s tree?
For a 7 foot tree, plan on 80 to 100 ornaments for a full look. A tacky maximalist tree can easily take more.
Can I mix colored and white lights?
Yes. Put white lights deep inside the tree and colored lights on the outer branches. You get extra glow plus that classic color.
Final Thoughts on 90s Christmas Tree Ideas
A 90s tree doesn’t need to be perfect. It needs to feel like home, a little bright, a little crowded and full of stories. Pick one idea, turn the lights on and let the memories do the rest.


Amir Ali is the founder and site administrator of HomeDecorEdge, a modern home decor and interior design platform. Since starting the site, he has combined his passion for interior design, practical styling, and color coordination with hands-on content strategy and site management. He guides authors, curates high-quality articles, and ensures readers have access to actionable, visually inspiring, and user-focused home decor advice for apartments, small rooms, and family homes.