

My dog has outgrown three collars in two years.
That’s the hidden cost of a growing dog. Store bought collars add up fast, and they never quite fit or match.
When you make your own, you pick the size, the color and the style. And it’s much easier than you think.
Here are 11 DIY dog collar ideas, from tough paracord to cute bandanas and bow ties. Three of them come with full step by step build cards.
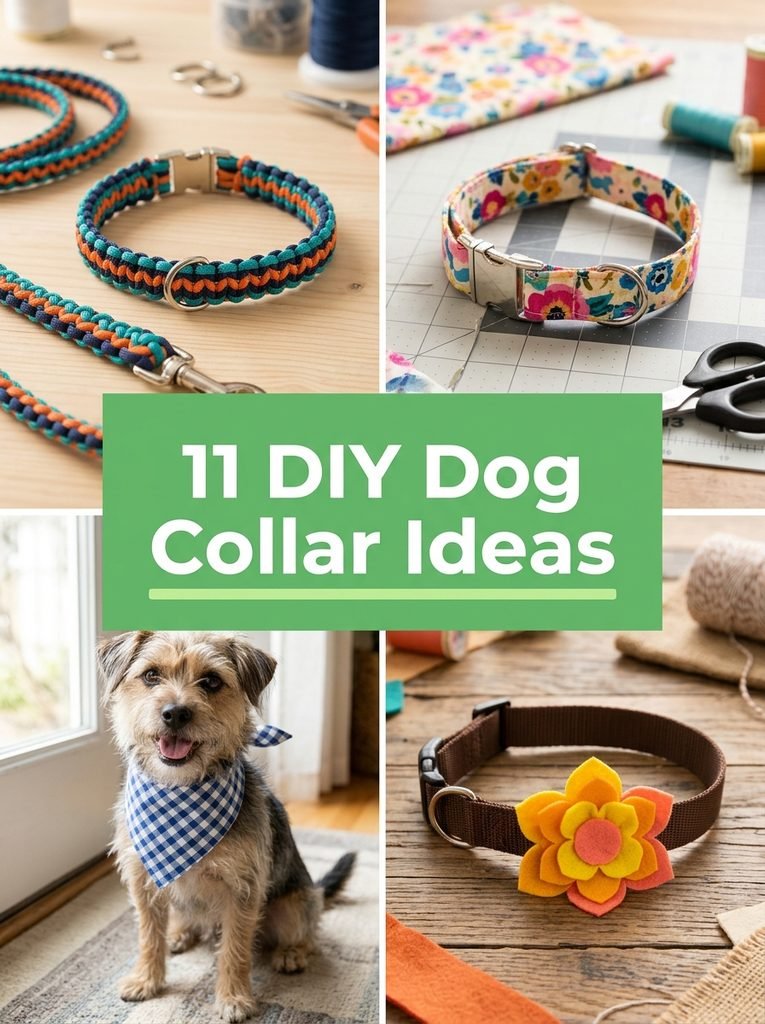
Quick Picks
- Toughest: Paracord Dog Collar and Leash Set (idea 1)
- Easiest: Easy Dog Bandana With a Free Pattern (idea 3)
- Best for style swaps: Easy Sewn Dog Collar With Removable Cover (idea 2)
- Cutest: Slide On Fabric Bow Tie (idea 4)
1. Paracord Dog Collar and Leash Set
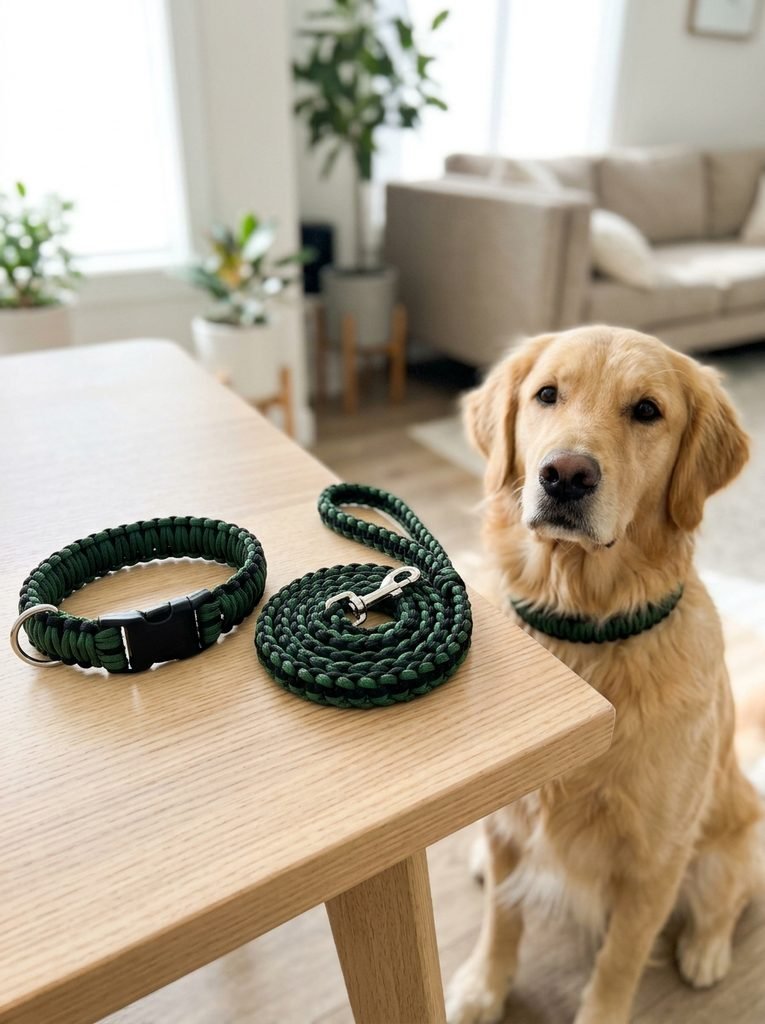
A paracord collar is tough, light and looks great. It’s a favorite for active dogs, and once you learn the weave, you can make a matching leash too.
Always use a quick release buckle, not just knots. Measure your dog’s neck and add 2 inches. A good collar fits so two fingers slide under it comfortably.
⏱ 2 hours💲 Low🛠 Medium
Materials Needed
- Paracord, 550 type, 100 feet in two colors
- Quick release buckles, 1 inch, with D ring
- Craft lighter
- Scissors, a tape measure and a clip to hold the work
How to Make It
- Measure your dog’s neck, add 2 inches, and cut enough paracord to weave that length in a cobra stitch, about 8 feet for a medium dog.
- Thread the buckle on the middle of the cord and begin the cobra weave from one side.
- Keep weaving tight and even until the braid is the length you measured.
- Thread the second half of the buckle and finish with a firm knot.
- An adult should melt the ends with a lighter and press them flat so they can’t unravel.
Tip: Check the fit by sliding two fingers under the collar. An adult should handle the lighter, and check the buckle for wear every week.
2. Easy Sewn Dog Collar With Removable Cover
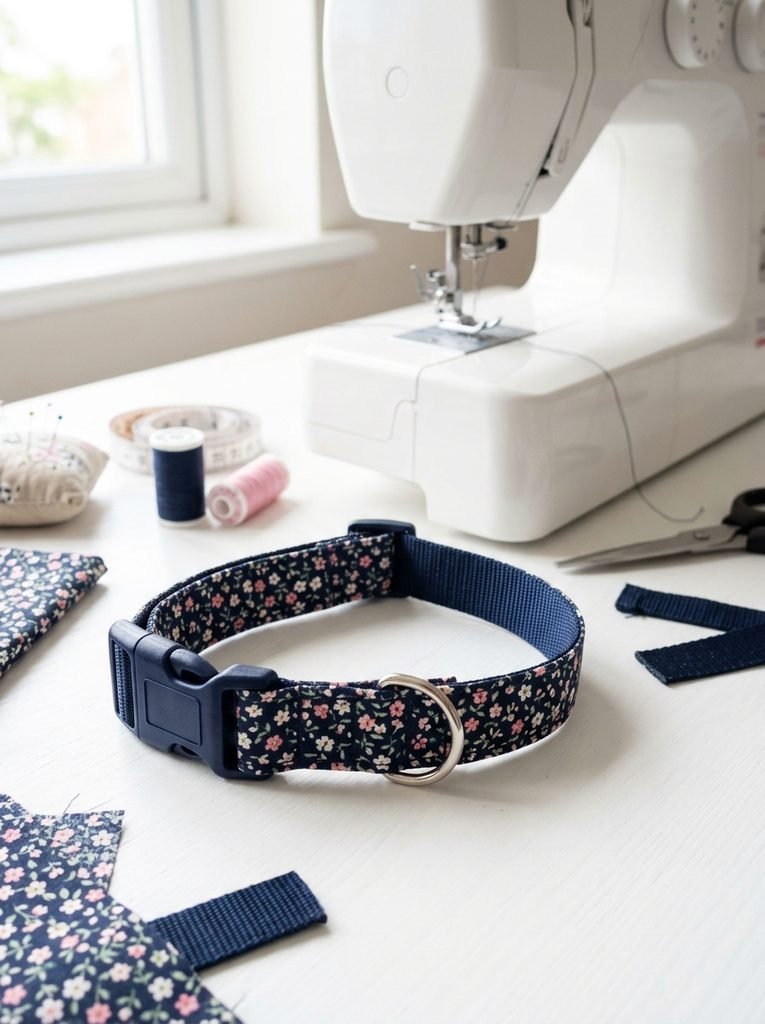
A sewn collar with a removable cover lets you change the look without making a new collar. The webbing stays strong, and the cover makes it cute.
Make the collar from nylon webbing and a buckle, then sew a tube of fabric that slides over it. Wash the cover, swap it for a new print and your dog has a new collar for every season.
⏱ 2 hours💲 Low🛠 Medium
Materials Needed
- Nylon webbing, 1 inch wide
- Plastic side release buckles and D rings
- Cotton fabric, quilting prints
- Strong polyester thread and a sewing machine
How to Make It
- Measure your dog’s neck, add 3 inches and cut a piece of webbing to that length.
- Loop one end through the D ring and sew it down with a tight box stitch.
- Thread the buckle on the other end and stitch it with the same box stitch.
- Cut a fabric strip twice as wide as the webbing plus 1 inch, fold it into a tube and sew the long edge.
- Slip the fabric tube over the collar and slide it into place.
Tip: Sew every stitch twice for strength. Test the stitching by pulling hard, and check it for wear every few weeks.
3. Easy Dog Bandana With a Free Pattern
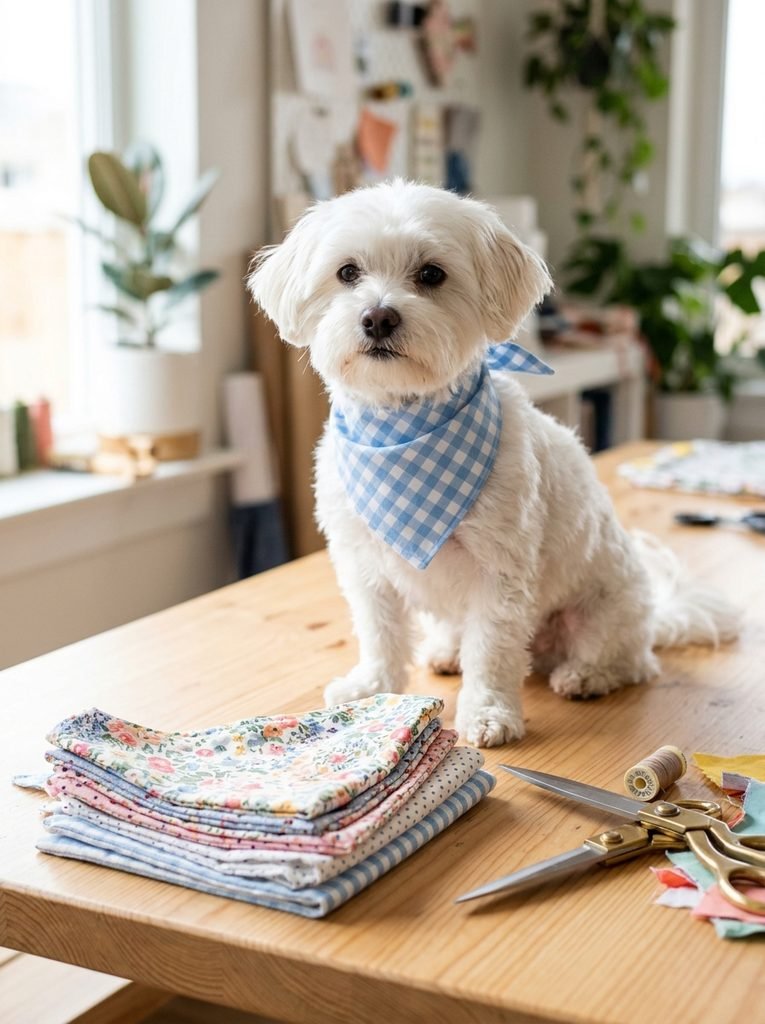
A bandana is the easiest dog accessory you can make. It’s just a square of fabric cut in half, with three hemmed edges.
Here’s the pattern: for a small dog, cut a 16 inch square. For medium, 20 inch. For large, 24 inch. Cut it in half diagonally, and each square gives you two bandanas.
⏱ 45 minutes💲 Low🛠 Easy
Materials Needed
- Cotton fabric, 1 yard of a fun print
- Fabric scissors
- Iron on hem tape
- A ruler, pins and an iron
How to Make It
- Cut a square to the size for your dog, 16, 20 or 24 inches.
- Fold the square in half diagonally and cut along the fold to make two triangles.
- Fold each edge over by half an inch and press it flat with the iron.
- Hem the two short edges with hem tape or a simple stitch, leaving the long edge for the neck.
- Fold the long edge over about an inch to make a channel, and slide the collar through it, or tie it loosely.
Tip: Tie bandanas loosely and never leave one on a dog that chews. Take it off if your dog is hot or sleeping.
4. Slide On Fabric Bow Tie
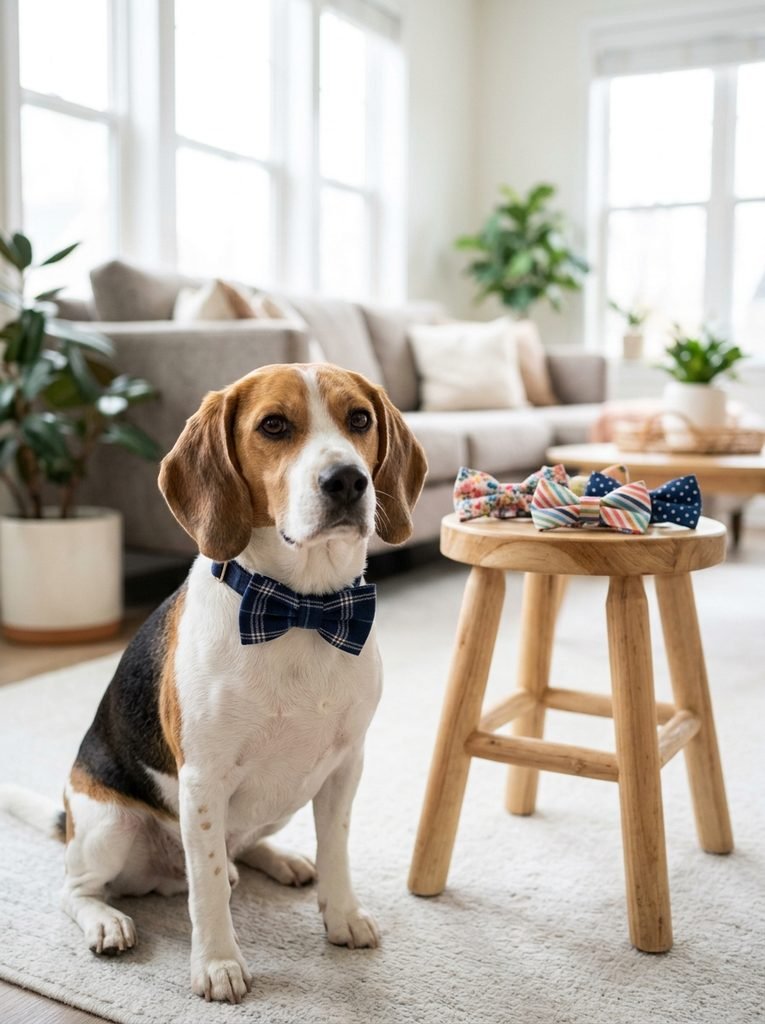
A slide on bow tie dresses up any collar in minutes. It’s perfect for family photos, holidays and parties.
Make a small fabric rectangle, pinch the middle, wrap it with a narrow strip and thread a loop at the back that slides over the collar. Keep it flat and light so it doesn’t flop.
You’ll need: cotton fabric scraps in bold prints
Best for: holiday photos and quick gifts
5. Felt Flower Collar Accessory
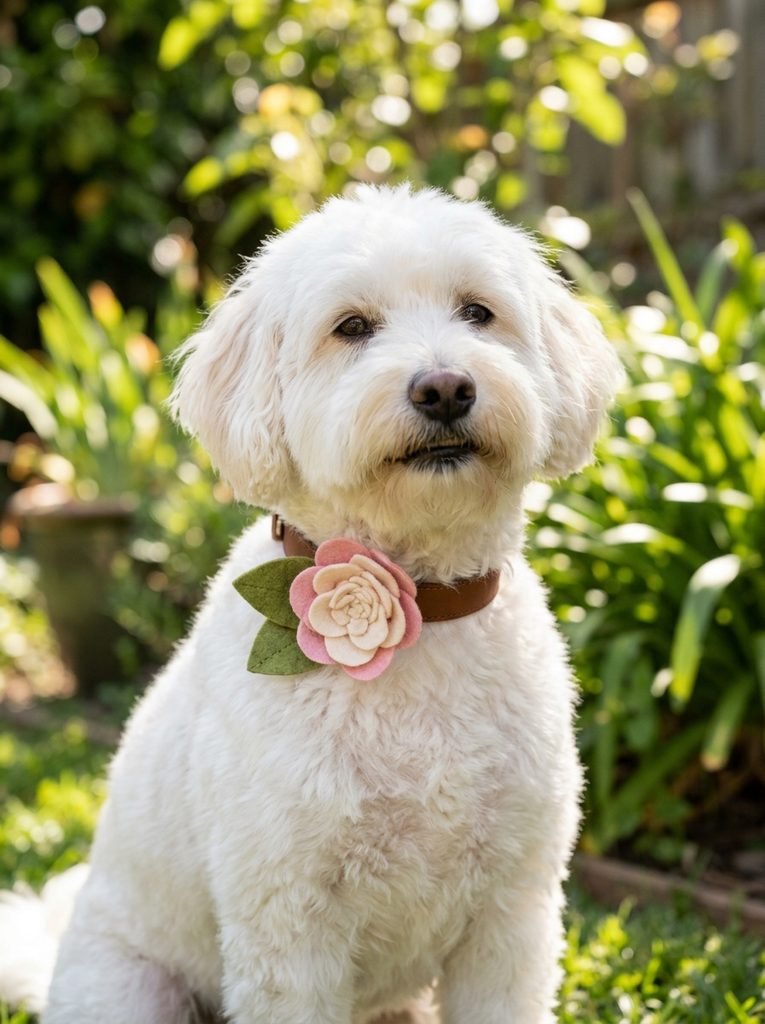
A felt flower is a pretty touch for spring and summer. It’s soft, light and made from a few simple petals.
Cut round petals in different sizes, stack them and stitch them together with a small button center, but use a sewn felt circle instead of a button for dogs. Attach it to a slide on strap, so it comes off easily.
You’ll need: felt sheets in soft colors
Best for: spring photos and sweet gifts
6. Beaded Collar Accents
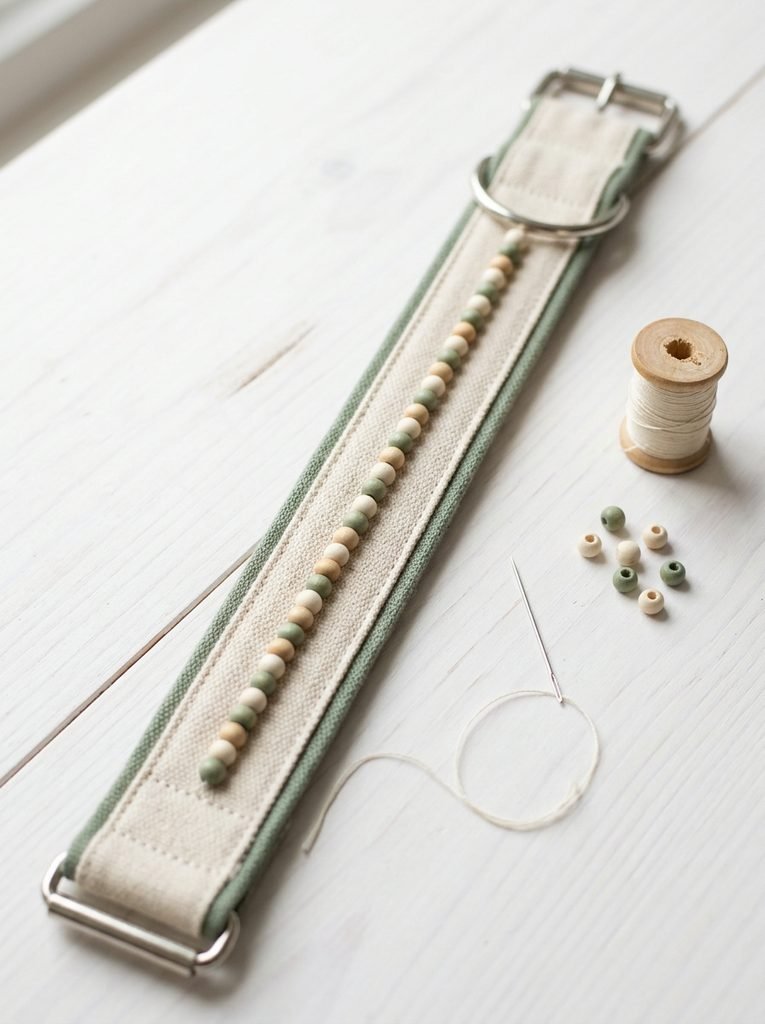
Beads give a collar a boho touch. A single row of wooden beads, stitched on tight, looks charming and handmade.
Beads can come loose, so use strong thread and stitch each one twice. This is best for dogs who don’t chew, and for short walks with you watching. Skip small glass beads altogether.
You’ll need: large wooden beads, 12 mm
Best for: calm dogs and boho looks
7. Crochet Dog Collar
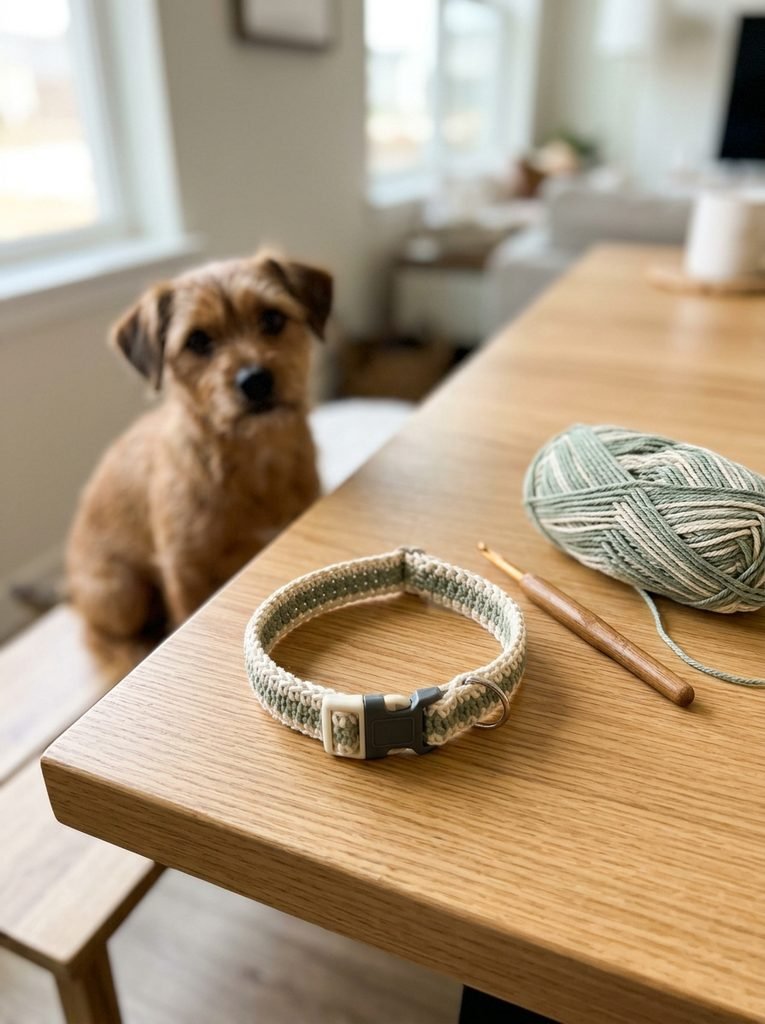
A crochet collar is soft, light and comfortable for small dogs. It works best as a cover or a decorative collar, with a strong buckle underneath.
Use cotton yarn and tight single crochet stitches. Make a long strip that wraps over a webbing collar. Keep it short and snug, and check often for loose loops.
You’ll need: cotton yarn, worsted weight
Best for: crocheters and small dogs
8. Custom Collar Charms and ID Tag
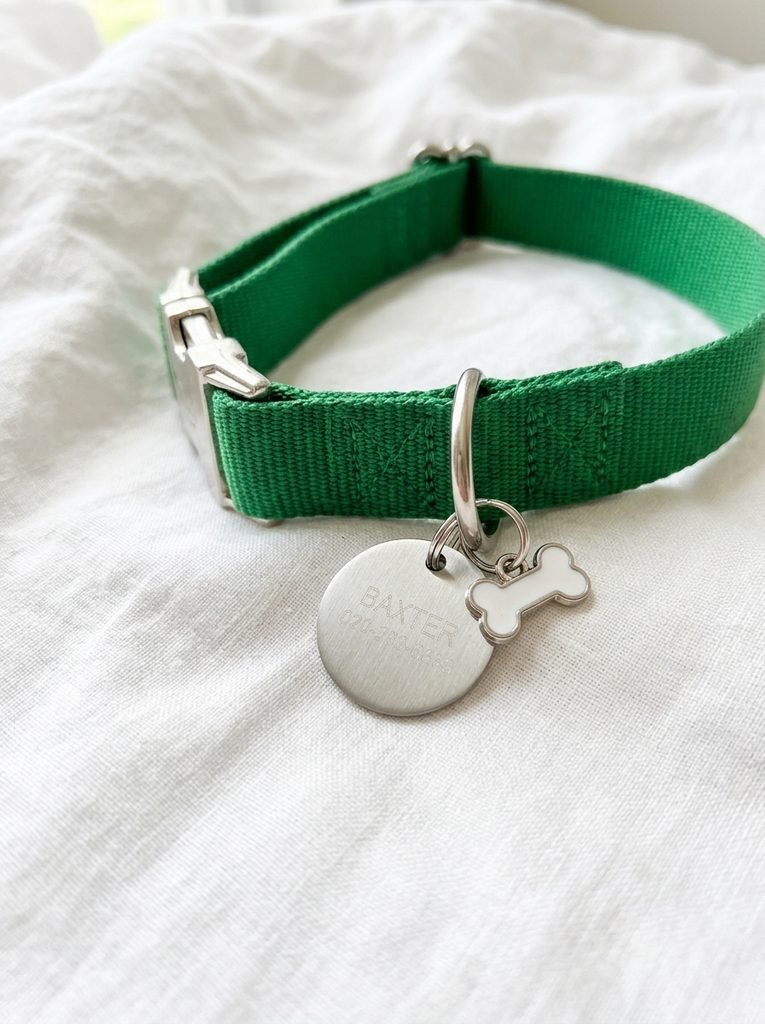
Every dog needs an ID tag, and a charm makes it special. A tag with your phone number is the quickest way to get your dog home if they wander off.
Keep the tag small and light, and put it on a small ring so it doesn’t jingle too loudly. Skip dangly charms for active dogs, because they can catch on things.
You’ll need: custom engraved dog ID tag
Best for: every dog and every collar
9. Dog Costume Ruff Collar
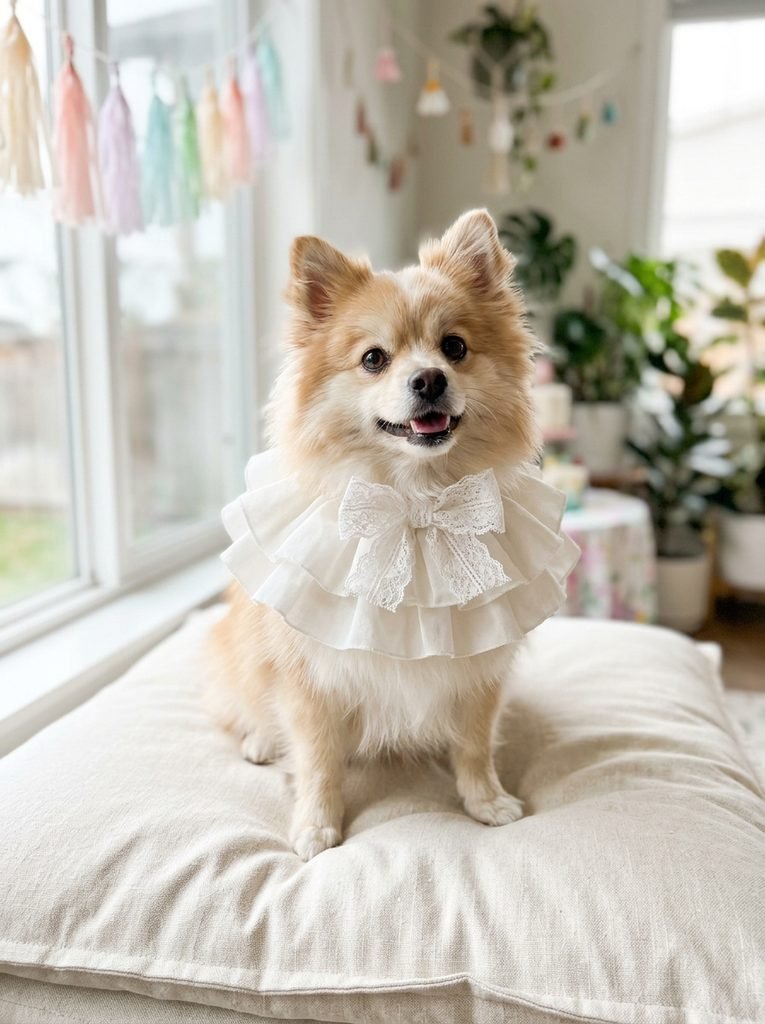
A ruff collar is a simple costume. It looks fancy, it’s light and it takes a few minutes to make from a strip of fabric.
Gather a long strip of soft fabric with a basting stitch, pull it into a ruffle and sew it onto a ribbon. Keep it loose, light and easy to take off, and only use it for short photo sessions.
You’ll need: soft tulle or cotton ruffle fabric
Best for: photos and dress up days
10. Collar and Leash Display Board
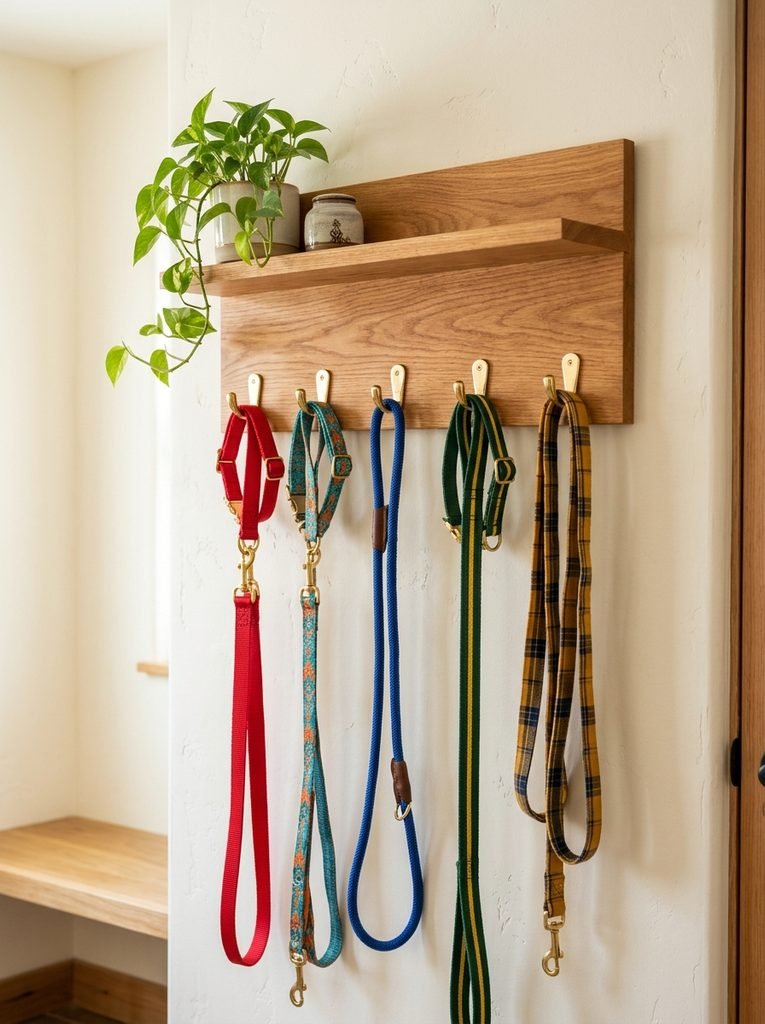
Display your collar collection on a board by the door. It keeps leashes tidy, and the colors look good on the wall.
Screw a row of hooks to a board, sand the edges and hang it near the door. Add a small shelf for treats and poop bags.
You’ll need: brass wall hooks for leashes
Best for: tidy entryways and collar collectors
11. Mini Collar for Stuffed Animals
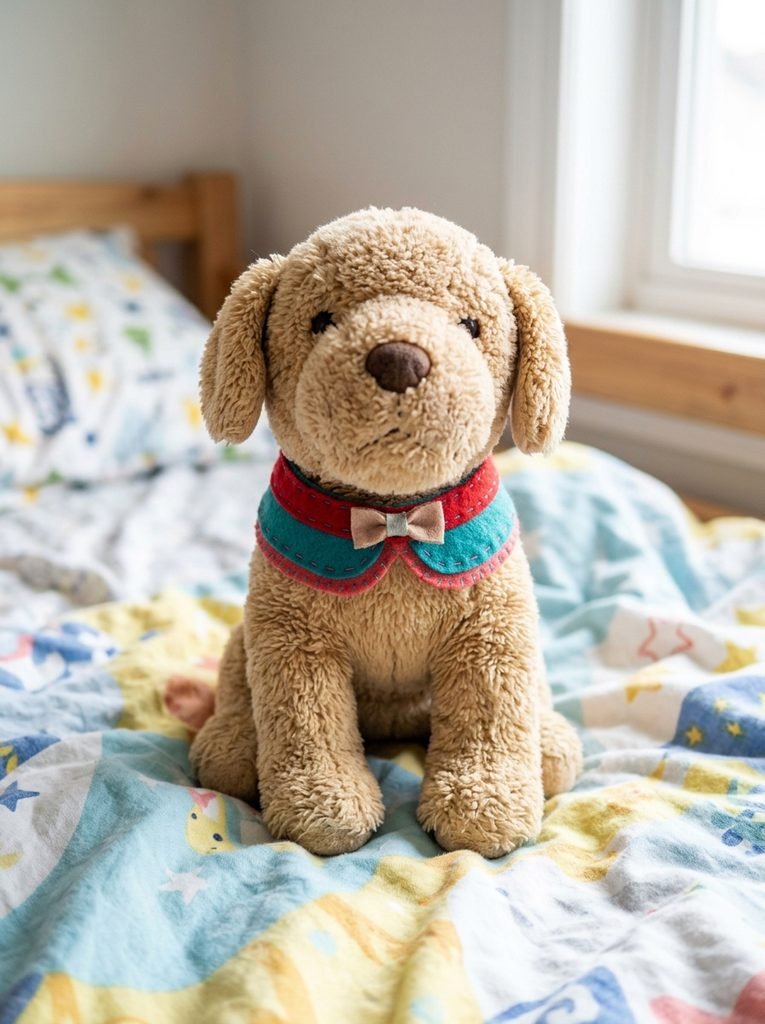
A tiny collar makes a plush dog feel real. It’s quick, cute and kids love getting involved.
Cut a narrow strip of felt, wrap it around the toy’s neck and sew a tiny bow at the front. Use fabric glue only for the bow, and keep the toy away from real pets who might chew it.
You’ll need: felt ribbon scraps
Best for: kids crafts and plush lovers
Frequently Asked Questions
How tight should a dog collar be?
You should be able to slide two fingers between the collar and your dog’s neck. Check it often on puppies.
What materials are safe for a DIY dog collar?
Nylon webbing, cotton fabric and paracord are good. Use a strong buckle and avoid small parts that can be chewed off.
Do dogs need an ID tag?
Yes. It’s the quickest way to get a lost dog home. Many places also require it by law.
Is a paracord collar safe?
Yes, if you use a quick release buckle and weave it tightly. Check it often and avoid frayed cord.
Can dogs wear bandanas all day?
Better not. Use them for short times, tie them loosely and take them off if your dog is hot or chews.
How do I wash a DIY dog collar?
Hand wash with mild soap and air dry. Remove fabric covers and wash them on gentle.
Final Thoughts on DIY Dog Collar
A handmade collar is a simple way to show your dog’s personality. Choose strong hardware, measure well and keep every accessory safe and removable. Start with one idea, and your dog will be the best dressed on the block.


Amir Ali is the founder and site administrator of HomeDecorEdge, a modern home decor and interior design platform. Since starting the site, he has combined his passion for interior design, practical styling, and color coordination with hands-on content strategy and site management. He guides authors, curates high-quality articles, and ensures readers have access to actionable, visually inspiring, and user-focused home decor advice for apartments, small rooms, and family homes.