

I used to root cuttings in old jam jars. They worked, but they looked messy.
Then I made a wooden station. Now my roots look like decor.
Here are 10 DIY wooden propagation station ideas, from a simple test tube block to wall mounted and tabletop plans. Three of them come with full step by step build cards.
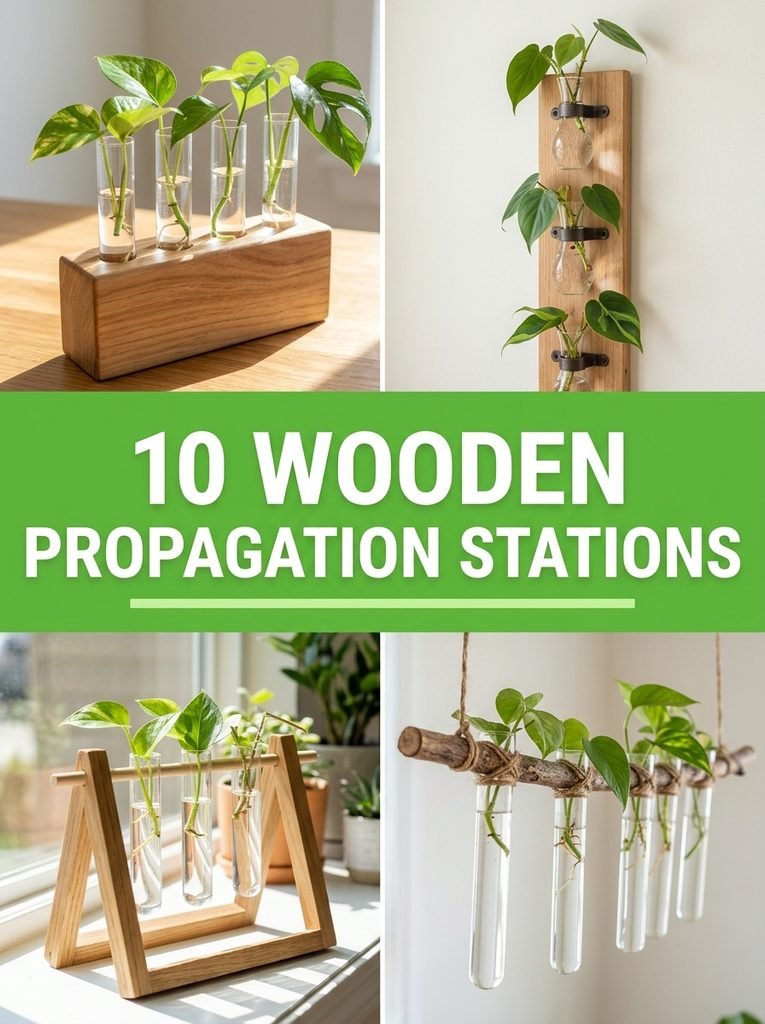
Quick Picks
- Easiest: Simple Wooden Propagation Station With Test Tubes (idea 1)
- Best for small spaces: Wall Mounted Propagation Station (idea 2)
- Best for scraps: Scrap Wood Propagation Station (idea 3)
- Most stylish: Modern Minimalist Propagation Station (idea 9)
1. Simple Wooden Propagation Station With Test Tubes
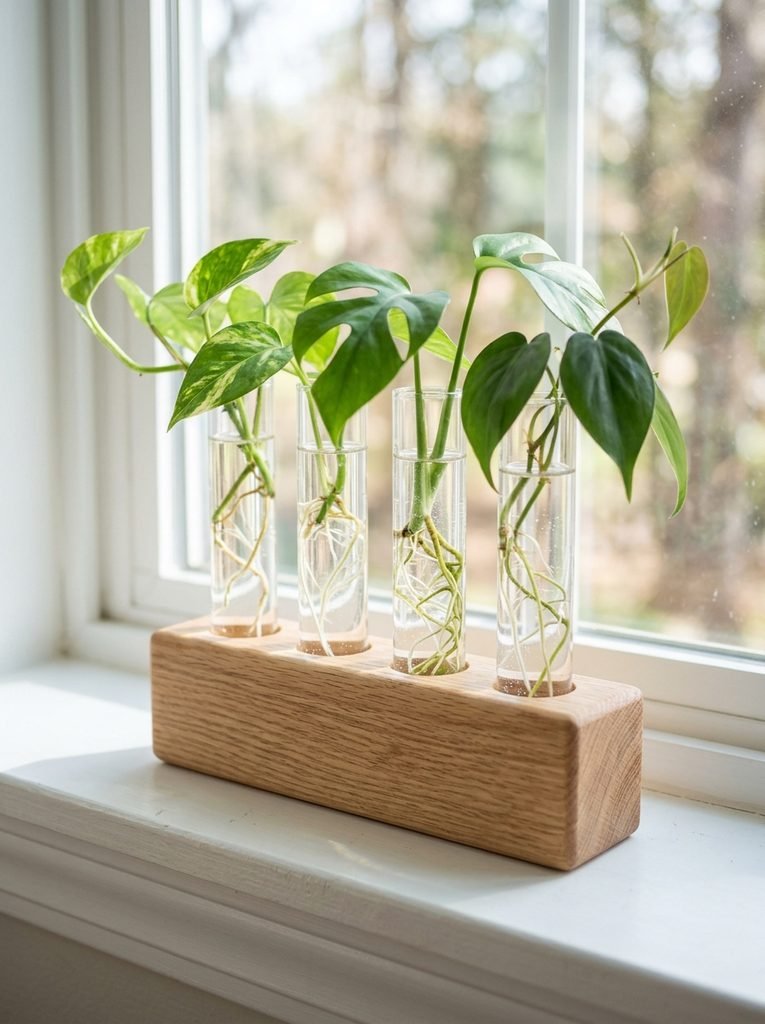
This is the easiest propagation station to make. One block of wood, a few drilled holes and clear glass tubes are all it takes.
Pick a hardwood like oak or pine, about 2 inches thick. Drill holes slightly wider than your tubes, but not all the way through, so each tube sits snug. Sand well and seal it, since wood and water don’t always get along.
⏱ 1 hour💲 Low🛠 Easy
Materials Needed
- Glass test tubes with cork, 1 inch
- Wood sealer, waterproof
- Forstner drill bit, 1 inch
- A 2 inch thick wood block, a drill and sandpaper
How to Make It
- Cut the wood block to about 12 inches long and 3 inches wide, and sand all the edges smooth.
- Mark four evenly spaced holes down the middle, about 3 inches apart.
- An adult should drill each hole with the forstner bit about halfway into the wood.
- Sand again, wipe off the dust and brush on two coats of waterproof sealer, letting each dry fully.
- Slide in the test tubes, fill them with water and add your cuttings.
Tip: Wear goggles and a dust mask when you drill and sand. Glass tubes can break, so keep them away from small children and pets.
2. Wall Mounted Propagation Station
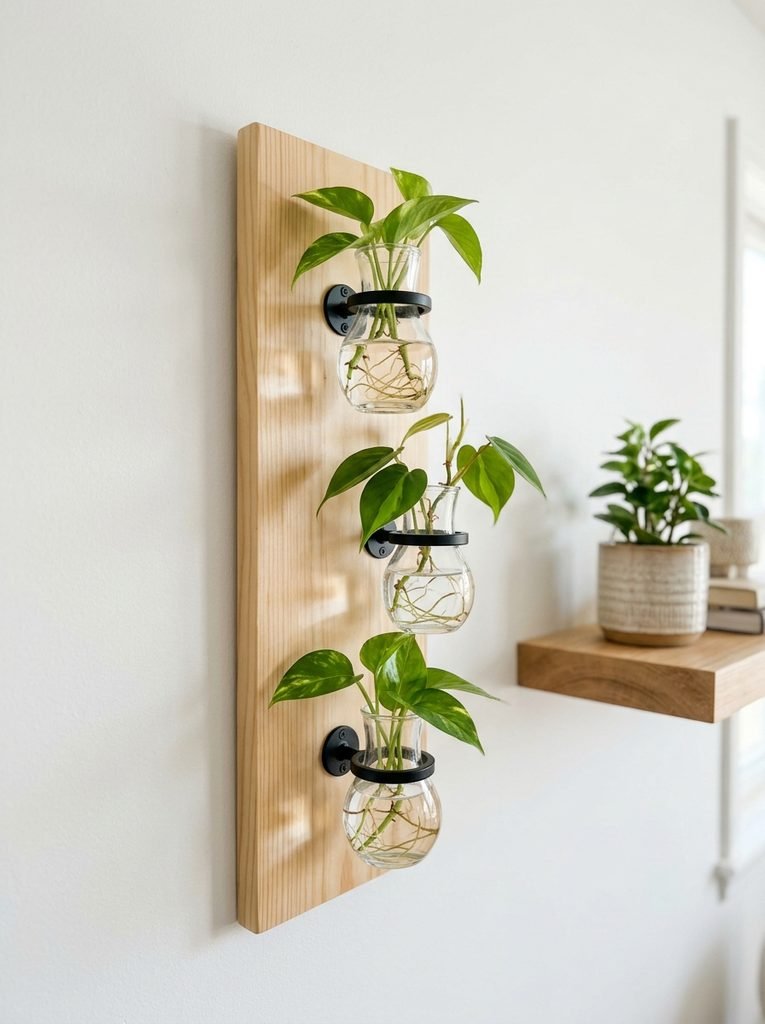
A wall station saves shelf space and looks like a little piece of art. It also keeps your cuttings in bright light.
Use a flat board and screw simple metal rings to it. The ring holds the vase, so you can lift it out for changing the water. Hang the board near a bright window.
⏱ 90 minutes💲 Low🛠 Medium
Materials Needed
- Metal ring brackets, 1.5 inch
- Mini glass bud vases
- Heavy duty picture hanging kit
- A pine board, screws, a drill and a pencil
How to Make It
- Cut a pine board to about 16 inches by 5 inches, sand it and stain or paint it if you like.
- Mark three spots down the middle and screw in the ring brackets.
- Attach the hanging hardware on the back and find a stud or use wall anchors.
- Hang the board, check that it’s level and slide in the bud vases.
- Fill the vases with water and add your cuttings, and change the water weekly.
Tip: Use wall anchors rated for the weight. Water adds up fast, so check your wall hardware before loading the vases.
3. Scrap Wood Propagation Station With Mason Jars
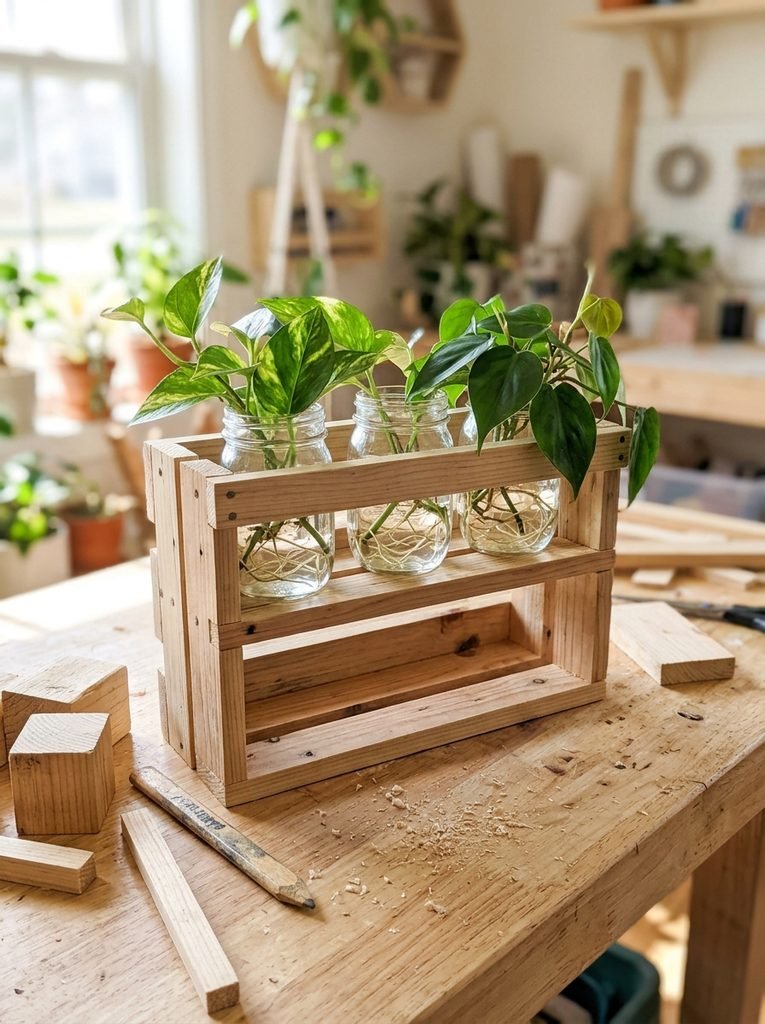
Got leftover wood? Turn it into a little shelf that holds jars in a neat row.
Build a simple open box, or screw two short boards to a base. Make the openings big enough for small mason jars. It’s a great use for those offcuts in the garage.
You’ll need: small mason jars, 4 ounce and wood glue
Best for: using up scrap wood
4. Tabletop A Frame Propagation Stand
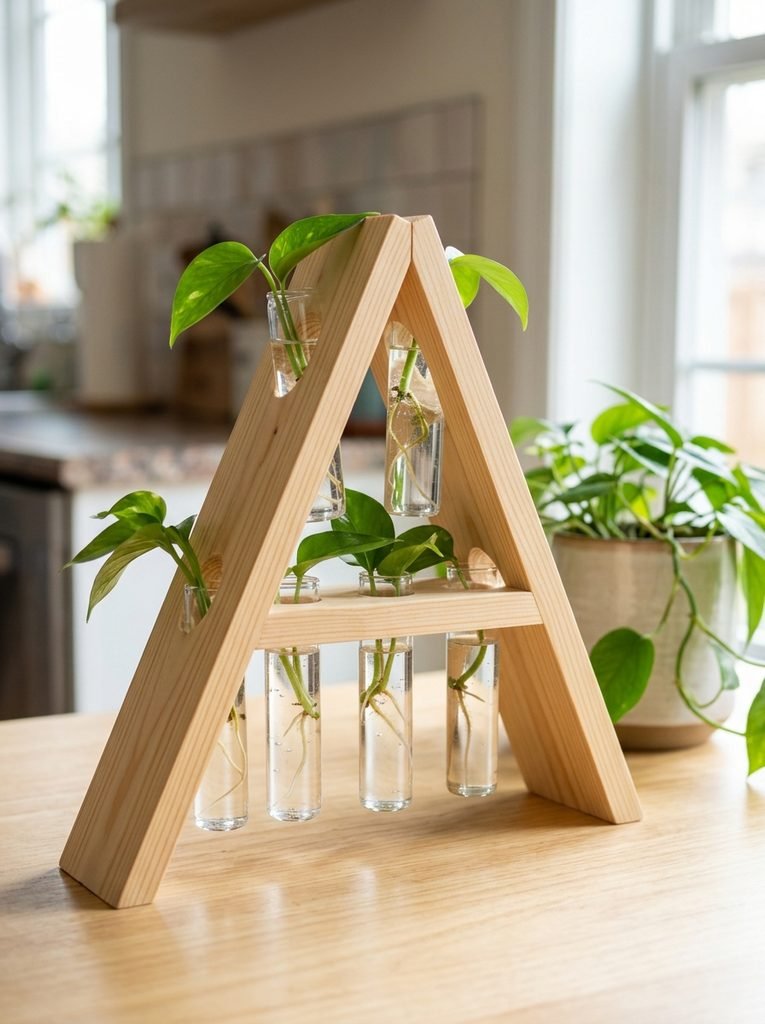
The A frame stand holds more tubes in a small space. It sits on a table or shelf and looks like a mini plant ladder.
Two boards leaned together and joined at the top are all you need. Drill holes in both sides at an angle so the tubes lean in. A hinge at the top lets it fold flat.
⏱ 2 hours💲 Medium🛠 Medium
Materials Needed
- Small brass hinges, 1.5 inch
- Glass vials with corks, 20 ml
- Two pine boards, a drill, sandpaper and sealer
How to Make It
- Cut two pine boards to 14 inches by 4 inches, and sand them smooth.
- Mark three holes on each board and drill them with a bit that fits your vials.
- Screw a small hinge to the top edge of both boards.
- Seal the wood with waterproof sealer and let it dry fully.
- Stand the frame in an A shape, drop in the vials and add water and cuttings.
Tip: Make sure the frame is stable before adding water. Keep glass vials away from edges where children or pets could knock them over.
5. Window Hanging Propagation Station
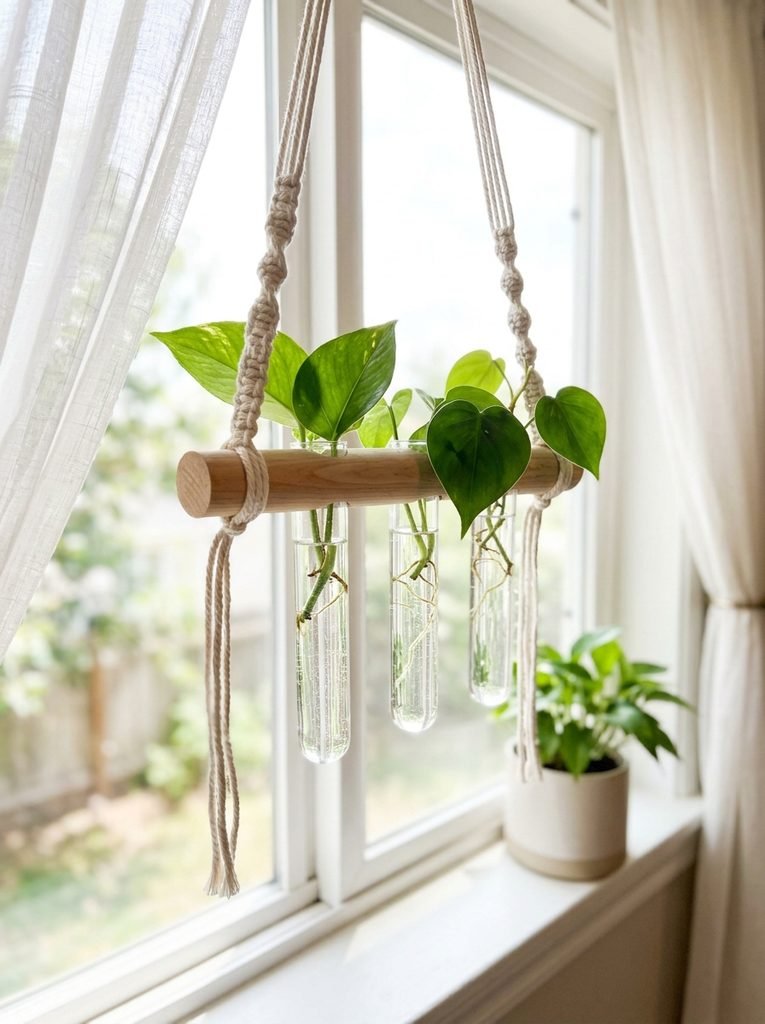
Hang your cuttings right in the window. They get great light, and the station feels like a little suncatcher.
Drill three holes in a short wooden bar and tie it to a strong cord. Hang it from a curtain rod or a window hook. Keep the cord short, so the tubes don’t bump the glass.
You’ll need: macrame cord, 3 mm and window curtain rod hooks
Best for: bright windows and small spaces
6. Pallet Wood Propagation Station
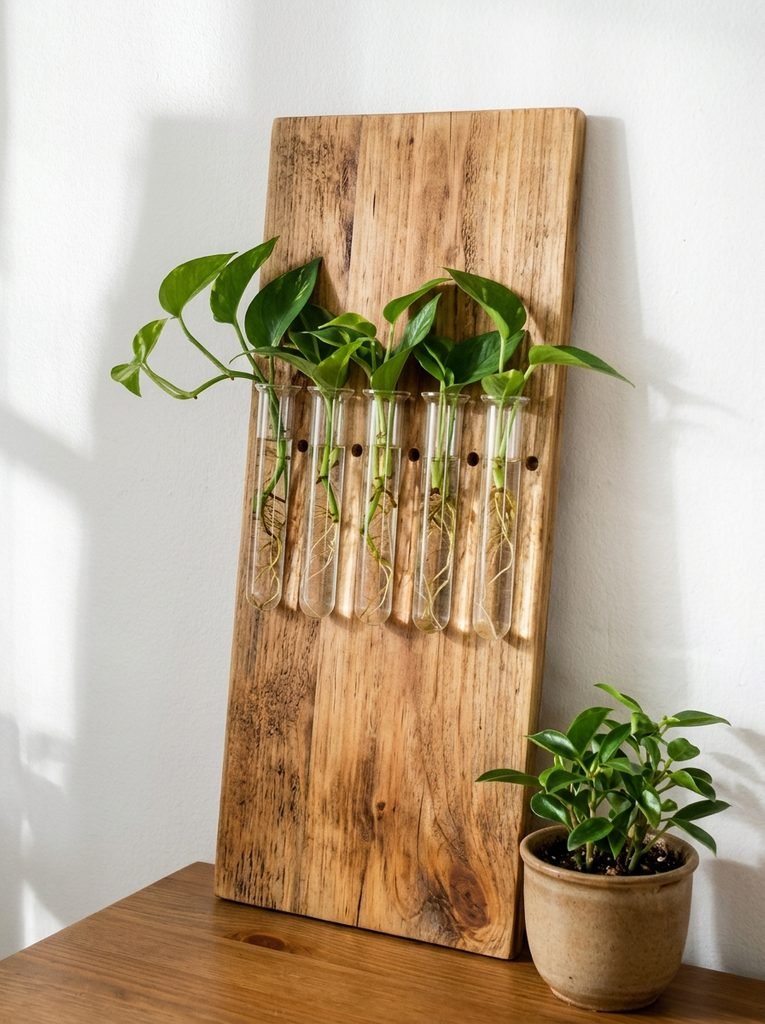
Pallet wood has real character. It gives the station a rustic look that suits a farmhouse kitchen.
Check the pallet is heat treated, marked HT, and never use pallets marked MB. Sand the planks until they’re smooth, because rough boards give splinters and trap water.
You’ll need: sanding block set
Best for: rustic homes and recycled projects
7. Branch and Driftwood Propagation Station
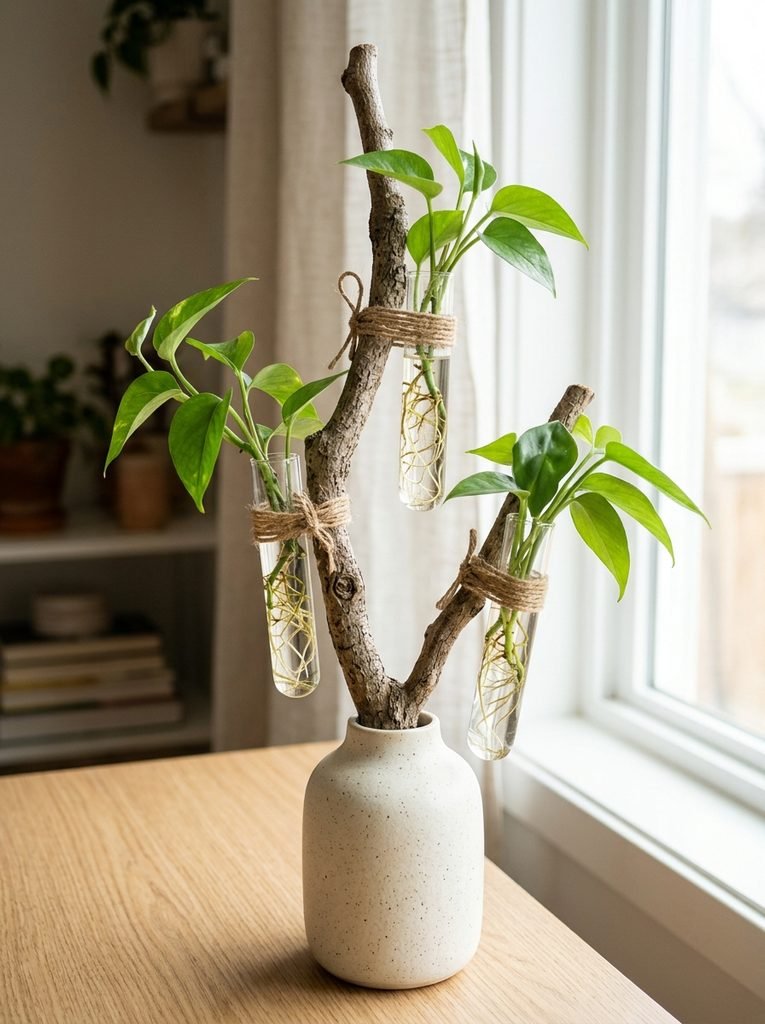
A forked branch makes a lovely, free propagation station. No drilling required.
Pick a dry, strong branch with a few forks. Tie small tubes to it with twine or wire, and stand the branch in a heavy vase. Dry the branch in the oven at a low heat first to remove bugs.
You’ll need: jute twine
Best for: natural looks and no drilling
8. Propagation Station With Shelf and Plant Labels
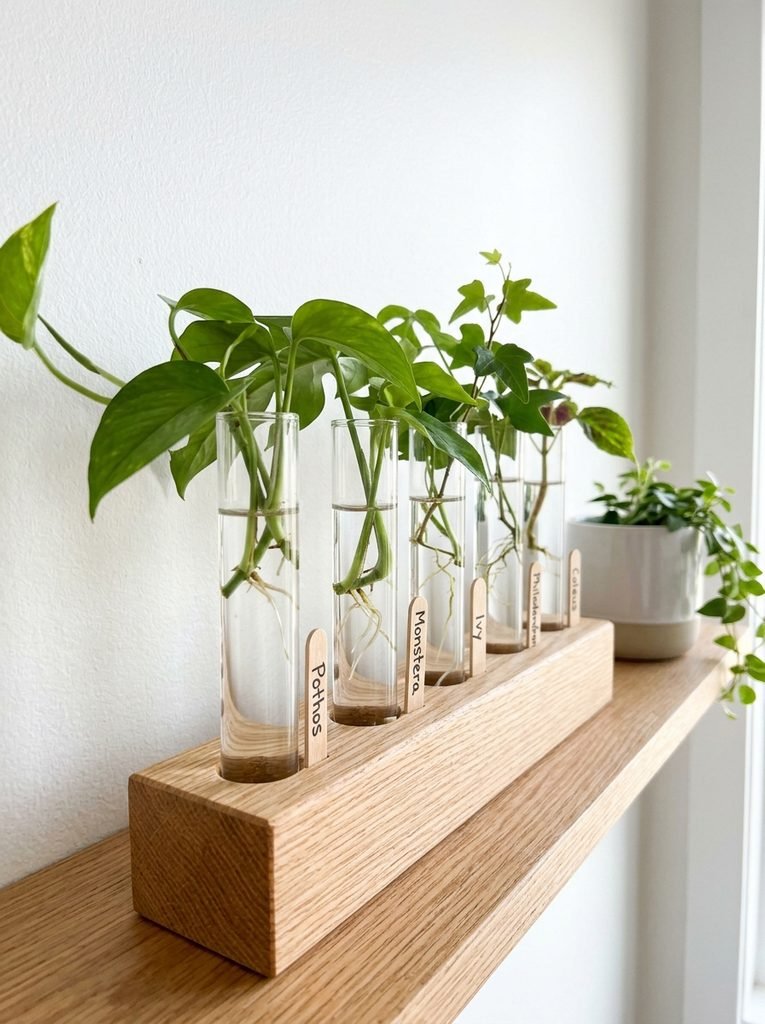
Labels make a station useful. You’ll always know which cutting is which, and when you started it. See also these cuttings you can root in water.
Add a narrow shelf under the tubes to hold labels, scissors and a small plant. Write the name and date on each label with a pencil or marker.
You’ll need: wooden plant labels
Best for: organized plant lovers
9. Modern Minimalist Propagation Station
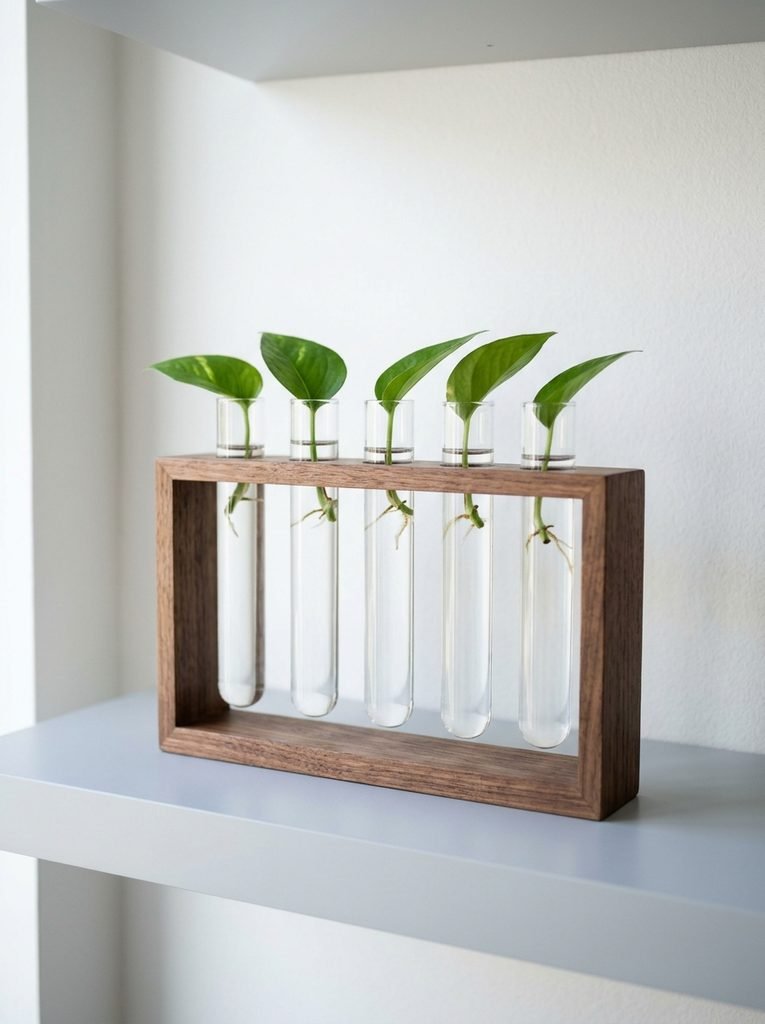
Clean lines and dark wood look great in a modern home. One neat bar of tubes can be the star of a shelf.
Use walnut or dark stained pine and keep the shape very simple. Space the tubes evenly and use clear glass only. A single leaf in each tube looks calm and tidy.
You’ll need: dark wood stain
Best for: modern homes and tidy shelves
10. Mini Propagation Station Gift Ideas
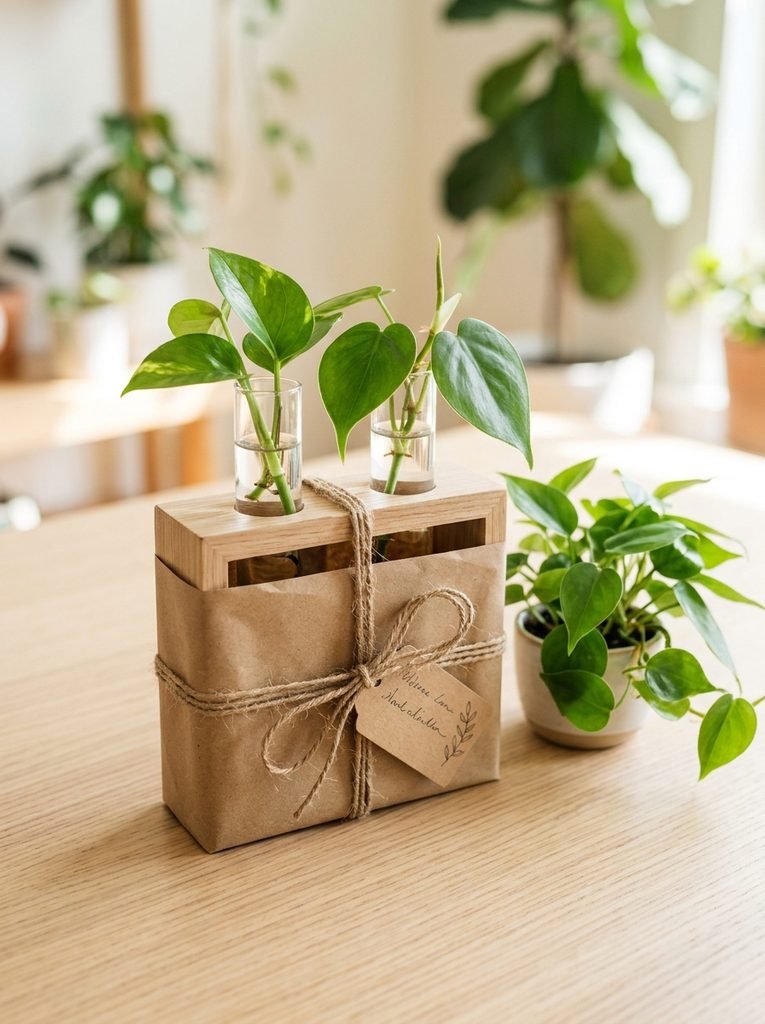
A mini station with a cutting or two is a thoughtful gift for a friend who loves plants.
Make a small bar with two holes, add tubes and a cutting from your own plant. Wrap it in paper and tie a tag on top with care tips.
You’ll need: kraft gift boxes with ribbon
Best for: plant loving friends and gifts
Frequently Asked Questions
What wood is best for a propagation station?
Pine, oak and walnut all work well. Seal the wood with a waterproof sealer so water doesn’t cause mold.
What size holes do I drill for test tubes?
Drill holes slightly wider than the tube, and only halfway through the wood so the tube sits snug.
How often should I change the water?
About once a week, or sooner if it turns cloudy.
Which plants root best in water?
Pothos, monstera, philodendron, coleus and tradescantia are easy to root in water.
Can I use pallet wood?
Yes, if it’s marked HT for heat treated. Avoid pallets marked MB, and sand it well.
Is glass safe around kids and pets?
Keep glass tubes on a high shelf or wall, out of reach, because they can break.
Final Thoughts on DIY Wooden Propagation Stations
A propagation station is a small project with a big payoff. Start with the simple test tube block, seal it well and watch the roots grow.


Amir Ali is the founder and site administrator of HomeDecorEdge, a modern home decor and interior design platform. Since starting the site, he has combined his passion for interior design, practical styling, and color coordination with hands-on content strategy and site management. He guides authors, curates high-quality articles, and ensures readers have access to actionable, visually inspiring, and user-focused home decor advice for apartments, small rooms, and family homes.