

A paper chain is the first craft most of us ever made, and it is still one of the best decorations in the house. A few strips of paper, a glue stick and twenty minutes turn into a garland that fills a doorway, a countdown that carries children through December, or a rainbow backdrop behind a birthday cake. These diy paper chain ideas cover all three, plus nine more ways to loop paper into decor.
This list starts with three full builds: the classic garland, a Christmas countdown chain with paper characters on top, and a rainbow party backdrop made of hanging columns. After that come nine quicker projects, from a patterned chain that looks store-bought to a whole tree built from green loops on a wall. If you love paper crafts generally, our diy paper decor craft ideas use the same stack of paper for flowers, snowflakes and lanterns.
Most of these need only paper, scissors and glue. Keep staplers and craft knives in adult hands, let children do the cutting with safety scissors and all of the looping, and hang finished chains with removable hooks or tape so the paint stays safe.
Pick the chain that matches your room. By tonight, it can be hanging in it.
Quick Picks
- Start here: The Classic Paper Chain Garland (idea 1)
- Best for Christmas: A Christmas Countdown Chain (idea 2)
- Best party trick: A Rainbow Paper Chain Party Backdrop (idea 3)
1. The Classic Paper Chain Garland
BuildAbout 20 minutesBeginner friendly
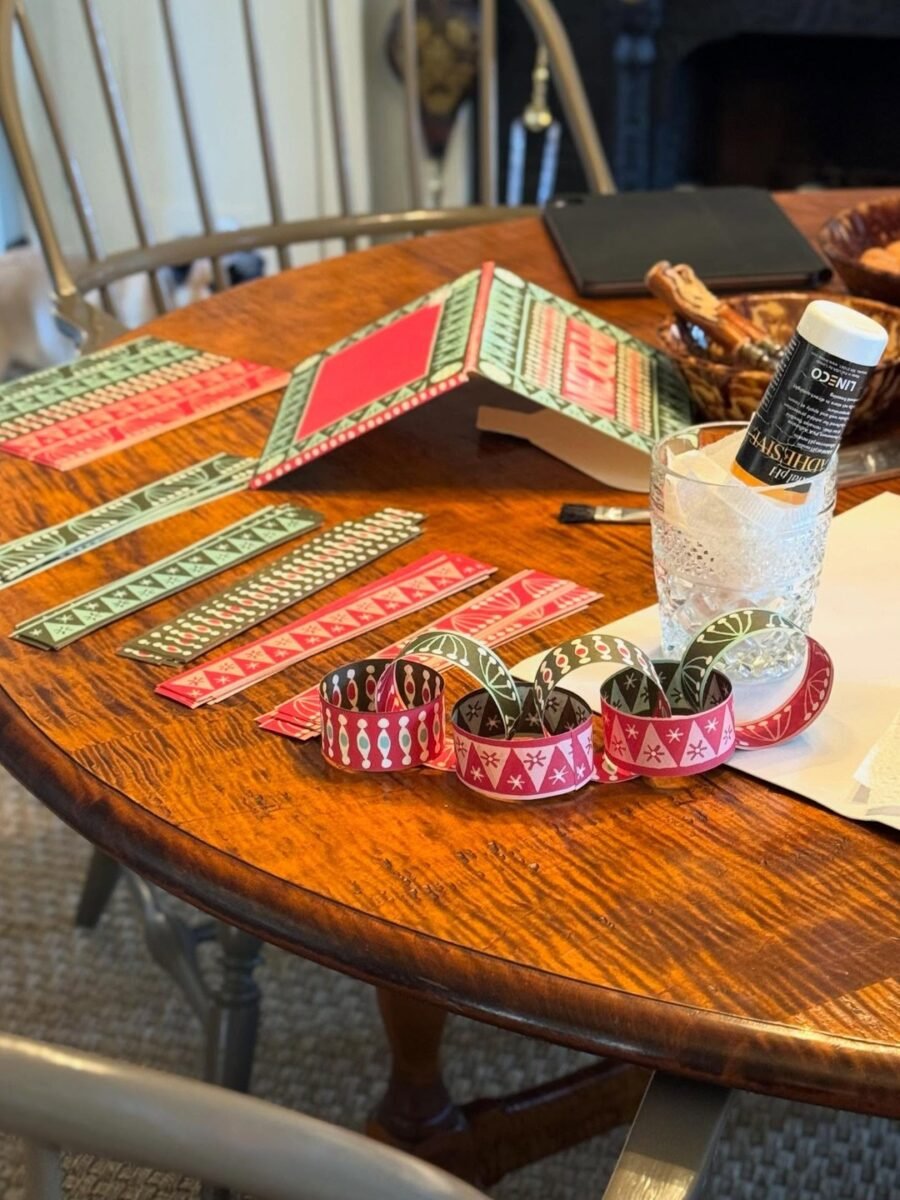
This is the whole skill in one photo: strips of paper, a glue stick, and links looped one through the next. Cut the strips the same size, glue each loop closed, and thread the next strip through before you close it. Once you can make one neat loop, you can make a hundred.
Materials Needed
- Colored construction paper or patterned scrapbook paper
- A ruler and pencil
- Scissors or a paper cutter
- A glue stick, or a stapler for older hands
- String, tape or small hooks for hanging
How to Make It
- Cut the paper into strips about 1 inch wide and 6 inches long, keeping every strip the same size so the loops match.
- Take one strip, curl it into a loop, and glue the ends together with a dab of glue stick. Hold it for a few seconds.
- Thread the next strip through the finished loop, then curl and glue it closed the same way.
- Keep adding loops, alternating colors or patterns as you go, until the chain is as long as you need.
- Lay the finished chain flat and press each loop gently so the links sit neatly in a row.
- Hang it with tape, string or small hooks across a mantel, doorway or window.
Tip: Glue sticks beat staples for little hands and for pale paper, where staple silver shows. If a loop pops open, a fresh dab of glue and ten seconds of holding fixes it.
2. A Christmas Countdown Chain
BuildAbout 30 minutesKids love it
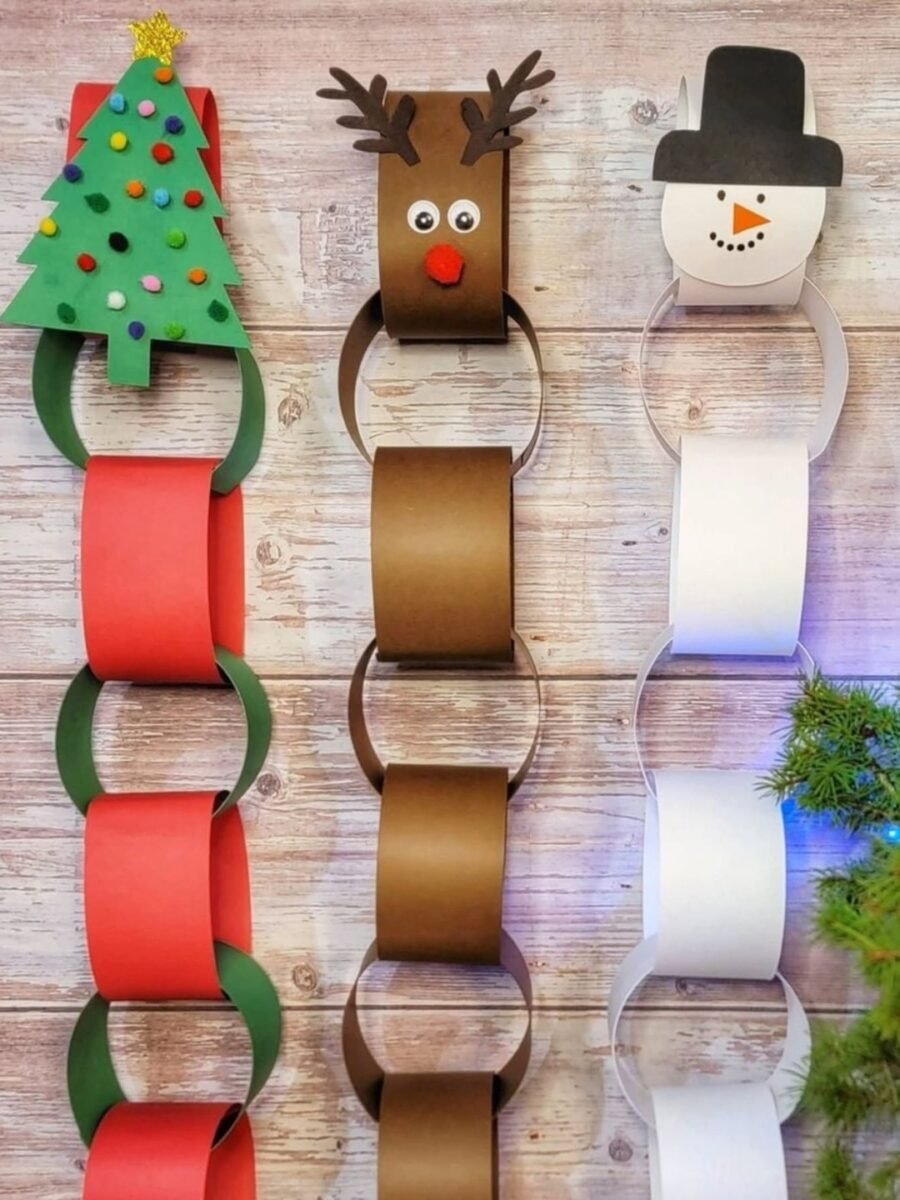
A countdown chain turns waiting for Christmas into a daily ritual: tear off one link every morning and the tree, reindeer or snowman at the top gets a little closer. Each chain has a paper character on top and a stack of numbered links below, and children can build the whole thing themselves. For more handmade Christmas pieces, see our diy christmas garland ideas.
Materials Needed
- Red, green, white and brown construction paper
- Scissors
- A glue stick
- Pom-poms, googly eyes and a gold star topper
- A marker for numbering the links
- Tape or a small hook for hanging
How to Make It
- Cut 25 strips of paper, one for each day of the countdown, and number them 1 to 25 on the inside of each strip.
- Build a paper character for the top: a green tree with pom-pom ornaments, a brown reindeer with googly eyes, or a white snowman with a black top hat.
- Glue the character to the first link, then loop the numbered strips together in order, 25 at the bottom and 1 just under the character.
- Hang the chain where children can reach it, low on a wall or on the side of a door.
- Each morning, tear off the bottom link and read the number that is left. When link 1 comes off, it is Christmas.
- Save the character topper in a box for next year and make a fresh chain of links.
Tip: Number the links on the inside of the strip so the countdown stays tidy from the front and the numbers only show as each link is torn away.
3. A Rainbow Paper Chain Party Backdrop

BuildAbout 1 hourParty ready
Hang the chains in columns instead of one long swag and you get a party backdrop: a curtain of rainbow links that photographs beautifully behind a cake table or a birthday chair. The trick is sorting the strips by color first, so each column stays one clean shade.
Materials Needed
- Construction paper in rainbow colors, one color per column
- Scissors or a paper cutter
- A glue stick or stapler
- A curtain rod, metal rod or wooden dowel
- String and removable hooks for hanging the rod
How to Make It
- Sort the paper by color and cut each color into strips about 1 inch wide and 6 inches long.
- Make one chain per color, looping and gluing each strip through the last, until every column is the length you want.
- Tie the top link of each column to the rod with a short piece of string, spacing the columns evenly.
- Arrange the columns in rainbow order, from pink and red on one side through orange, yellow, green and blue to purple.
- Hang the rod on removable hooks above the party table, doorway or photo corner.
- Step back and straighten any twisted links so each column hangs in a flat curtain.
Tip: Make the middle columns a few links longer than the edges for a gentle curtain shape, and hang the rod a little higher than the table so the chains do not brush the cake.
4. Patterned Paper Chains That Look Store-Bought
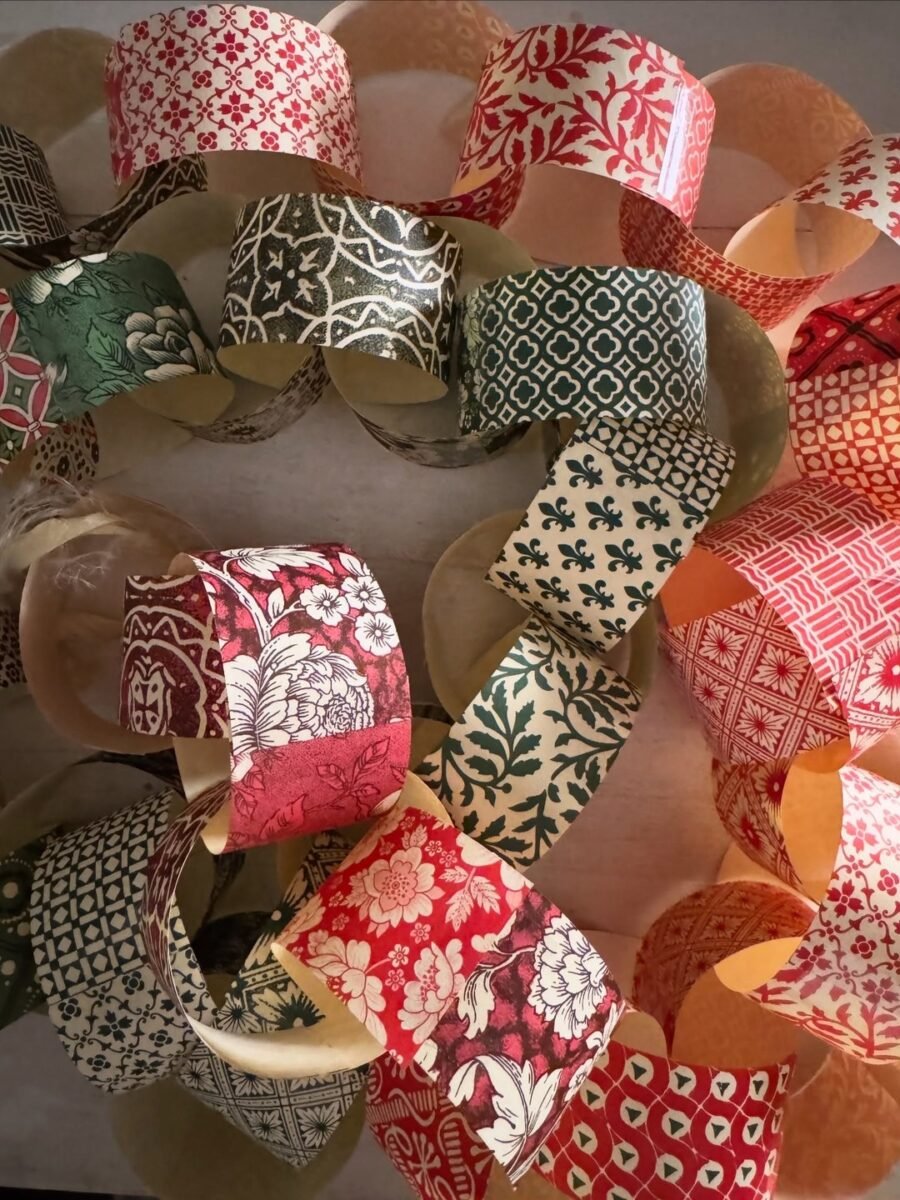
The same loops, cut from patterned scrapbook paper, stop looking like a school craft and start looking like something from a decor shop. Floral, geometric and damask prints in red, green, cream and black tangle into a rich cluster that suits a mantel or a shelf. Mix two or three prints that share one color and the chain looks planned, not random.
You’ll need: patterned scrapbook paper, scissors and a glue stick.
Best for: Mantels and shelves that need color without clutter
5. A Paper Chain on the Christmas Tree

Drape the chain over the branches in long swags instead of wrapping it tight, and the tree gets a handmade layer that shop-bought garland never gives. Patterned strips in red, yellow, blue and floral prints pick up the colors of the ornaments below. Let children hang their own chain on the lower branches while adults take the top.
You’ll need: patterned paper strips in red, yellow, blue and floral prints, scissors and glue.
Best for: Family trees and kids’ first decorating jobs
6. Paper Chain Swags Across the Doorway
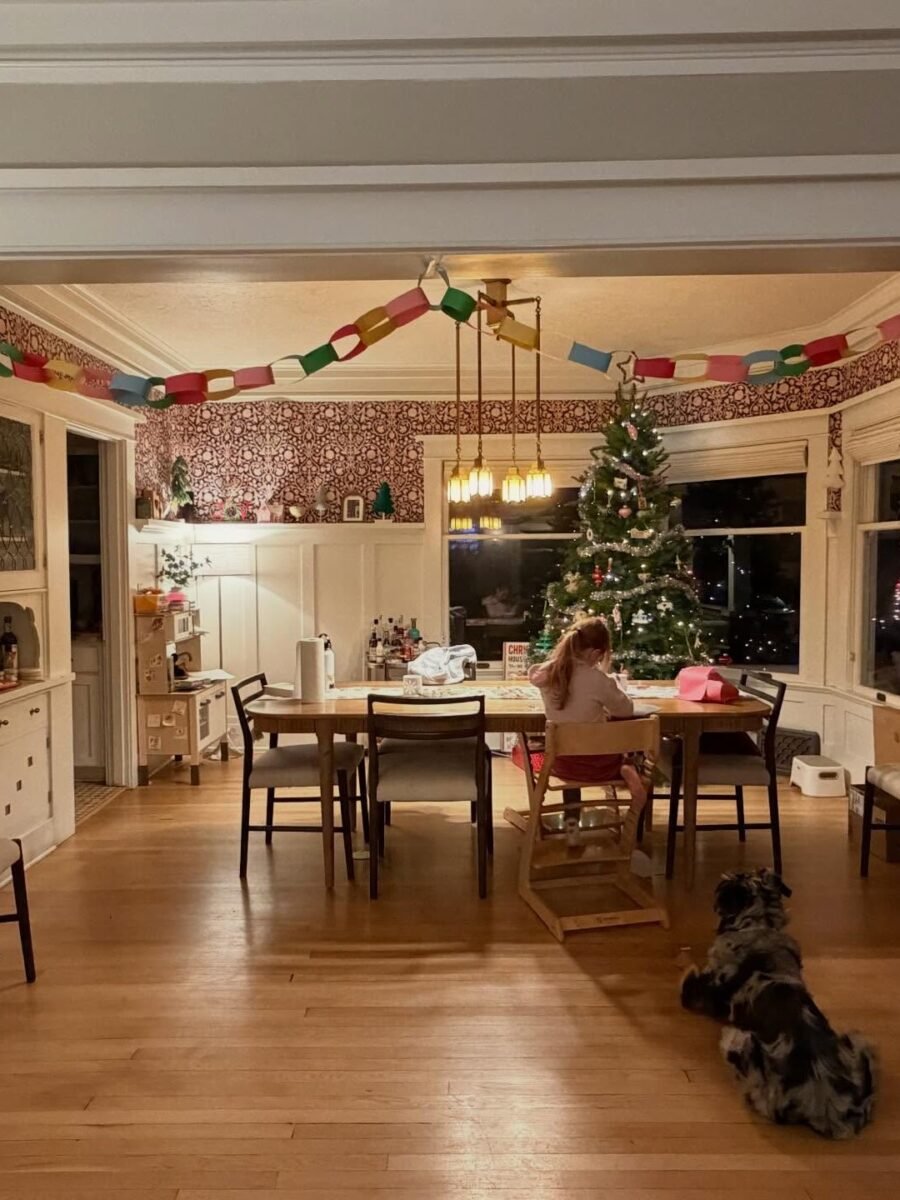
A doorway is the best place for a paper chain because everyone walks under it. Swag two or three chains across the top of the frame so they dip in the middle, and the whole room feels dressed for the party. At Christmas the same swag works over a mantel or along a staircase rail; our diy christmas garland ideas have more ways to dress the same spots.
You’ll need: colorful construction paper, a glue stick, and tape or small hooks.
Best for: Doorways, dining rooms and party entrances
7. A Rainbow Chain Across the Window
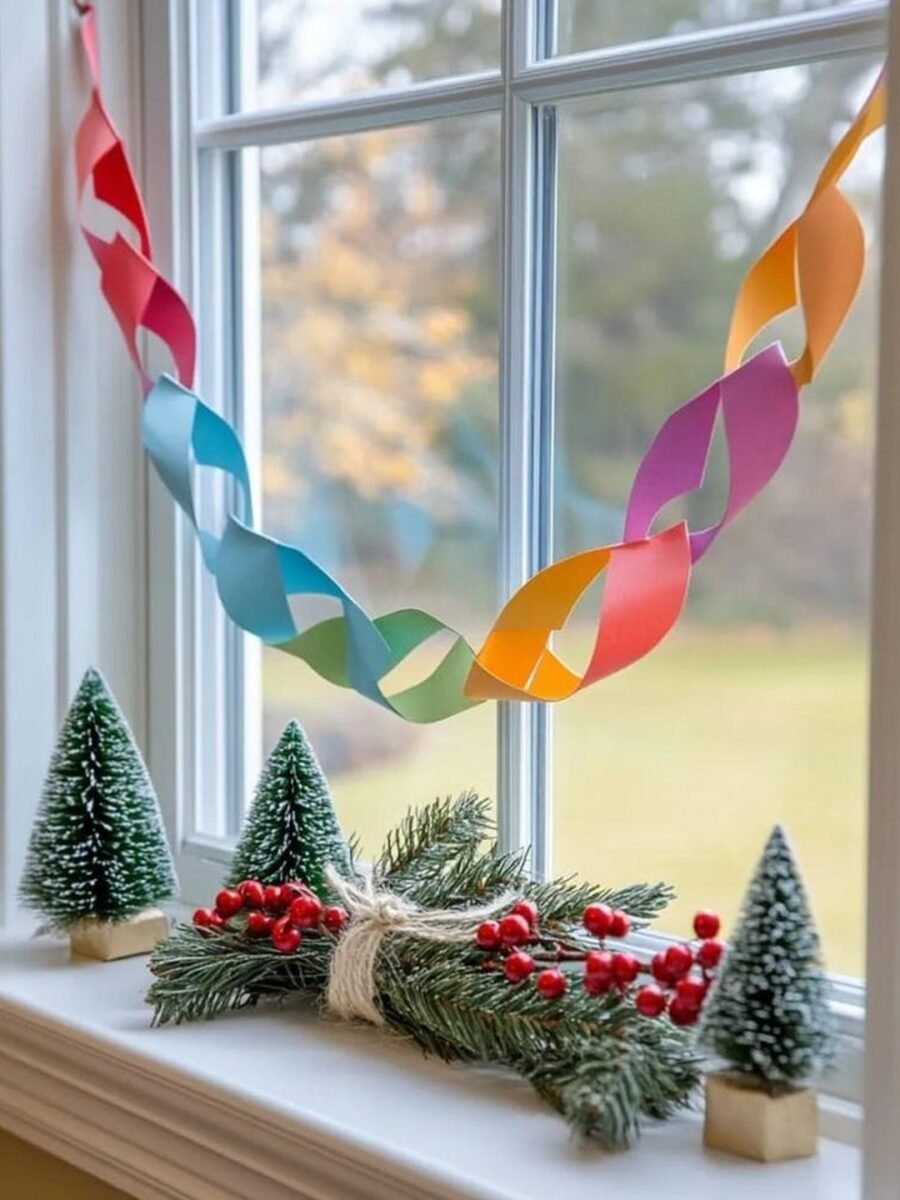
One rainbow chain across a window does the work of a whole windowsill display. The colors glow against the daylight, and in December three little flocked trees and a bundle of evergreen with red berries on the sill finish the scene. Tape the ends to the window frame and the chain stays put all season.
You’ll need: construction paper in rainbow colors, a glue stick and tape.
Best for: Windows, playrooms and rainy-day color
8. A Heart Paper Chain for Valentine’s Day
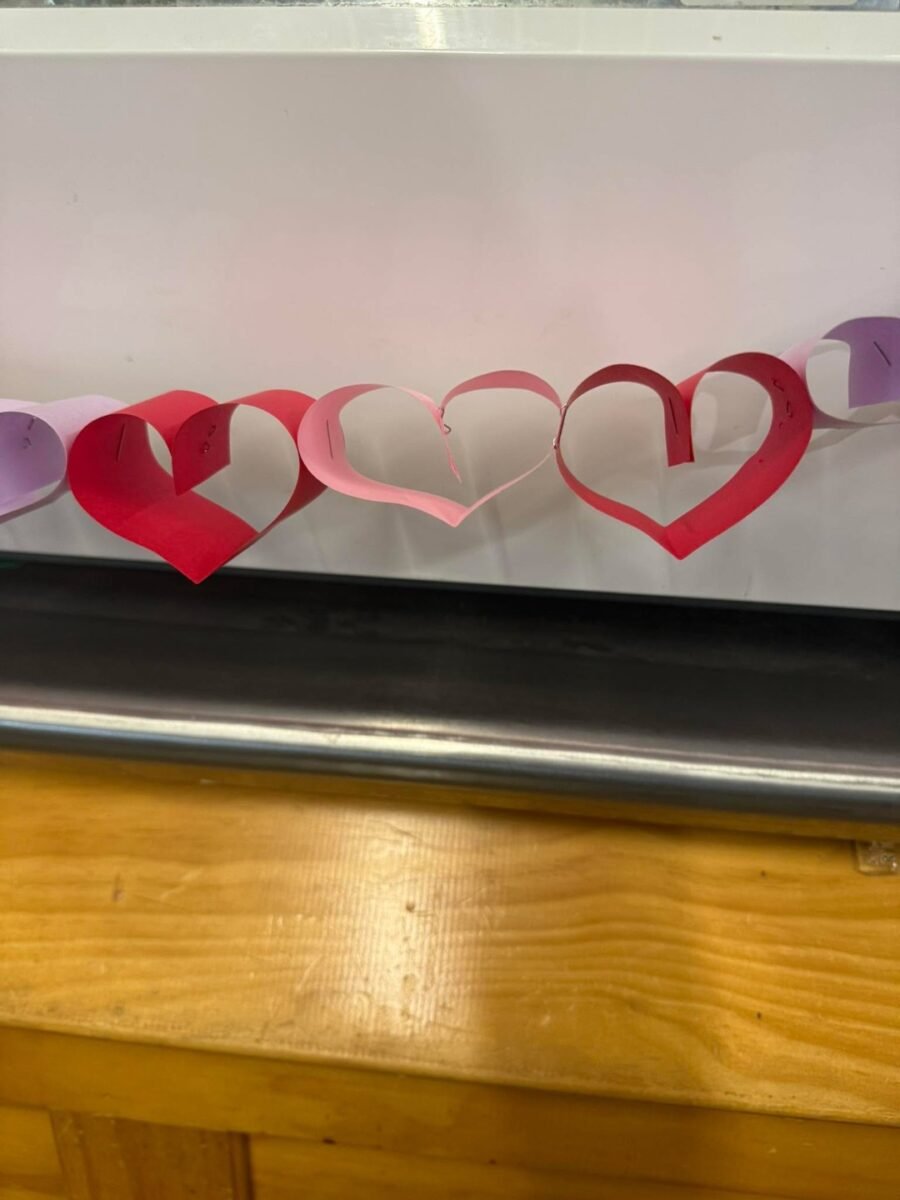
Fold each strip into a heart instead of a plain loop and the same chain becomes Valentine’s decor. Red, pink and light purple hearts linked in a row look sweet across a bedroom door, a headboard or a classroom wall. The hearts take a little more folding than plain loops, so make this one with older children or as a quiet evening craft.
You’ll need: red, pink and light purple construction paper, scissors and a stapler.
Best for: Valentine’s Day, anniversaries and bedroom doors
9. A Paper Chain Starburst on the Wall
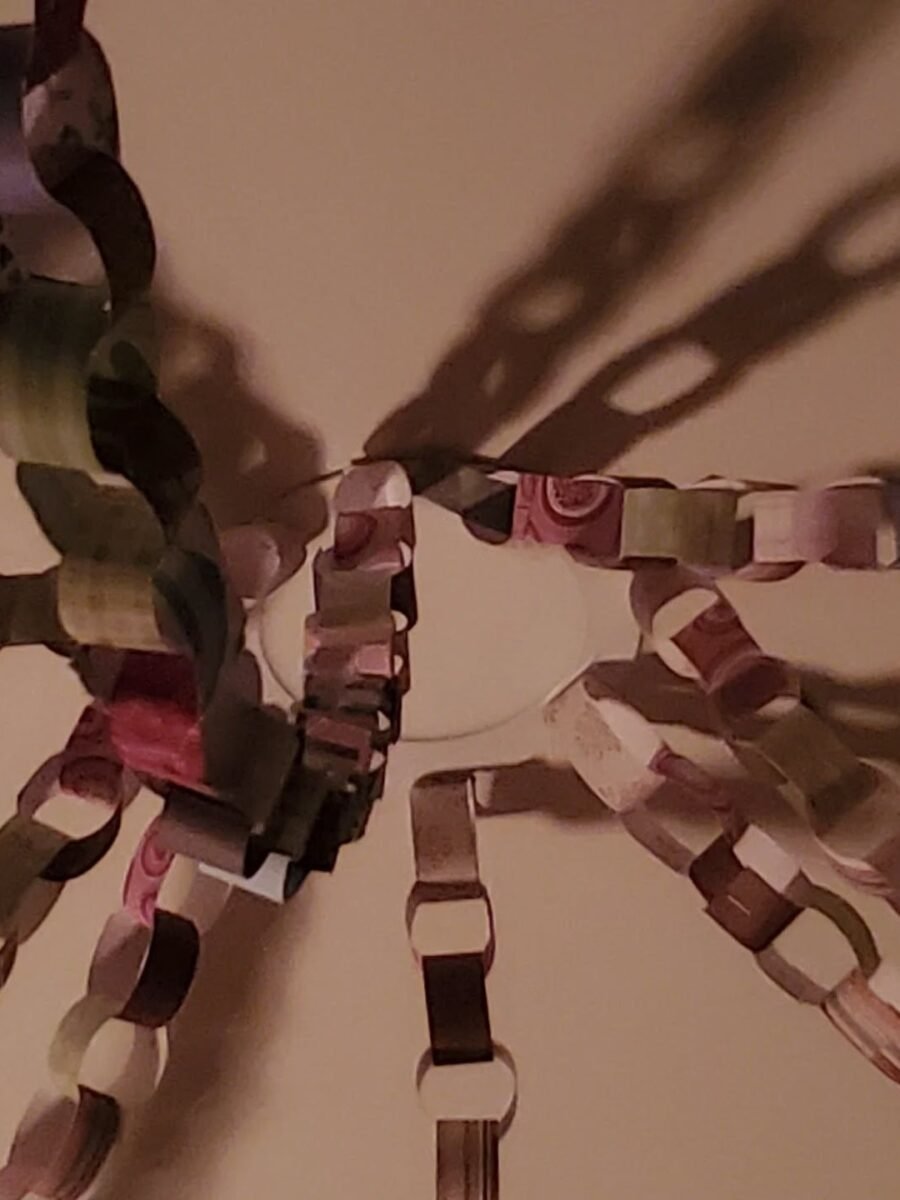
Pin the chains at one central point and let them radiate outward like a sunburst, and a blank wall gets a piece of art made from nothing but paper. Muted patterned papers cast soft shadows that change through the day. It takes five minutes to pin up, photographs beautifully behind a party table, and comes down without a mark.
You’ll need: patterned paper in several prints, a glue stick, and a removable hook or thumbtack.
Best for: Blank walls and party photo corners
10. Paper Chains Across the Classroom Ceiling

A classroom ceiling is a whole decorating surface most people forget. Strands of bright chains looped between the ceiling tiles turn a plain room into a party before the first desk is moved. Make the chains long, hang them in gentle swags so they clear the lights, and let the class choose the colors for each strand.
You’ll need: bright construction paper, a stapler, tape and a step stool.
Best for: Classrooms, libraries and school parties
11. A Paper Chain Tree for the Wall

When there is no room for a real tree, build one from chains. Dozens of vertical green loops in different shades make a leafy canopy on the wall, a brown paper trunk grounds it, and small flat paper flowers in pink, blue, red and orange scatter across the branches. It stays up all winter, never drops a needle, and packs flat in January.
You’ll need: green paper in several shades, brown paper, colorful paper for flowers, and glue.
Best for: Classroom walls, kids’ rooms and flat-pack Christmas
12. Rainbow Chains to a Pot of Gold

A rainbow chain that ends in a black paper pot of glittery gold coins is the easiest St. Patrick’s Day decoration there is, and children love it for rainbow birthdays too. Hang three side by side so the colors line up, and the pots sit at different heights like the end of three rainbows. Gold chocolate coins in the pots make it a treat as well as a decoration.
You’ll need: rainbow paper strips, black paper, gold foil or gold chocolate coins, and glue.
Best for: St. Patrick’s Day, rainbow birthdays and kids’ parties
Frequently Asked Questions
What paper is best for paper chains?
Construction paper is the classic choice: cheap, bright and easy to glue. Cardstock makes stiffer, longer-lasting links for mantels and parties, and patterned scrapbook paper gives the prettiest chains of all. Avoid very thin copy paper, which tears at the glue joint, and very thick board, which will not curl into a neat loop.
How do I keep paper chain links from falling apart?
A glue stick works well if you hold each loop closed for ten seconds while it grabs. For a stronger hold, use a stapler, one staple per joint, with an adult doing the stapling. Keep the strips the same size and do not overload a loop with glue, which makes the paper soggy and slow to dry.
How long should a paper chain garland be?
Measure the span you want to cover, then make the chain about one and a half times that length so it can drape in a gentle swag instead of pulling tight. A doorway usually needs 6 to 8 feet, a mantel 4 to 6 feet, and a ceiling swag 10 feet or more. Count on roughly 12 links per foot.
Can kids make paper chains safely?
Yes, paper chains are one of the safest crafts for children. Give them safety scissors and glue sticks, let an adult handle the stapler and any cutting with a craft knife, and keep small staples away from toddlers. Children can cut strips, choose colors and do all of the looping themselves.
How do I hang a paper chain without damaging walls?
Removable adhesive hooks and painter’s tape hold paper chains without marking paint. For ceilings, loop the chain over a hook or a drawing pin pressed into a corner, never into the middle of a plaster ceiling. Outdoors, string or twine tied to railings and branches holds better than tape in damp weather.
How do I store paper chains to reuse them?
Coil the chain loosely in a big loop, tie it with a ribbon so it cannot tangle, and lay it flat in a box with tissue paper between layers. Keep the box dry and out of direct sun. Stored this way, a paper chain garland comes back out next Christmas looking almost new.
Final Thoughts on Diy Paper Chain Ideas
Twelve chains, one strip of paper at a time. Start with the classic garland in idea 1, add the countdown chain for December, and hang the rainbow backdrop for the next birthday, and the cheapest craft in the house will be the one everyone photographs.
If paper chains have you hooked, our 50 paper crafts diy ideas have fifty more ways to turn a stack of paper into a decorated home.

