
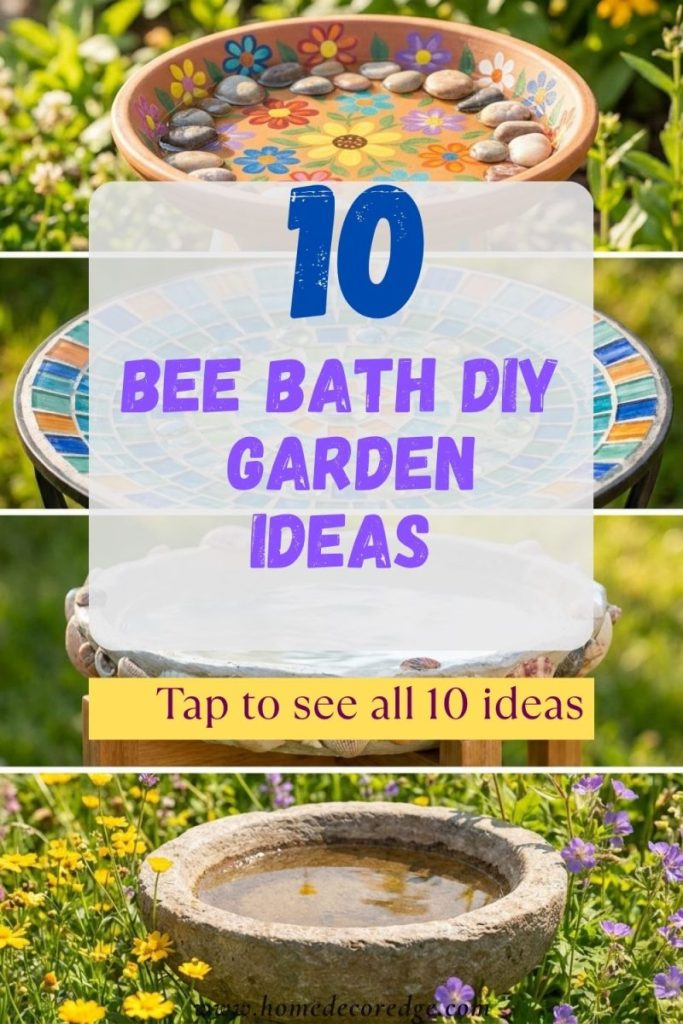
I’m Amir — and bee baths are one of the most genuinely impactful and beautifully simple garden additions you can make. Bees need fresh water just as much as birds and providing a shallow water source in the garden helps support local bee populations while creating a beautiful garden feature at the same time. We added our first simple painted clay saucer bee bath to the garden last spring and within a week bees were visiting it regularly — it was genuinely magical watching them drink from the edge of the saucer. These 10 bee bath DIY ideas cover everything from simple beginner clay saucer designs and beautiful mosaic tile baths to creative shell decorated versions and butterfly bee baths that serve multiple garden visitors.
This post contains affiliate links. If you purchase through these links I may earn a small commission at no extra cost to you.
1. Simple Clay Saucer Bee Bath DIY Beginner
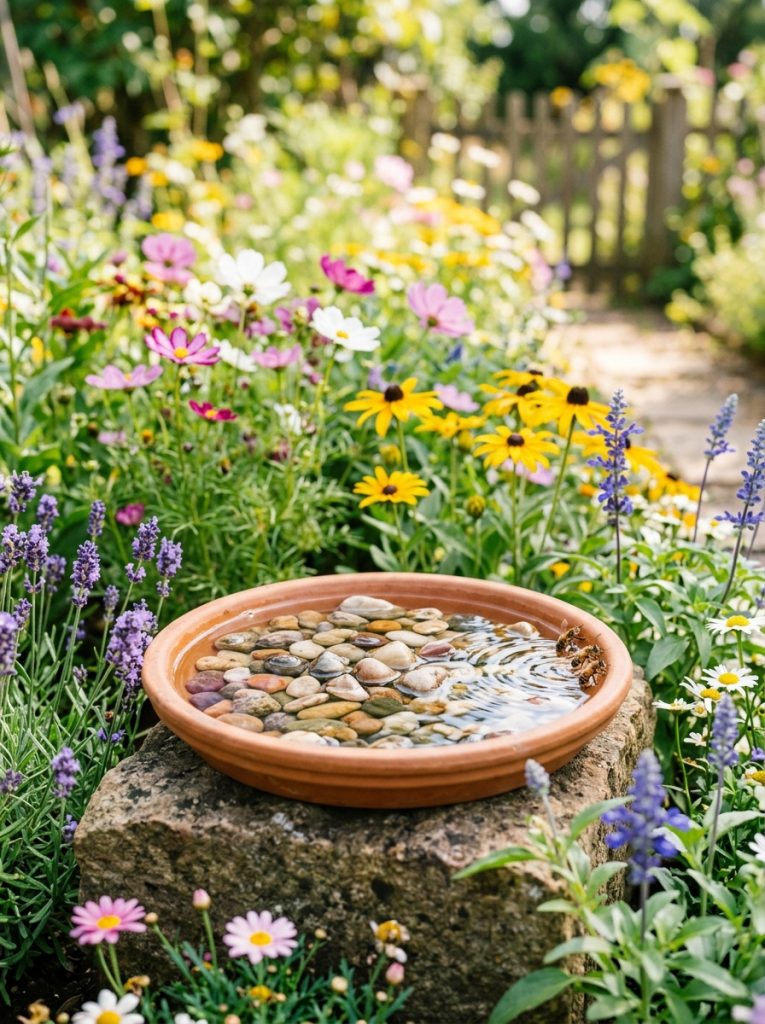
A simple clay saucer bee bath is the most immediately achievable and genuinely effective bee garden addition — a wide terracotta plant saucer filled with fresh water and smooth pebbles arranged across the bottom creates the perfect shallow bee bath. The pebbles provide landing platforms for bees to stand on while drinking without falling into deeper water and the clay material naturally encourages the growth of a small algae film that bees seem to genuinely prefer over completely clean water.
Materials Needed:
- Wide terracotta or clay plant saucer
- Smooth clean pebbles or marbles
- Fresh clean water
- Optional — flat stones for additional landing spots
How to Make It:
- Choose a wide shallow saucer — at least 20cm diameter for best bee access
- Arrange smooth pebbles across the saucer bottom creating multiple landing platforms
- Add flat stones for additional stable landing surfaces
- Fill with fresh clean water to just below pebble top level
- Position in sunny spot near flowering plants where bees already visit
- Refresh water every two days to keep fresh and prevent mosquito breeding
2. Painted Bee Bath DIY Easy Beautiful
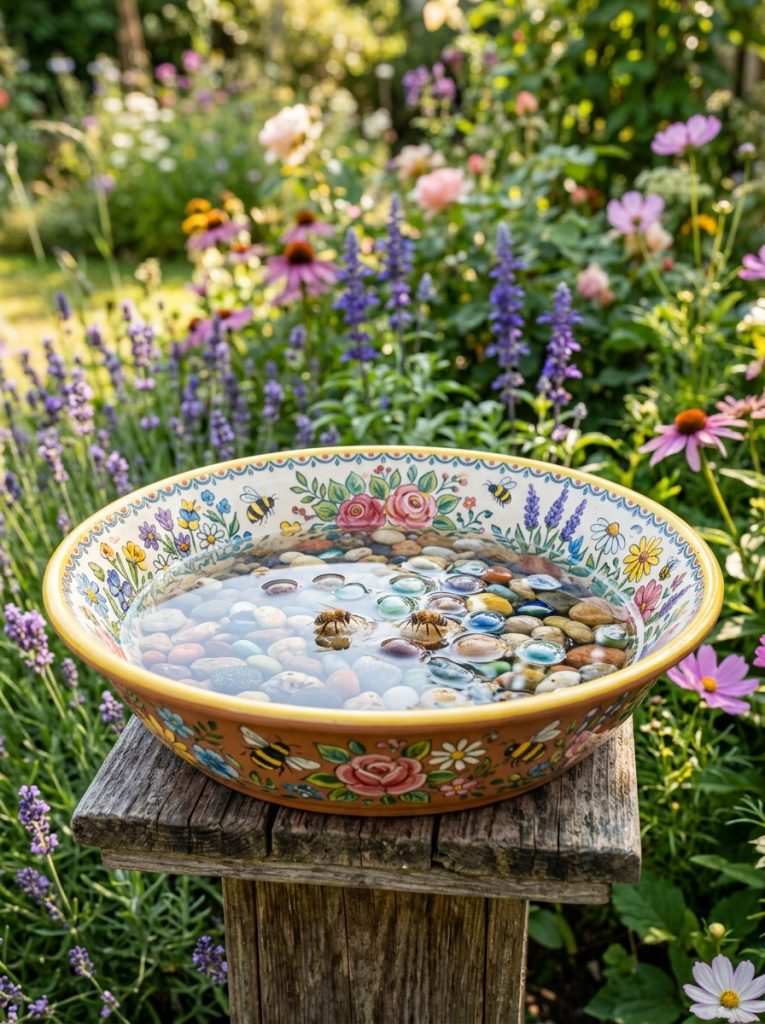
Painted bee baths combine the practical benefit of a bee water source with genuine garden art beauty — a wide ceramic or clay dish painted with cheerful floral designs bee and flower motifs and bright garden colors creates a bee bath that looks beautiful from every garden angle while providing exactly the shallow water environment that bees need. Outdoor acrylic paint sealed with waterproof sealer creates lasting painted designs that remain vibrant through all garden seasons.
Materials Needed:
- Wide ceramic or clay saucer dish
- Outdoor acrylic paint in flower colors
- Fine and medium paintbrushes
- Outdoor waterproof sealer
- Smooth pebbles and fresh water
How to Make It:
- Clean dish surface completely and allow to dry fully
- Apply white base coat to painting surface
- Paint floral design with bee and flower motifs in bright colors
- Allow paint to dry completely — minimum 24 hours
- Apply two coats of outdoor waterproof sealer
- Fill with pebbles and fresh water when sealer fully cured
3. Mosaic Bee Bath DIY Beautiful Garden
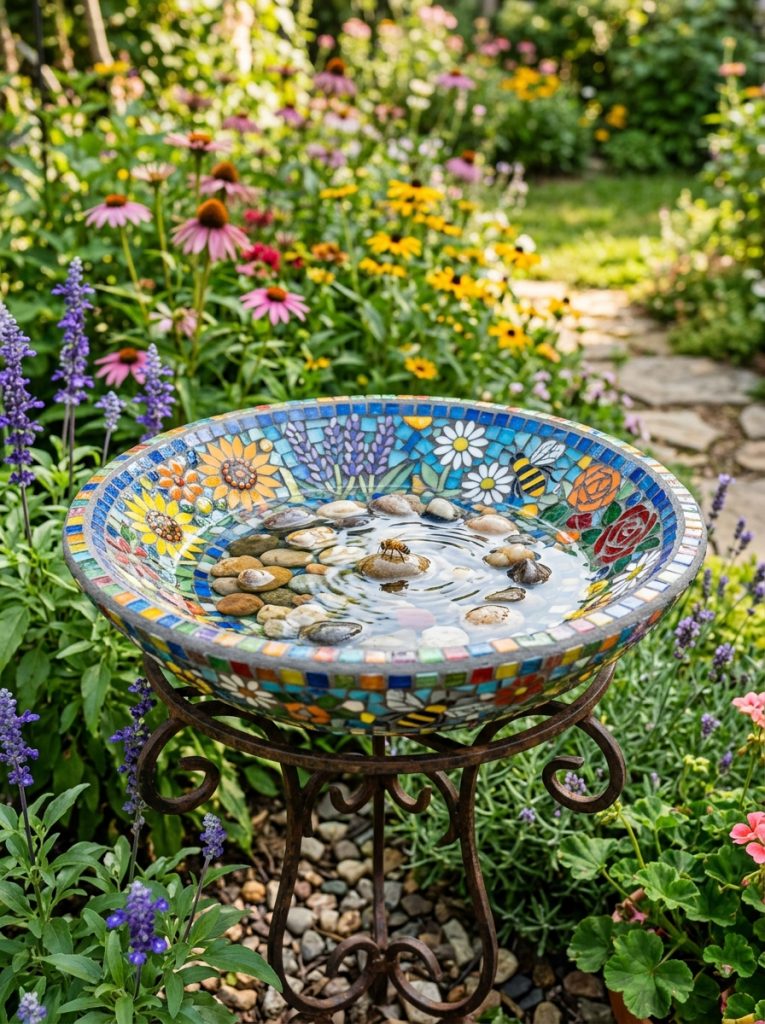
Mosaic bee baths create the most stunning and visually impressive garden water features — colorful glass mosaic tiles arranged in flower bee and garden patterns and set in waterproof grout create a bee bath of genuine garden art quality. The glass tiles catch sunlight beautifully creating a sparkling quality that makes the mosaic bee bath a genuinely eye-catching garden focal point while providing exactly the water environment bees need.
Materials Needed:
- Wide shallow ceramic or concrete dish base
- Colorful glass mosaic tiles
- Tile adhesive
- Waterproof grout
- Smooth pebbles and fresh water
How to Make It:
- Plan mosaic design on paper before starting — flower bee or garden pattern
- Apply tile adhesive to dish interior surface in small sections
- Press mosaic tiles firmly into adhesive following planned design
- Allow adhesive to cure completely for 24 hours
- Apply waterproof grout between tiles pressing firmly into all gaps
- Wipe excess grout seal when dry and fill with pebbles and water
4. Shell Decorated Bee Bath DIY Easy
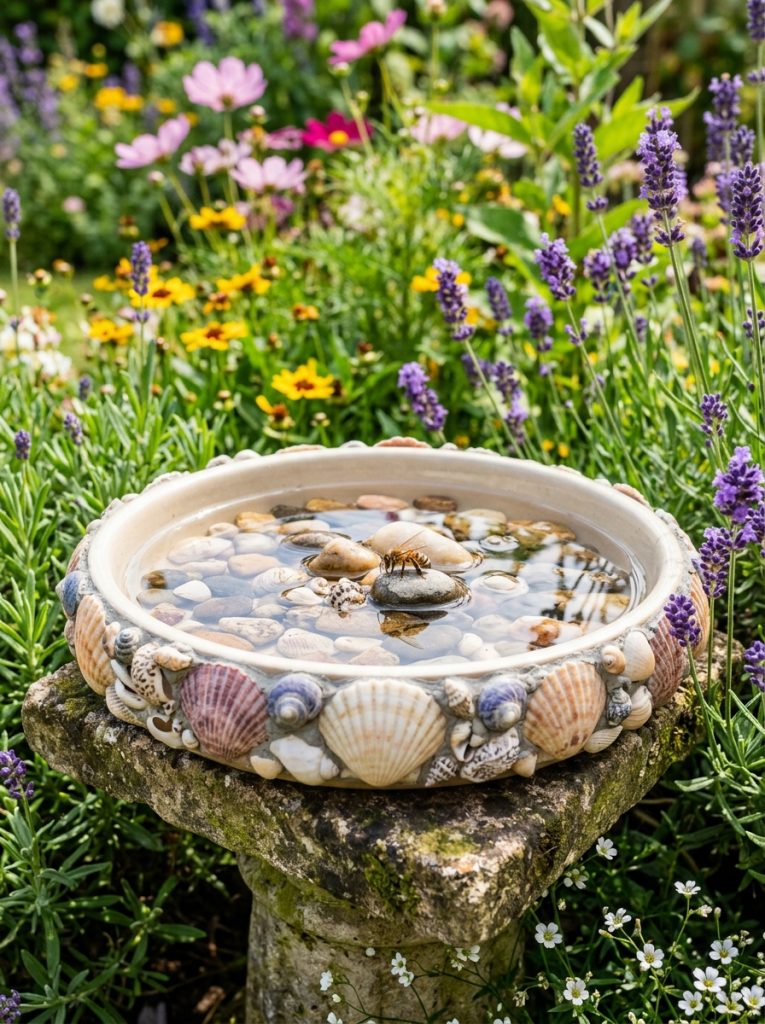
Shell decorated bee baths create the most beautiful and naturally coastal garden water features — seashells of different sizes and species glued around the exterior rim of a wide saucer create a gorgeous natural decoration that suits coastal cottage and naturalistic garden styles beautifully. The shell decoration does not interfere with the bee-friendly interior water surface while adding genuine natural beauty to the exterior of the bee bath.
Materials Needed:
- Wide terracotta or ceramic saucer
- Natural seashells in various sizes
- Strong waterproof exterior adhesive
- Smooth interior pebbles
- Fresh water for filling
How to Make It:
- Clean and dry saucer completely before decorating
- Arrange shells around exterior rim before gluing to plan placement
- Apply waterproof adhesive to exterior rim in sections
- Press shells firmly into adhesive and allow each section to set
- Allow complete cure for 24 hours before handling
- Fill interior with smooth pebbles and fresh water for bee use
5. Kids Bee Bath DIY Easy Fun Project
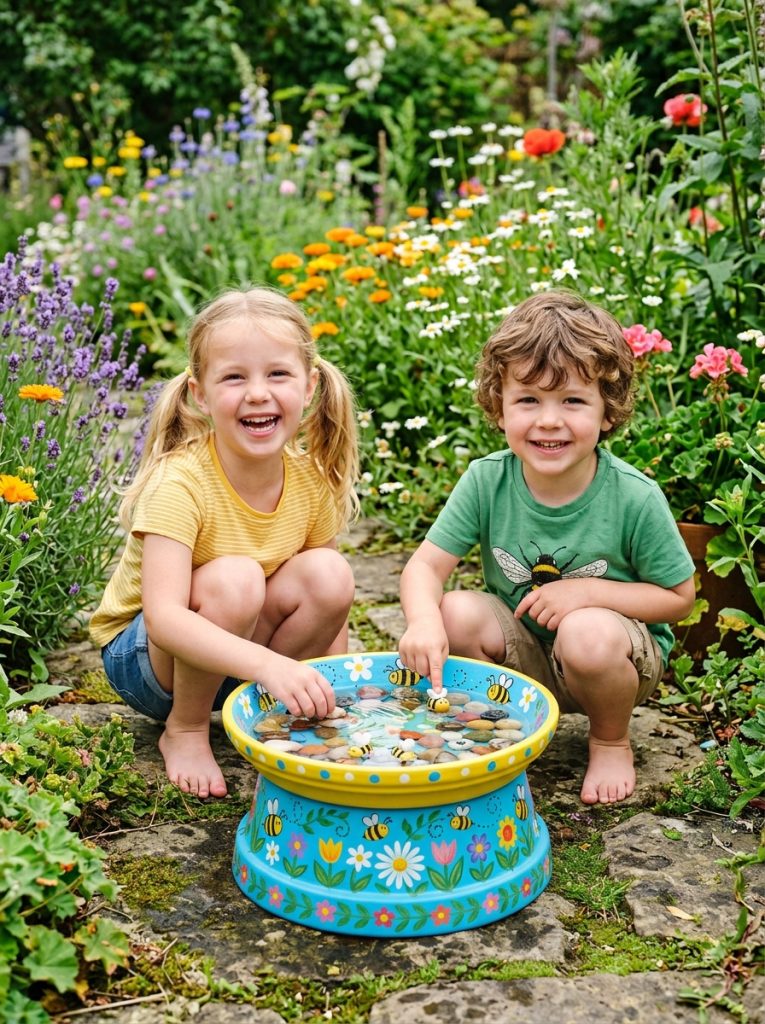
Kids bee bath DIY projects are the most genuinely educational and meaningful garden craft activity — painting and decorating a bee bath teaches children about the important role of bees in garden ecosystems while creating a practical and beautiful garden feature they can observe regularly. The excitement of watching real bees visit a bee bath they made themselves creates a genuine connection to nature that is one of the most valuable experiences any garden can provide for children. For more kids garden projects check our 25 outdoor play area for kids post.
Materials Needed:
- Wide ceramic or plastic saucer
- Washable outdoor paint
- Sponge stamps or brushes
- Bee and flower stickers optional
- Waterproof sealer for finished design
How to Make It:
- Choose a wide shallow saucer appropriate for young decorators
- Apply bright base color and allow to dry
- Stamp or paint simple bee and flower designs with sponge stamps
- Add colorful details with brushes — stripes on bees petals on flowers
- Apply waterproof sealer when completely dry
- Fill with pebbles and water and observe bee visitors together
6. Butterfly Bee Bath DIY Garden Easy
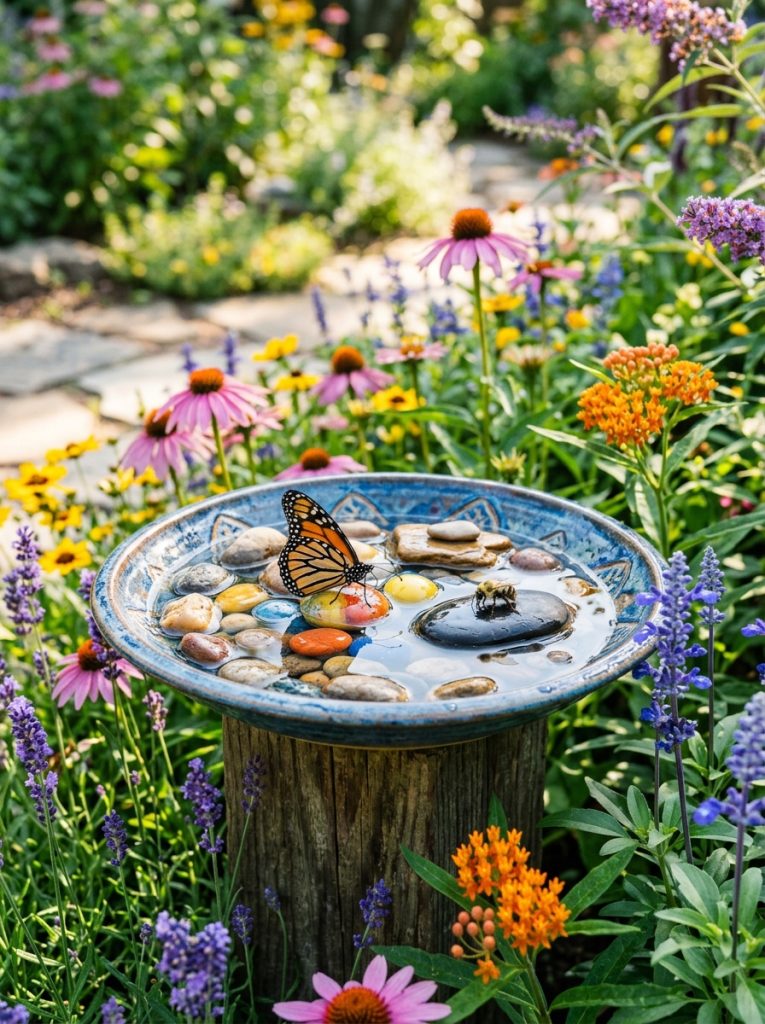
Butterfly and bee baths serve multiple garden pollinators from a single beautiful water feature — butterflies prefer very shallow water with flat landing stones while bees need slightly deeper water with pebble perches so combining both elements in a wider dish creates a shared water source of genuine value to multiple garden species. Surrounding the butterfly bee bath with nectar-rich flowers creates the most perfectly complete pollinator garden corner imaginable.
Materials Needed:
- Large wide shallow dish or tray
- Flat stones for butterfly landing
- Smooth pebbles for bee landing
- Fresh water
- Nectar-rich flowers planted nearby
How to Make It:
- Choose the widest and shallowest dish available
- Arrange flat stones at one end for butterfly landing platforms
- Arrange smooth pebbles at the other end for bee landing
- Fill with water to just below pebble and stone top level
- Position among nectar-rich flowering plants for maximum wildlife attraction
- Refresh water daily in hot weather for the most active pollinator visits
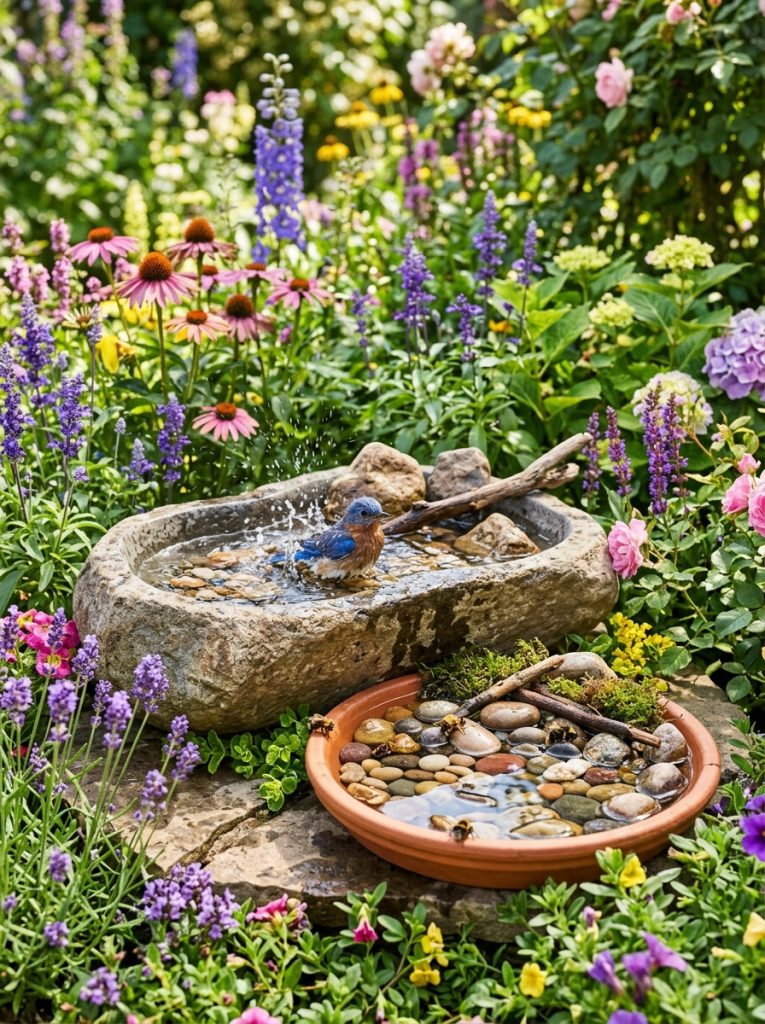
A combined bird and bee bath garden feature serves the widest range of garden wildlife from a single beautifully designed water installation — a standard bird bath positioned alongside or incorporating a separate shallow bee bath section creates a complete garden wildlife water station that attracts birds bees butterflies and beneficial insects simultaneously. The combination creates a genuinely wildlife-rich garden corner of extraordinary daily activity and natural beauty. For more bird garden ideas check our 25 DIY bird bath ideas post.
Materials Needed:
- Standard bird bath or wide dish for birds
- Separate shallow saucer for bee bath
- Smooth pebbles for bee bath interior
- Fresh water for both baths
- Positioning stand or pedestal
How to Make It:
- Position bird bath at standard bird-friendly height
- Place shallow bee bath saucer on ground or low platform nearby
- Fill bird bath with deeper water for bathing birds
- Fill bee bath saucer with pebbles and shallow water
- Position both near flowering plants for maximum wildlife attraction
- Maintain fresh water in both features daily throughout growing season
8. Bumble Bee Bath DIY Easy Garden Ideas
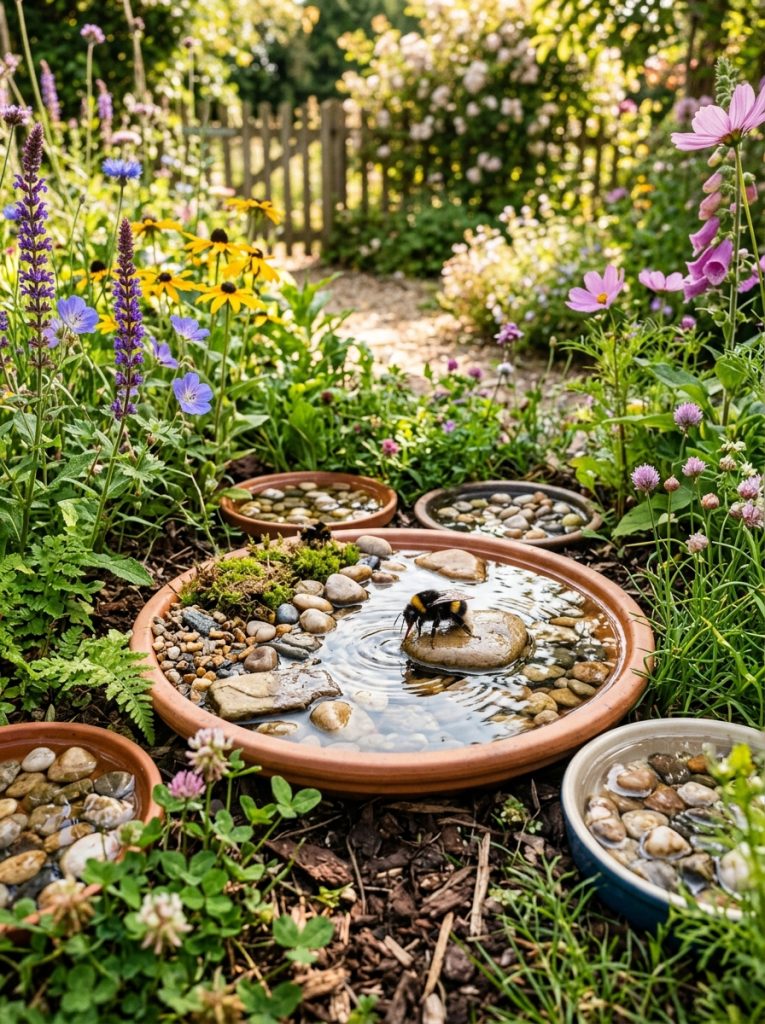
Bumble bee baths work best positioned at ground level among wildflower plantings where bumble bees naturally forage — large bumble bees appreciate wider and flatter water dishes positioned close to the ground with generous flat stone landing platforms that accommodate their larger size comfortably. Ground level bee baths positioned in naturalistic wildflower garden areas create the most appropriate and genuinely effective bumble bee water sources.
Materials Needed:
- Extra wide flat dish or plant tray
- Large flat stones for generous landing area
- Smooth pebbles for water depth control
- Fresh water
- Wildflower plantings nearby
How to Make It:
- Choose the widest and flattest dish available for maximum bumble bee access
- Position dish directly on soil or very low surface at ground level
- Arrange large flat stones across most of the dish surface
- Add smooth pebbles around flat stone edges for water depth control
- Fill with fresh water to just below stone top surface level
- Position among existing wildflower plantings for immediate bumble bee discovery
9. Tutorial Bee Bath DIY Step by Step Easy
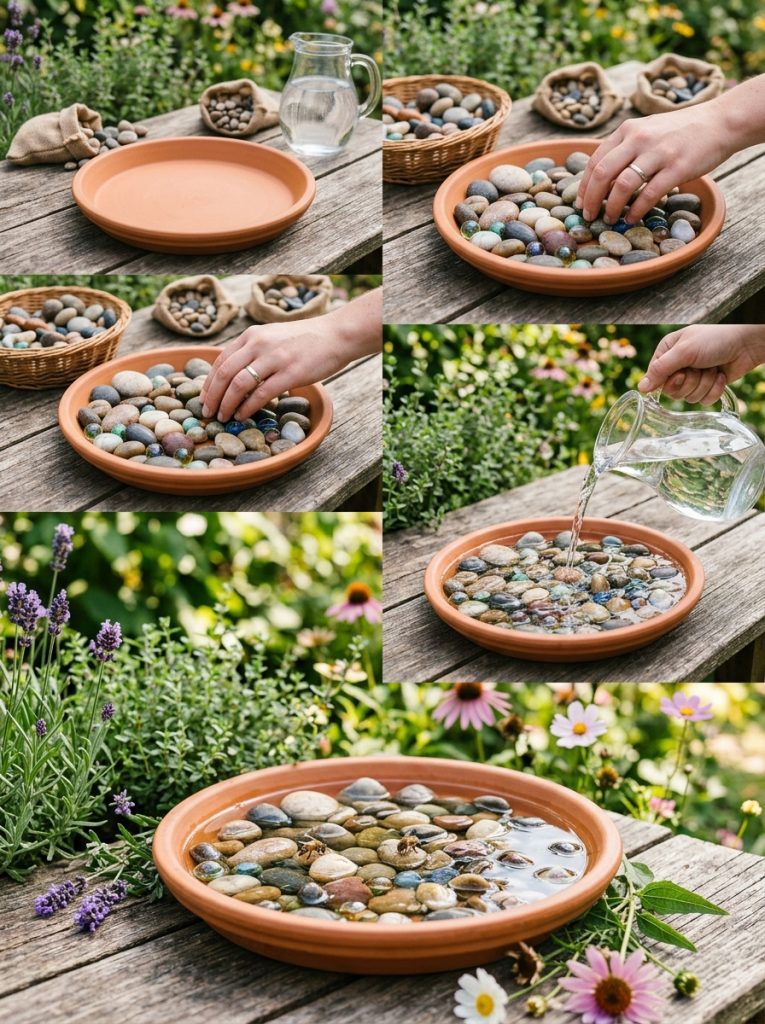
A step by step bee bath tutorial shows just how simple and achievable creating an effective bee garden water source really is — choosing a shallow dish arranging pebbles filling with water and positioning among flowers is genuinely all that is required. The simplicity of the process is what makes bee baths so democratically accessible for every garden and every skill level from complete beginner to experienced gardener.
Materials Needed:
- Any wide shallow dish or saucer
- Smooth pebbles or marbles
- Fresh clean water
- Chosen garden location near flowers
How to Make It:
- Select any wide shallow dish — a plant saucer works perfectly
- Rinse dish and pebbles completely before use
- Arrange pebbles across dish bottom in single layer leaving gaps for water
- Fill with fresh water until pebbles are barely submerged — 1cm depth maximum
- Position in sunny garden spot near flowering plants
- Check and refill water daily as bees visit and evaporation occurs
10. Complete Bee Bath DIY Garden Collection
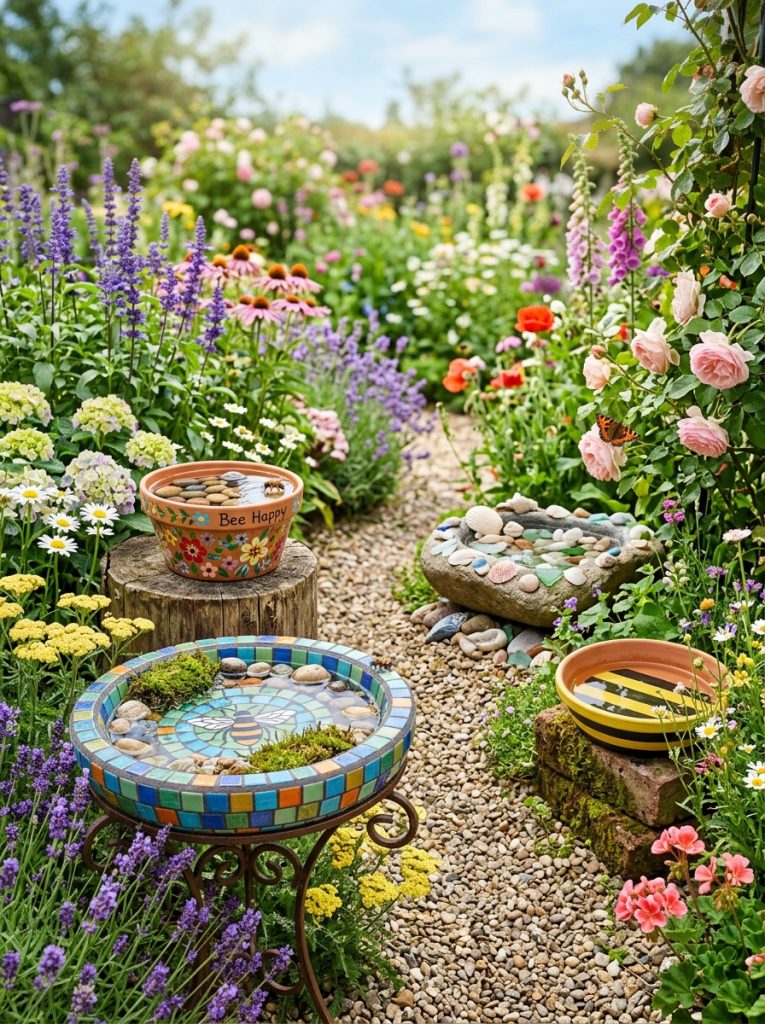
A complete bee bath garden collection placing different bee bath styles throughout the garden creates the most comprehensively bee-friendly outdoor space imaginable — a painted clay saucer bee bath beside the front border, a stunning mosaic bee bath as the garden focal point, shell-decorated bee baths in the coastal garden corner, a combined butterfly bee bath among the wildflowers, and a ground-level bumble bee bath in the naturalistic planting area all together transform any garden into a genuinely bee-friendly sanctuary of real conservation value. For more garden wildlife ideas check our tea cup bird feeder DIY and 25 DIY bird bath ideas posts for more beautiful wildlife garden inspiration.
Final Thoughts on Bee Bath DIY
There you have it — 10 bee bath DIY ideas from the simplest clay saucer with pebbles to beautiful mosaic designs shell-decorated baths and comprehensive butterfly bee bath garden collections. Bee baths are genuinely one of the most impactful and simple garden additions possible — a wide shallow dish with pebbles and fresh water costs almost nothing creates something genuinely beautiful and provides real conservation value to the local bee populations that pollinate garden plants and food crops. Start with the simplest clay saucer design and discover the extraordinary satisfaction of watching bees visit a water source you made specifically for them.

Amir Ali is the founder and site administrator of HomeDecorEdge, a modern home decor and interior design platform. Since starting the site, he has combined his passion for interior design, practical styling, and color coordination with hands-on content strategy and site management. He guides authors, curates high-quality articles, and ensures readers have access to actionable, visually inspiring, and user-focused home decor advice for apartments, small rooms, and family homes.