My first batch of clay ornaments cracked in half overnight. I had rolled the clay too thin and left it on a heater shelf to dry faster.
Since then I have made a lot of them, and I learned that air dry clay is forgiving when you know three things: roll it evenly, dry it slowly and seal it well.
These 12 air dry clay christmas ornaments are easy enough for kids, pretty enough to give as gifts and cheap enough to make by the dozen. No oven, no kiln, just clay, a rolling pin and some paint.
Give yourself two or three days, because the clay needs time to dry. Start this week and your tree will be ready well before Christmas.

Quick Picks
- Easiest build: Cookie Cutter Clay Ornaments (idea 1)
- Best gift: Personalized Stamped Ornaments (idea 10)
- Best keepsake: Handprint and Footprint Keepsake Ornaments (idea 4)
1. Cookie Cutter Clay Ornaments
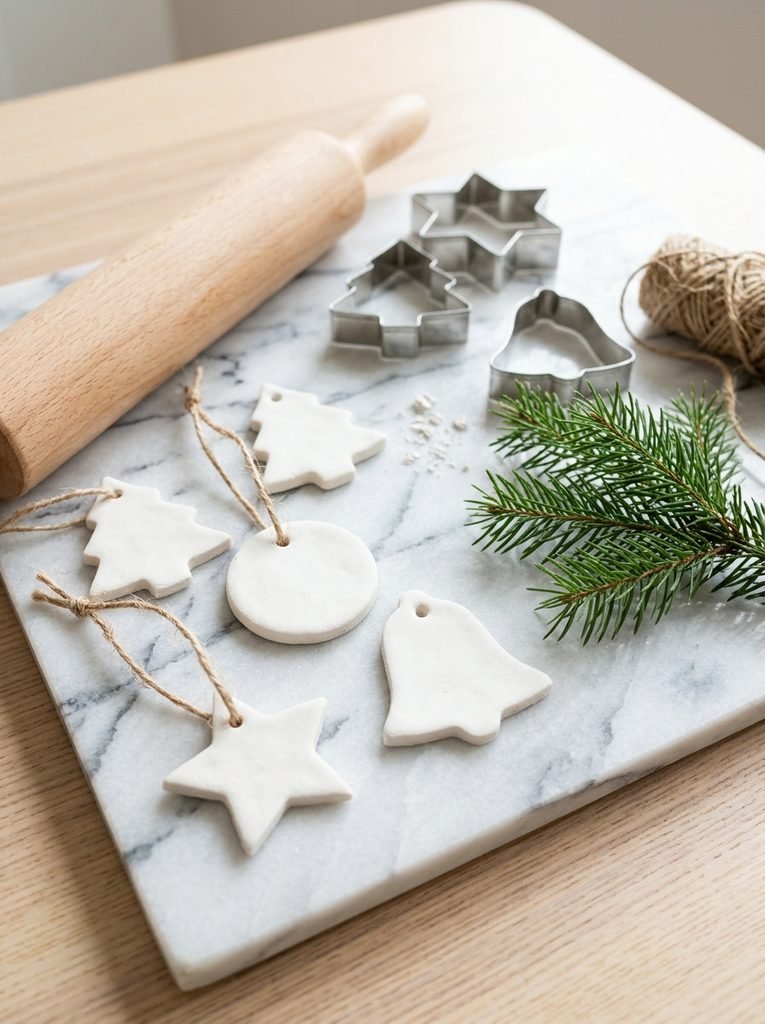
This is where I tell everyone to start. Roll out the clay, press a cookie cutter in and lift. You get clean stars, rounds and trees in minutes, and they look handmade in the best way. A block of white air dry clay goes a long way.
Roll to about a quarter inch, which is the thickness I trust. Thinner pieces crack, and thicker ones take forever to dry. A set of Christmas cookie cutters in small sizes works best for ornaments.
⏱ 1 hour plus drying💲 Low🛠 Easy
Materials Needed
- White air dry clay
- Rolling pin
- Christmas cookie cutters
- A drinking straw for the hole
- Jute twine
How to Make It
- Knead the clay until smooth, then roll it out to a quarter inch thick.
- Press the cutters in firmly and lift away the extra clay.
- Poke a hole near the top of each shape with a straw.
- Smooth the edges with a slightly damp finger.
- Dry flat for 24 to 48 hours, flipping once halfway through.
Tip: Dry them on parchment paper and flip once a day. That keeps them flat and stops the edges from curling.
2. Painted Star Ornaments
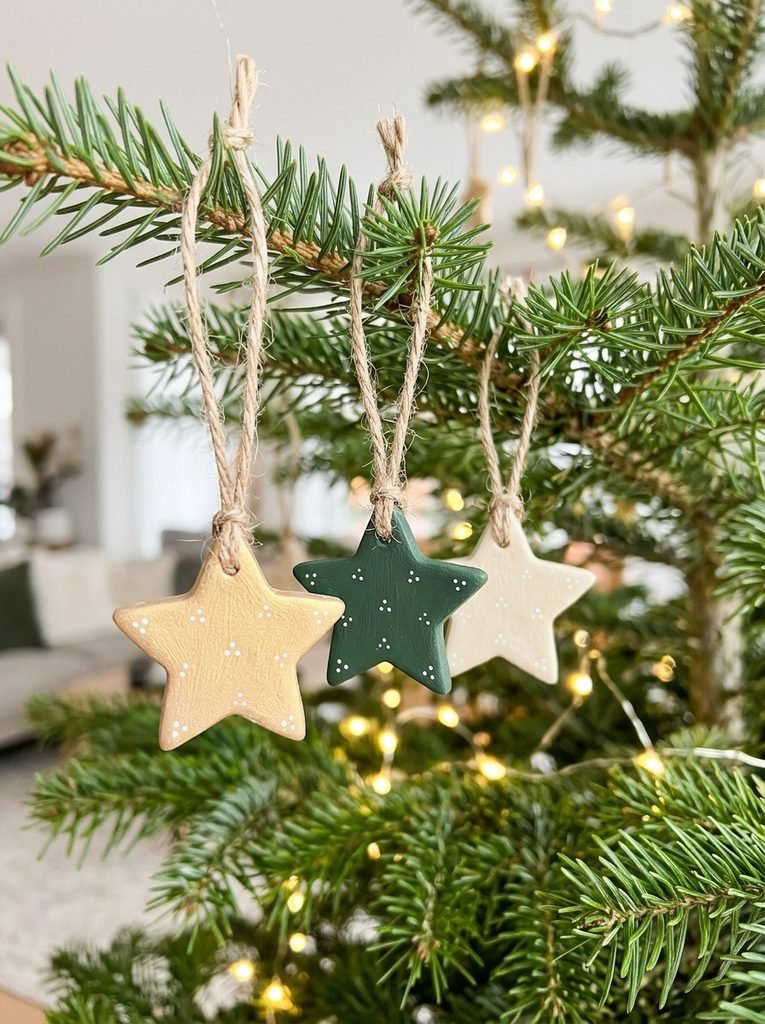
Stars are the simplest shape and look good in any color. I paint mine gold, deep green and cream, then add tiny white dots with the back of a pencil. Two coats make the color look solid and rich.
Use thin coats of acrylic paint and let each one dry before the next. Thick paint can crack as it dries. A matte sealer on top keeps the color from rubbing off when you stack the ornaments in a box.
You’ll need: acrylic craft paint, matte sealer
Best for: first time painters and kids who like color
3. Gingerbread Clay Ornaments
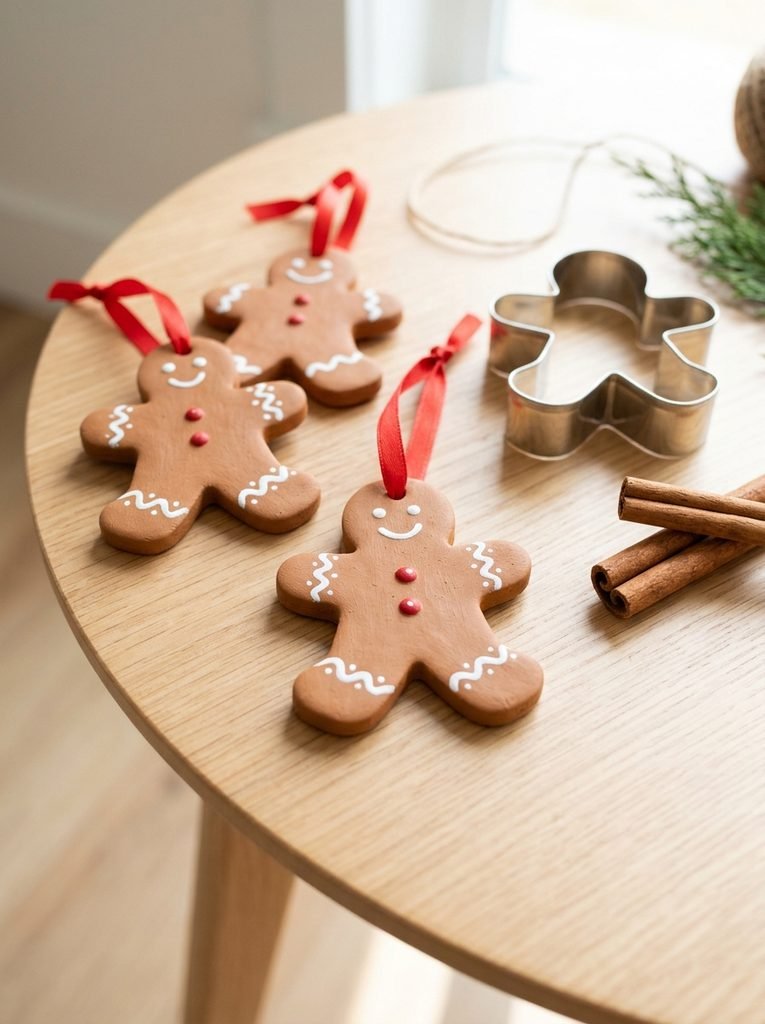
These look like cookies, but they last for years and nobody tries to eat them. Paint the clay warm brown, add white icing lines with a thin brush and finish with red buttons. A toothpick makes perfect little dots.
Dab a sponge lightly over the brown paint and the ornament gets a soft baked look. I like that better than flat color. Seal them well, because brown paint shows every fingerprint.
You’ll need: a white paint pen, brown acrylic paint
Best for: anyone who loves the gingerbread look without the baking
Printable Bundle
Christmas Printable Bundle
Christmas planner, 24 advent activity cards, 36 gift tags, handmade labels, Santa letter and family games.
4. Handprint and Footprint Keepsake Ornaments
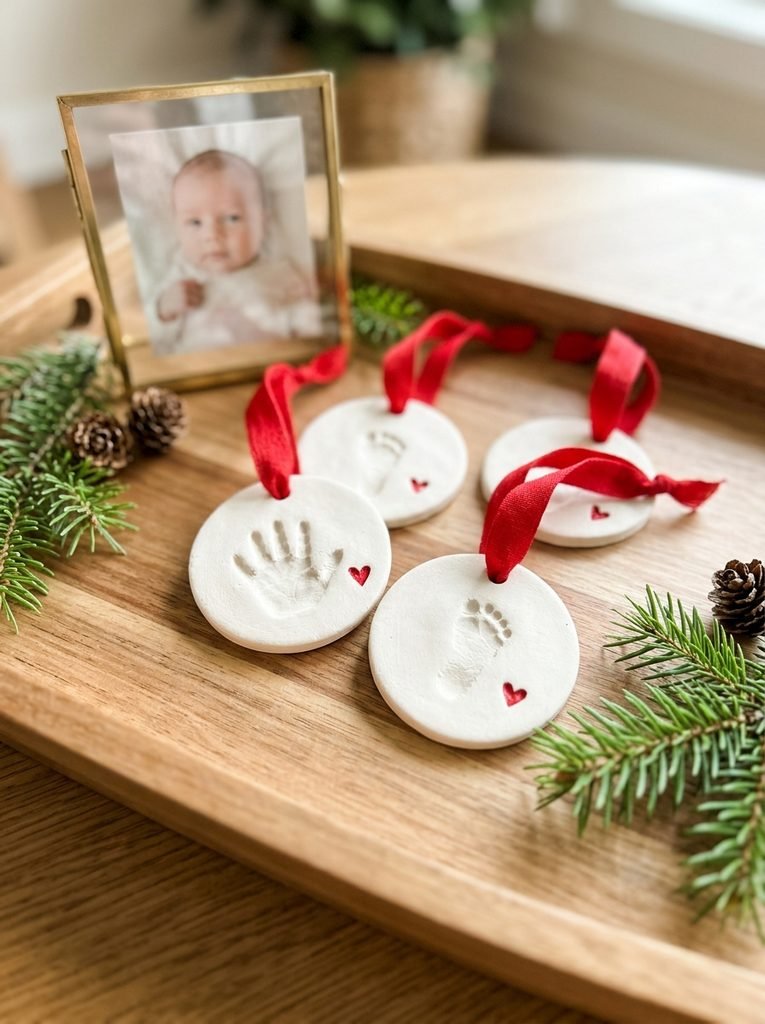
These are the ornaments families keep forever. A small hand or foot pressed into soft clay becomes a memory you hang every single year. They make the sweetest gifts for grandparents too.
Use soft, non toxic clay and press gently, and an adult should supervise the whole time. For babies, choose clay labeled baby safe and wipe skin clean right after. Never leave clay on a child’s skin to dry.
⏱ 1 hour plus drying💲 Low🛠 Easy
Materials Needed
- Soft white air dry clay that is non toxic
- Rolling pin
- A round cutter or a small bowl
- A drinking straw
- Acrylic paint, a fine brush and ribbon
How to Make It
- Roll the clay about half an inch thick.
- Cut a round shape bigger than the hand or foot you are using.
- Press the hand or foot in gently, then lift straight up.
- Poke a hole above the print with a straw before the clay dries.
- Dry flat for two to three days, then paint a heart or the year and tie on a ribbon.
Tip: Write the date in the wet clay with a toothpick. Years later you will be glad you did.
Printable Games
Christmas Party Games Pack
9 fun games for family, friends and office parties: trivia, charades, gift swap and more.
5. Snowman Clay Ornaments
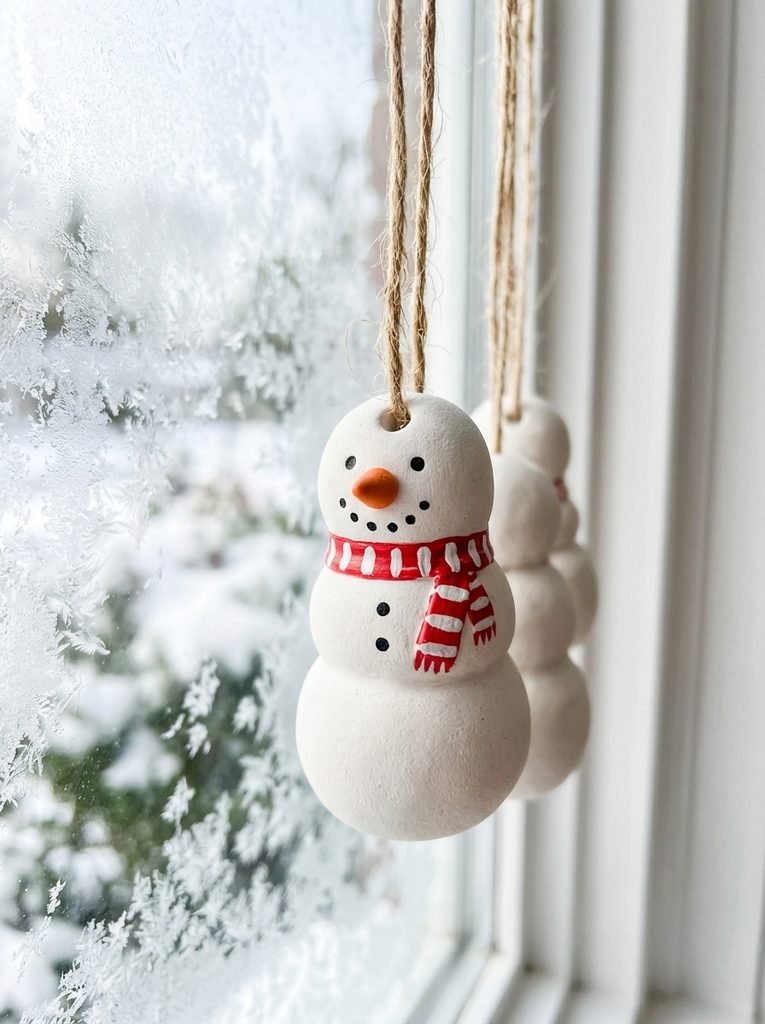
Snowmen are simple and cheerful. Cut a round shape, paint it white, then add dot eyes and a striped scarf. The carrot nose is my favorite part, because it makes the whole thing smile.
Press a tiny clay cone into the wet clay for the nose, and it will dry in place. If you glue on a nose later, keep small parts away from toddlers. Little noses can come off and end up in mouths.
You’ll need: fine tip paint pens
Best for: quick gifts and tree toppers for a snowy theme
6. Santa Clay Ornaments
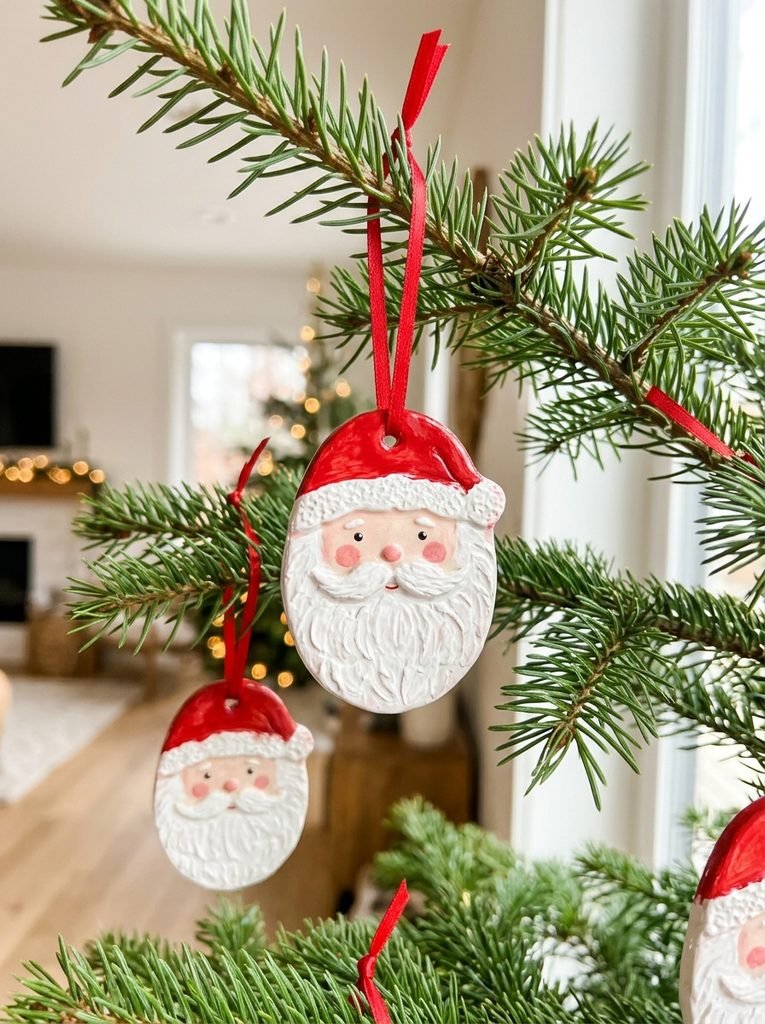
A simple oval becomes Santa with just paint and texture. Paint the top red for the hat, then add a white band and a textured beard. A fork pressed into the wet clay gives the beard a soft, fluffy look.
Red paint needs two coats to look rich. I let the first coat dry fully, then add the second, and I do the white last so it stays bright. Keep the face small and simple, and it will look charming.
You’ll need: red acrylic paint, a fork for the beard texture
Best for: anyone who wants a classic look that kids will love
7. Candy Cane Clay Ornaments

These twist from two thin ropes of clay, one white and one red if you color your own. Twist them together, bend the top into a hook and you have a candy cane that never melts. They look bright on a green tree.
Bend the clay while it is soft, then let it dry resting over the curve of a bowl or rolling pin. That keeps the hook shape. If you paint instead, white base first, then thin red stripes.
You’ll need: a glossy varnish
Best for: people who like a pop of red and a bit of shine
8. Clay Christmas Tree Ornaments
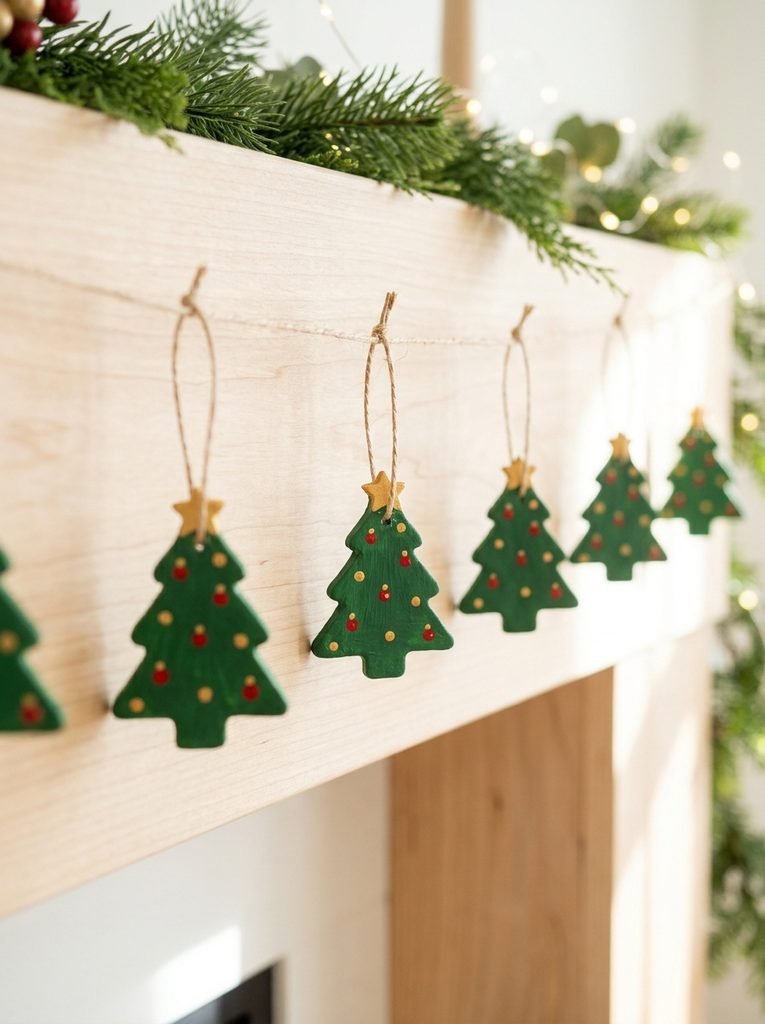
A tiny tree on your tree is always fun. Cut a triangle or use a tree cutter, paint it forest green and dot on red and gold lights. A gold star on top finishes it, and gold paint is easy to dab on.
I like to add texture by pressing a toothpick in short lines, so it looks like branches. Do it while the clay is wet. After painting, the lines catch a little shadow and look lovely.
You’ll need: a tree shaped cutter, green and gold acrylic paint
Best for: small trees, gift tags and mini garlands
9. Cat Paw Print Clay Ornaments
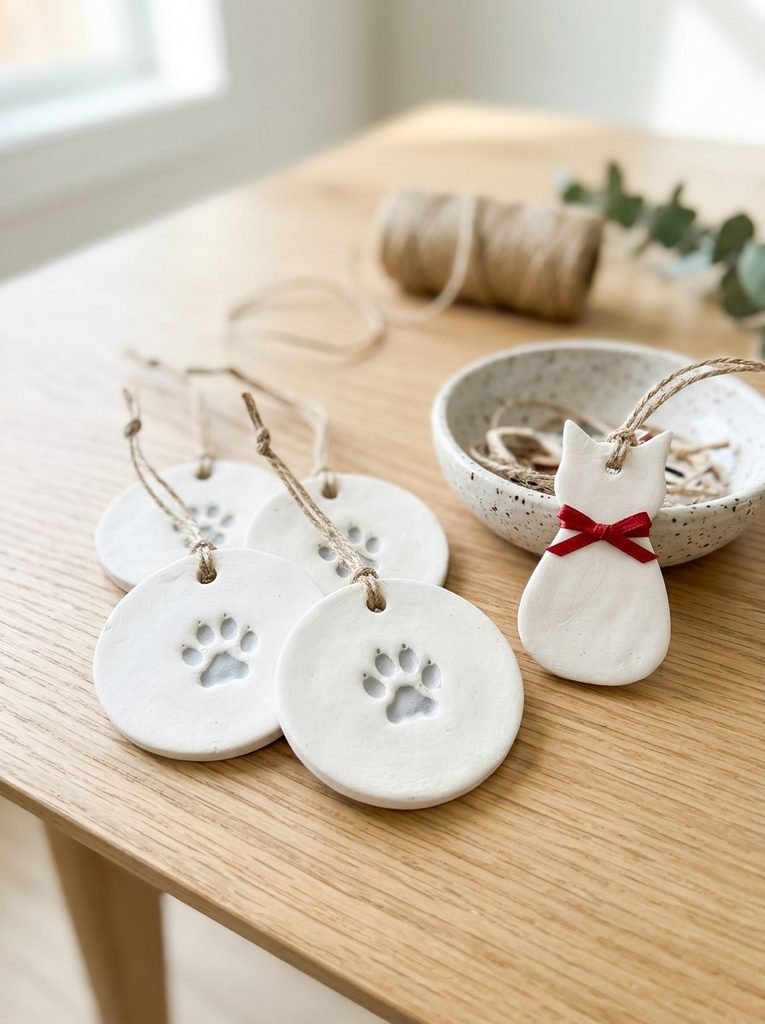
Cat people will love these. Make a round ornament and stamp a paw shape in the middle, then paint it soft gray with a tiny red bow. They also make a sweet gift for someone who adores their pet.
Please do not press a real paw into clay unless your cat is calm and the clay is pet safe. I use a paw stamp or form the pads from small clay balls, which is gentler and neater. Keep ribbon out of curious pets’ reach.
You’ll need: a paw print stamp
Best for: cat lovers and pet themed gifts
10. Personalized Stamped Ornaments
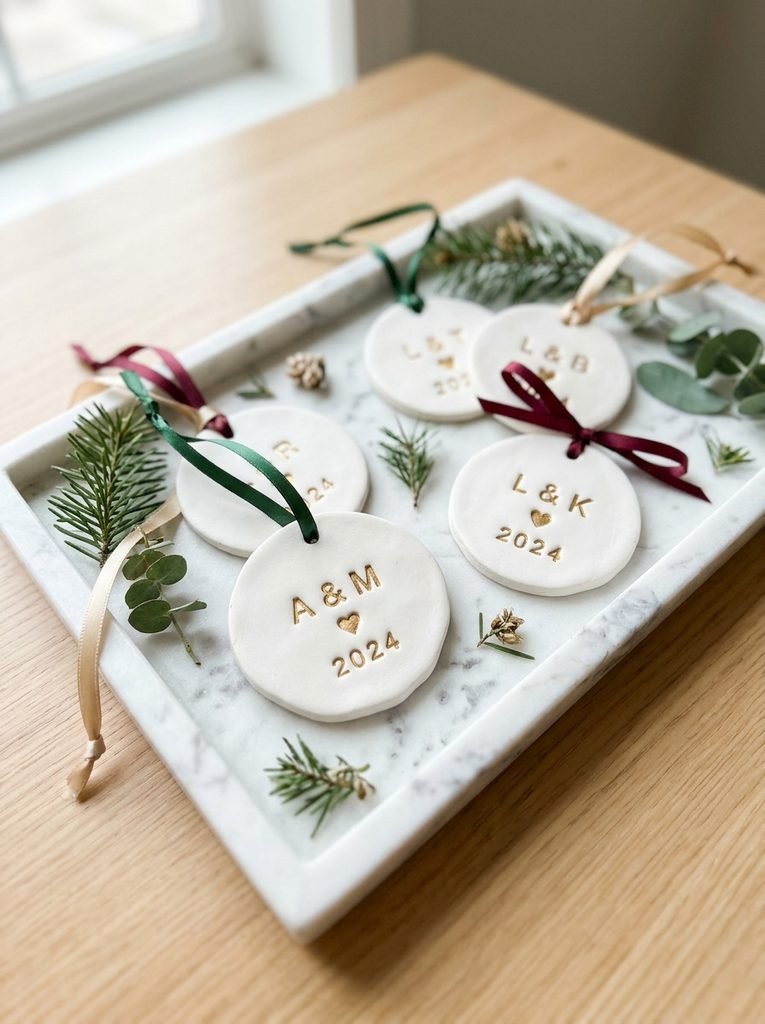
A stamped ornament is a lovely gift for a couple’s first Christmas or a new home. Press two initials, a heart and the year into the clay, then fill the letters with gold paint. It looks like it came from a shop.
Press stamps straight down and do not twist, or the letters will blur. A ruler laid next to the row keeps the letters level. I always practice on a scrap piece first, because you cannot undo a stamp.
⏱ 1 hour plus drying💲 Low🛠 Medium
Materials Needed
- Air dry clay
- Rolling pin
- Round and oval cutters
- A letter and number stamp set
- Gold acrylic paint and satin ribbon
How to Make It
- Roll the clay a little thicker than a quarter inch.
- Cut your round or oval shapes and smooth the edges.
- Press the stamps in straight down for initials, a heart and the year.
- Poke a hole at the top, then dry flat for two days.
- Rub gold paint into the letters, wipe the surface with a damp cloth and tie on a ribbon.
Tip: Fill the letters with paint on a dry ornament only. If the clay is still damp, the paint will bleed.
11. Mini Wreath Clay Ornaments
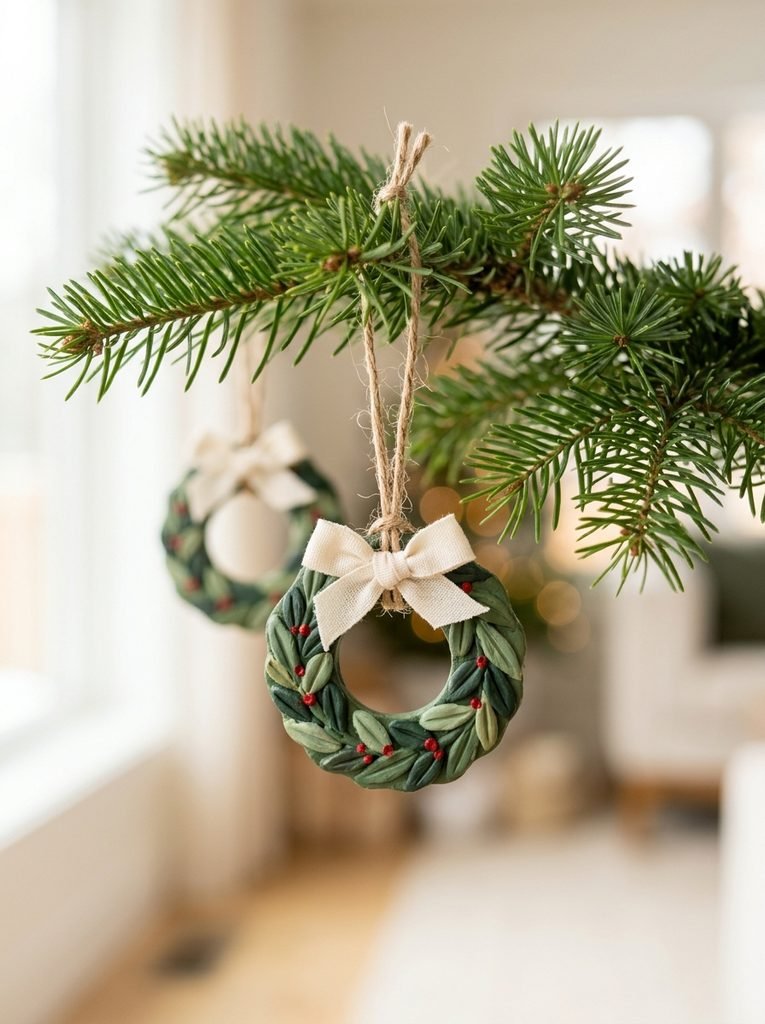
Mini wreaths are easy with a ring cutter. Cut a circle, cut a smaller circle from the center and you have a wreath. Paint it in two or three greens and dot on red berries.
Press a fork or toothpick into the wet clay for needle texture. When you paint, brush darker green first, then dab lighter green on top. A small cream bow makes it feel finished.
You’ll need: a ring cutter, green and red acrylic paint
Best for: small gifts and package toppers
12. Easy Clay Ornaments for Little Kids
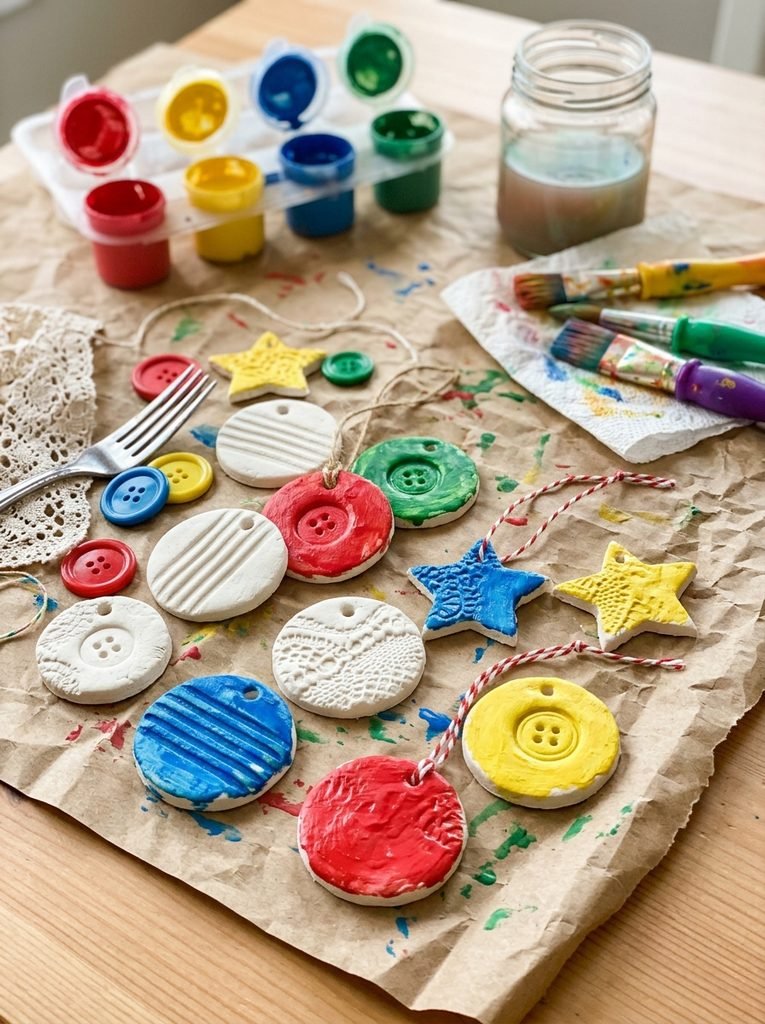
Little kids do best with texture instead of detail. Press a fork, a piece of lace or a large button into the wet clay, then let them paint with big brushes. It is messy, loud and honestly the best part of the season.
An adult should cut the shapes and make the holes. Use washable, non toxic paint and keep tiny buttons away from little mouths. I cover the table with parchment paper, so cleanup takes two minutes.
You’ll need: washable kids paint
Best for: toddlers, young kids and family craft afternoons
Frequently Asked Questions
How long does air dry clay take to dry?
Most ornaments dry in 24 to 72 hours, depending on thickness and room humidity. Flip them once a day for even drying.
Do I need to seal air dry clay ornaments?
Yes. A clear acrylic sealer protects the paint and keeps moisture out, so the ornaments last for years.
Why did my clay ornaments crack?
They were most likely too thin or dried too fast. Roll to a quarter inch and dry away from heaters and direct sun.
Can I bake air dry clay in the oven?
No. Air dry clay is made to harden on its own, and baking can make it crack or burn.
Are clay ornaments safe for kids to make?
Yes, if you use non toxic clay and paint and an adult handles the tools. Keep small parts away from toddlers.
How do I store clay ornaments?
Wrap each one in tissue and keep them in a dry box. Damp basements and garages can soften the clay over time.
Final Thoughts on Air Dry Clay Christmas Ornaments
Clay ornaments are cheap, forgiving and full of charm. A few simple shapes and some paint are all you need to fill a tree.
Pick two or three ideas and make a small batch first. Honestly, the handprint ornament is the one I would not skip.