

Every school morning at our house used to start the same way. “Where’s my backpack?” It was under the table, behind the sofa, or in the car from the day before. Every afternoon, they came back through the door and landed in a pile right where everyone trips over them.
The fix wasn’t more space. It was one clear spot for every backpack, right where you walk in and out. Once that spot existed, the mornings got calmer almost overnight. These 15 backpack storage ideas cover entryways, mudrooms, bedrooms, garages and tiny apartments, plus a few hidden options if you’d rather not see bags at all.
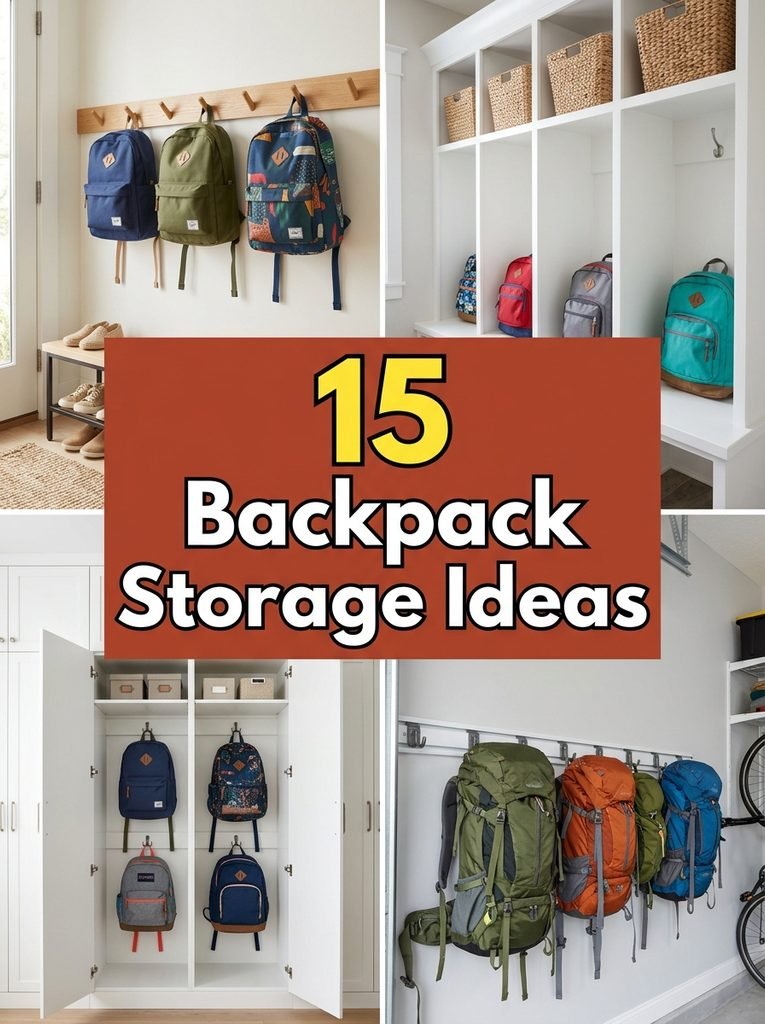
Quick picks if you’re short on time:
- Best DIY project: the backpack hook rail with a shelf (idea 1)
- Best for families: the mudroom cubbies (idea 2)
- Best if you hate visible clutter: the hidden backpack cabinet (idea 3)
- Best for renters: over the door hooks (idea 14)
1. DIY Backpack Hook Rail with a Shelf
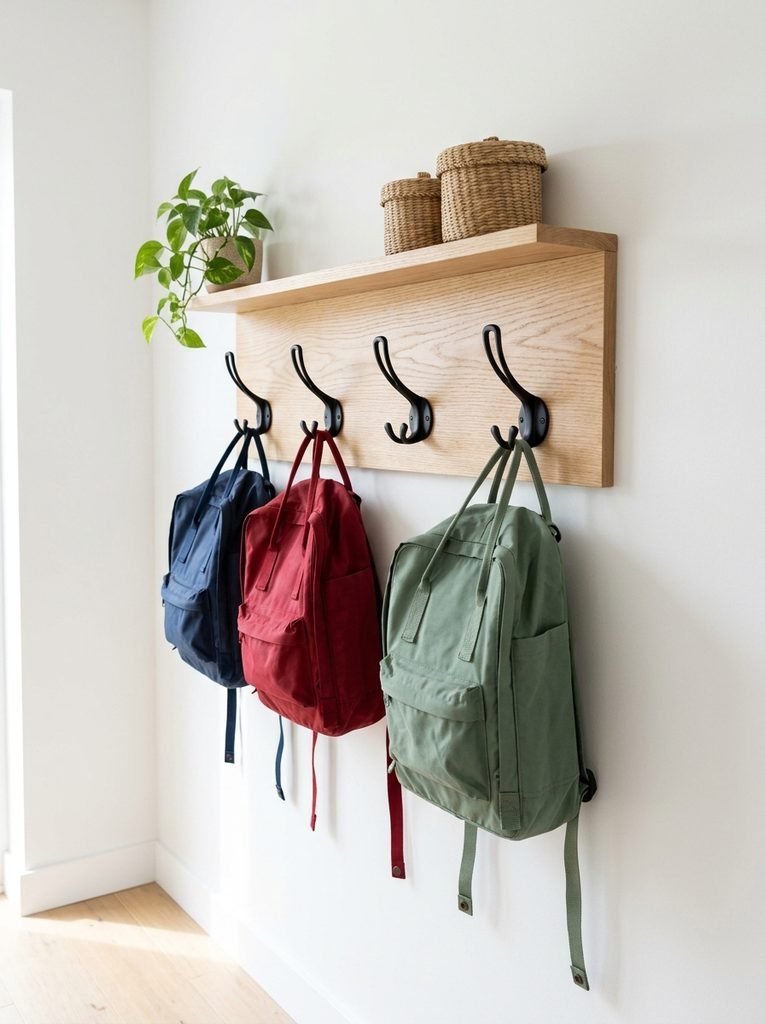
A hook rail by the door is the simplest backpack fix there is. Everyone hangs their bag on the way in and grabs it on the way out. Add a slim shelf on top and you have a place for keys, sunglasses and that permission slip that always goes missing.
I made mine with heavy duty double hooks. School backpacks are heavier than you’d think, and cheap hooks bend fast.
Time: One afternoonCost: LowSkill: Beginner friendly
Materials Needed:
- One 1×6 board, about 36 inches long, for the back
- One 1×4 board, the same length, for the shelf
- Four heavy duty double hooks
- Two small shelf brackets or wood glue and screws
- Wood screws and wall anchors
- Sandpaper, stain or paint
- A drill, a level and a stud finder
How to Make It:
- Sand both boards smooth and stain or paint them, then let them dry.
- Attach the shelf board to the top edge of the back board with glue and screws, or with two small brackets underneath.
- Mark four hook spots along the back board, about 8 inches apart, so backpacks don’t crowd each other.
- Screw the hooks into place.
- Find the wall studs and mark the rail height, about 4 feet off the floor for kids or 5 feet for adults.
- Screw the rail into the studs, check it with a level, and hang the backpacks.
A tip I picked up: hang the rail at the height of your shortest kid’s shoulder. If they can reach it easily, they’ll actually use it.
2. DIY Mudroom Backpack Cubbies
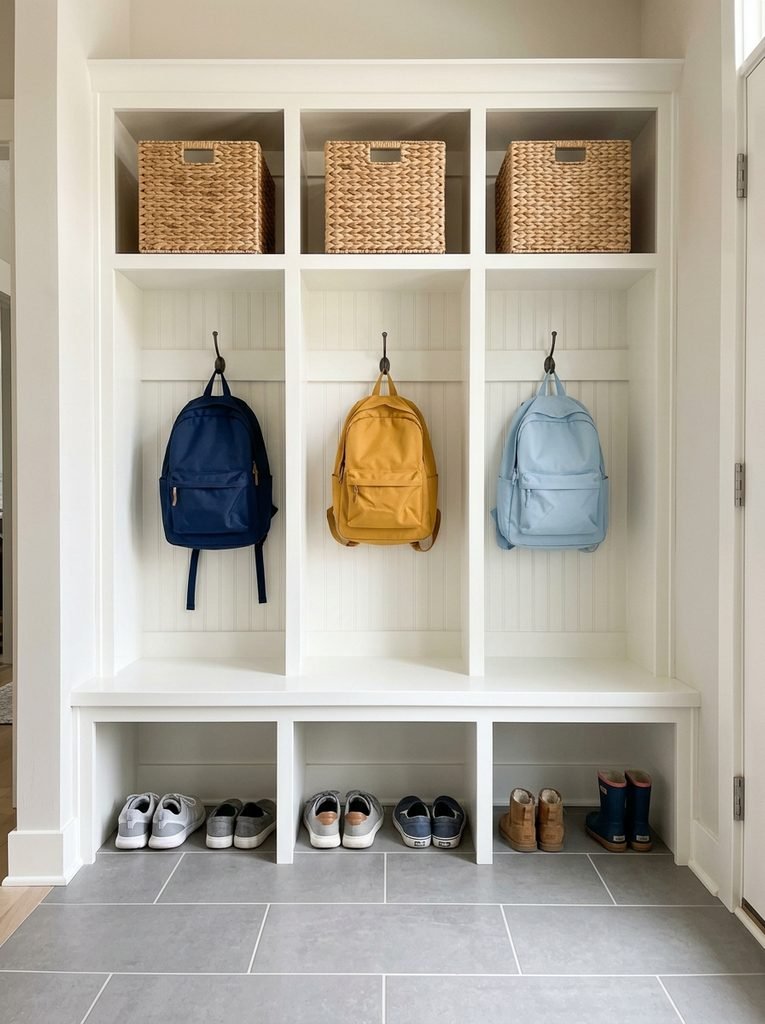
Mudroom cubbies give each person their own section. A backpack hangs on the hook, a basket on top holds hats or gloves, and shoes go on the floor below. Nobody’s stuff gets mixed up, and everything for leaving the house is in one place.
In my experience, cubbies are worth every minute of building if you have more than one kid. Each child knows exactly which section is theirs.
Time: One weekendCost: MediumSkill: Intermediate
Materials Needed:
- 3/4 inch plywood sheets for the sides, top, shelves and bench
- 1×4 boards for the face frame
- Three heavy duty hooks
- Wood glue, 1 1/4 inch screws and finishing nails
- Wood filler, primer and paint
- A saw, a drill, a level and a stud finder
How to Make It:
- Measure your wall and plan three or four sections, each about 16 to 18 inches wide.
- Cut the plywood sides about 6 feet tall and 16 inches deep, then cut the bench, top shelf and upper cubby shelf to fit between them.
- Assemble the frame with glue and screws, setting the bench about 18 inches off the floor and the upper shelf about 16 inches below the top.
- Nail 1×4 boards across the front edges to make a clean face frame.
- Fill the nail holes, prime and paint the unit, then screw it into the wall studs.
- Add one hook in each section about 12 inches above the bench and put a basket in each upper cubby.
Label each cubby with a small name tag or initial. Even little kids learn their spot within a week.
3. DIY Hidden Backpack Cabinet
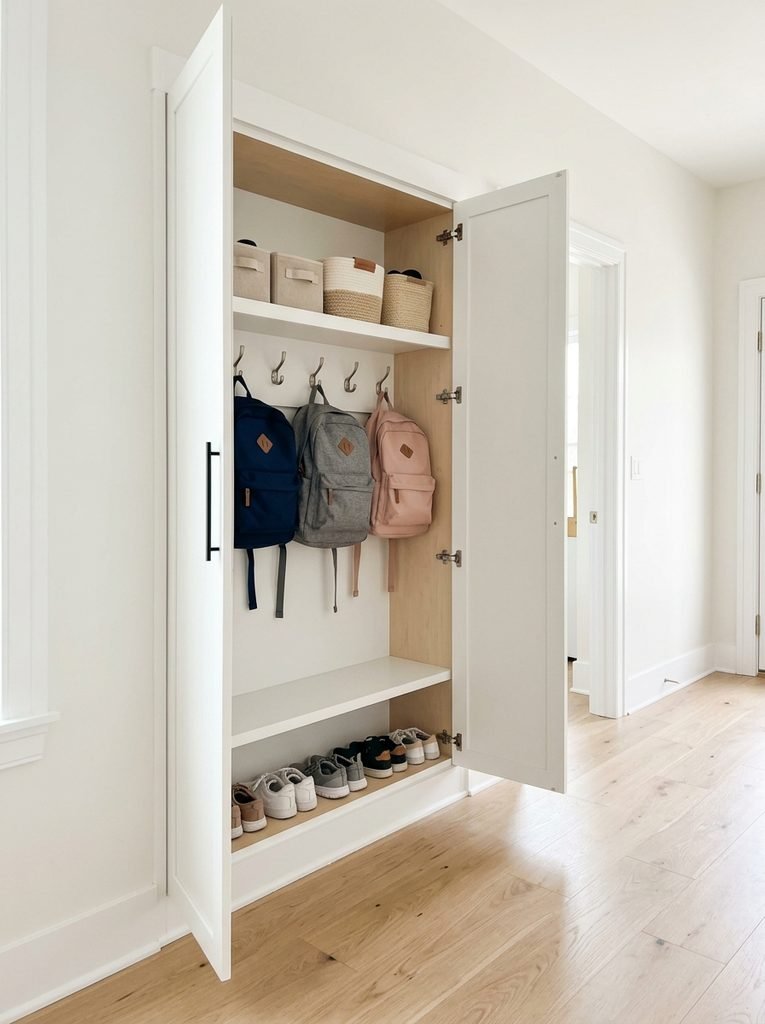
If you’d rather not see backpacks at all, hide them. A tall cabinet with closed doors holds bags on hooks inside, and the outside just looks like a nice piece of furniture. Close the doors and the clutter is gone.
Honestly, this is my favorite idea for open plan homes where the entry is part of the living room.
Time: One afternoonCost: MediumSkill: Beginner friendly
Materials Needed:
- A tall cabinet or wardrobe with two doors, at least 14 inches deep
- Three or four heavy duty hooks
- A short wood strip for mounting the hooks
- Wood screws and a drill
- A small anti tip wall strap
- Shelf bins
How to Make It:
- Remove one or two inside shelves in the middle of the cabinet to make room for hanging bags.
- Screw a wood strip across the back wall of the cabinet at about shoulder height.
- Screw the hooks onto the strip, leaving about 8 inches between them.
- Keep the top shelf for small bins with lunch boxes, water bottles or keys.
- Use the bottom shelf for shoes.
- Attach the cabinet to the wall with an anti tip strap so it can’t fall forward.
Drill a few small holes in the cabinet back or add a vent. Air keeps bags from smelling stuffy, especially gym bags.
4. School Drop Zone with a Spot for Every Kid
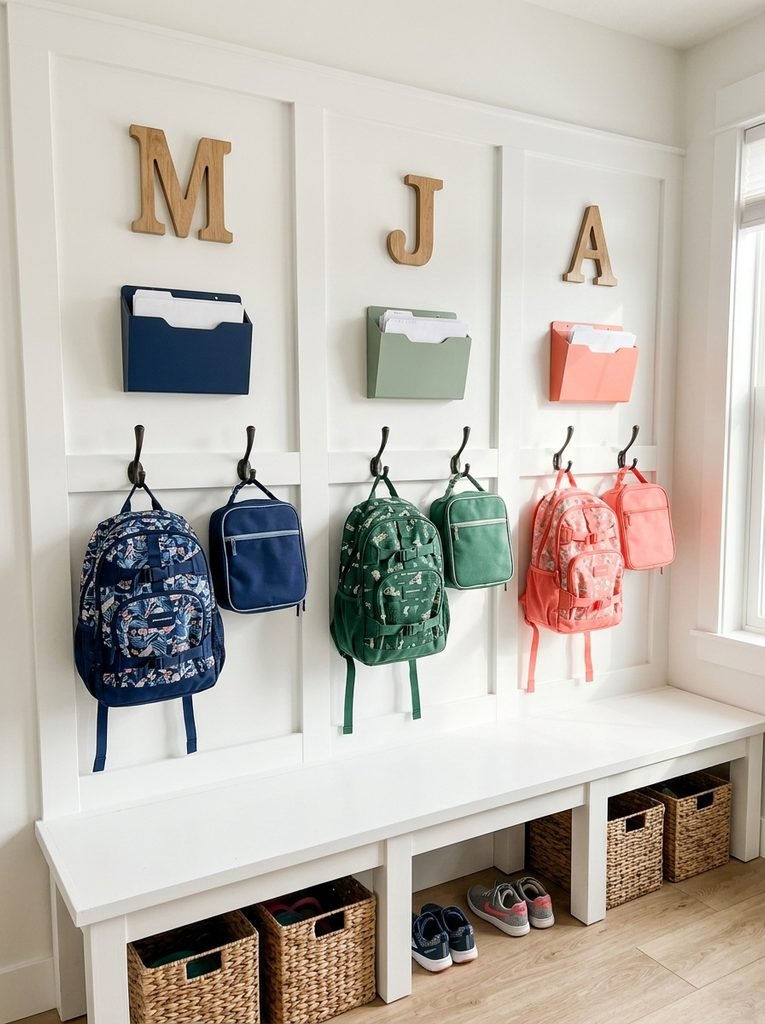
A school drop zone gives each child a hook for their backpack, a pocket for papers and a spot for their lunch bag. Everything they need for the morning lives in one small section by the door.
I add a wooden initial above each section. Kids love having their own spot, and it makes them more likely to hang things up.
Start Your 30-Day Home Reset
Stop waiting for a "perfect" free weekend. Grab the 30-day plan and start feeling lighter in your own home by tomorrow.
View the 30-Day Plan Printable PDF · Instant downloadYou’ll need: one hook and one small wall pocket per child, plus a wooden letter or name tag.
Best for: families with school age kids
5. Backpack Hook Beside the Bedroom Desk
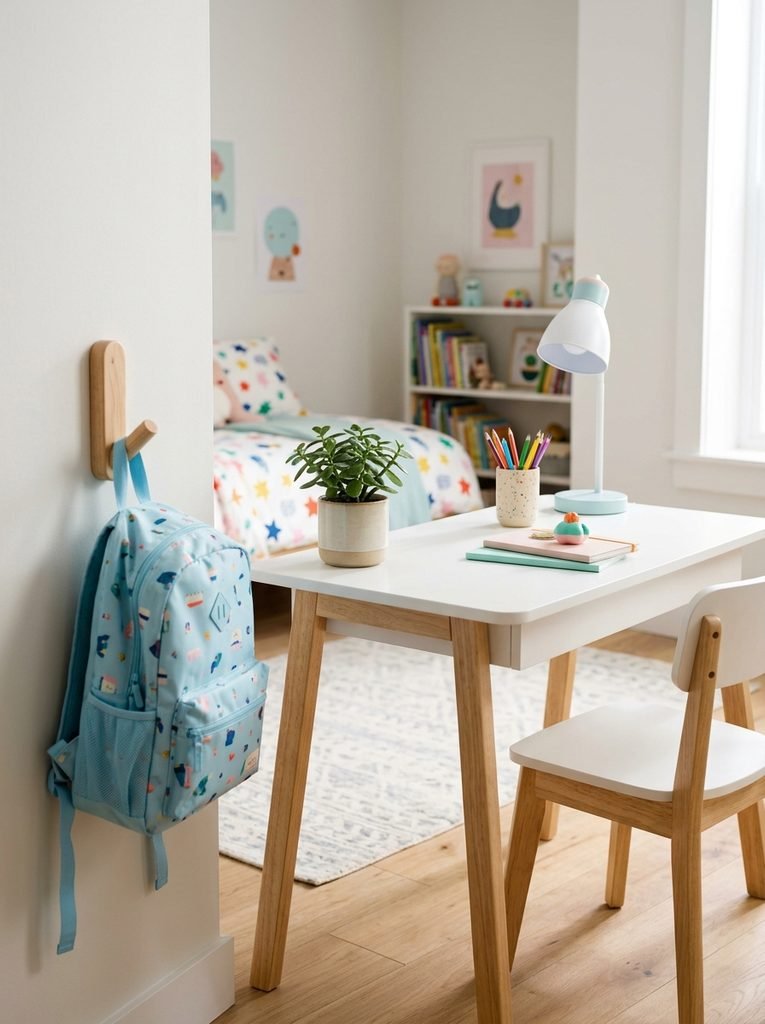
If homework happens in the bedroom, put a backpack hook right beside the desk. Books come out, homework gets done, and the bag goes straight back on the hook, ready for tomorrow.
It’s a tiny change, but it stops the backpack from ending up on the bed or the floor.
You’ll need: one sturdy wall hook.
Best for: teens and kids who do homework in their room
6. Closet Shelf with Bins
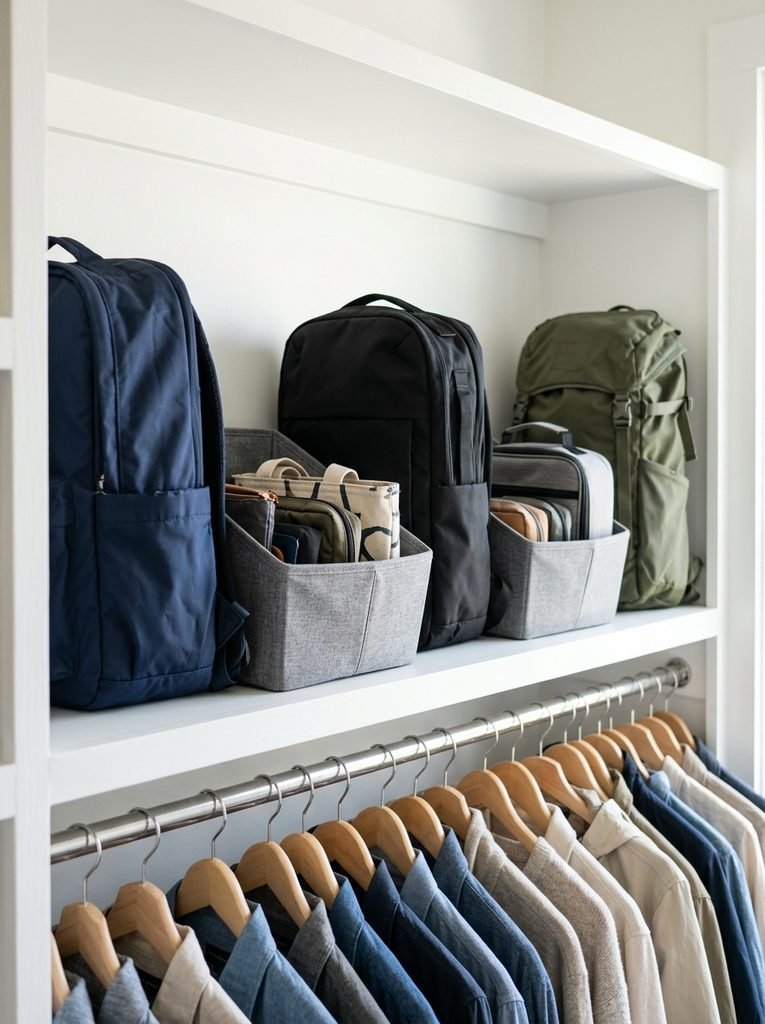
Backpacks you don’t use every day, like spare school bags or weekend packs, can stand upright on a closet shelf. Put a fabric bin between each one so they don’t slump over.
I keep the bag I use most on the lowest shelf. The extras live up top.
You’ll need: two or three open fabric bins.
Best for: extra backpacks and seasonal bags
7. Hiking Backpack Wall in the Garage
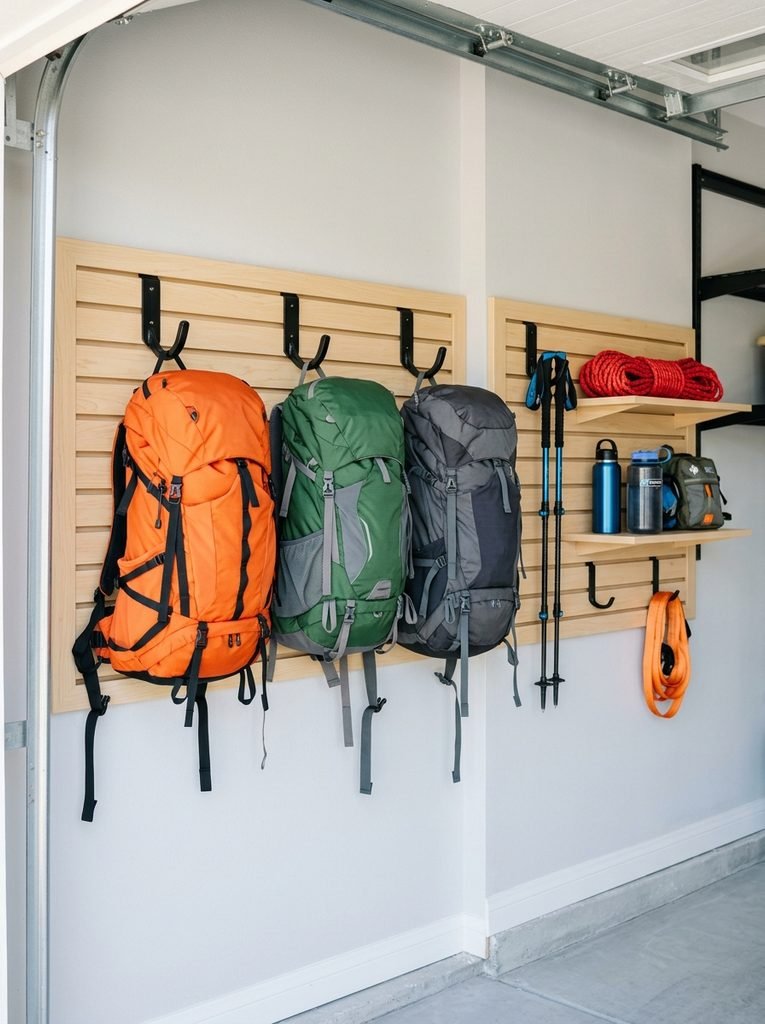
Hiking backpacks are big, and they usually come back muddy. The garage is the perfect home for them. Hang them on a slat wall or sturdy hooks with the zippers open so they air out. Put trekking poles and water bottles right next to them.
A tip I picked up: hang them by the top grab loop, not the shoulder straps. The straps keep their shape longer.
You’ll need: a slat wall panel or a heavy duty hook rail and a small shelf.
Best for: hikers and outdoor families
8. Living Room Basket or Storage Ottoman
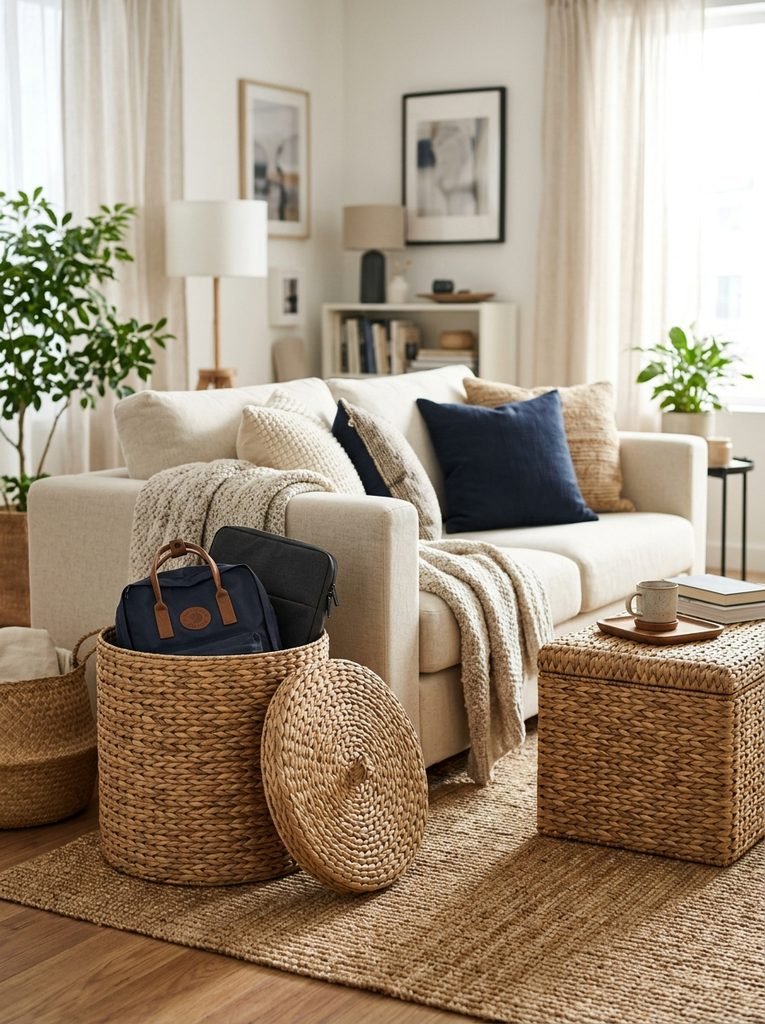
When the backpack lives in the living room, give it a hidden home. A big lidded basket or a storage ottoman holds a backpack or laptop bag out of sight, and it still looks like part of the decor.
I love this for apartments with no entry space at all.
You’ll need: a large lidded basket or a storage ottoman.
Best for: apartments without an entryway
9. Corner Coat Tree for Bags
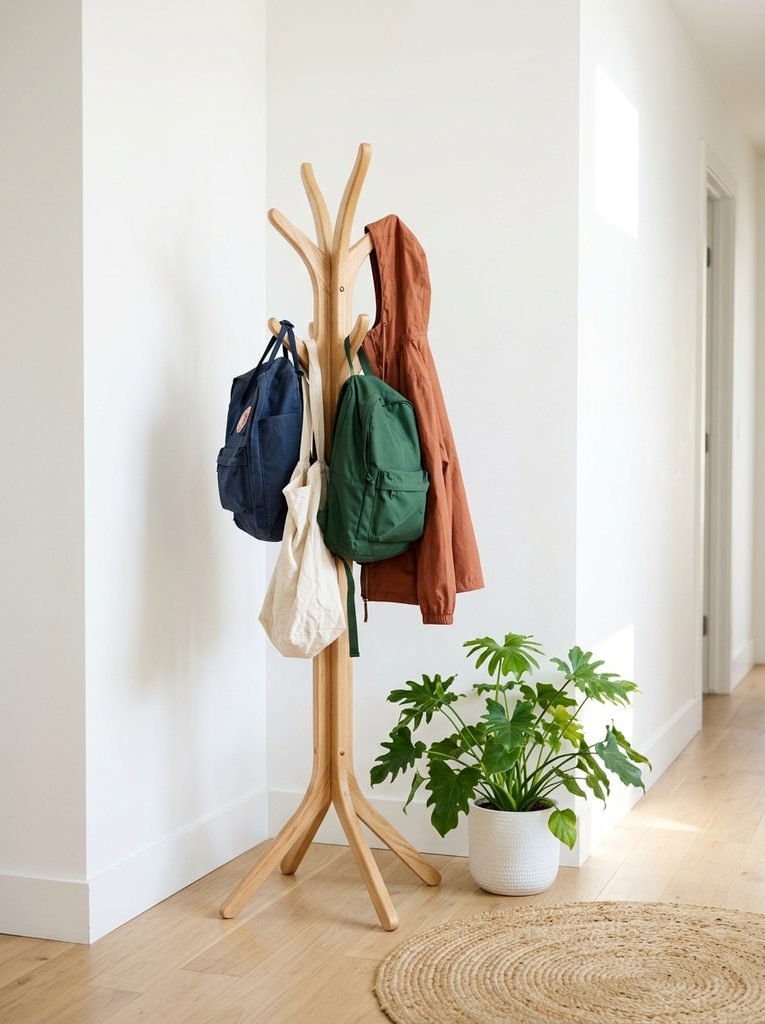
An empty corner can hold a lot more than you think. A standing coat tree takes up just one small square of floor and holds backpacks, totes and jackets on its hooks. There’s nothing to drill.
Pick one with a heavy base. A loaded coat tree tips easily if the base is light.
You’ll need: a sturdy standing coat tree with a weighted base.
Best for: small hallways and renters
10. Slim Hallway Wall Hooks
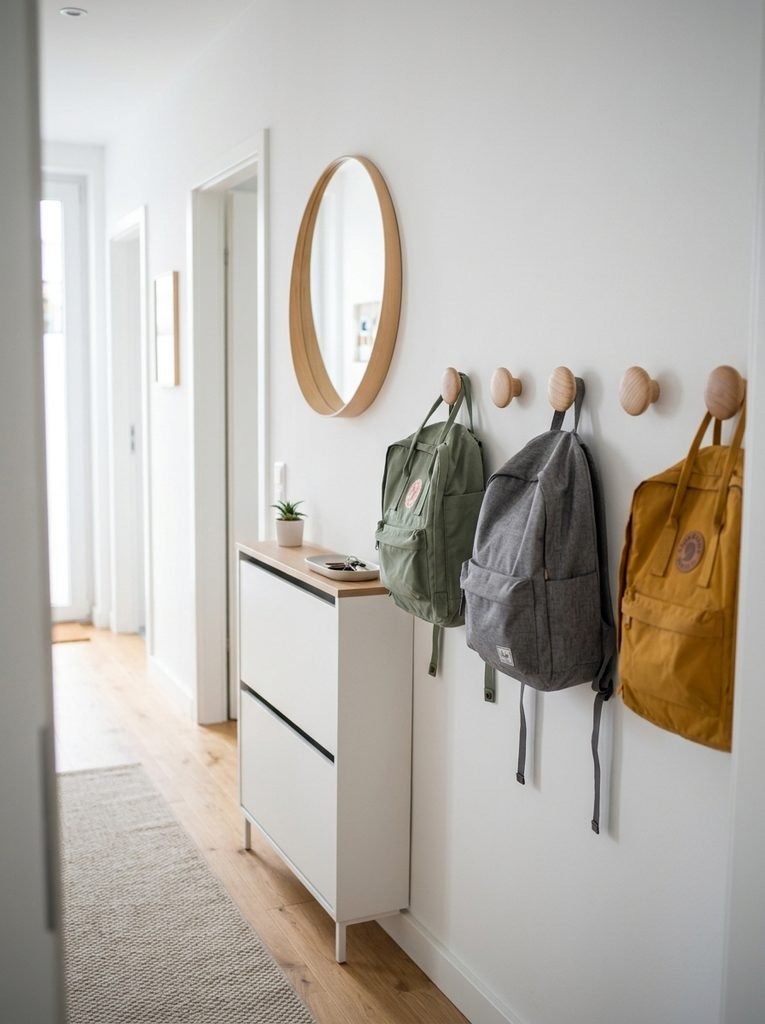
In a narrow hallway, every inch counts. A row of slim wall hooks holds backpacks flat against the wall without blocking the way. Round knob hooks look clean and won’t snag sleeves as people walk by.
I stagger the heights a little, lower for the kids and higher for the adults.
You’ll need: five or six sturdy knob hooks and wall anchors.
Best for: narrow hallways and small entries
11. Shoe and Backpack Bench
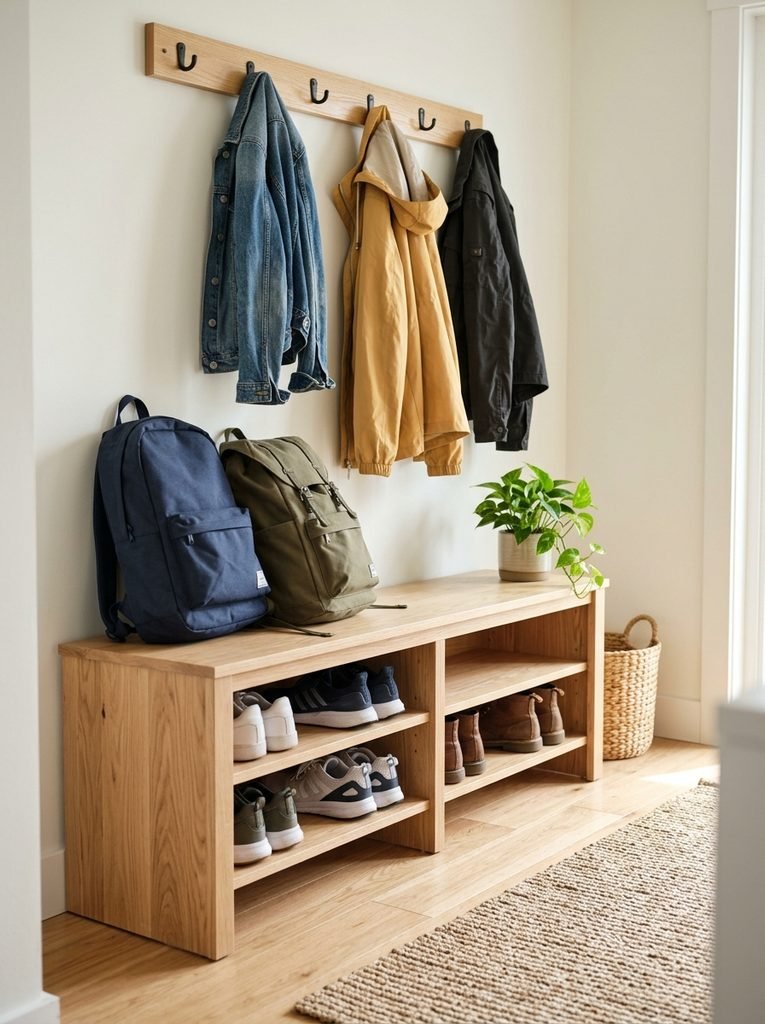
A bench with shoe shelves underneath handles two jobs at once. Shoes go below, backpacks sit on top or hang on hooks above, and there’s a spot to sit while you tie your laces.
Honestly, if you can only add one thing to your entry, make it this.
You’ll need: an entry bench with shoe shelves and a few wall hooks above it.
Best for: busy entryways
12. Closet Rail for Bags and Purses
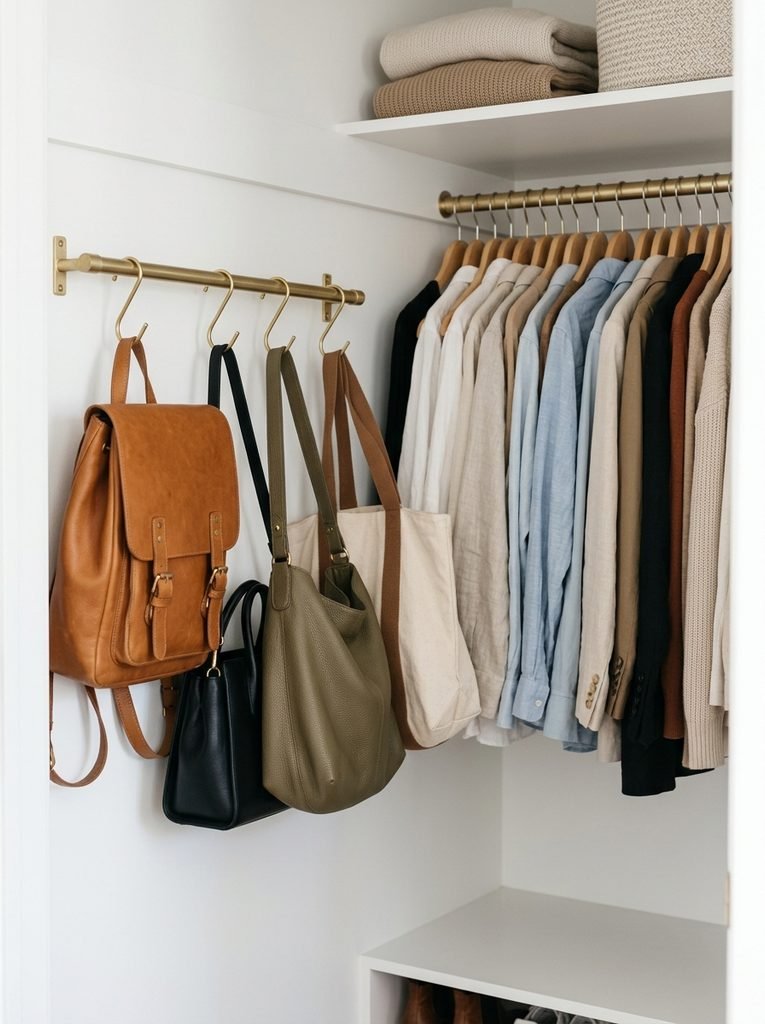
A rail with S hooks on a closet wall holds backpacks, purses and totes side by side. You can see every bag at once, and they keep their shape instead of getting squashed on a shelf.
I like brass hooks for a nice finished look. They make even a small closet feel like a boutique.
You’ll need: a slim wall rail and a set of S hooks.
Best for: closets with a free side wall
13. Office Backpack Hook Under the Desk
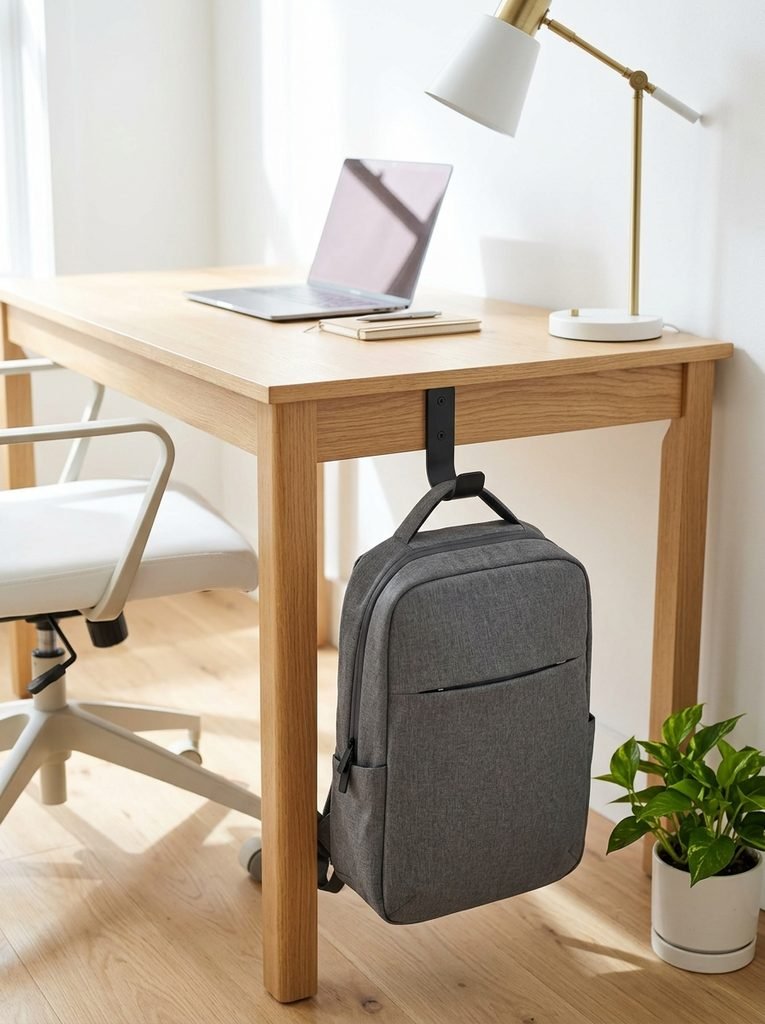
A hook under the edge of your desk keeps your laptop backpack off the floor and right where you need it. It’s out of sight from the front and easy to grab when you head out.
It’s such a small thing, but it stops the bag from getting kicked or stepped on all day.
You’ll need: a screw in or clamp on under desk hook.
Best for: home offices and study desks
14. Over the Door Hooks for Small Spaces
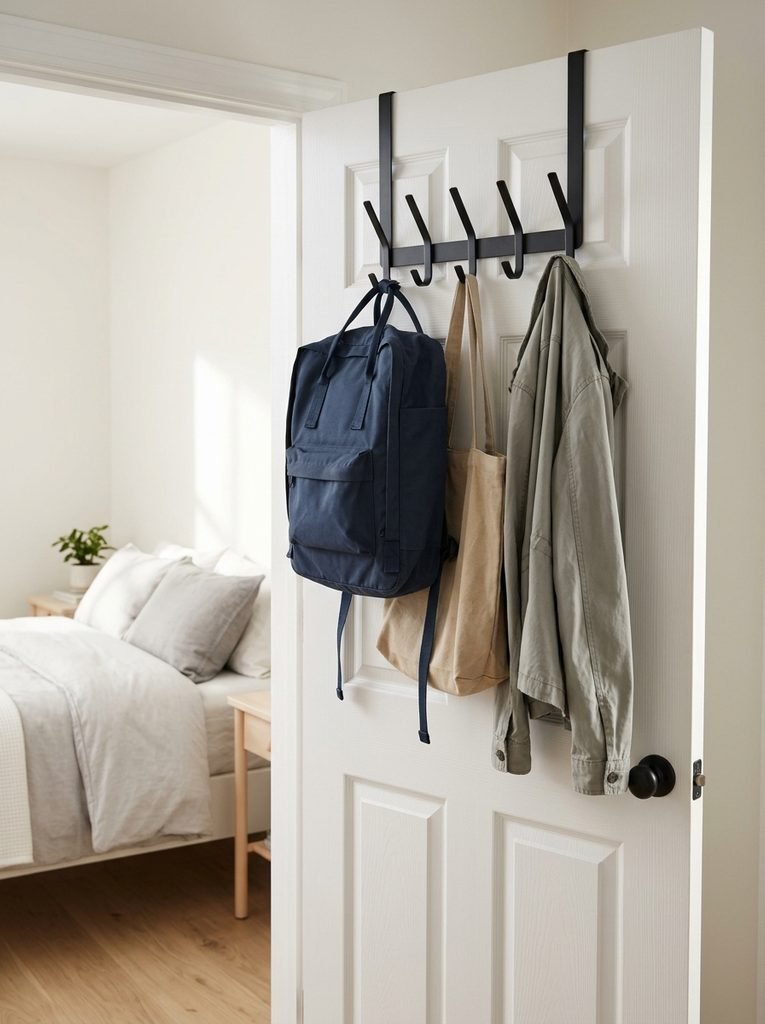
In a small space, the back of a door is free storage. An over the door hook rack holds a backpack and a couple of extra bags without a single hole in the wall.
I love it for dorms and rentals. It goes up in seconds and comes with you when you move.
You’ll need: an over the door hook rack with padded hooks so the door doesn’t get scratched.
Best for: renters, dorms and tiny bedrooms
15. Aesthetic Peg Rail with Matching Hooks
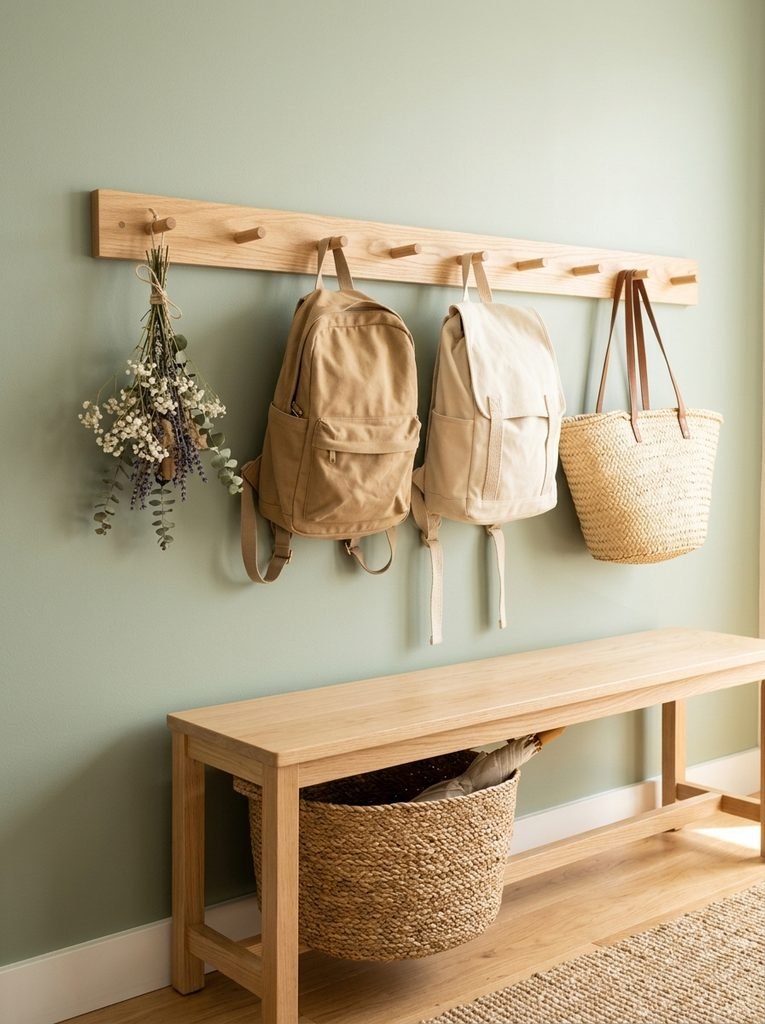
If you want your entry to look pretty as well as organized, a Shaker peg rail is the answer. Wooden pegs look clean and calm, and bags in neutral colors make it feel almost like decor.
A tip I picked up: hang one non bag item, like a small dried flower bunch or a straw hat, on one peg. It makes the whole rail look styled.
You’ll need: a wooden Shaker peg rail and a pot of soft paint for the wall if you want a color pop.
Best for: anyone who wants storage that looks good
Final Thoughts on Backpack Storage Ideas
The best backpack storage ideas give every bag one clear spot, right where you walk in and out. Start with a simple hook rail or a bench, add cubbies if you have a busy family, and hide bags in a cabinet if you love a clean look. Once every backpack has a home, those rushed school mornings get a whole lot easier.


Amir Ali is the founder and site administrator of HomeDecorEdge, a modern home decor and interior design platform. Since starting the site, he has combined his passion for interior design, practical styling, and color coordination with hands-on content strategy and site management. He guides authors, curates high-quality articles, and ensures readers have access to actionable, visually inspiring, and user-focused home decor advice for apartments, small rooms, and family homes.