

Every October the same thing happens. Delivery boxes pile up by the door, and nobody wants to pay store prices for Halloween props.
So turn those boxes into decorations. Cardboard cuts easily, takes paint well and costs next to nothing.
A few tools, some paint and one free afternoon is all you need. Tombstones, a coffin, window silhouettes, even a whole graveyard scene.
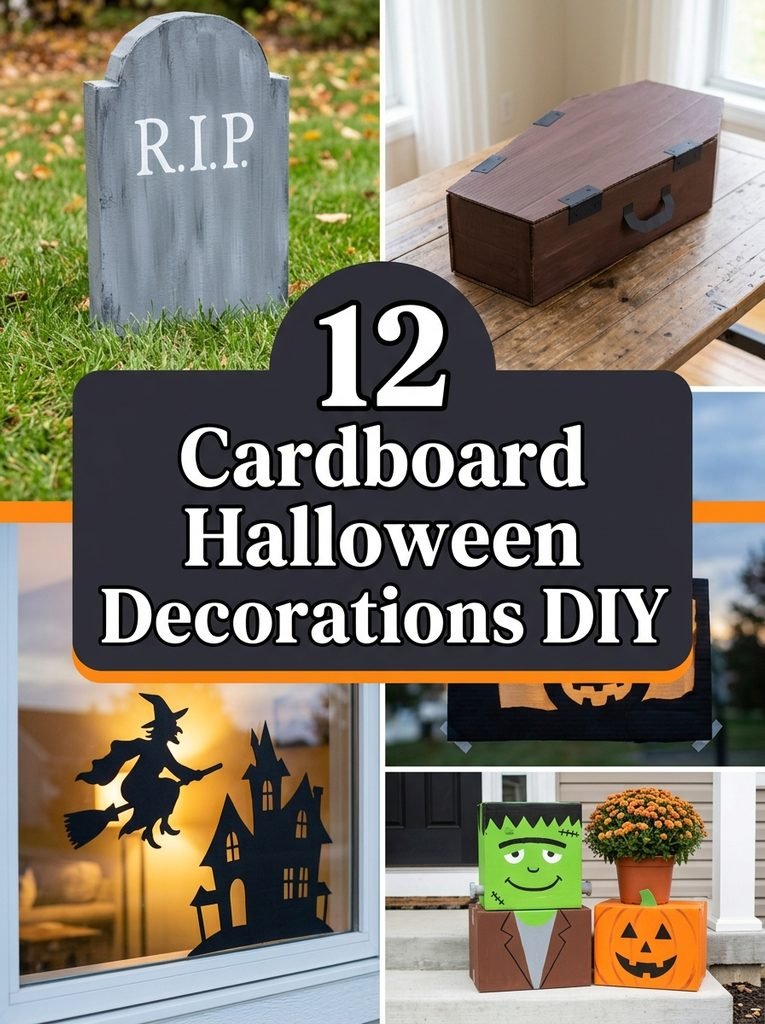
Here are 12 cardboard Halloween decorations DIY ideas for the porch, the yard and inside the house.
1Start with Large Cardboard Sheets
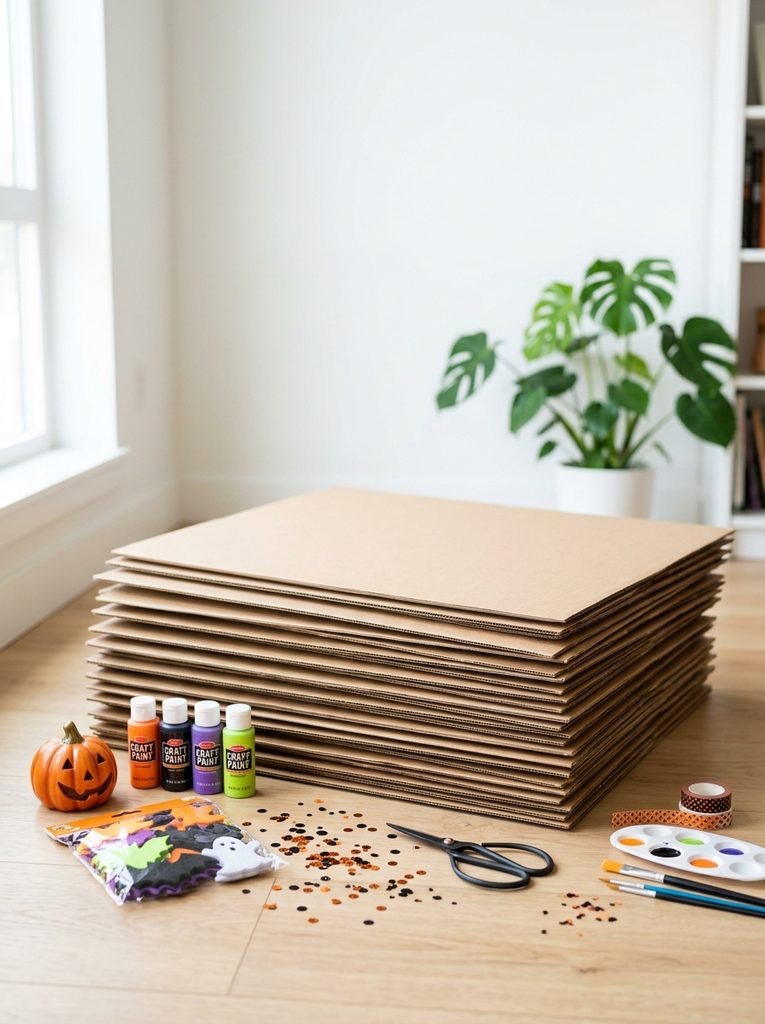
Big flat sheets make every project easier. You get one clean piece instead of patching scraps together.
These large cardboard sheets come flat and ready to cut. Shipping boxes work too, just flatten them and cut off the flaps first.
- Free or cheap
- Easy to cut
- Big clean pieces

My Pick
Large Cardboard Sheets for Crafts
Big flat sheets, so you skip breaking down boxes and get clean wide pieces.
2Paint a Spooky Stone Finish
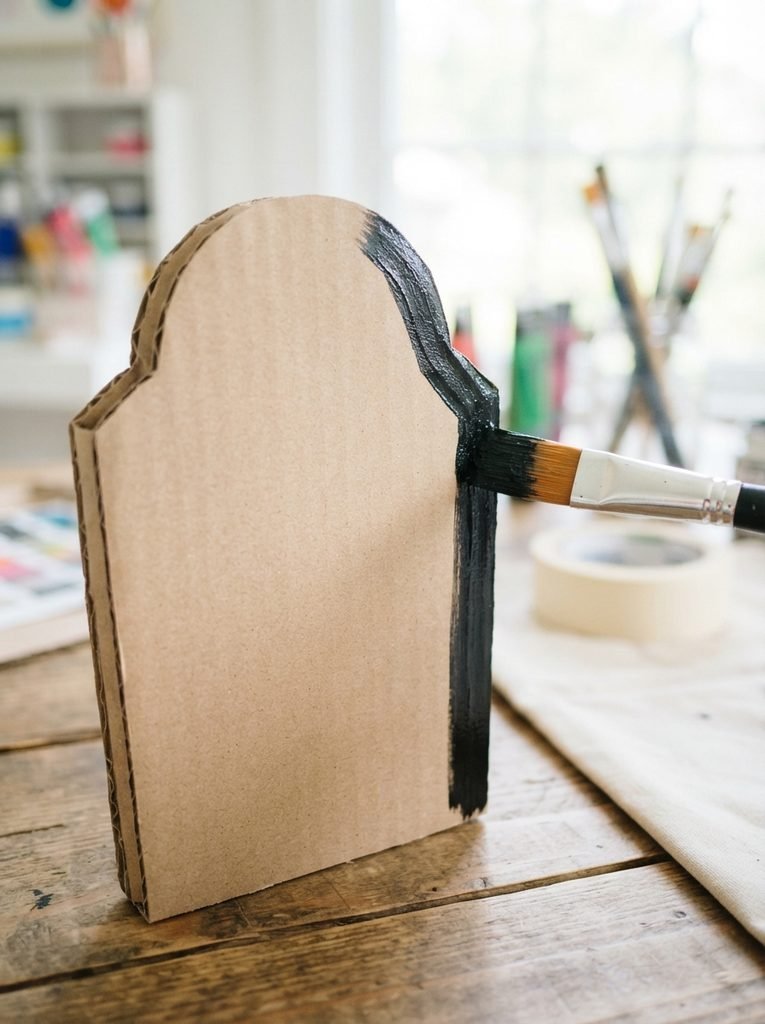
A gray base with black shading makes plain cardboard look like old stone from across the yard.
Dab black acrylic paint into the corners and edges, then blend it out with a dry brush. Add a few thin cracks and it looks years old.
- Stone effect
- Two colors only
- Big impact

My Pick
Black Acrylic Craft Paint
Rich black for shading, cracks and aged stone effects.
3Cut Clean Shapes with a Craft Knife
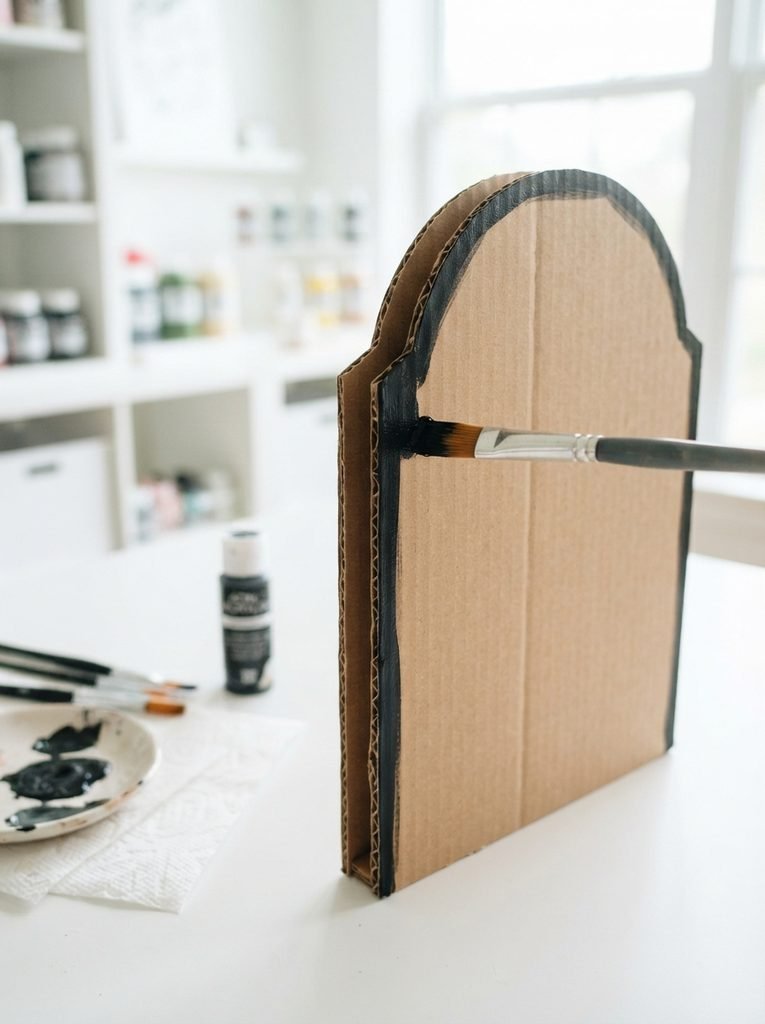
Scissors chew up thick cardboard. A craft knife gives smooth curves and sharp corners.
Use a precision craft knife on a cutting mat and make a few light passes instead of one hard cut. Always cut away from your body, and keep the blade with adults only.
- Clean edges
- Adults cut
- Light passes
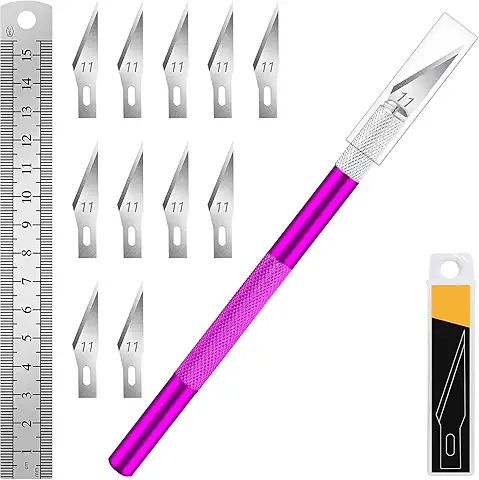
My Pick
Precision Craft Knife
Sharp, steady blade for clean curves and straight edges in thick cardboard.
4Assemble Pieces with Hot Glue
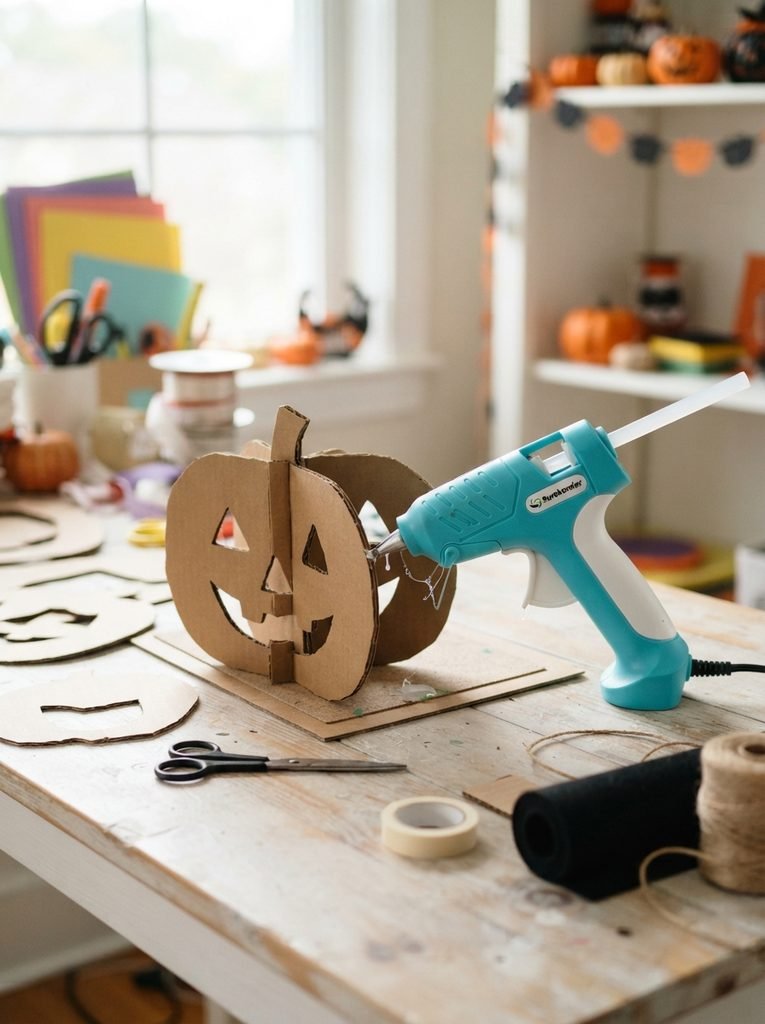
Tape peels off in cold weather. Hot glue holds cardboard panels together much better.
A hot glue gun sets in seconds, so a whole coffin can come together in one evening. A low temperature gun is the safer choice if kids are helping.
- Strong joints
- Sets fast
- Low heat for kids

My Pick
Hot Glue Gun for Crafts
Sets in seconds and holds cardboard panels together firmly.
5Build a Classic Cardboard Tombstone
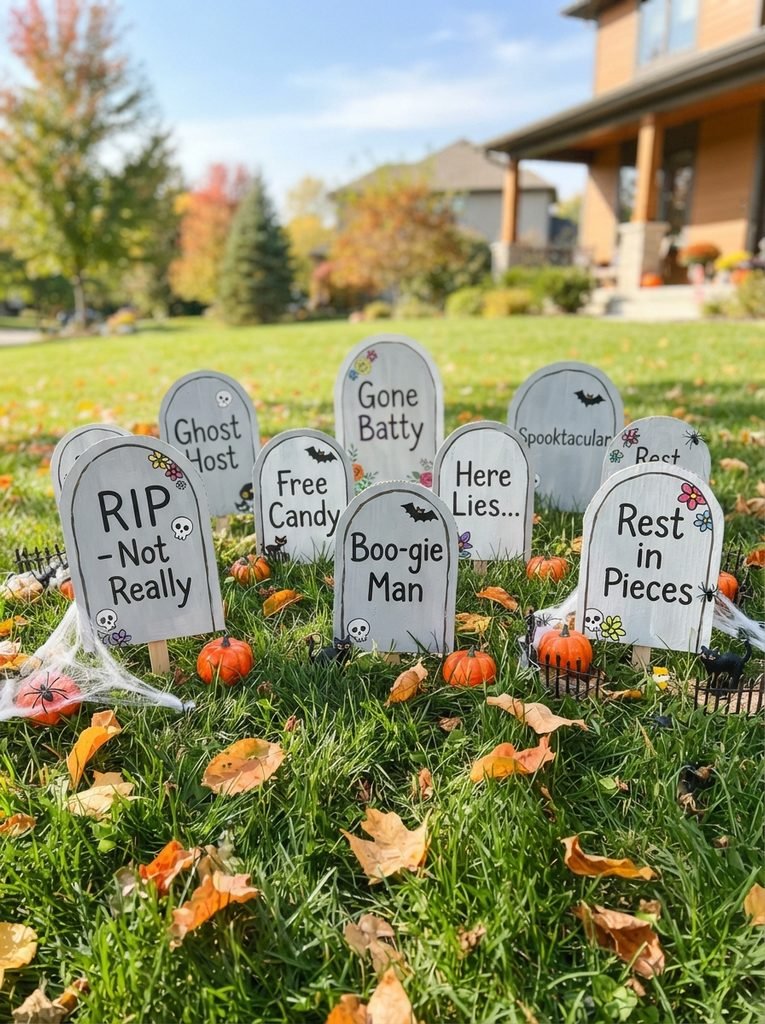
The tombstone is the easiest cardboard prop and the one everyone recognizes.
Cut an arched top, paint it like stone and add a funny epitaph. Make three or four in different heights so they look like a real little graveyard.
- Beginner build
- Instantly spooky
- Make a set
Project Card · 1 hour plus drying · Easy
Materials Needed
- Large cardboard sheet
- Craft knife and cutting mat
- Gray and black acrylic paint
- Paint brushes and a sponge
- Wooden garden stake or paint stick
- Hot glue gun
How to Make It
- Sketch an arched tombstone shape about 18 inches tall.
- Cut it out with the craft knife using light passes.
- Paint the front gray, let it dry, then sponge on black around the edges.
- Paint a short spooky message with a fine brush.
- Hot glue a wooden stake to the back and push it into the lawn.
6Craft a Small Cardboard Coffin Prop
A little coffin makes a great porch centerpiece. It also works as a candy box for trick or treaters.
It takes more careful cutting than a flat tombstone, since the angled sides need to line up. Measure twice and it goes together fine.
- Porch centerpiece
- Candy box idea
- Weekend build
Project Card · 2 to 3 hours · Medium
Materials Needed
- 2 large cardboard sheets
- Ruler and pencil
- Craft knife and cutting mat
- Hot glue gun
- Brown or black acrylic paint
- Clear outdoor sealer
How to Make It
- Draw a coffin shape for the base, wide at the shoulders and narrow at both ends.
- Cut the base and a matching lid from cardboard.
- Cut side strips about 6 inches tall and score them where the corners bend.
- Hot glue the strips around the base, then fold and glue the corners.
- Paint the coffin, add a wood grain pattern with a dry brush and seal it if it goes outside.
7Design a Spooky Window Silhouette
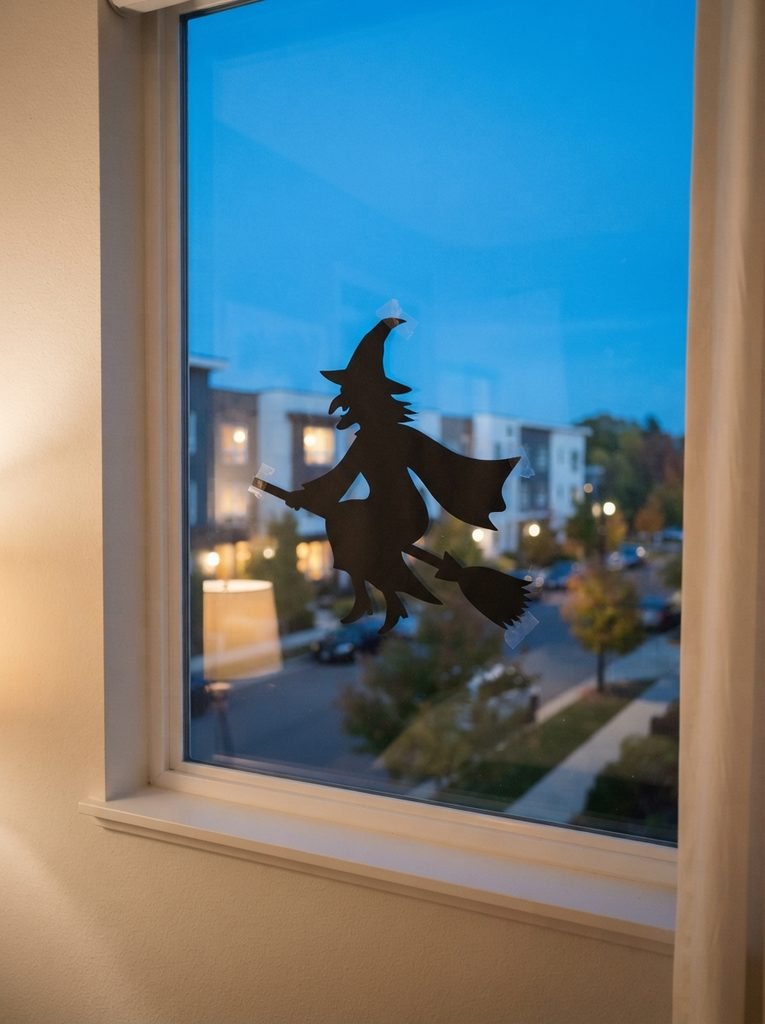
A black witch, cat or bat taped inside the window looks amazing once the lights are on at night.
Paint the cardboard black on both sides so it looks solid from outside. Use painter’s tape on the glass so nothing sticks or leaves marks.
- Night time glow
- No outdoor sealing
- Kid friendly design
Project Card · 45 minutes · Easy
Materials Needed
- Cardboard sheet
- Printed silhouette template
- Pencil and craft knife
- Black acrylic paint
- Painter’s tape
How to Make It
- Print a large witch, cat or bat shape and trace it onto the cardboard.
- Cut it out carefully with the craft knife.
- Paint both sides black and let it dry fully.
- Tape it to the inside of the window with painter’s tape.
- Turn on a lamp behind it at night for the full shadow effect.
8Build an Indoor Standing Skeleton Prop
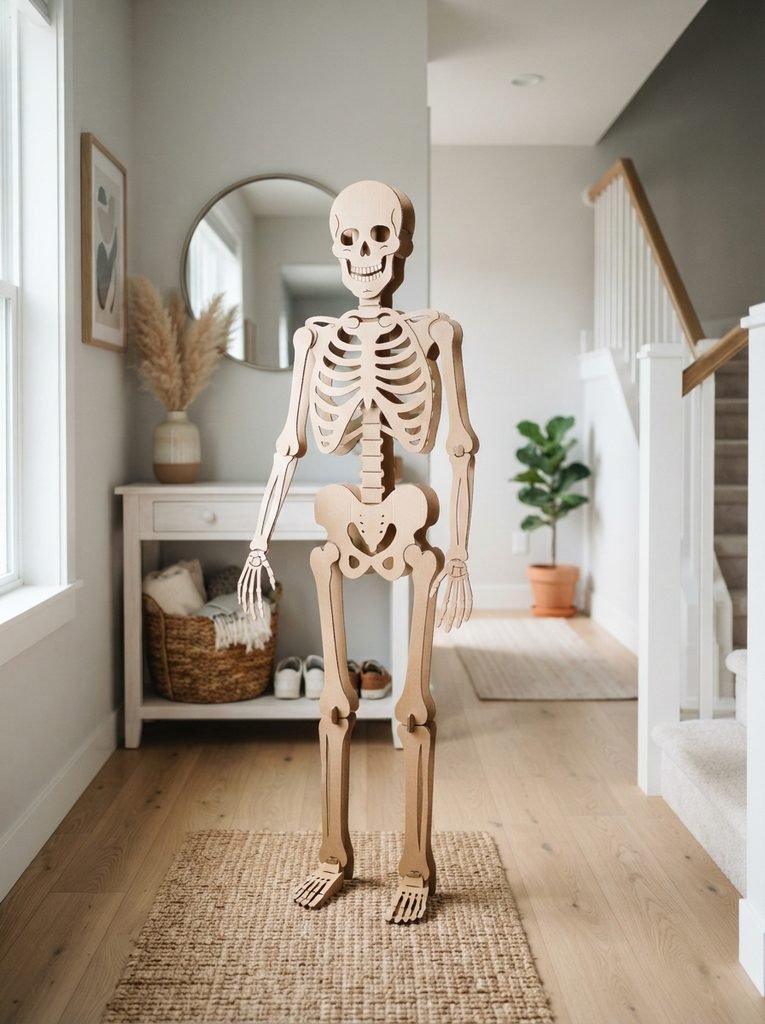
A life size skeleton cutout greets guests at the front door. It looks fun at a party too.
Indoor props skip the weatherproofing, so lighter cardboard is fine. Add a folded cardboard stand on the back so it stays upright and does not tip over.
- Party favorite
- No weatherproofing
- Life size fun
9Add Vintage Style Lettering
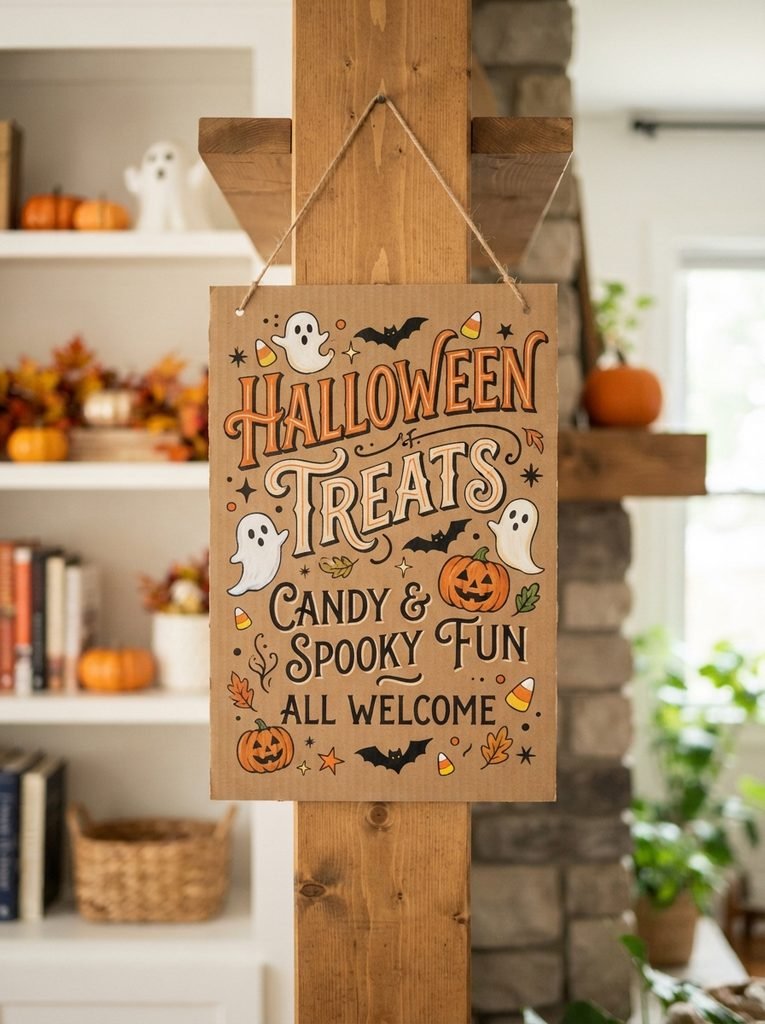
Hand painted letters give a cozy old fashioned feel that printed signs never do.
A set of fine tip paint brushes makes thin lines easy. Sketch the words in pencil first, then paint over them slowly.
- Old fashioned charm
- Fine details
- Easy sign

My Pick
Fine Tip Paint Brush Set
Tiny brushes for spots, gills and little details.
10Weatherproof Pieces for Outdoor Display
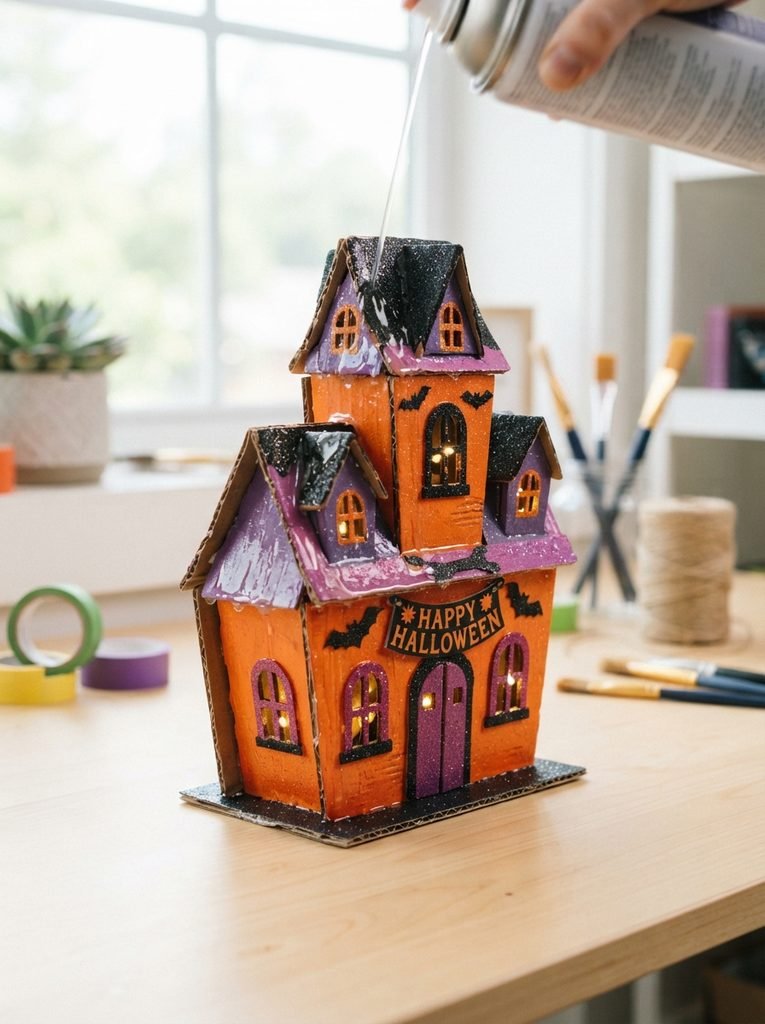
Plain cardboard soaks up rain and dew, then warps overnight. A clear coat helps it last much longer.
Spray two light coats of outdoor sealer spray over the dry paint. Spray outside, and bring the pieces in before heavy rain.
- Lasts all season
- Spray outside
- Two light coats

My Pick
Outdoor Sealer Spray
A clear coat that helps painted cardboard handle damp autumn nights.
11Keep It Simple and Easy
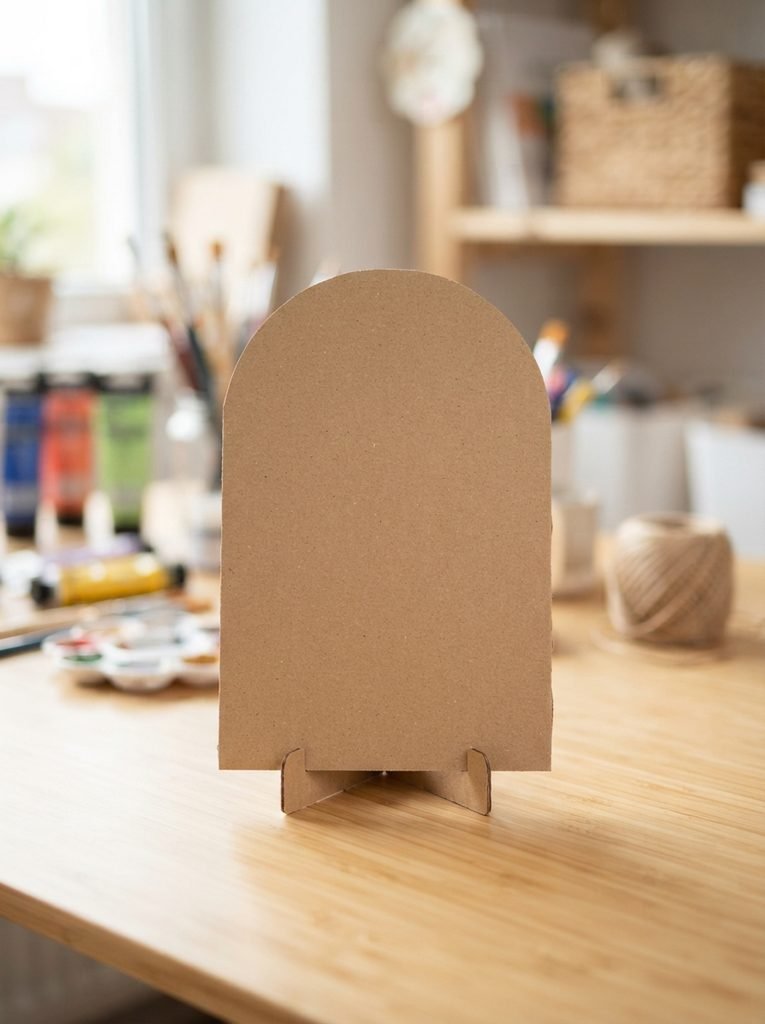
The easiest projects are flat shapes. A tombstone, a bat, a ghost. No angles and no tricky joints.
Start there and you learn how the cardboard cuts and paints. Then a bigger build like the coffin feels easy.
- No angles
- First project
- Builds confidence
12Combine Props for a Full Graveyard Scene
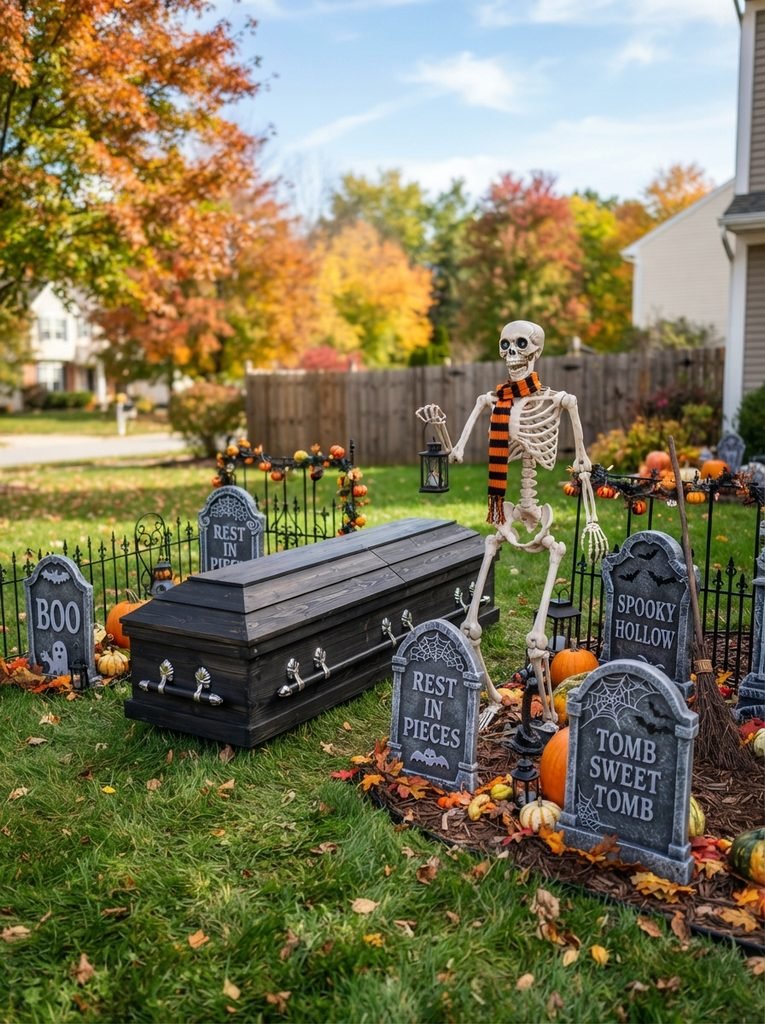
Group all your pieces together and the yard becomes a full scene instead of one lonely decoration.
Stagger the heights and tilt a few tombstones like an old cemetery. Some pumpkin stake lights between them make it spooky after dark.
- Full yard scene
- Glows at night
- Mix heights

My Pick
Outdoor Pumpkin Stake Lights
Glowing pumpkin stakes that make a cardboard graveyard look spooky after dark.
Frequently Asked Questions
Can cardboard Halloween decorations go outside?
Yes, if you seal them. Spray two light coats of clear outdoor sealer over the paint and bring them inside during heavy rain.
What paint works best on cardboard?
Acrylic craft paint works best. It dries fast, covers well and does not soak the cardboard the way watery paint does.
How do I keep cardboard tombstones standing in the yard?
Hot glue a wooden garden stake or paint stick to the back and push it into the soil. For windy spots use two stakes.
Is this a good Halloween craft for kids?
Yes. Adults handle the craft knife and hot glue, and kids can sketch shapes, paint and add the spooky messages.
How long do cardboard decorations last?
Indoor pieces last for years if stored flat. Sealed outdoor pieces usually last a full season.
Final Thoughts on Cardboard Halloween Decorations DIY
Cardboard is the cheapest Halloween supply you already have. With a knife, glue and paint it becomes tombstones, coffins and spooky silhouettes.
Start with one flat tombstone this weekend. Once you see how easy it is, you will be saving every box until October.


Amir Ali is the founder and site administrator of HomeDecorEdge, a modern home decor and interior design platform. Since starting the site, he has combined his passion for interior design, practical styling, and color coordination with hands-on content strategy and site management. He guides authors, curates high-quality articles, and ensures readers have access to actionable, visually inspiring, and user-focused home decor advice for apartments, small rooms, and family homes.