

The best ornaments on any tree are never the shiny store ones. They’re the lumpy salt dough star from when a child was four.
Handmade ornaments hold memories. Every year you unwrap them, and you remember the afternoon you made them, who sat at the table and how much glitter ended up on the floor.
So this year, why not start a few new ones? I’ve gathered 15 Christmas ornament ideas, from simple clay and salt dough to painted wood slices, felt, fillable balls and a few that look surprisingly fancy.
There are easy ones for little kids, projects for older kids, and a few relaxing ones just for you.
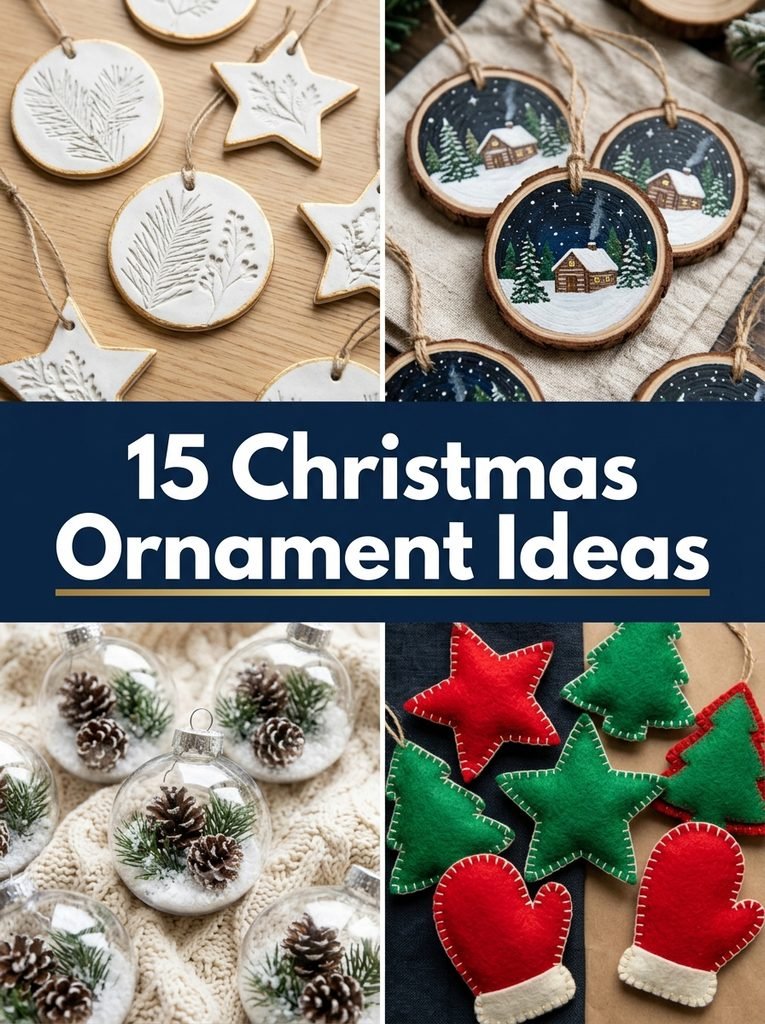
Quick Picks
- Best keepsake: Salt Dough Ornaments (idea 1)
- Prettiest: Air Dry Clay Stamped Ornaments (idea 2)
- Easiest for little kids: Clear Fillable Ornaments (idea 6)
- Most rustic: Painted Wood Slice Ornaments (idea 4)
1. Salt Dough Ornaments
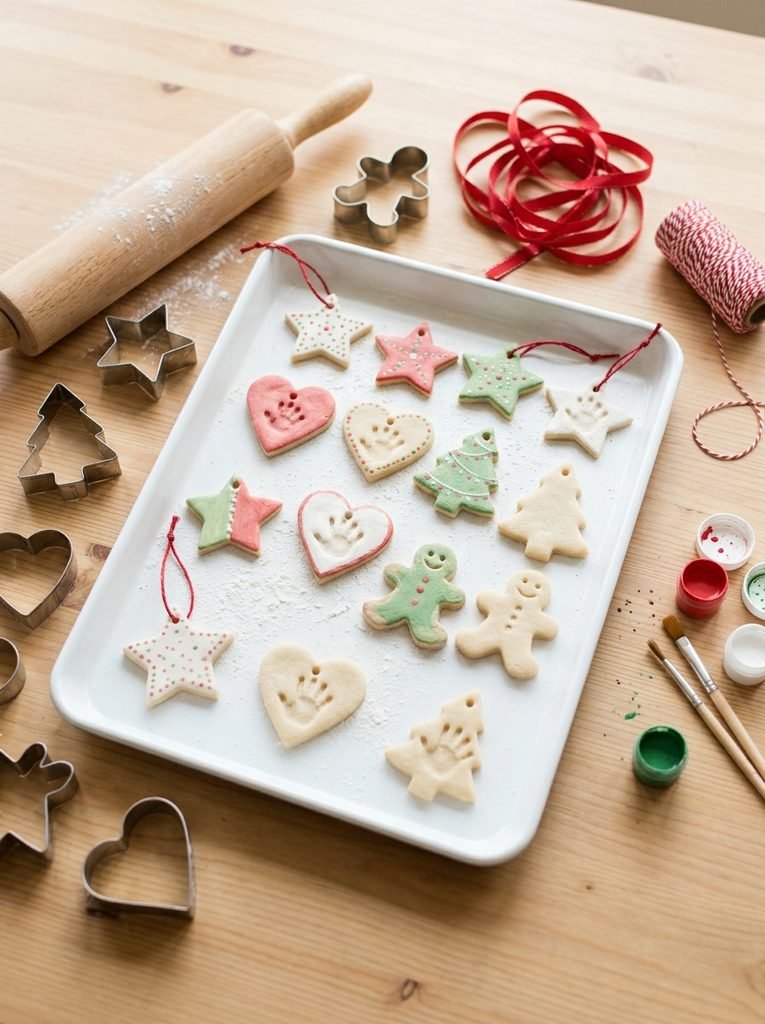
Salt dough is the classic homemade ornament, and it’s made from things you already have in the kitchen. Flour, salt and water. That’s it. Cut shapes with cookie cutters, bake them hard, then paint.
Honestly, the handprint ones are the real treasure. Write the year on the back with a fine marker, and they become the ornaments everyone fights to hang first.
⏱ 30 minutes plus baking💲 Very low🛠 Easy
Materials Needed
- 1 cup flour, half a cup of salt and half a cup of water
- Rolling pin and cookie cutters
- A drinking straw for the hanging hole
- Acrylic paint, brushes and clear sealer
- Ribbon or twine
How to Make It
- Mix the flour and salt, then add the water a little at a time and knead for 5 minutes until smooth.
- Roll it out about a quarter inch thick and cut your shapes.
- Press in handprints or stamps, and poke a hole at the top with a straw.
- Bake on a lined tray at about 250°F for 2 to 3 hours, flipping halfway, until completely hard.
- Let them cool, paint them, then seal both sides so they last for years.
- Thread ribbon through the hole and tie a loop.
Tip: Salt dough isn’t food, and the high salt is dangerous for dogs. Hang these on higher branches if you have pets.
2. Air Dry Clay Stamped Ornaments
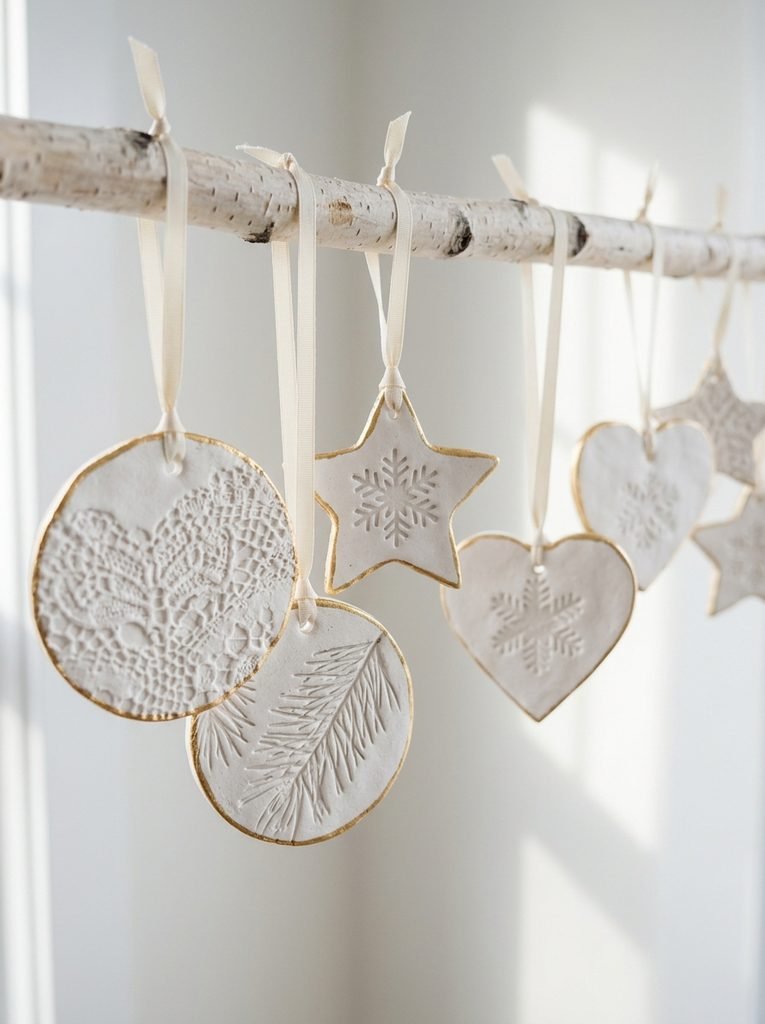
These are my favorite ornaments to make. White clay with pressed textures looks so elegant, like something from a boutique. And there’s no oven needed.
Press in a sprig of real pine, a piece of lace or a rubber stamp to make the pattern. A little gold paint around the edge makes them shine. White air dry clay gives the cleanest look.
⏱ 1 hour plus drying💲 Low🛠 Easy
Materials Needed
- White air dry clay
- Rolling pin and cookie cutters
- Pine sprigs, lace scraps or rubber stamps
- A straw, fine sandpaper and gold paint
- Thin ribbon
How to Make It
- Roll the clay about a quarter inch thick on parchment paper.
- Lay pine, lace or a stamp on top and roll over it once, pressing firmly, then lift it away.
- Cut out shapes and poke a hanging hole with a straw.
- Let them dry flat for 24 to 48 hours, flipping them halfway so they don’t curl.
- Smooth the edges with fine sandpaper and paint the rims gold.
- Add a ribbon loop and hang.
Tip: Dry them under a light book for the last few hours. It keeps them perfectly flat.
3. Polymer Clay Ornaments
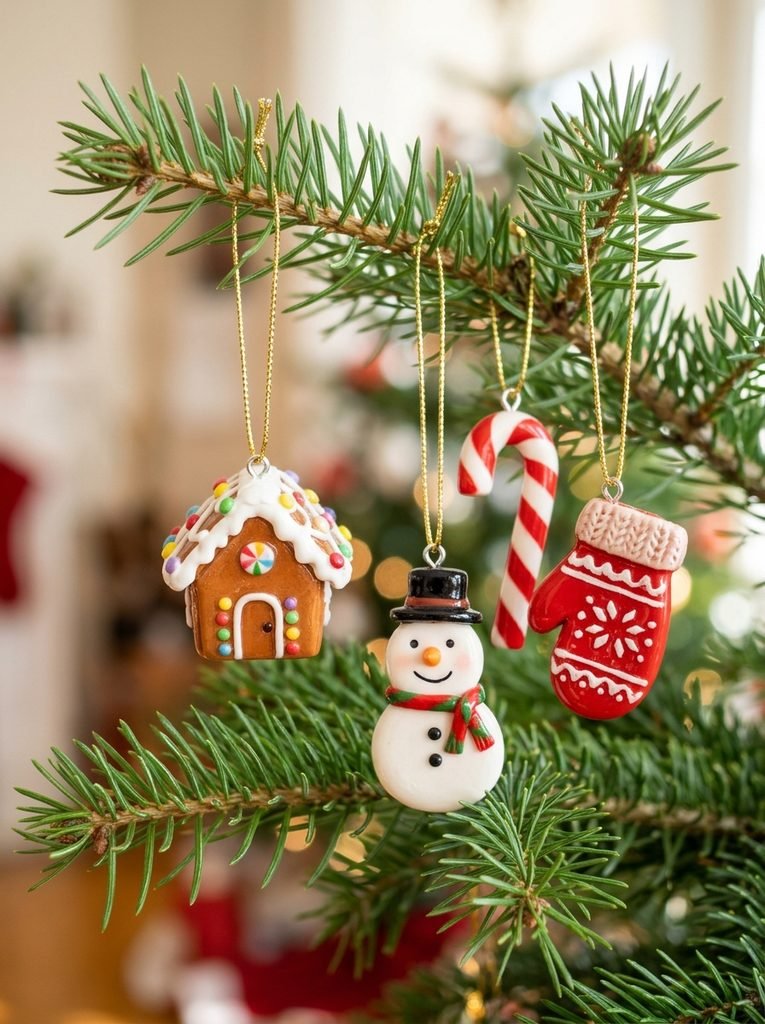
Polymer clay comes in bright colors, so you don’t even need to paint it. It’s perfect for tiny detailed shapes like gingerbread houses, mittens and candy canes.
Bake it in the oven at the temperature on the package, on a tray you only use for crafts. A tip I picked up: insert a small eye pin before baking, so the hanger is locked in solid.
You’ll need: a polymer clay set, eye pins, gold cord, a craft only baking tray
Best for: tiny detailed ornaments and older kids
4. Painted Wood Slice Ornaments
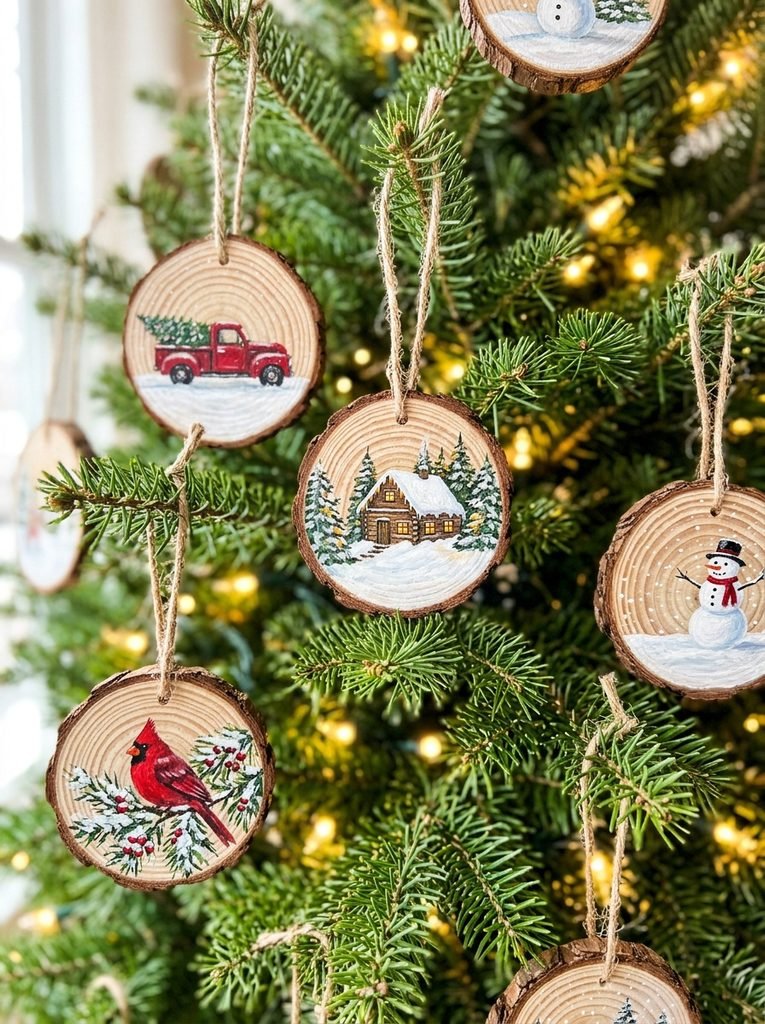
Wood slices give your tree a cozy, rustic feel. Each round is like a tiny canvas. Paint a little winter scene, a name or just a simple snowflake.
You don’t need to be an artist. Paint pens make it easy, and simple shapes look charming. A pack of wood slices with holes saves you the drilling.
⏱ 1 hour💲 Low🛠 Easy
Materials Needed
- Wood slices, about 3 to 4 inches wide
- Fine sandpaper
- Acrylic paint pens or small brushes
- Pencil and clear water based sealer
- Jute twine
How to Make It
- Lightly sand the face of each slice so paint goes on smoothly.
- Sketch your design lightly in pencil.
- Paint the background colors first, then add details once dry.
- Finish with white dots for snow or a name on the back.
- Seal the front and back, then thread twine through the hole.
Tip: If your slices have no hole, an adult should drill them with a small bit. Clamp the slice first so it doesn’t spin.
5. Hand Painted Ceramic Ornaments
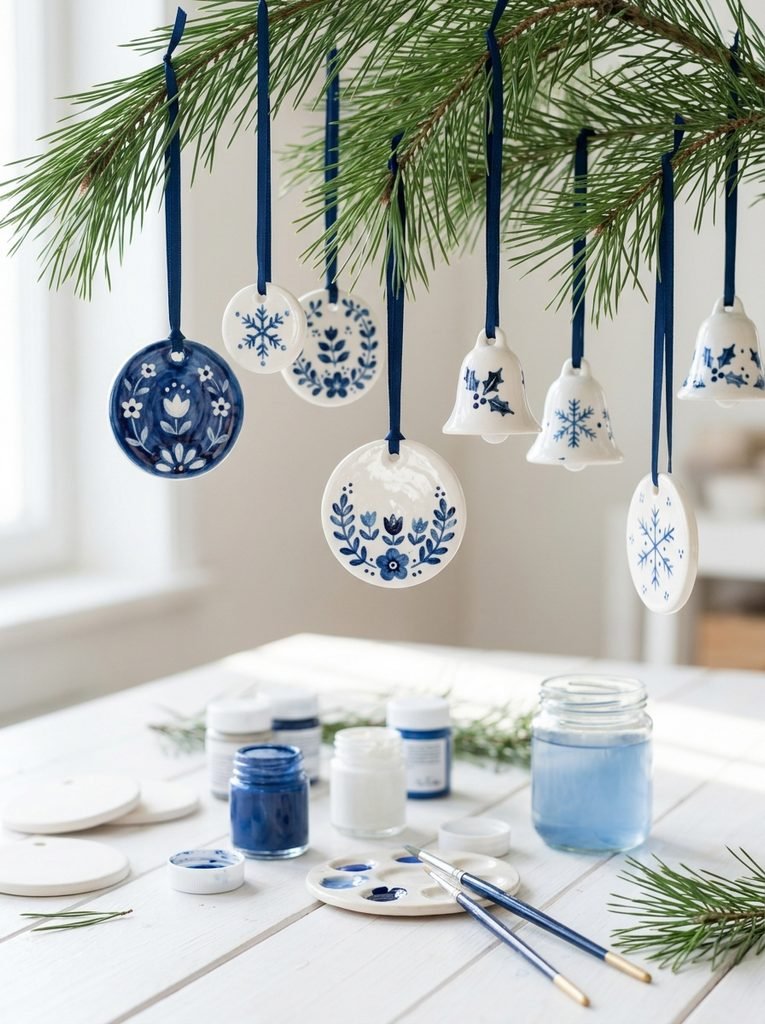
Love the look of pottery ornaments but don’t have a kiln? Buy plain white ceramic ornaments and paint them yourself. They look like something from a pottery studio.
I like simple blue and white designs. They feel timeless and match any tree. Use porcelain paint pens for crisp lines, and follow the label for curing.
Best for: elegant ornaments and thoughtful gifts
6. Clear Fillable Ornaments
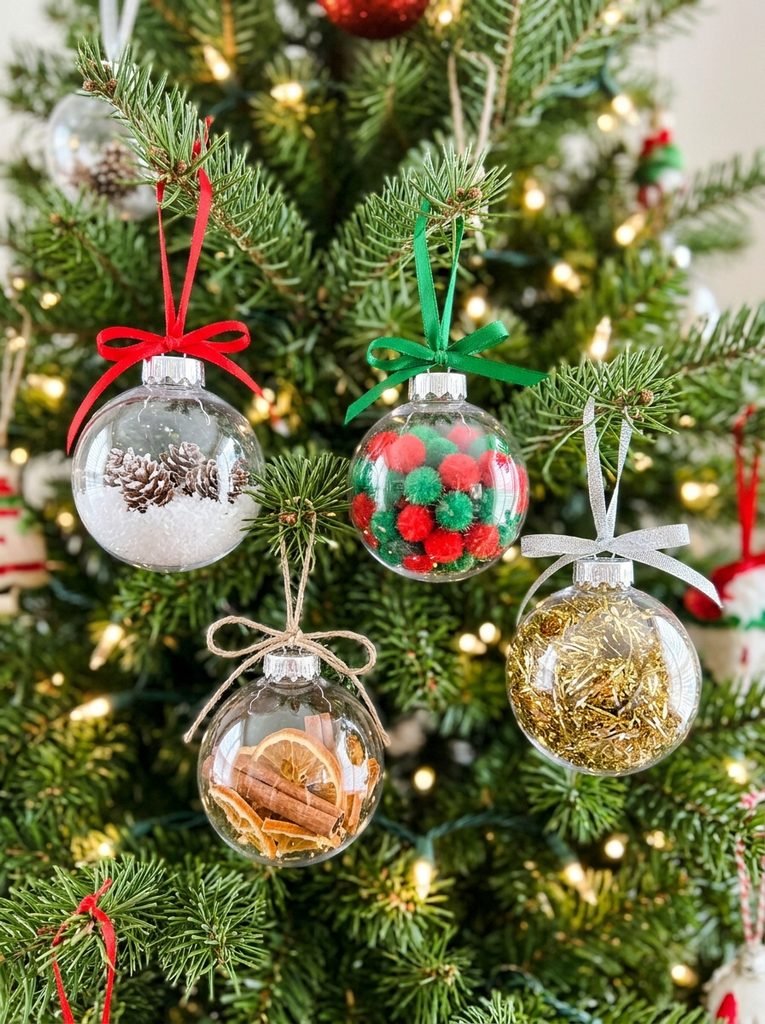
Clear fillable ornaments are the easiest ornament for little kids. Pull off the cap, drop in whatever you like, and put it back. Every one turns out pretty.
Fill them with pompoms, fake snow, tinsel, mini pinecones or tiny photos. For kids, choose clear plastic fillable ornaments instead of glass. They look the same but won’t shatter.
Best for: young kids and quick crafting
7. Faux Stained Glass Ornaments
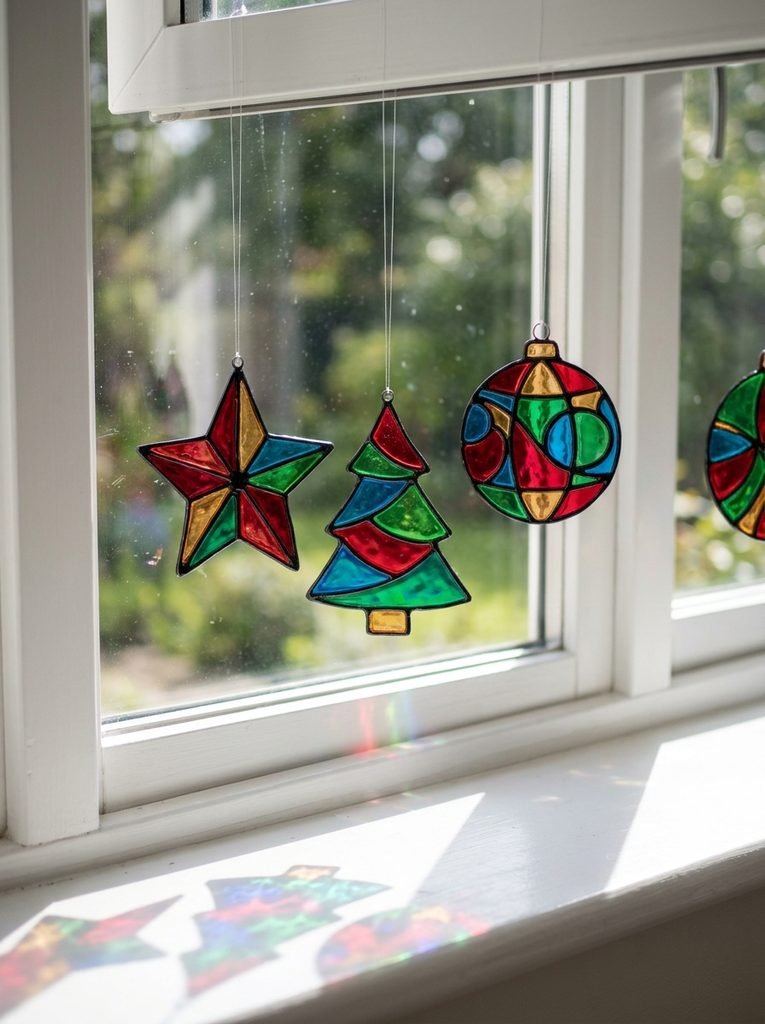
Fused glass ornaments are stunning, but they need a kiln. This is the easy way to get a similar glowing look at home. Outline a design on clear flat ornaments, then fill the sections with glass paint.
Hang them in a sunny window, and they glow like little jewels. Work in a well aired room with glass paint with liquid outliner, and let each layer dry fully.
Best for: sunny windows and colorful trees
8. Felt Ornaments
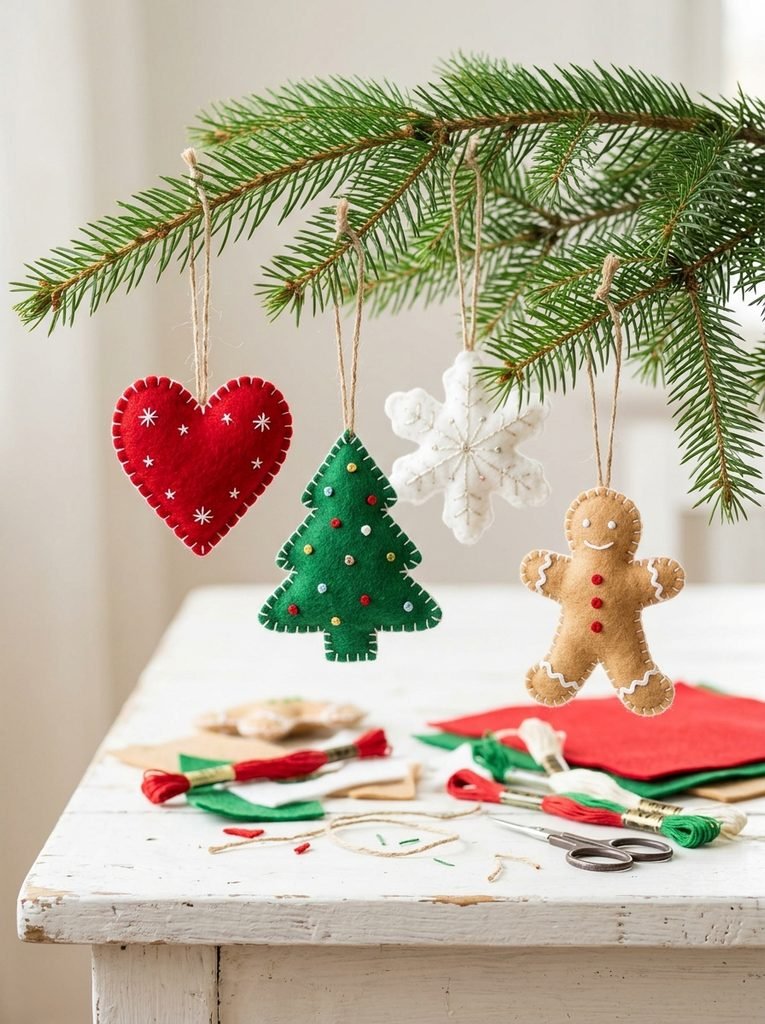
Felt ornaments are soft, unbreakable and so cozy. Cut two matching shapes, stitch around the edge, and stuff them lightly. Even beginners get lovely results.
Blanket stitch in a contrasting color makes them look extra handmade. In my experience, wool blend felt holds its shape far better than cheap craft felt.
You’ll need: wool blend felt, embroidery thread, a needle, a little stuffing
Best for: homes with pets and toddlers
9. Cutting Machine Vinyl Name Ornaments
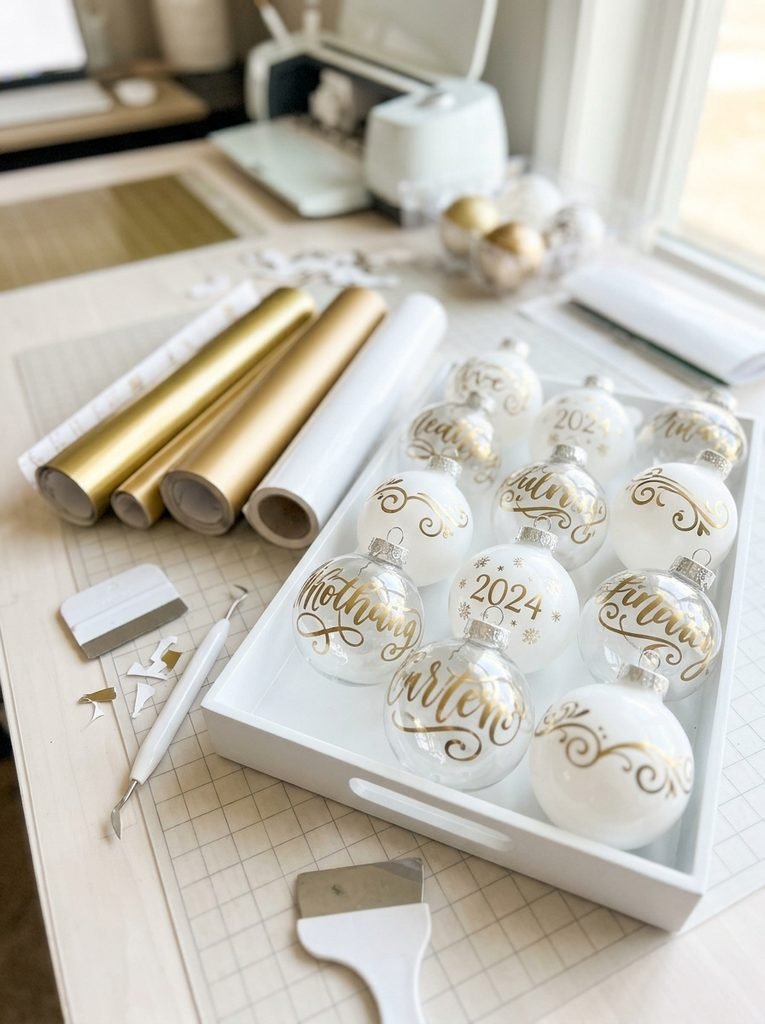
If you own a home cutting machine, personalized ornaments are quick and look store bought. Cut names, the year or a short word in vinyl, then smooth it onto a plain ornament.
Make one for each family member, and they become a yearly tradition. Use permanent adhesive vinyl so the letters stay put on curved surfaces.
Best for: family name ornaments and gifts
10. Vintage Inspired Ornaments
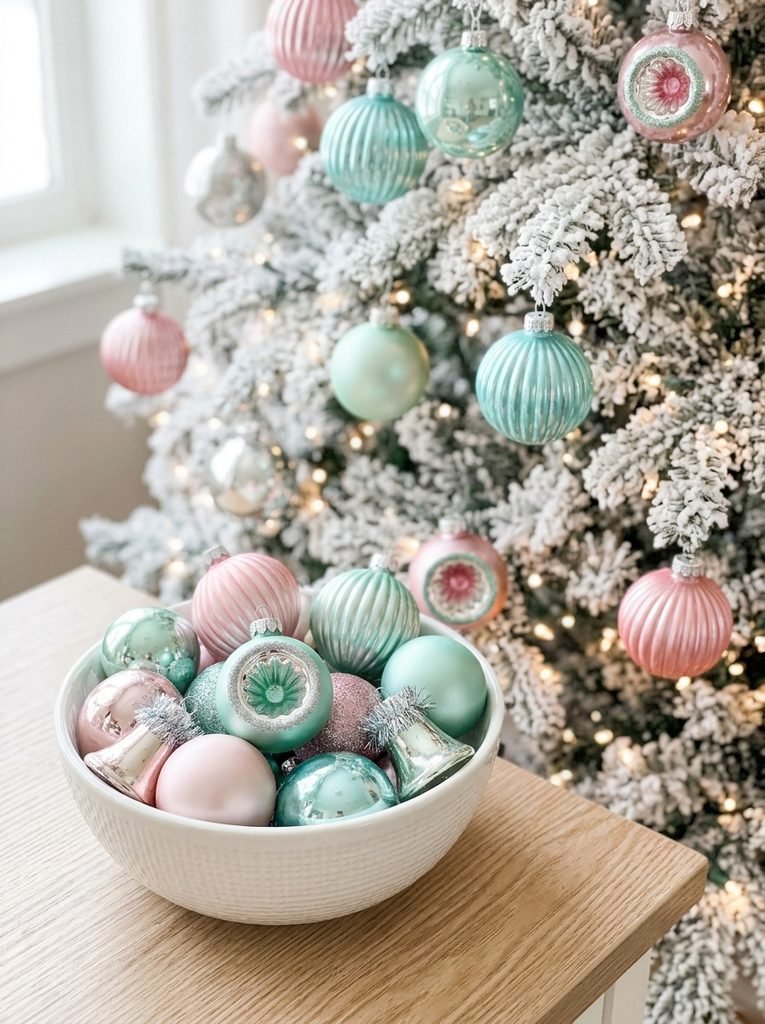
Love that nostalgic grandma’s tree look? Paint plain plastic balls in soft pastel shades and add stripes, dots and a little tinsel around the middle. They feel retro but look fresh and new.
Pink, mint and aqua are the classic colors. Hang them on a white or flocked tree for that cheerful mid century style.
Best for: retro lovers and pastel trees
11. Kids Handprint and Craft Stick Ornaments
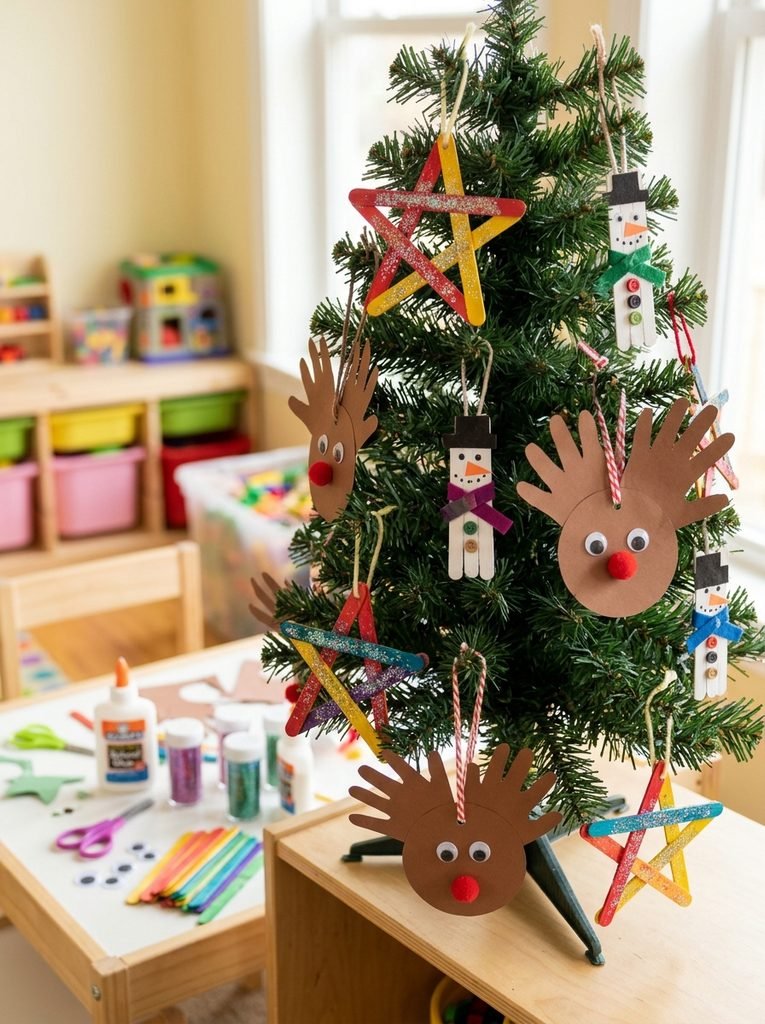
Little ones love making ornaments they can point to on the tree. Craft stick stars, snowmen and paper handprint reindeer are easy enough for preschoolers.
Use school glue instead of hot glue for kids, and let them go wild with paint and glitter. Write the child’s name and the year on the back. You’ll love seeing them again in ten years.
You’ll need: craft sticks, school glue, washable paint, ribbon
Best for: preschoolers and young kids at home
12. Pinecone Ornaments
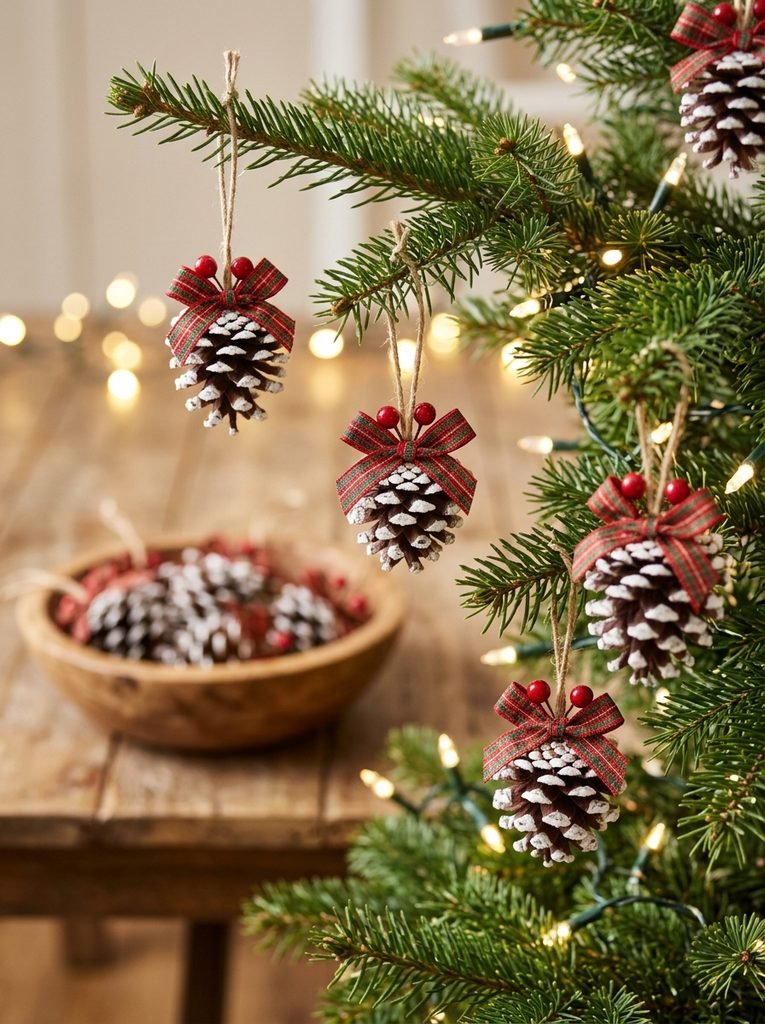
Pinecones are free, natural and so pretty on a tree. Dab white paint on the tips for a snowy look, then glue a ribbon loop and a small bow at the top.
If you collect them outside, bake them on a lined tray at a low heat for about 30 minutes, watching closely. It opens them up and clears out any bugs.
Best for: rustic trees and nature walks with kids
13. Cinnamon Scented Dough Ornaments

These ornaments make your whole house smell like Christmas. Mix 1 cup of ground cinnamon with three quarters of a cup of applesauce and 2 tablespoons of white school glue into a dough.
Roll, cut and let them air dry for 2 to 3 days, flipping daily. They look like cookies, so tell little ones clearly that they’re not for eating, and keep them away from pets.
Best for: a cozy holiday scent
14. Wooden Bead Snowflake Ornaments
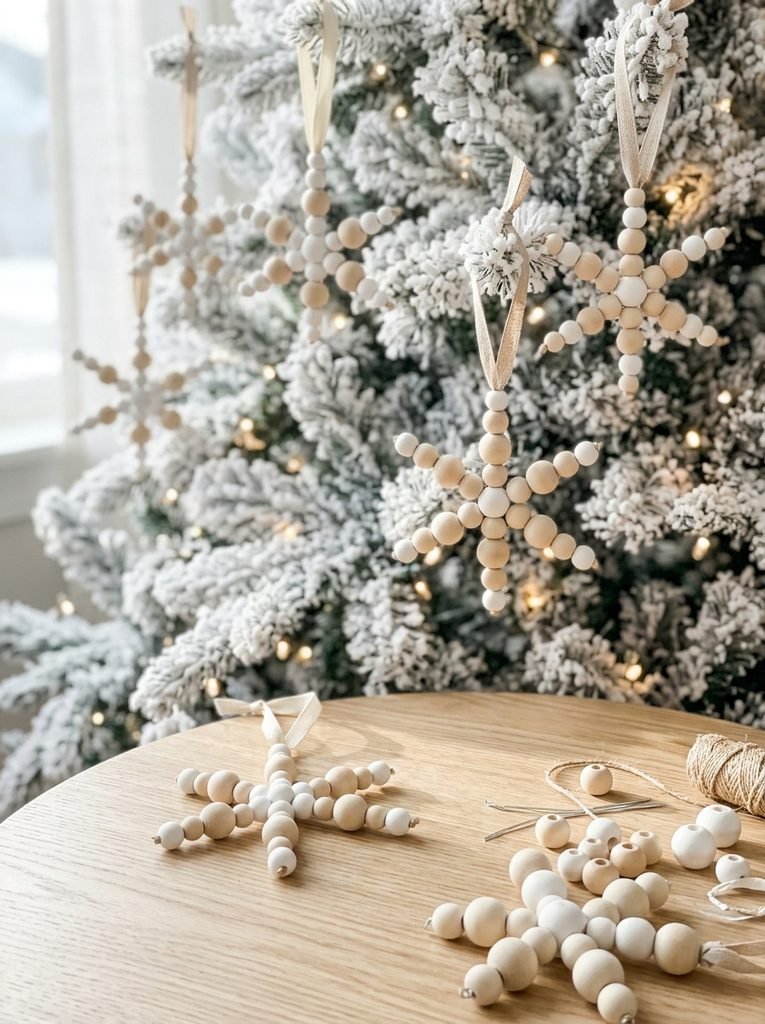
Wooden bead snowflakes have a calm Scandinavian feel. Twist three pieces of craft wire together in the middle to make six arms, then thread beads onto each arm.
Bend the wire tips into tiny loops so they’re not sharp. A tip I picked up: mix natural and white beads for a soft, snowy look. Keep loose beads away from toddlers.
You’ll need: natural wooden beads, craft wire, small pliers, ribbon
Best for: Scandinavian style trees
15. 3D Paper Star Ornaments for Older Kids
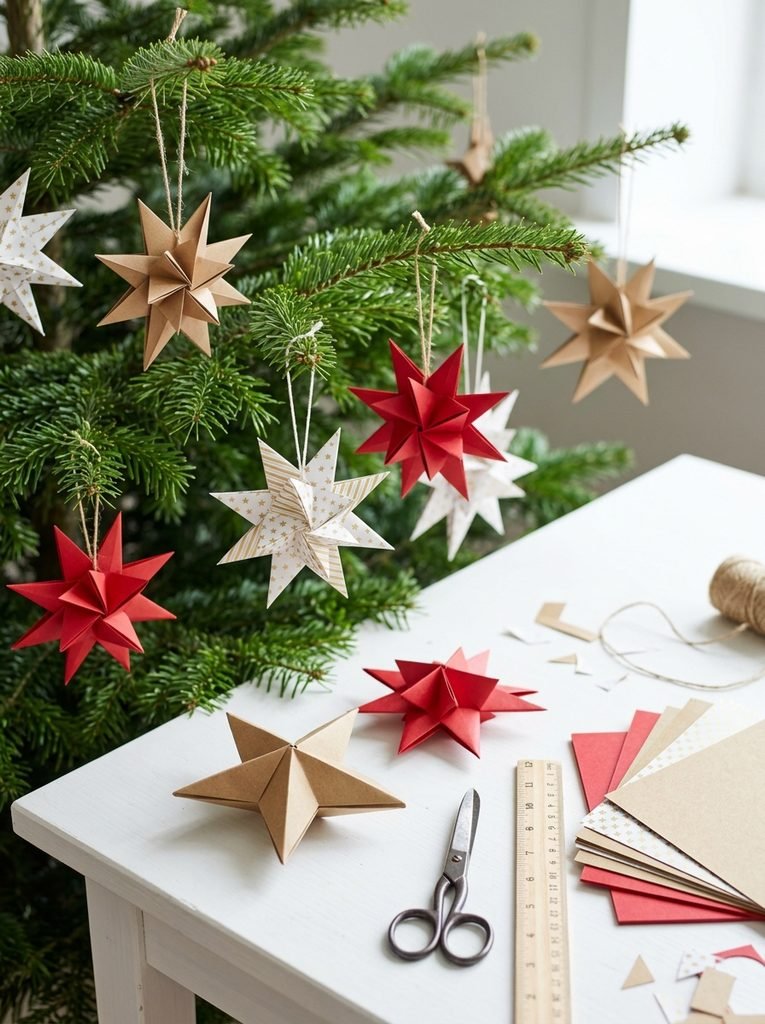
Older kids, around 9 to 12, love a project with a bit of challenge. Folded 3D paper stars look impressive, and they only need paper, scissors and glue.
Each star uses two folded squares glued together. Once they get the hang of it, they’ll want to make a dozen. Patterned scrapbook paper makes them extra pretty.
You’ll need: Christmas scrapbook paper, scissors, a glue stick, thin string
Best for: older kids and tweens
Frequently Asked Questions
What is the easiest Christmas ornament to make with kids?
Clear fillable ornaments are the easiest. Kids just drop in pompoms, tinsel or fake snow and close the cap.
Is air dry clay or salt dough better for ornaments?
Air dry clay is smoother and needs no oven. Salt dough is cheaper and made from kitchen basics. Both last for years when sealed.
How do I keep homemade ornaments from breaking?
Seal clay and dough ornaments on both sides, and store them wrapped in tissue in a hard box away from damp areas.
Can I make ceramic ornaments without a kiln?
Yes. Buy plain white ceramic ornaments and decorate them with porcelain paint pens, then cure them as the paint label directs.
Are homemade dough ornaments safe for pets?
Not if eaten. Salt dough and cinnamon dough can make pets sick, so hang them high and out of reach.
How early should I start making ornaments?
Start clay and dough ornaments by late November, since they need a few days to dry or bake and seal before decorating.
Final Thoughts on Christmas Ornament Ideas
Pick one or two ideas and make a little ornament session part of your holiday. Write names and the year on the back of each one. In a few years, your tree will tell the story of every Christmas.


Amir Ali is the founder and site administrator of HomeDecorEdge, a modern home decor and interior design platform. Since starting the site, he has combined his passion for interior design, practical styling, and color coordination with hands-on content strategy and site management. He guides authors, curates high-quality articles, and ensures readers have access to actionable, visually inspiring, and user-focused home decor advice for apartments, small rooms, and family homes.