

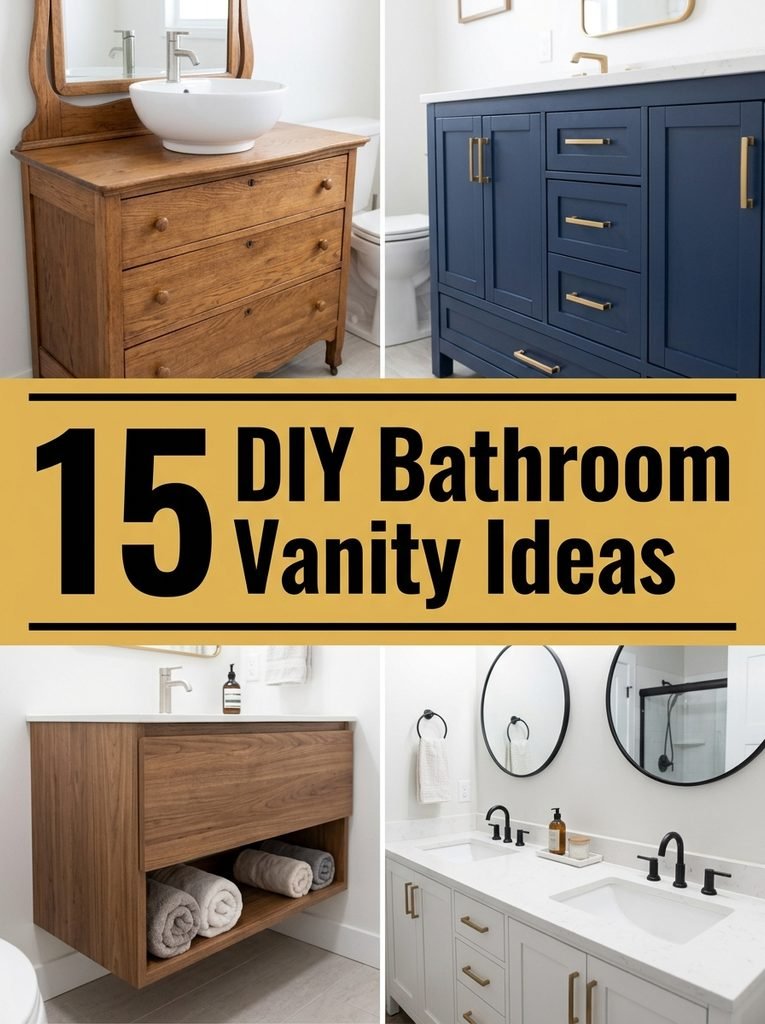
Let me guess. Your bathroom vanity is the first thing you see every morning, and it’s the one thing you keep promising yourself you’ll fix “soon.” I was stuck there too. A full replacement quote made me laugh out loud, so I started looking at what a can of paint, a bit of wood and a free weekend could really do. Turns out, quite a lot. Below are 15 ideas I genuinely like, from quick paint jobs to a few proper builds, and every one comes with a tip I wish someone had told me first.
1. Turn an Old Dresser Into a Vanity
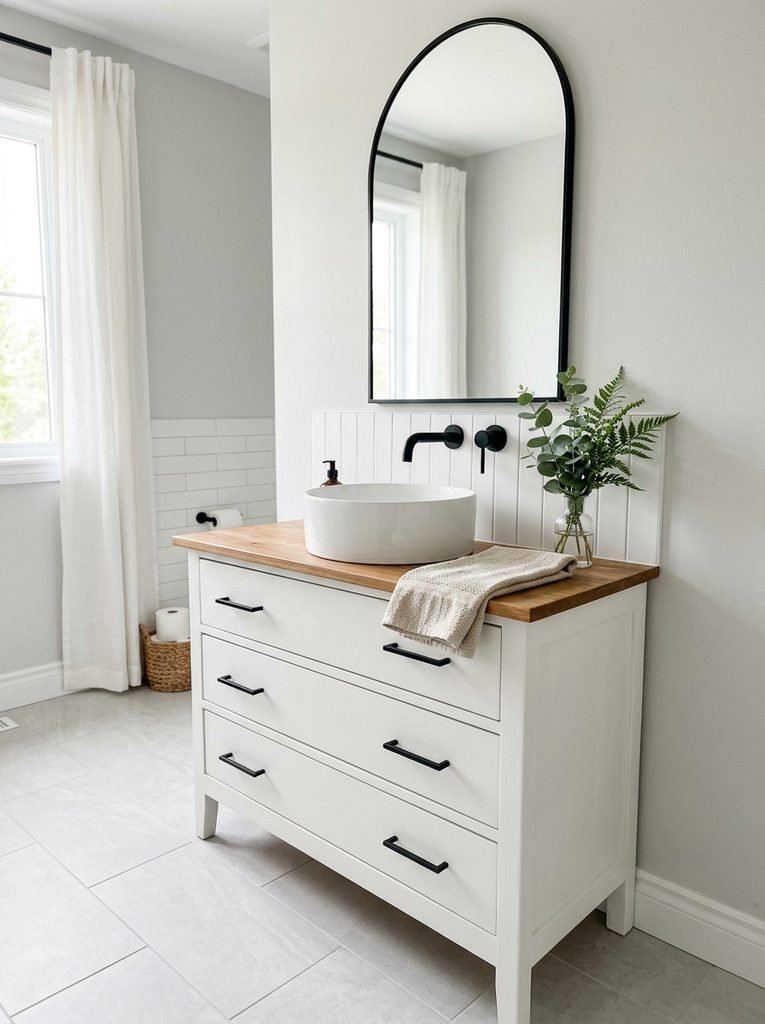
This is the idea that got me hooked on DIY vanities in the first place. A sturdy secondhand dresser has so much more character than most store bought cabinets, and it often costs less than a new faucet. Look for one made of real wood, not particle board, because it has to survive a lot of splashing. The top drawer will usually need to be cut down or turned into a fake front so the plumbing can fit behind it. Honestly, that part sounds scary but it’s just a jigsaw and some patience. A tip I picked up: seal the whole top with three coats of water based polyurethane before the sink goes on. It’s the difference between a vanity that lasts ten years and one that swells up in six months.
2. Paint the Vanity Cabinet a Deep Navy Blue
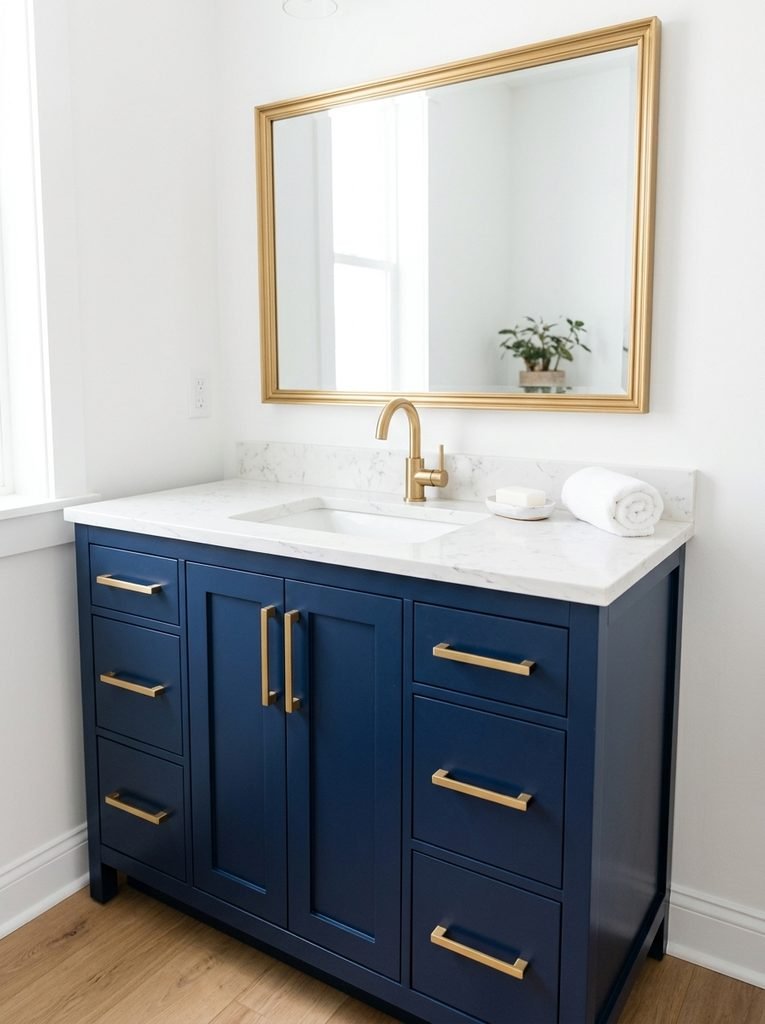
If you only do one thing from this list, make it paint. Navy is my favourite cabinet color for bathrooms because it looks expensive and hides the little scuffs from kicked toes and dropped hair tools. The prep is what matters here. Clean the doors with a degreaser, sand lightly, then use a bonding primer before any color goes on. I’d suggest a cabinet enamel rather than regular wall paint. It levels out smoothly and dries much harder. In my experience, taking the doors off and painting them flat on a table gives you a finish that honestly looks sprayed.
3. Go Soft and Calm With a Sage Green Makeover
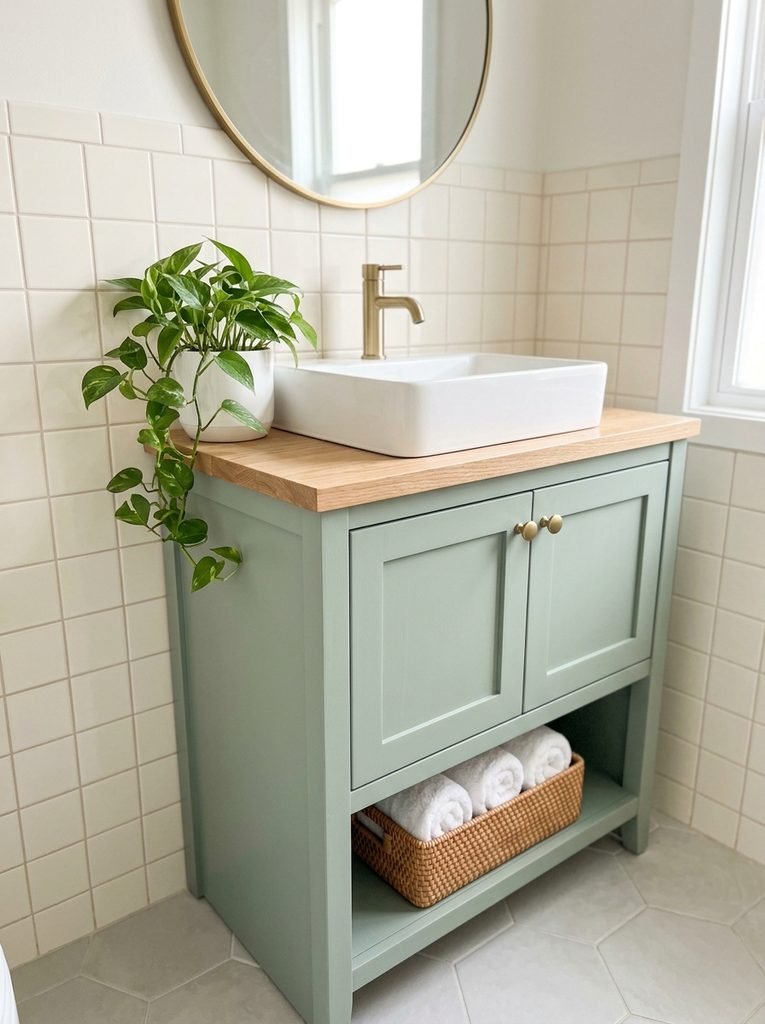
Sage green is having a real moment, and I get why. It feels calm, it plays nicely with wood and brass, and it’s more forgiving than white. Test your shade on a scrap board first and look at it in your actual bathroom light, because greens shift a lot under warm bulbs. Some sages turn almost grey at night. Pair it with brass or warm wood hardware to keep it from feeling cold. Honestly, this one alone can make a builder grade bathroom feel like a spa for the price of a quart of paint.
4. Swap In a Butcher Block Wood Top
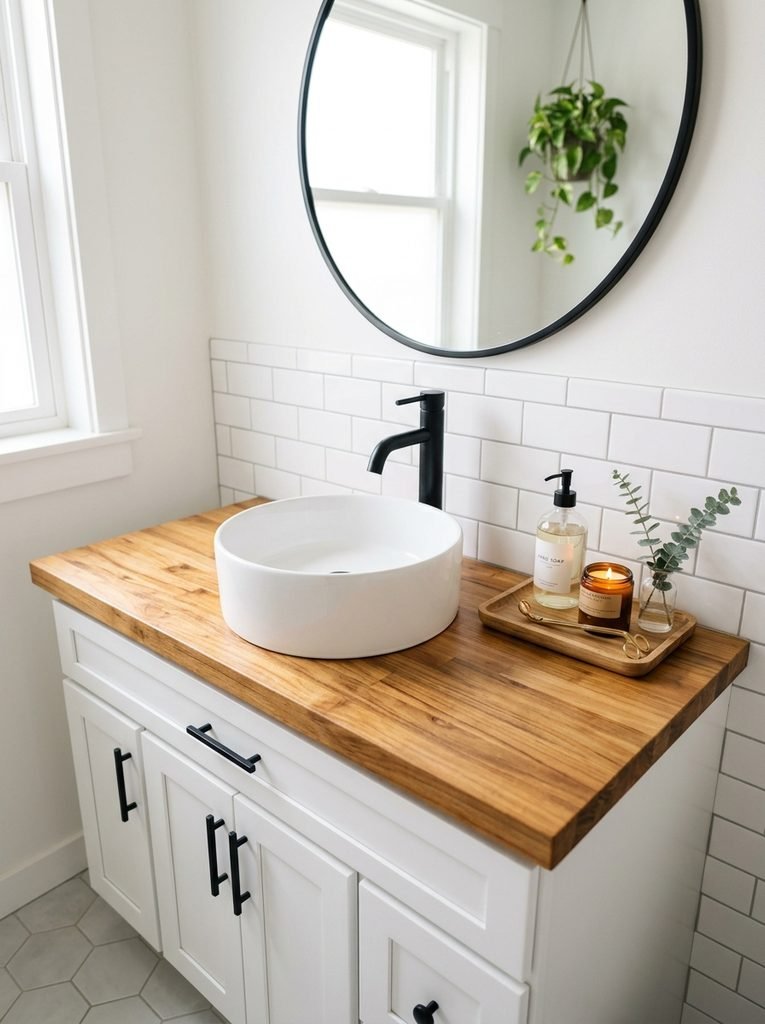
A wood top instantly warms up a bathroom, and it’s one of the cheapest countertop upgrades you can do. Butcher block from a home improvement store can be cut to size with a circular saw, and a vessel sink makes the sink hole much easier because you only need a small drain cut. The honest catch is water. Wood and bathrooms need a truce. I like marine grade varnish or a good oil based poly here, several thin coats, with extra attention to the edges and the sink cutout. Wipe up puddles and it’ll age beautifully.
5. Build a Floating Bathroom Vanity
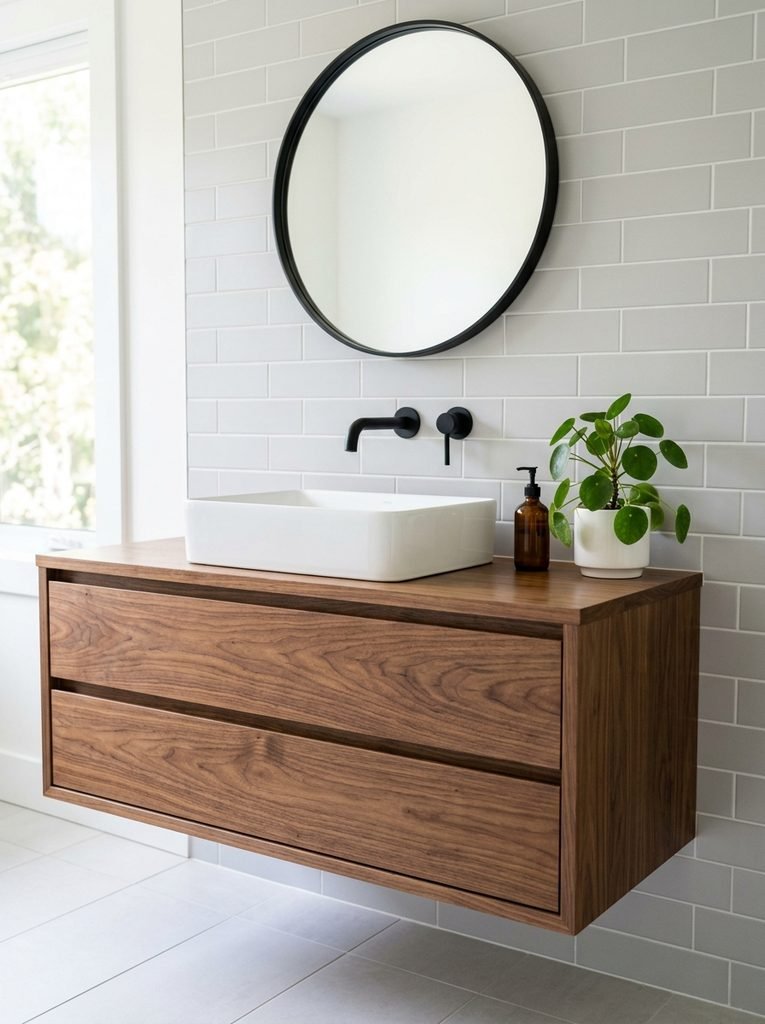
A floating vanity makes a bathroom feel bigger because you can see the floor underneath it. It’s also so much easier to mop around. This one is a real build, but it’s very doable in a weekend if you’re comfortable with a drill.
Materials Needed: 3/4 inch plywood for the box, wood veneer edge banding or solid wood trim, 2×4 lumber for a wall cleat, heavy duty wood screws, wood glue, drawer slides, wood stain or paint, polyurethane, a stud finder and a level.
How to Make It: Start by finding and marking your wall studs, because this whole vanity hangs on them. Build a simple plywood box sized to your space, leaving the back open where the plumbing comes through. Screw a 2×4 cleat into at least two studs, level it carefully, then rest the box on the cleat and screw it through the back into the studs as well. Add drawer fronts or a simple door, finish with stain and a few coats of poly, then set the top and sink. A tip I picked up: mount it at about 32 inches high to the counter surface. It’s comfortable for most people and leaves plenty of floor visible.
Start Your 30-Day Home Reset
Stop waiting for a "perfect" free weekend. Grab the 30-day plan and start feeling lighter in your own home by tomorrow.
View the 30-Day Plan Printable PDF · Instant download6. Upgrade Stock Cabinets With Custom Trim
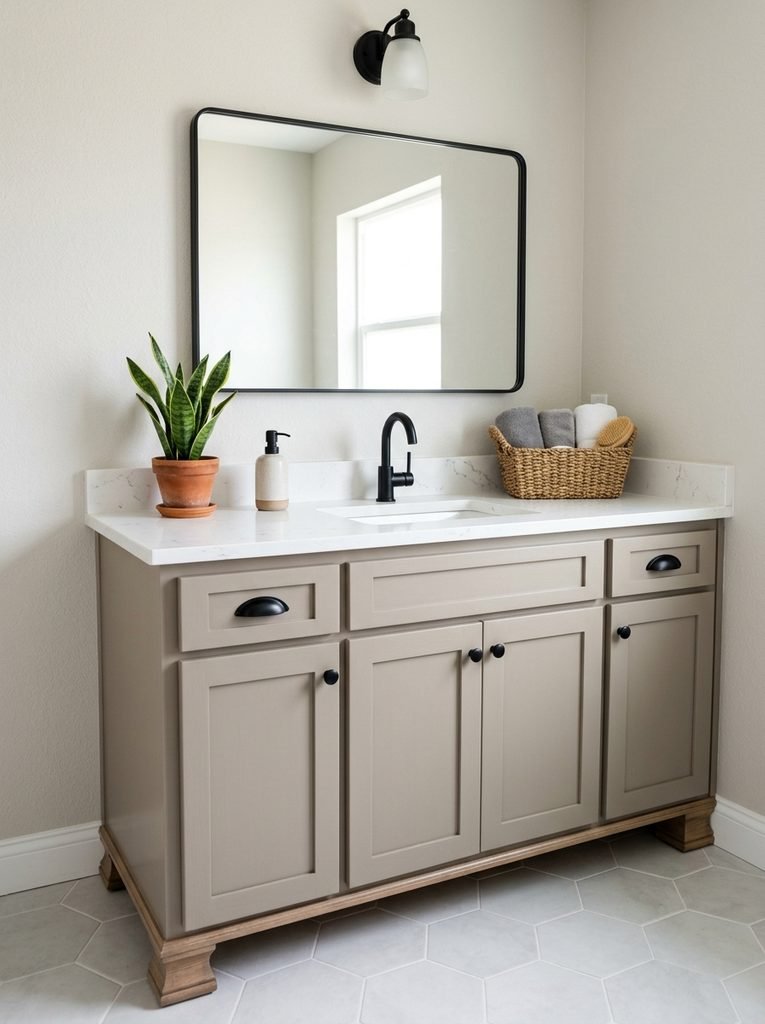
Stock cabinets are the most affordable way to get a vanity that fits, but flat doors can look a little plain. The fix is thin wood trim. Glue and pin small strips around each door face and suddenly you have a shaker style door that looks custom. Adding chunky wooden feet at the base makes the whole thing look like furniture instead of a box. I’d suggest caulking every joint before painting. That’s the tiny step that makes people ask where you bought it.
7. Repurpose a Console Table Into an Open Vanity
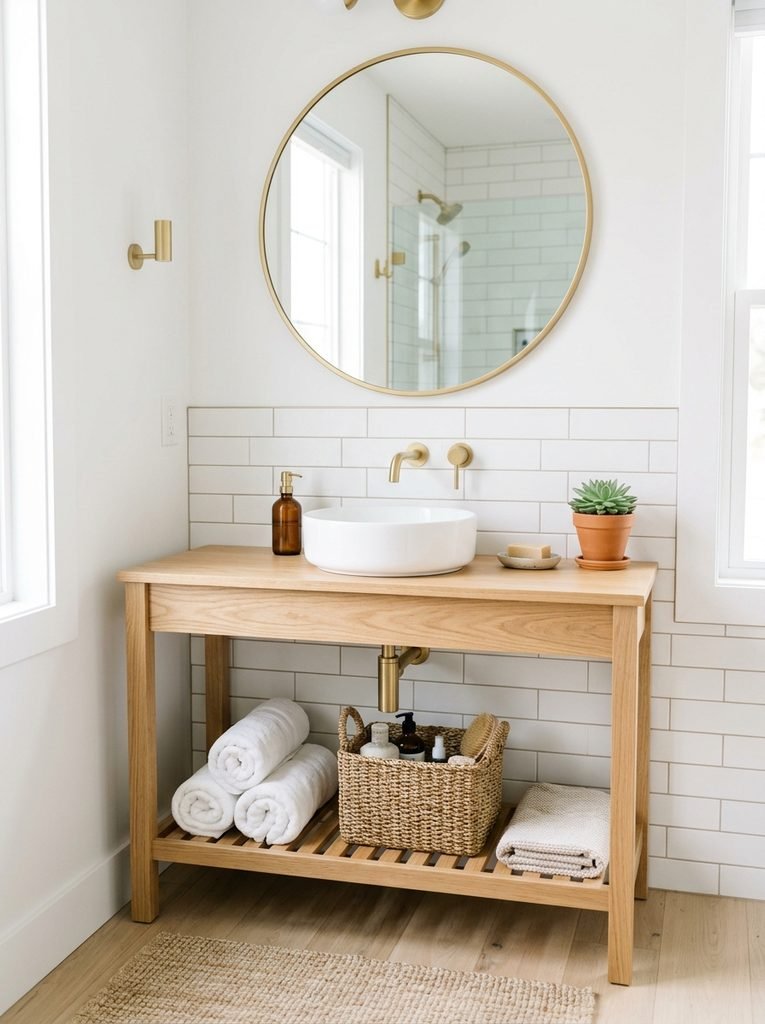
A console table makes a gorgeous open vanity, especially in a guest bathroom or powder room where you don’t need tons of storage. It feels light and airy, and the lower shelf is perfect for towels.
Materials Needed: A solid wood console table, a vessel sink, a wall mounted or tall faucet, a hole saw sized for your drain, marine varnish or polyurethane, silicone caulk, and a drill.
How to Make It: Check that the table is sturdy and sits at a comfortable height once the sink is on top. Mark where the sink will sit and drill the drain hole with a hole saw. Seal the entire tabletop, including the inside of that hole, with several coats of varnish and let it cure fully. Set the vessel sink with silicone and connect the drain. Honestly, the big thing to plan for is the plumbing, since it’s on show. A wall mounted faucet and a neat chrome or brass P trap make the exposed pipes look intentional instead of awkward.
8. Build a DIY Double Sink Vanity
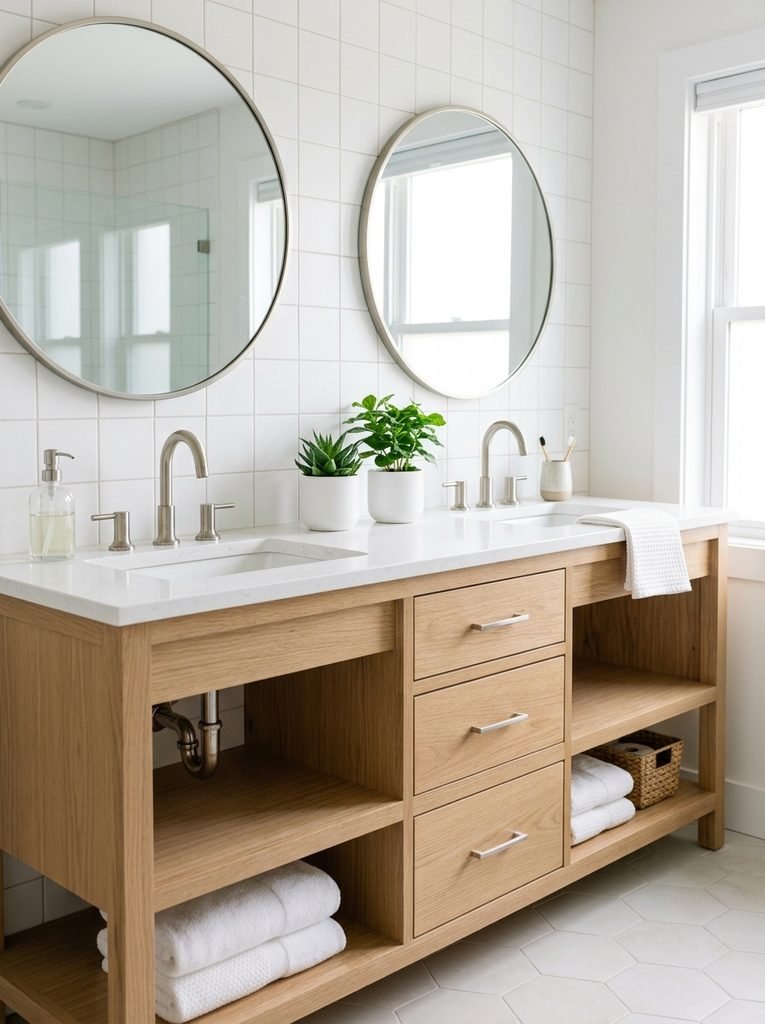
If two people share one bathroom, a double sink vanity honestly ends a lot of morning arguments. Buying one new is pricey, but building it from two stock base cabinets joined together is surprisingly budget friendly.
Materials Needed: Two stock sink base cabinets, one narrow drawer base for the middle, wood screws, clamps, trim strips to hide the seams, a long countertop with two sink cutouts, two sinks and faucets, and paint or stain.
How to Make It: Line up the cabinets on the floor and clamp them together so the fronts are flush. Screw them to each other through the side frames, then screw the whole unit into the wall studs. Cover the joins with thin trim so it reads as one piece. Paint everything the same color, add the countertop, and hook up both sinks. A tip I picked up: ask your plumber before you start whether your drain can split for two sinks. Knowing that first saves you from building something beautiful that doesn’t work.
9. Make a Compact Vanity for a Small Bathroom
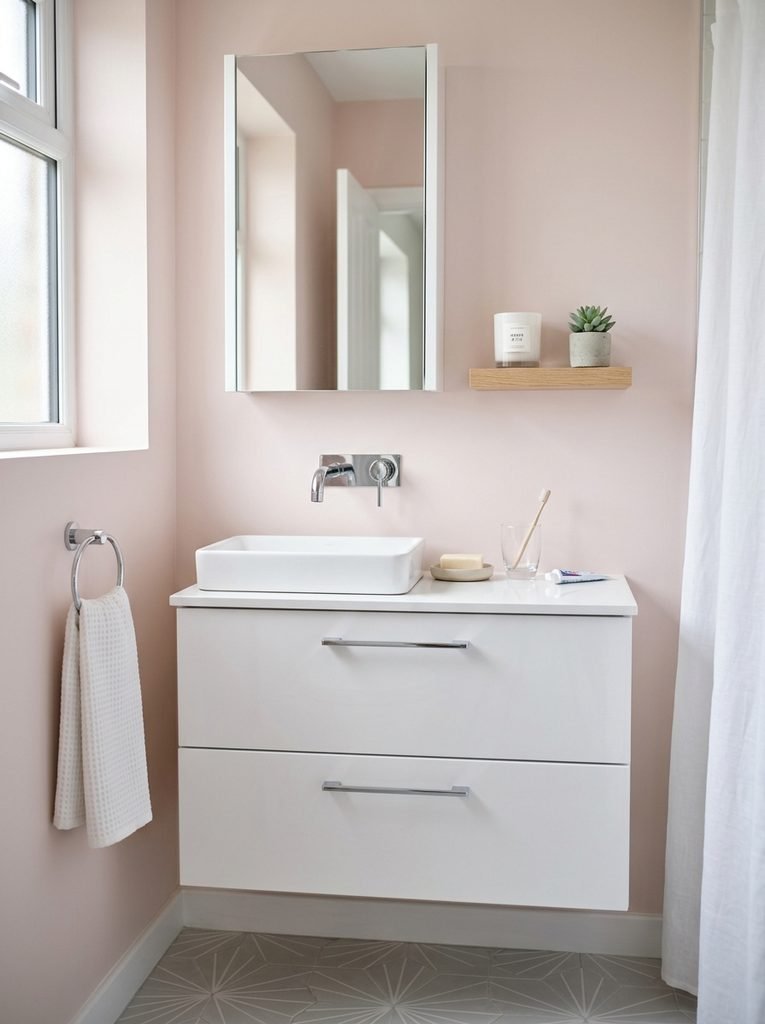
In a tiny bathroom, every inch of depth counts. A shallow vanity, around 18 inches deep instead of the usual 21, can give you a surprising amount of walking room. Glossy or light finishes bounce light around too, which helps the room feel bigger. I like pairing a compact vanity with a mirrored medicine cabinet so you get storage above without cluttering the counter. Honestly, in small spaces I’d skip anything with fussy details and go for clean flat panels instead.
10. Add a Makeup Area to Your Vanity
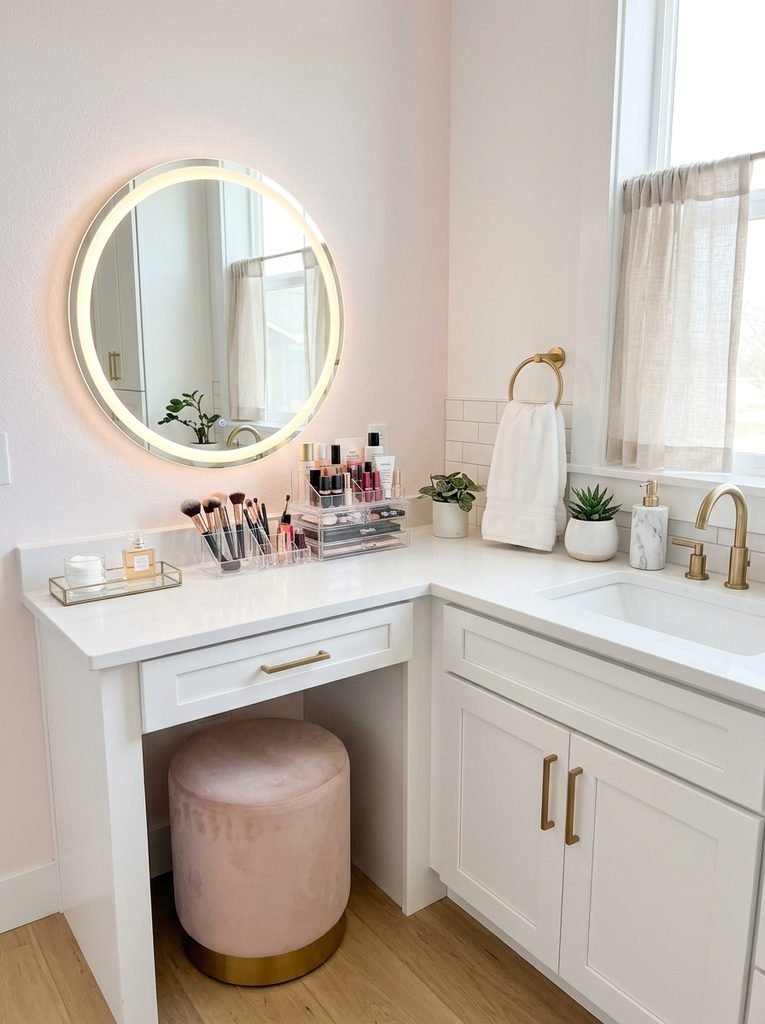
If you do your makeup in the bathroom, a dedicated makeup area is a game changer. The easiest way is to extend the vanity with a lower section at desk height, usually around 30 inches, so you can sit down. A small stool slides right under. The most important thing is light. In my experience, a lighted mirror or a vanity light positioned at face level is way better than a single overhead bulb that casts shadows. Keep things in clear organizers so you can grab what you need without digging.
11. Try a Two Tone Painted Vanity
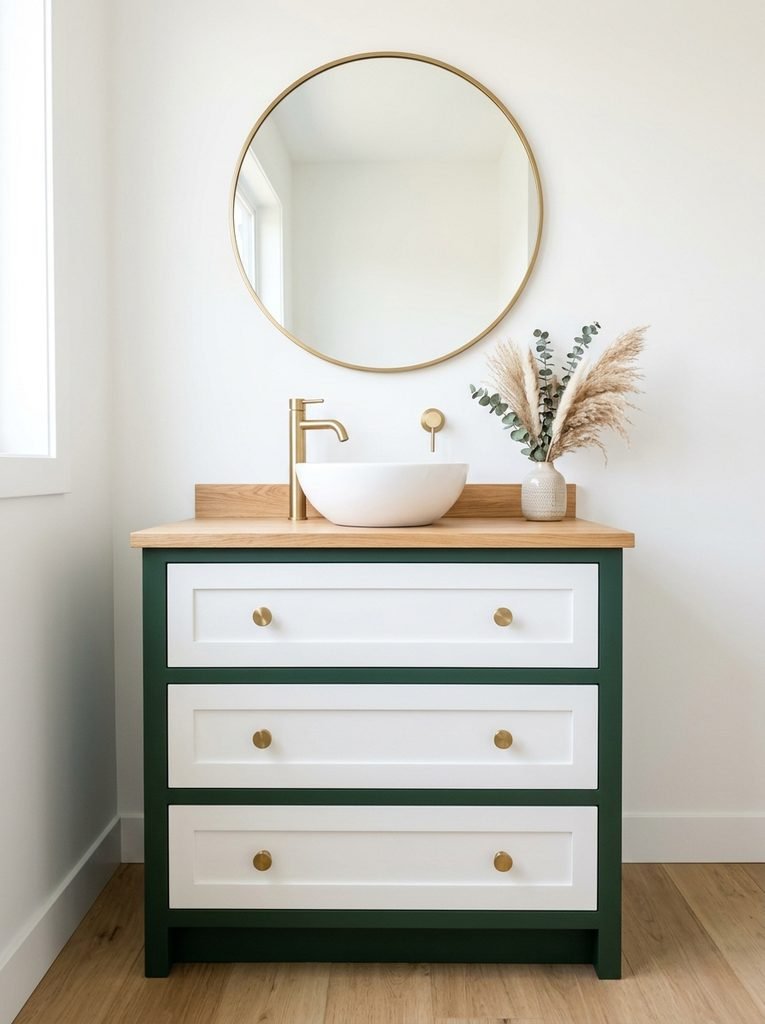
Can’t pick one color? Use two. A two tone vanity has a custom, designer look, and it’s a smart trick if you want a bold shade without it overwhelming the room. Paint the frame the darker color and the doors or drawer fronts lighter, or flip it around. Some combos I really like are forest green with white, charcoal with warm wood, and blush with cream. A tip I picked up: use painter’s tape and a sharp putty knife to press the edges down. That gives you a crisp clean line where the colors meet.
12. Refresh the Countertop on a Budget
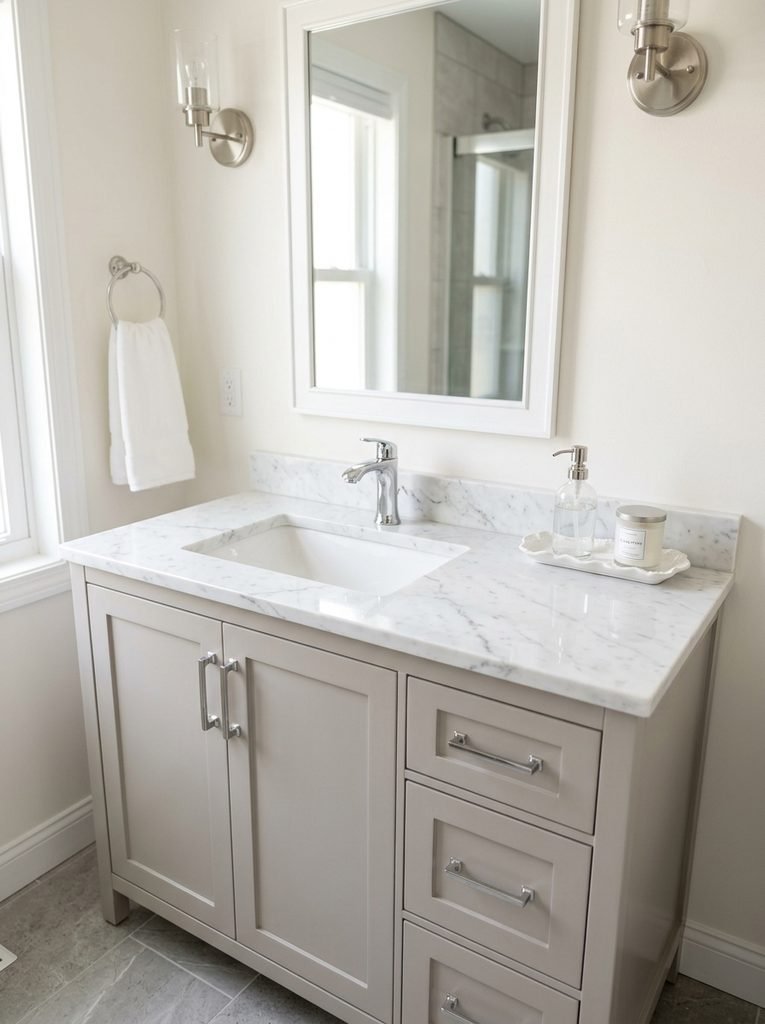
An old laminate or dated tile countertop can drag down the whole vanity, but replacing it isn’t your only option. Countertop refinishing kits, epoxy coatings and even good quality peel and stick marble films can completely change the look for very little money. Epoxy gives the most durable finish in my opinion, though it takes some patience. The honest tip here is prep. Sand, clean and dry the surface properly, because any grease or leftover soap scum will stop the coating from bonding.
13. Swap the Vanity Light Fixture
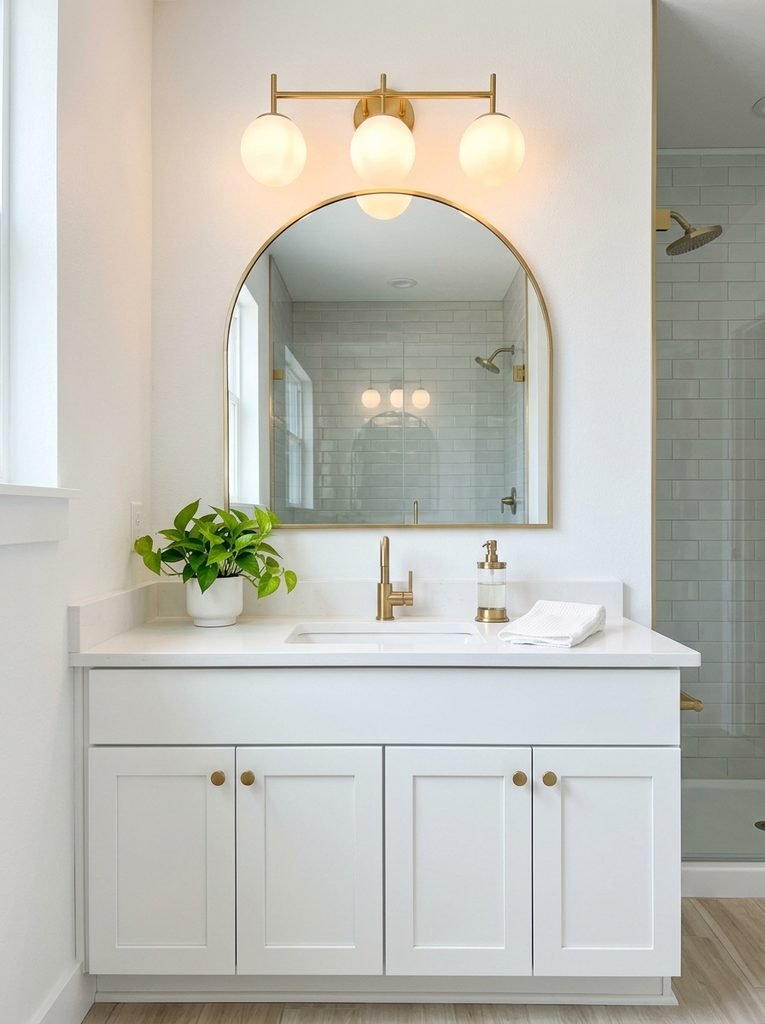
This isn’t a vanity change exactly, but it makes the vanity look totally different. An old builder grade light bar can make even a freshly painted vanity feel dated. A new fixture in brass, black or a globe style instantly lifts the whole wall. I’d suggest going with a fixture that’s about two thirds the width of your mirror so it looks balanced. Warm white bulbs are much kinder than harsh cool ones in a bathroom. Always switch the power off at the breaker first, and if wiring makes you nervous, honestly, this is a quick and cheap job for an electrician.
14. Build an Open Shelf Farmhouse Vanity
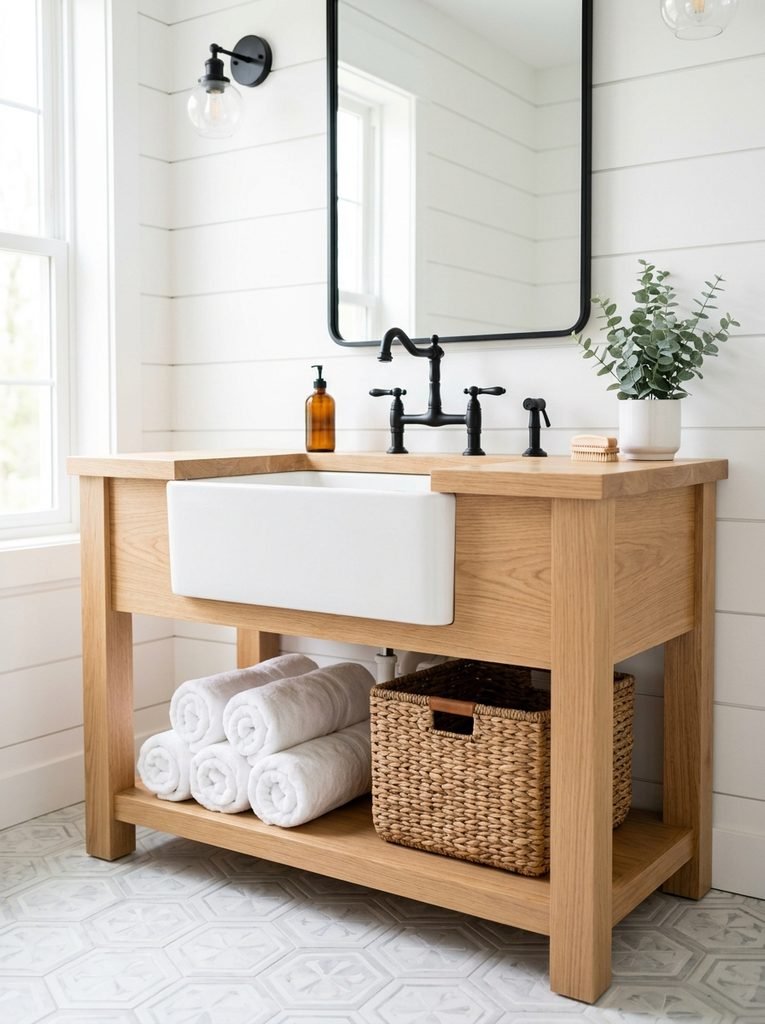
An open shelf vanity is one of the most beginner friendly builds out there. There are no doors or drawers to fuss with, and it looks warm and welcoming.
Materials Needed: 2×4 and 2×2 lumber for the frame, a 2×10 or 2×12 board for the shelf, a pocket hole jig, wood screws, wood glue, stain, polyurethane, a sink, and a faucet.
How to Make It: Cut four legs to your finished height minus the countertop thickness. Build two side frames with pocket screws, then join them with front and back rails at the top and near the bottom. Lay the shelf boards across the lower rails. Sand everything smooth, stain it, and seal it with several coats of poly. Add your top and sink. In my experience, the key is keeping everything square as you go. Check with a speed square at every joint, because a wobbly vanity is no fun with a heavy sink on top.
15. Give It an Easy Hardware and Trim Makeover
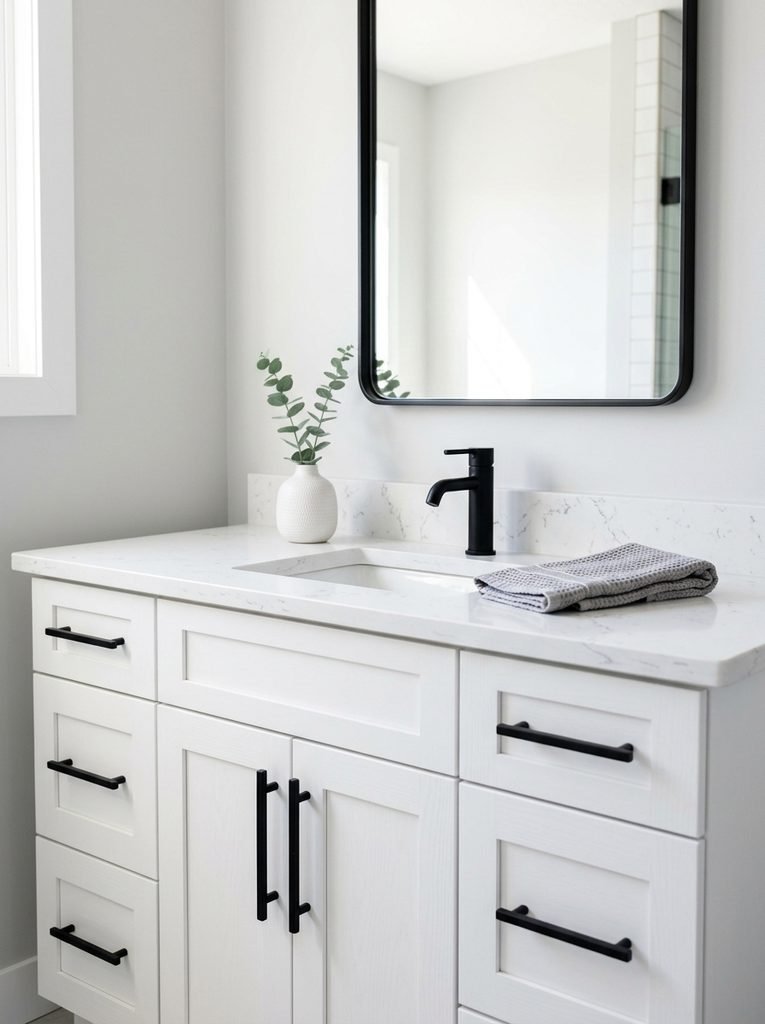
If you have one hour and a small budget, start here. New knobs and pulls are the fastest way to update a vanity, and the change is honestly bigger than you’d expect. Matte black feels modern, brass feels warm, and chrome stays classic. Measure the distance between your existing screw holes before you shop so you don’t end up drilling new ones. A tip I picked up: match the finish of your hardware to your faucet. It sounds small, but it makes the whole vanity look pulled together and planned.
Final Thoughts on DIY Bathroom Vanity
You really don’t need a huge budget to love your bathroom again. Start with one small change, like paint or new hardware, and see how it feels before you take on a full build. Honestly, the best DIY bathroom vanity is the one that fits your space, your routine and your weekend, so pick the idea that made you smile and go for it.


Amir Ali is the founder and site administrator of HomeDecorEdge, a modern home decor and interior design platform. Since starting the site, he has combined his passion for interior design, practical styling, and color coordination with hands-on content strategy and site management. He guides authors, curates high-quality articles, and ensures readers have access to actionable, visually inspiring, and user-focused home decor advice for apartments, small rooms, and family homes.