

The first time I sliced through a clay cane, I honestly gasped a little.
From the outside it’s just a plain log of clay. Then you cut it, and there’s a perfect tiny flower hiding inside. And another one. And another. It feels like magic every single time.
Caning sounds tricky, but it’s really just rolling and stacking simple shapes. Once you learn two or three basics, you can make almost any flower you like.
So here are 10 free polymer clay flower cane tutorials, in the order I’d learn them. Start at the top, take it slow, and by the end you’ll be building a whole bouquet.
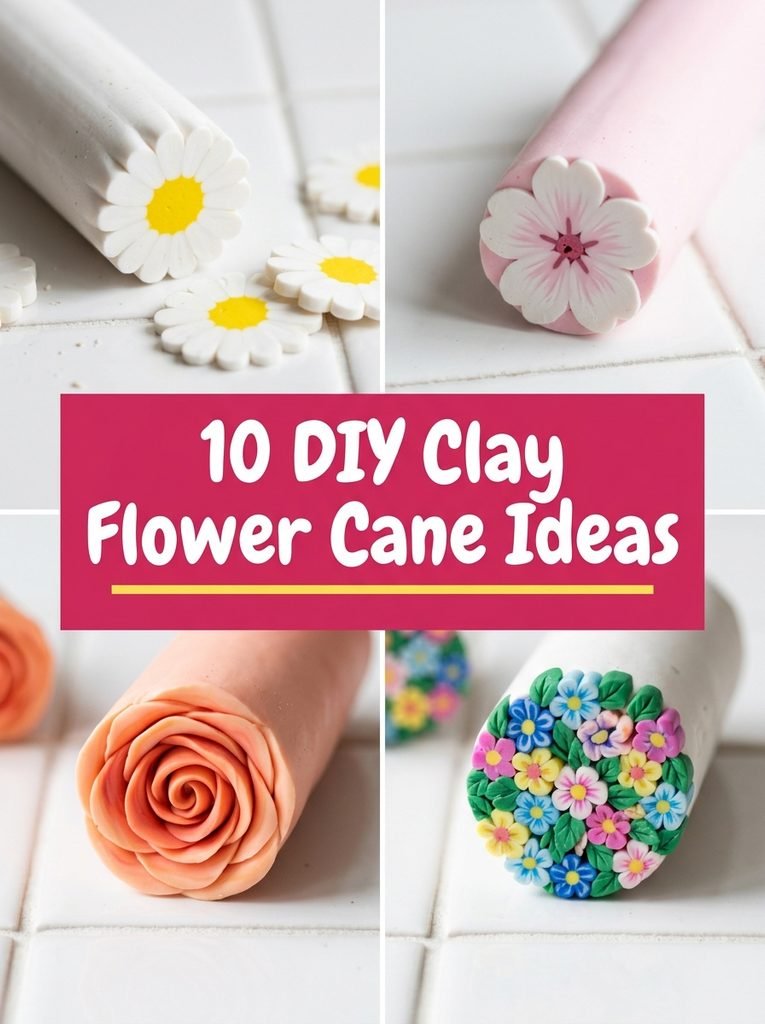
Quick Picks
- Start here: Bullseye Center Cane (idea 1)
- Easiest flower: Simple Five Petal Daisy Cane (idea 2)
- Prettiest: Blended Rose Cane (idea 6)
- Biggest wow: Flower Bouquet Cane (idea 9)
1. Bullseye Center Cane, the First Cane to Learn
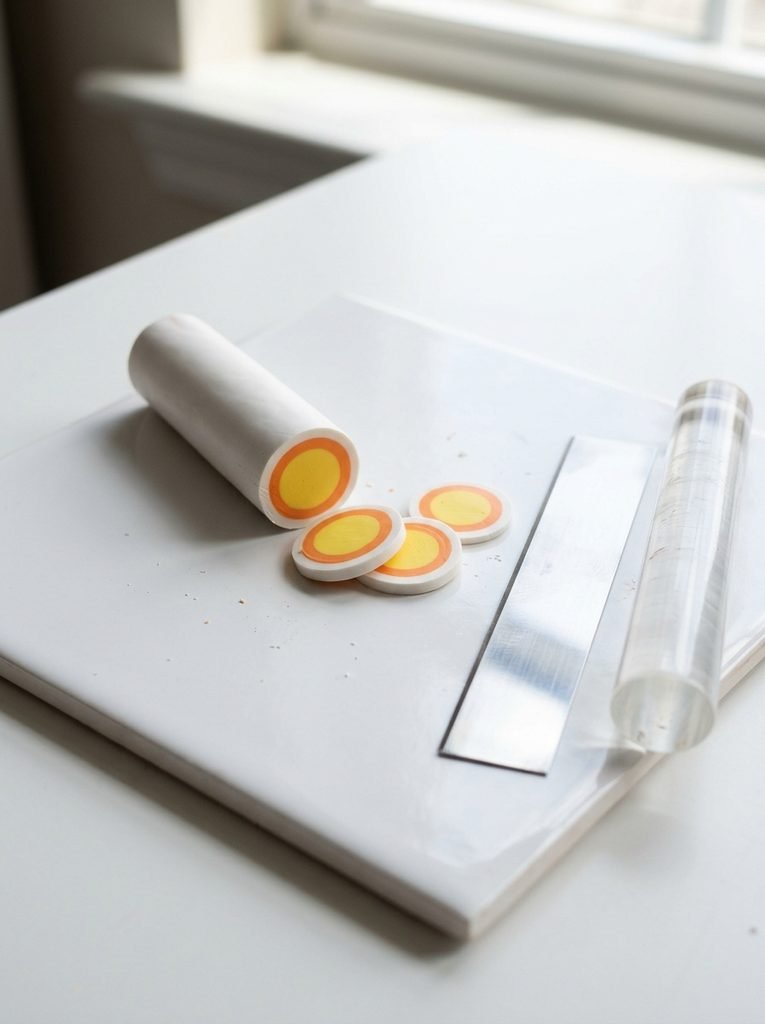
Every flower cane starts here. A bullseye is just a round log of clay wrapped in a thin sheet of another color. It becomes your flower centers, your berries and your dots, so it’s worth practicing first.
The skill you’re really learning is how to roll a cane longer without twisting it. In my experience, light even pressure with flat palms is the whole secret. If you squeeze, the pattern inside distorts.
⏱ 20 minutes💲 Low🛠 Easy
Materials Needed
- Polymer clay in yellow, orange and white
- Acrylic roller
- Tissue blade
- Smooth ceramic tile to work on
How to Make It
- Knead each color until soft and warm, a step called conditioning.
- Roll the yellow into a smooth log about the thickness of your thumb.
- Roll the orange into a thin flat sheet and wrap it around the log, trimming the edges so they just meet.
- Add a second thin sheet of white the same way.
- Roll the cane gently from the middle outward until it’s long and thin.
- Rest it for 15 minutes, then slice to see your rings.
Tip: Always let a fresh cane rest before slicing. Warm clay squashes under the blade, cool clay cuts clean.
2. Simple Five Petal Daisy Cane
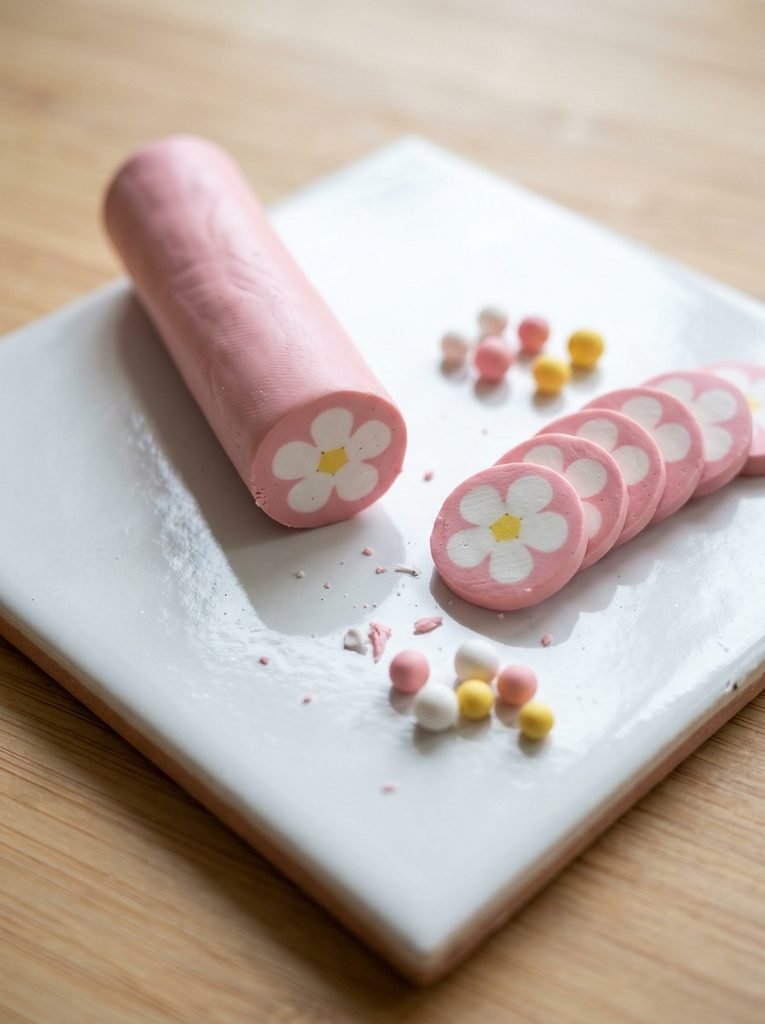
The daisy is the easiest real flower cane, and it looks so sweet on earrings. It’s just a yellow center with five white petals packed around it. No fancy shaping needed.
A tip I picked up: the background clay between the petals is what makes the flower pop. Without it, the petals smear into each other as you reduce the cane. Pink, mint or sky blue all look lovely.
⏱ 30 minutes💲 Low🛠 Easy
Materials Needed
- Polymer clay in white, yellow and a background color
- Acrylic roller and tissue blade
- Ceramic tile
How to Make It
- Roll a yellow log for the center, about 3 inches long.
- Roll five white logs the same length, each a little thicker than the center.
- Wrap each white petal log in a very thin sheet of background color.
- Arrange the five petals evenly around the yellow center and press them together gently.
- Fill the gaps with small triangles of background clay, then wrap the whole cane in one more sheet.
- Roll it down slowly to the size you want, rest it and slice.
Tip: Cut a slice from the end before you start reducing. If the daisy already looks wonky, fix it now while it’s big.
3. Easy Leaf Cane to Pair With Flowers
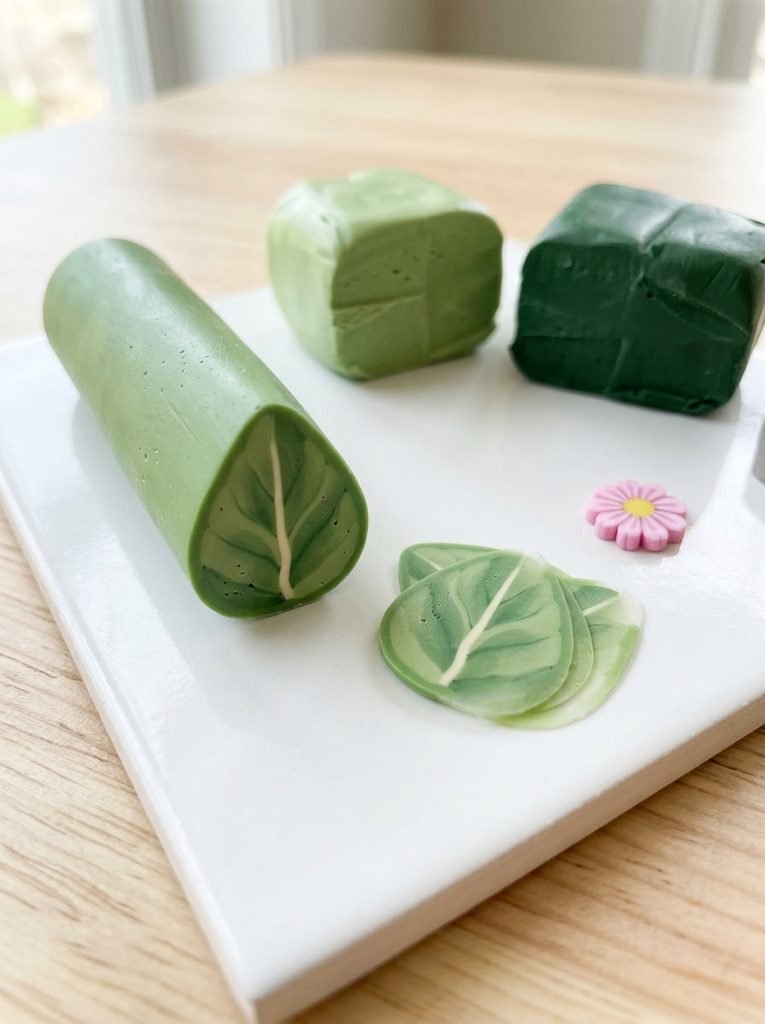
Flowers look so much better with a few leaves beside them. The easiest leaf cane is a green log cut in half, with a thin pale sheet slipped in the middle for the vein. Pinch one side into a point and you’re done.
I like making two greens, one light and one dark, so the leaves don’t look flat. Make a long leaf cane while you’re at it. You’ll use it in almost every project after this.
You’ll need: green and pale yellow clay, a tissue blade
Best for: finishing any flower project
4. Cherry Blossom Cane
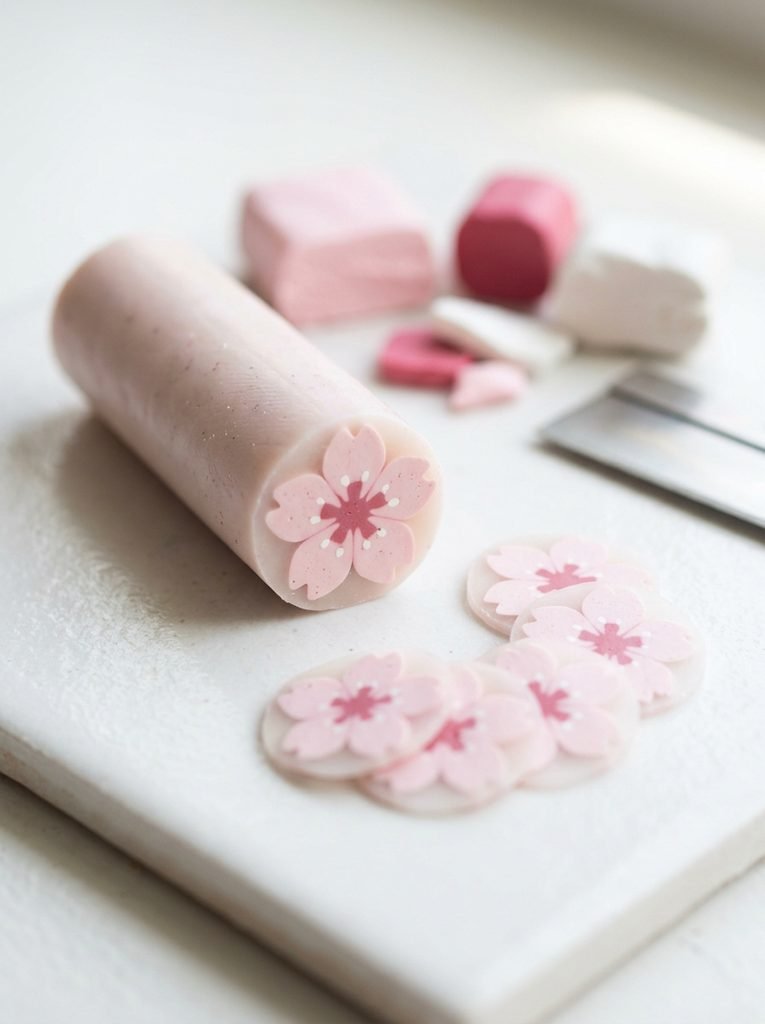
Cherry blossoms are just daisies with a little twist. Each petal gets a tiny notch at the tip, and that one detail makes people instantly recognize the flower.
Honestly, soft colors are the key here. A light pink petal that fades to white at the edge looks delicate and real. Make a simple pink to white blend first, and the rest is easy.
⏱ 45 minutes💲 Low🛠 Medium
Materials Needed
- Polymer clay in light pink, white, deep pink and a background color
- Acrylic roller and tissue blade
- Ceramic tile
How to Make It
- Make a small deep pink bullseye for the center, as in idea 1.
- Roll a light pink log and wrap it in a thin white sheet for a soft edge.
- Shape it into a teardrop, then press a thin strip of background clay into the wide end to make the notch.
- Cut this petal cane into five equal pieces.
- Arrange them around the center with the notches facing out, filling gaps with background clay.
- Wrap, reduce gently, rest and slice.
Tip: Cutting one long petal cane into equal pieces guarantees every petal matches. Much easier than shaping five separate ones.
Start Your 30-Day Home Reset
Stop waiting for a "perfect" free weekend. Grab the 30-day plan and start feeling lighter in your own home by tomorrow.
View the 30-Day Plan Printable PDF · Instant download5. Easy Tulip Cane
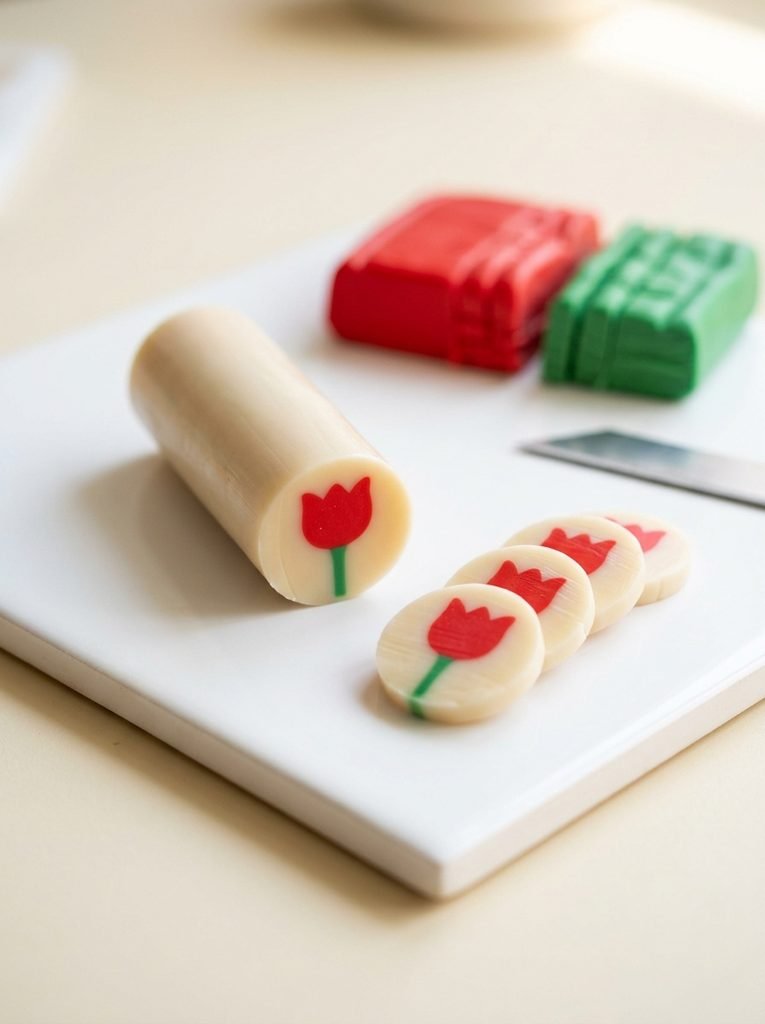
Tulips are so simple to cane. Make a half circle of red for the cup, press two small wedges of background clay into the top to form three petal points, then add a thin green log underneath for the stem.
Because the shape is bold and clear, tulips still look great even when reduced very small. I’d suggest trying a few colors at once, like red, yellow and purple, for a cheerful spring set.
You’ll need: red, green and cream clay, an acrylic clay roller
Best for: bold spring designs and tiny slices
6. Blended Rose Cane
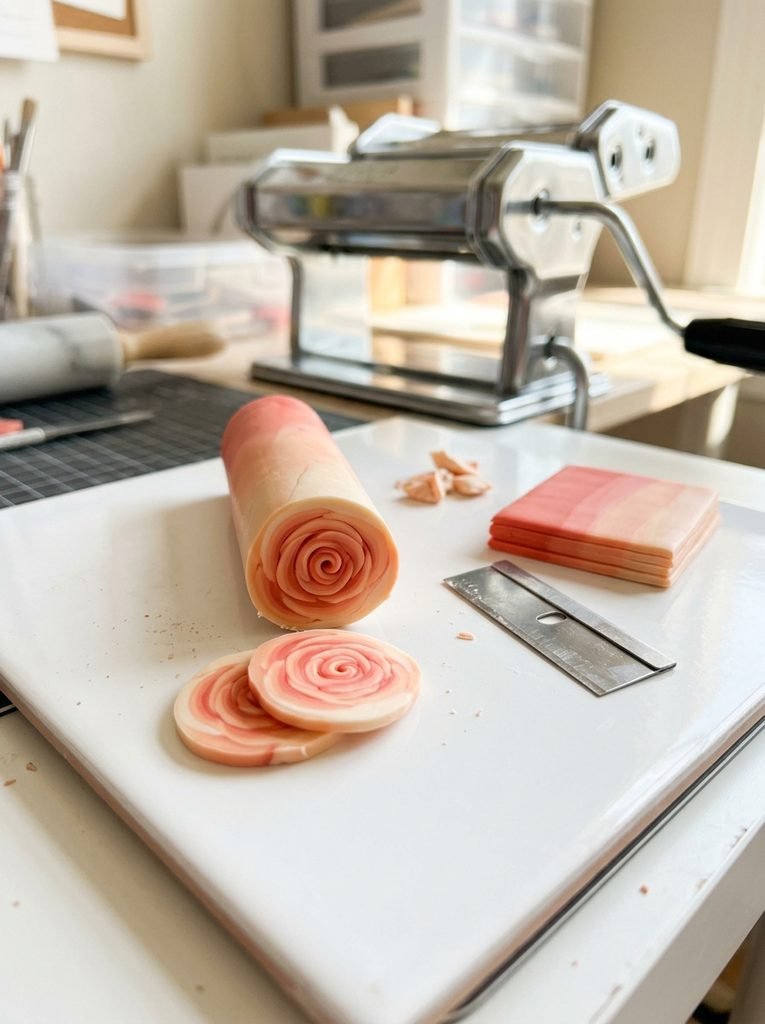
This is the one that makes people ask, “You made that?” The secret is a blended sheet of clay that fades from dark to light. Rolled up like a jelly roll, it forms a spiral that looks just like rose petals.
A clay pasta machine makes the blend much easier, though you can do it with a roller and patience. Don’t worry if your first spiral is a bit loose. Roses are forgiving, and uneven petals look natural.
⏱ 1 hour💲 Medium🛠 Medium
Materials Needed
- Polymer clay in deep coral and pale peach
- Clay pasta machine or acrylic roller
- Tissue blade
- Ceramic tile
How to Make It
- Roll a sheet of each color and cut them into two long triangles.
- Place the triangles together to form a rectangle, coral on one side and peach on the other.
- Fold the sheet in half the same way each time and roll it flat again, about 20 times, until the colors blend smoothly.
- Roll the blended sheet thinner and cut it into a long strip.
- Starting at the dark end, roll it up loosely like a jelly roll, pinching the outer edge thinner as you go.
- Gently squeeze the log into a rounded shape, reduce it, rest it and slice.
Tip: Always fold the blend sheet in the same direction. Fold it a different way and the colors mix into one muddy shade.
7. Sunflower Cane
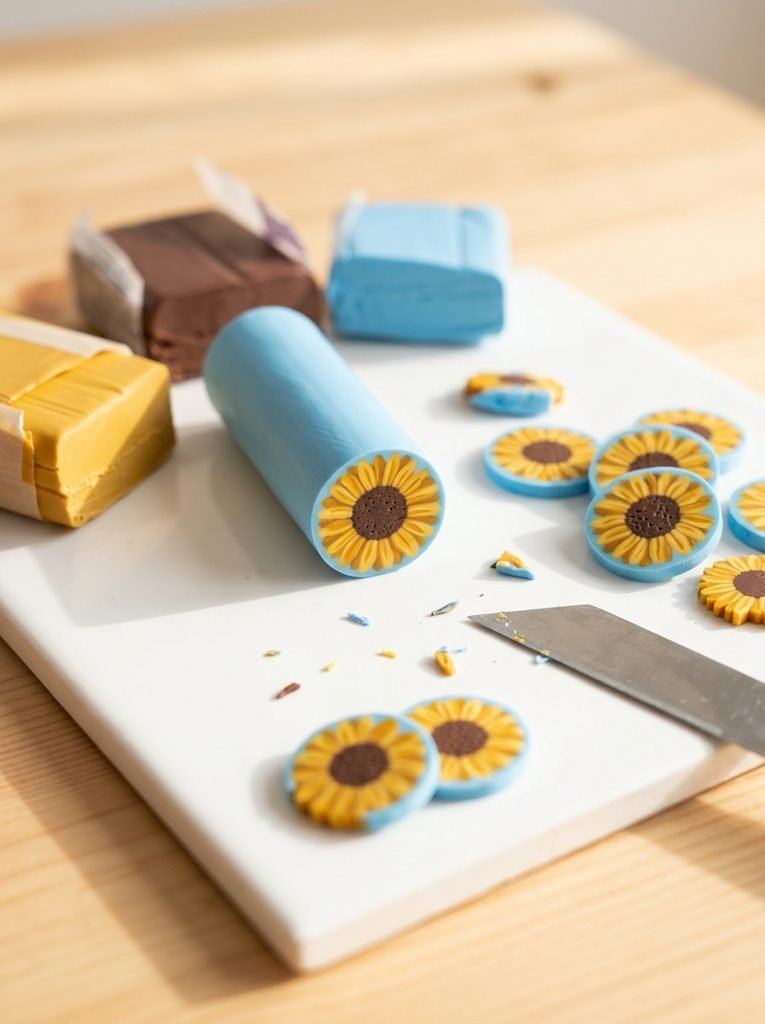
A sunflower is just a daisy with more petals and a big brown middle. Use ten or twelve thin yellow petals instead of five, and make the center chunky. That’s all it takes.
I love adding a few tiny dots to the brown center with a thin black log rolled into it. It gives that seedy texture and makes the slices look so much more detailed up close.
You’ll need: yellow, brown, black and sky blue clay, a tissue blade
Best for: bright summer earrings and magnets
8. Pansy Cane
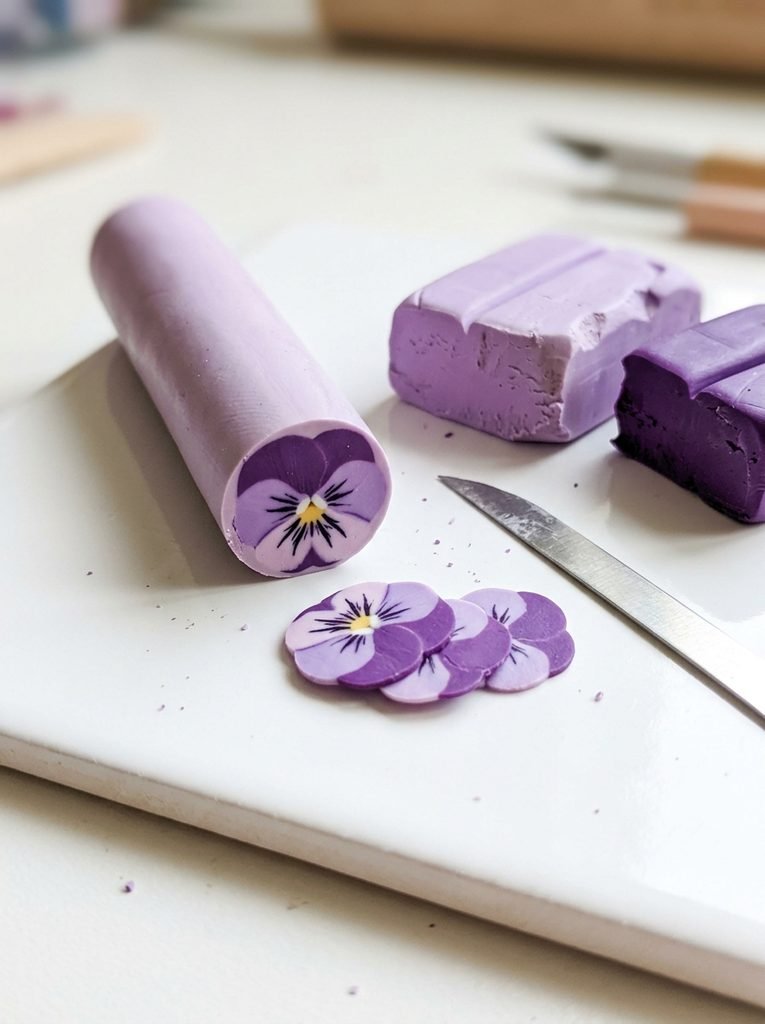
Pansies have that sweet little face in the middle, and they’re fun once you’re comfortable with the basics. The shape is two petals on top, two at the sides and one wider petal at the bottom.
The fine lines on the petals come from very thin black strips pressed in before you reduce the cane. Keep them thinner than you think. Once reduced, even a thin line looks bold.
You’ll need: purple, lavender, yellow and black clay, a polymer clay starter set
Best for: crafters ready for a little more detail
9. Flower Bouquet Cane, Joining Small Canes
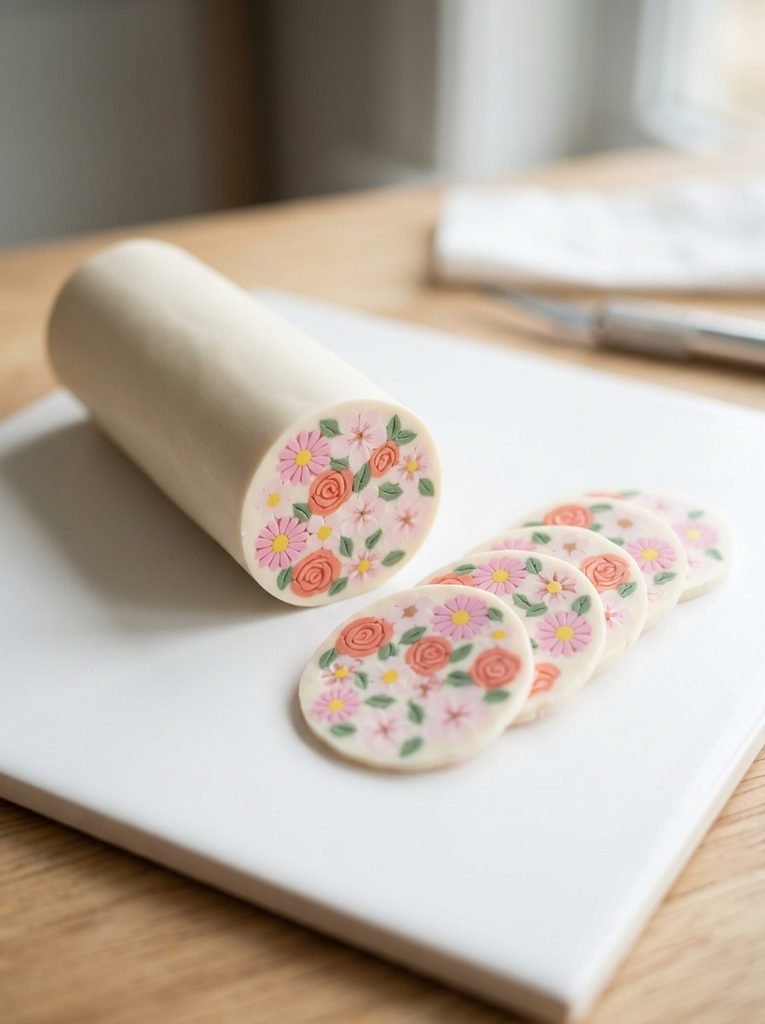
This is where everything comes together. Take small pieces of the canes you’ve already made, pack them side by side, and reduce them into one big round cane. Each slice becomes a tiny flower garden.
Honestly, this is my favorite way to use up leftover cane ends. Nothing goes to waste, and the mix of flowers always looks lovely. Fill the gaps with background clay so no air pockets get trapped.
⏱ 1 hour💲 Low🛠 Medium
Materials Needed
- Several finished flower and leaf canes, all the same length
- Extra background clay
- Acrylic roller and tissue blade
- Ceramic tile
How to Make It
- Trim all your small canes to the same length, about 2 inches.
- Place one bigger flower in the middle as the focus.
- Pack the other flowers and leaves around it, mixing colors and sizes.
- Press small logs of background clay into every gap.
- Wrap the bundle in a thin sheet, squeeze it gently from all sides, then roll it down evenly.
- Rest the cane, trim off the distorted ends and slice.
Tip: The first inch at each end always looks squashed. Don’t panic. Trim it off, and the pattern in the middle will be perfect.
10. Simple Projects to Make With Cane Slices
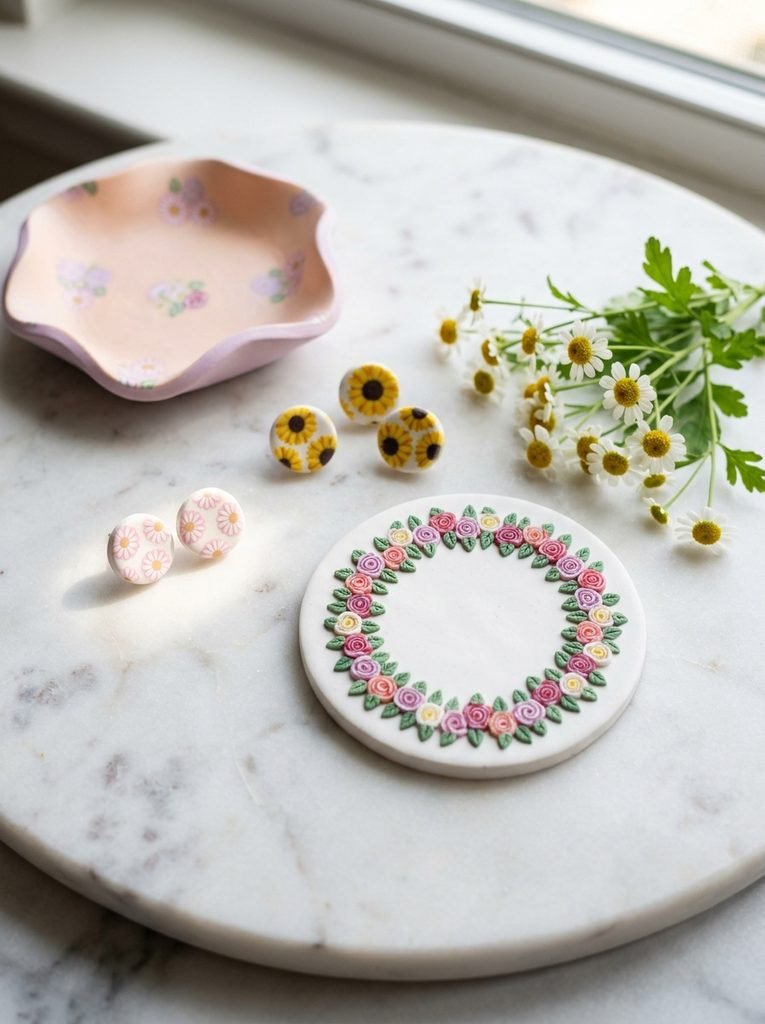
Now for the fun part. Press thin slices onto a flat round of clay, roll over them lightly so they sink in smooth, and cut out any shape you like. Earrings, magnets, small trinket dishes and coasters are all easy first projects.
Bake them on a ceramic tile at the temperature on your clay package, usually around 15 minutes for every quarter inch of thickness. I always use an oven thermometer, because most home ovens run hotter or cooler than the dial says.
You’ll need: cane slices, plain clay, small cutters, an oven thermometer
Best for: handmade gifts and craft fair items
Frequently Asked Questions
What is a clay flower cane?
It’s a log of polymer clay built from colored shapes, so a flower pattern runs all the way through it. Every slice you cut shows the same flower.
Which flower cane is easiest for beginners?
Start with a bullseye cane, then a five petal daisy. Both use simple round logs and teach you how to reduce a cane evenly.
Why does my cane get squished when I cut it?
The clay is too warm. Let the cane rest for 15 to 30 minutes, or chill it briefly, then slice with a sharp tissue blade.
Do I need a pasta machine for flower canes?
No, an acrylic roller works for most canes. A pasta machine just makes thin, even sheets and color blends much faster.
Is polymer clay safe to bake at home?
Yes, when you follow the package temperature and keep the room aired. Never let it burn, and keep clay tools separate from kitchen tools.
How long do unbaked canes last?
Wrapped in plastic and kept somewhere cool and dark, unbaked canes stay usable for months. Warm them in your hands before slicing.
Final Thoughts on DIY Clay Flower Cane
Start with a simple bullseye, move to a daisy, and before long you’ll be packing whole bouquets into one cane. Your first few won’t be perfect, and that’s fine. Every slice still holds a little flower you made yourself.


Amir Ali is the founder and site administrator of HomeDecorEdge, a modern home decor and interior design platform. Since starting the site, he has combined his passion for interior design, practical styling, and color coordination with hands-on content strategy and site management. He guides authors, curates high-quality articles, and ensures readers have access to actionable, visually inspiring, and user-focused home decor advice for apartments, small rooms, and family homes.