

Stairs get walked on every single day, so they wear out fast.
Faded stain, scuffed risers and worn carpet make the whole hallway feel tired. The good part is you rarely need a full rebuild.
Most staircase makeovers come down to sanding, staining, painting or adding a runner. Real weekend projects.
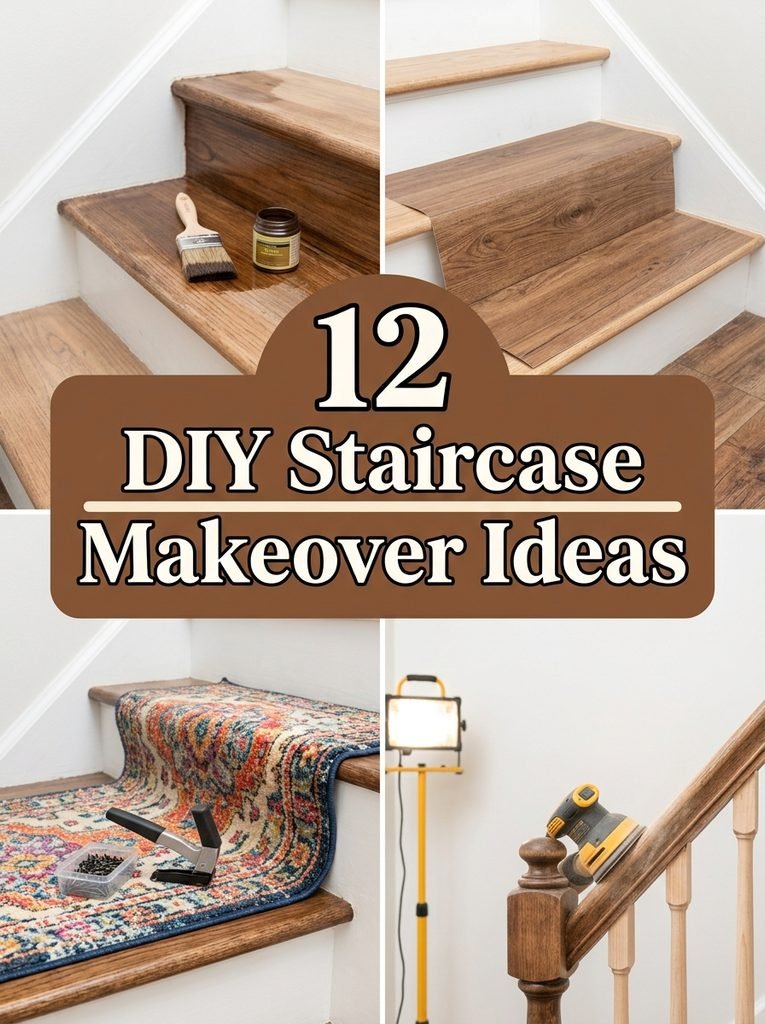
These 12 DIY staircase makeover ideas cover wood finishes, budget updates, runners and painted stairs.
1Stain the Wood for a Rich Finish
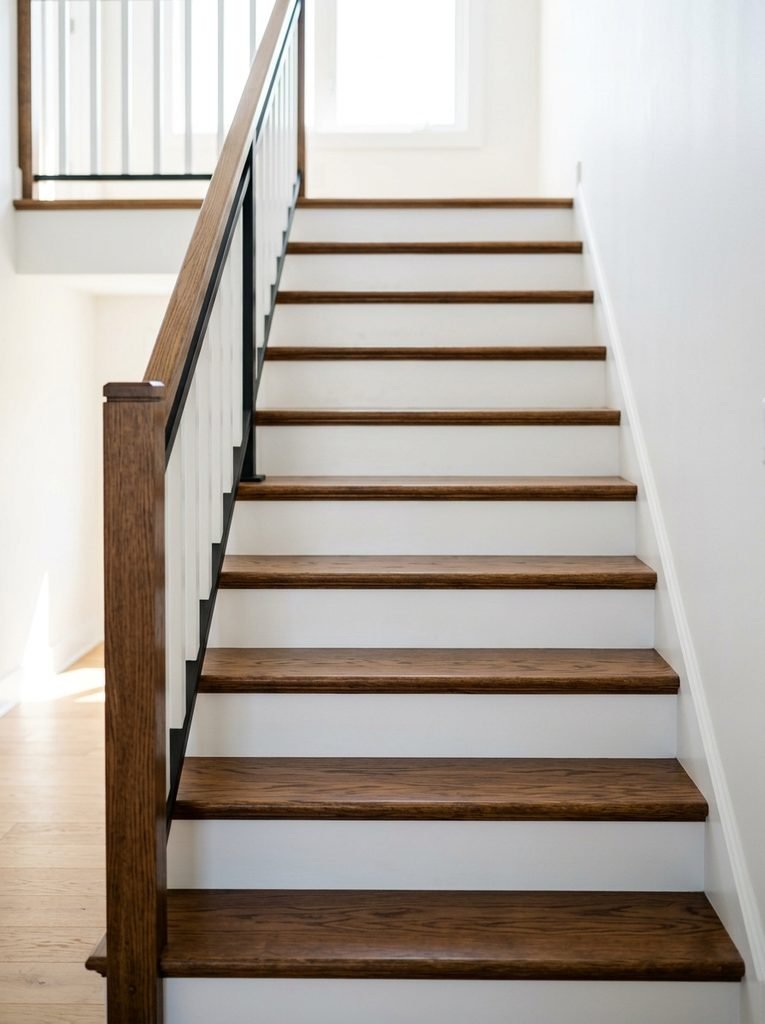
Fresh stain brings out the wood grain and makes faded stairs look warm again.
Use a wood stain made for stairs and finish with a tough clear topcoat built for floors.
- Warm wood tone
- Shows the grain
- Floor grade topcoat
Project Card · 2 to 3 days · Medium
Materials Needed
- Wood stain
- Sanding block and 120 then 180 grit paper
- Vacuum and tack cloth
- Stain brush or lint free rags
- Floor grade polyurethane
- Dust mask and gloves
How to Make It
- Sand each tread with the grain to remove the old finish.
- Vacuum and wipe with a tack cloth so no dust is left.
- Stain every other step first, so the family can still use the stairs.
- Wipe off extra stain after a few minutes and let it dry overnight.
- Brush on two or three thin coats of floor grade polyurethane, then do the remaining steps the same way.

My Pick
Wood Stain for Stairs
Deep, even color that brings tired stair treads back to life.
2Update Worn Treads with Covers
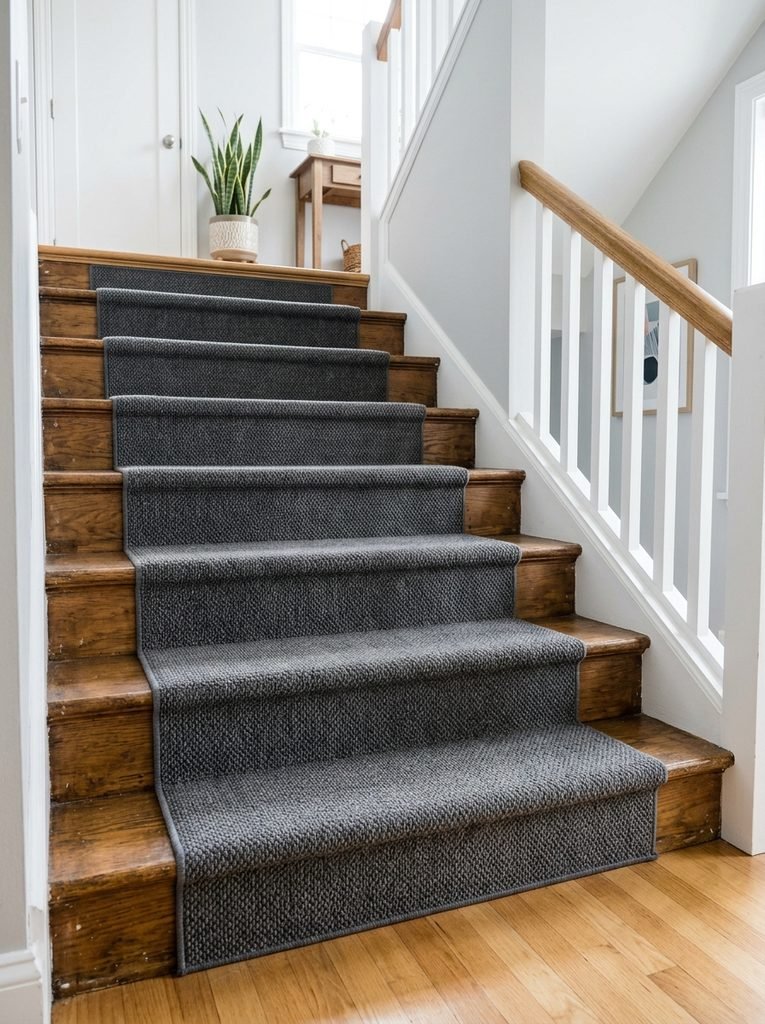
Cracked or chipped treads? Covers go right over the old surface. No demolition.
Measure every step before ordering these stair tread covers. Stairs are rarely all the same width.
- No demolition
- Fast update
- Measure each step

My Pick
Stair Tread Covers
Cover worn or chipped treads without rebuilding the stairs.
3Add a Runner Rug for Style and Grip
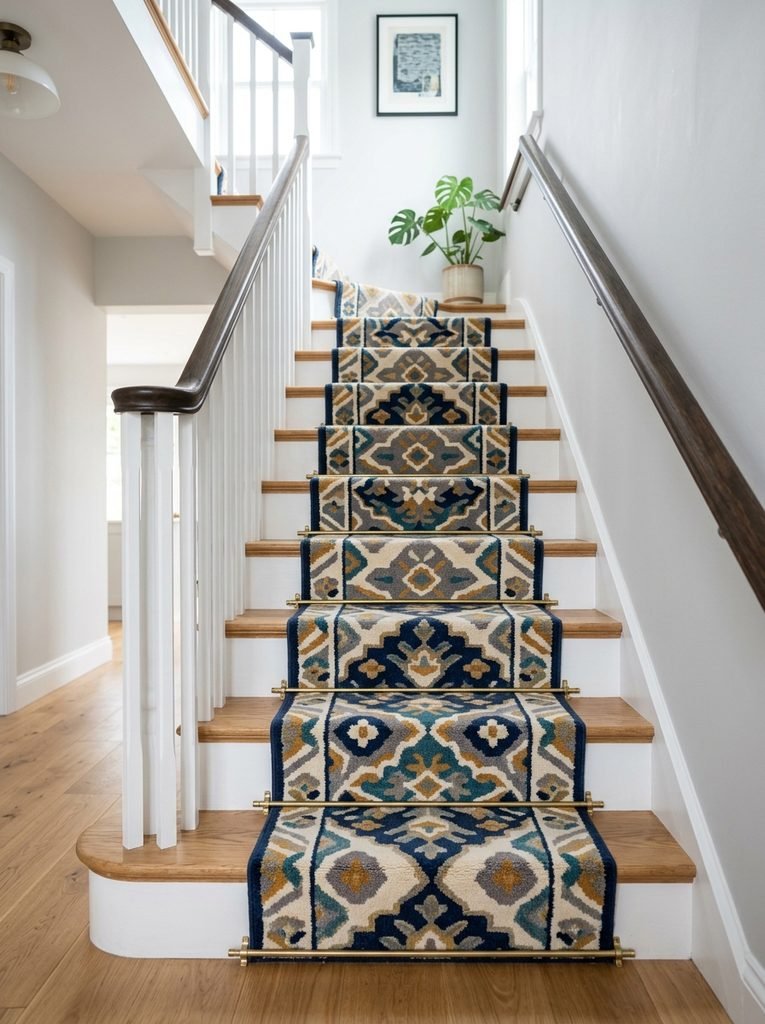
A runner adds color and pattern. It also softens footsteps and gives better grip, especially in socks.
Secure this stair runner rug firmly at every step with stair rods or carpet staples. A loose runner is a trip hazard.
- Better grip
- Quieter steps
- Secure every step
Project Card · 1 day · Medium
Materials Needed
- Stair runner rug
- Rug pad cut slightly narrower than the runner
- Measuring tape
- Staple gun with carpet staples or stair rods
- Utility knife
How to Make It
- Measure the stair width and mark the center line on each step.
- Cut rug pad pieces for each tread and staple them in place.
- Start at the top step and staple the runner tightly under the nose of the tread.
- Pull it snug down each riser and staple again in the crease.
- Check every step by pressing hard with your foot before anyone uses the stairs.
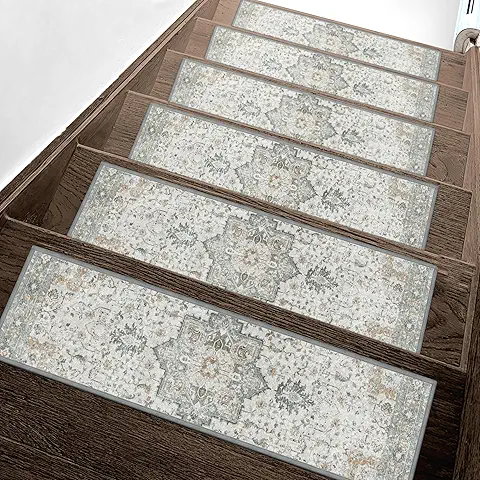
My Pick
Stair Runner Rug
Adds pattern, softness and better grip on slippery wood.
4Prep the Surface by Sanding
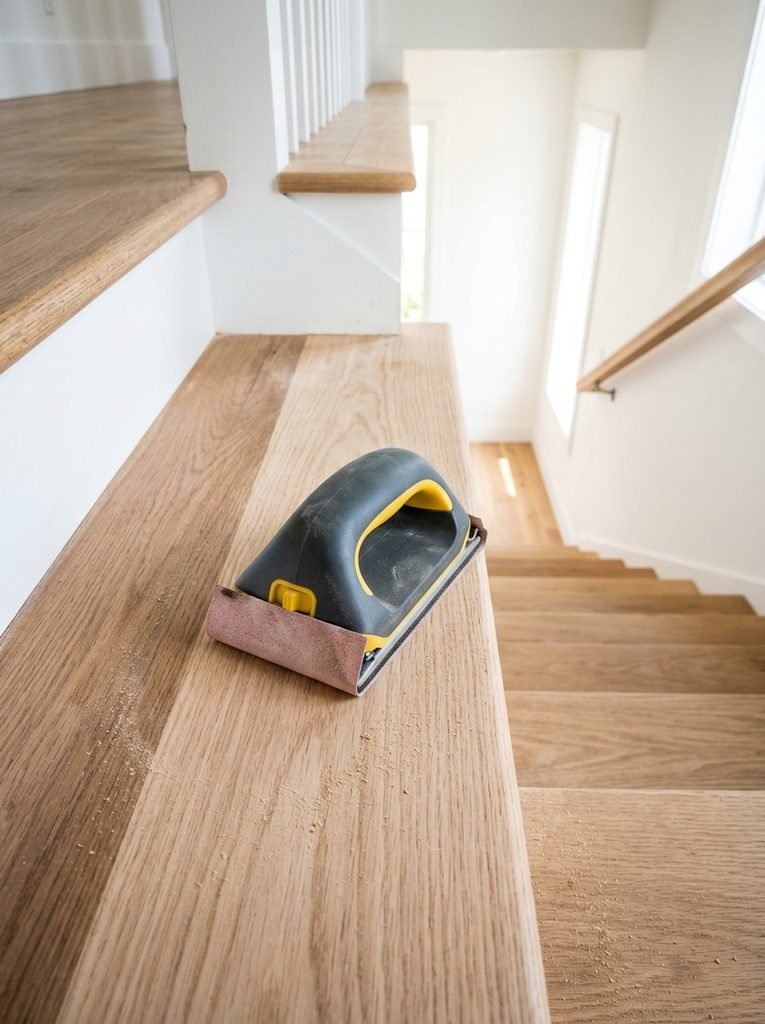
Sanding decides how well stain or paint sticks. Skip it and the finish peels within months.
A sanding block set handles flat treads and the curved edges. Wear a dust mask and vacuum well afterward.
- Most important step
- Wear a mask
- Vacuum after

My Pick
Sanding Block Set
Comfortable grip for treads, risers and the tricky edges.
5Paint the Stairs a Fresh Color
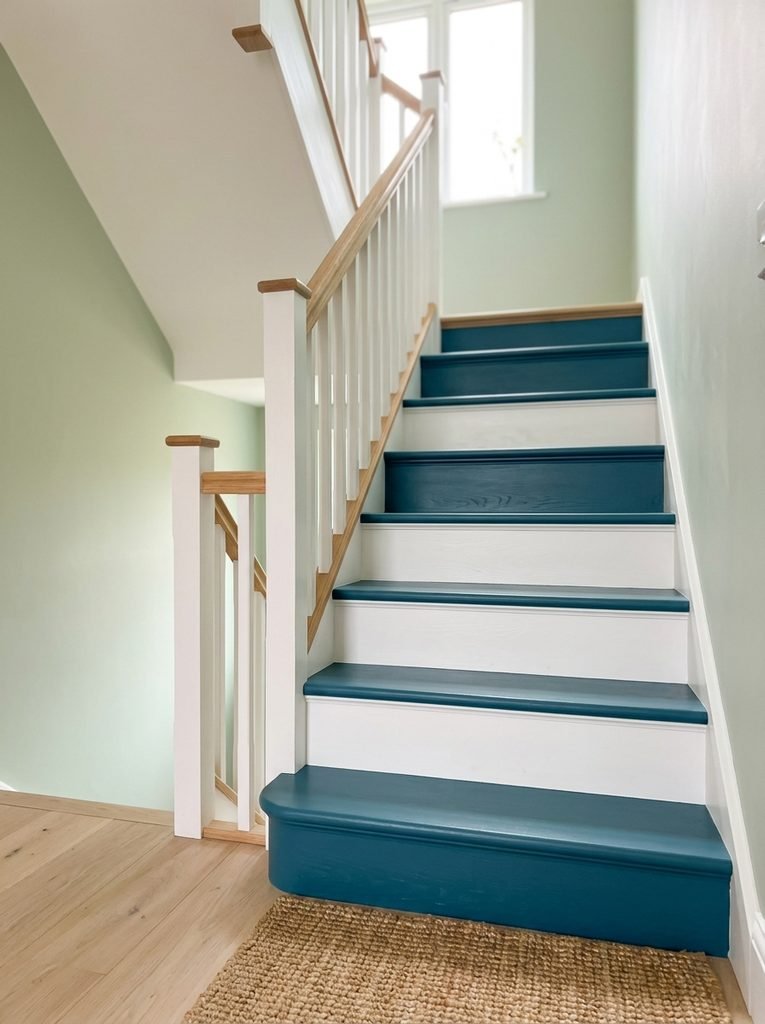
Paint opens up any color you like. Great for stairs made from plain wood with no pretty grain.
Use porch and floor paint on the treads and stir in a non slip additive so painted steps are not slippery.
- Any color
- Hides plain wood
- Add grip
Project Card · 3 days · Medium
Materials Needed
- Porch and floor paint
- Bonding primer
- Non slip paint additive
- Sanding block
- Angled brush and small roller
- Painter’s tape
How to Make It
- Sand lightly and vacuum every step.
- Tape the walls and the stair edges.
- Prime every other step and let it dry.
- Paint two coats, mixing the non slip additive into the tread paint.
- Wait for full cure, then repeat on the remaining steps.
6Update the Banister and Railing
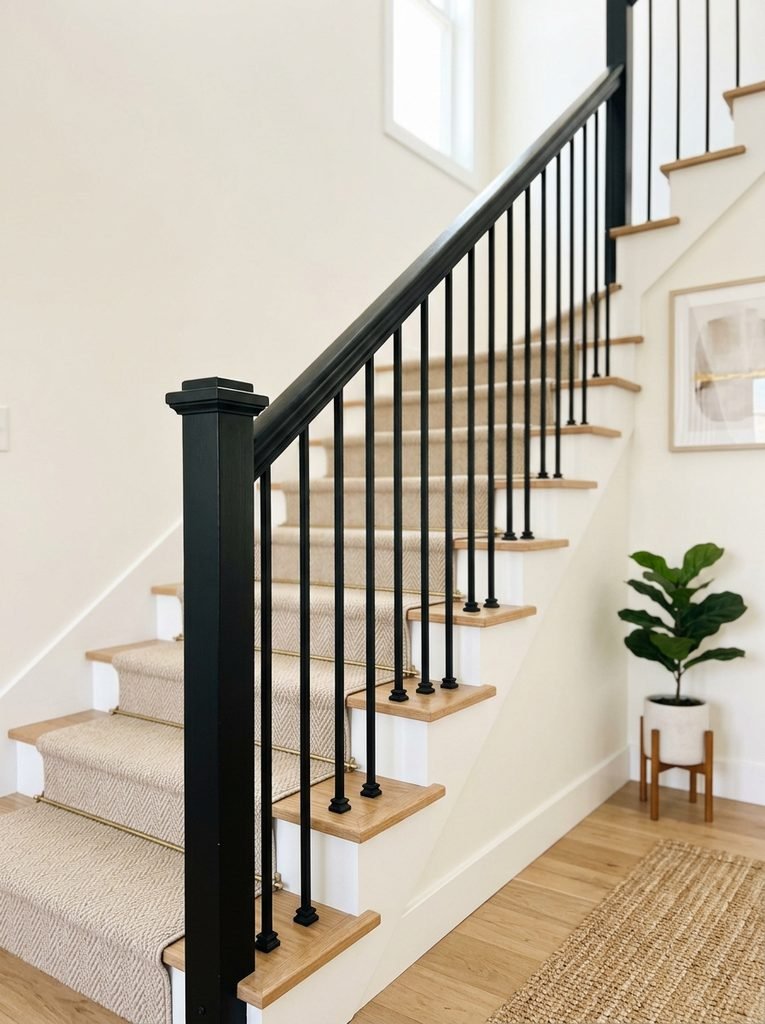
The railing is what everyone touches. A fresh color makes the whole staircase feel new.
Paint the handrail black and the spindles white for a classic look. Check that the rail is solid before and after the makeover.
- Classic contrast
- Big visual change
- Check it is solid
7Refresh Basement Stairs
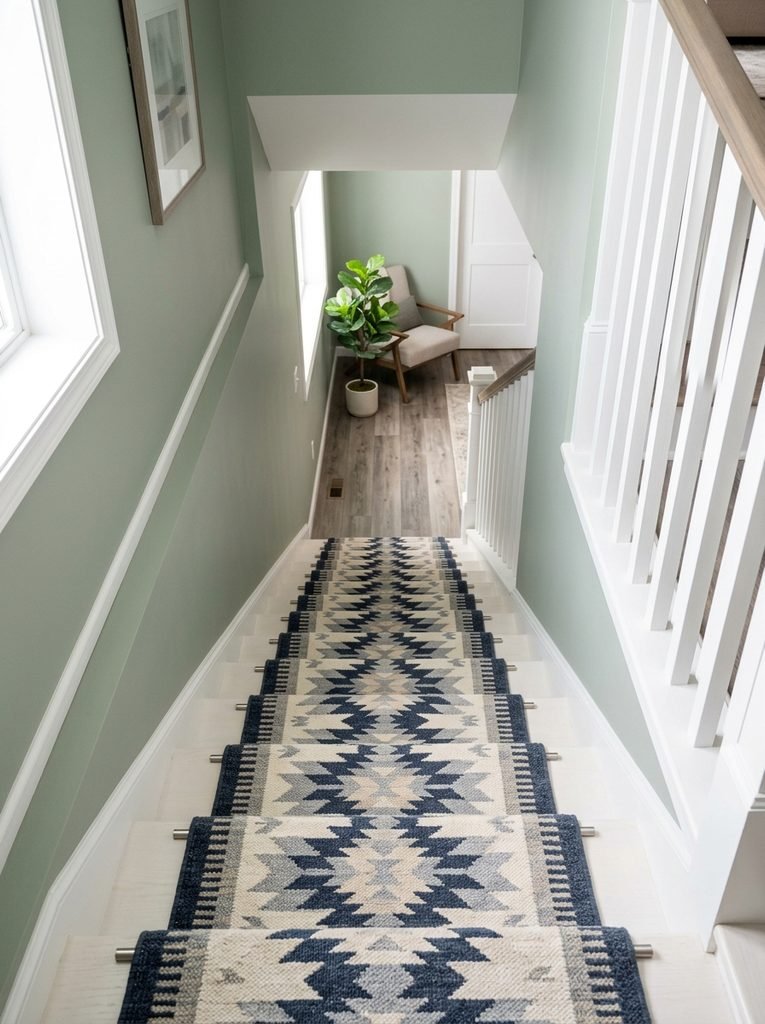
Basement stairs often stay plain gray for years. A coat of paint makes them feel like part of the home.
Add bright lighting and non slip strips. Basement stairs are often steep and dim.
- Forgotten space
- Brighter look
- Add good lighting
8Try a Budget Friendly Makeover
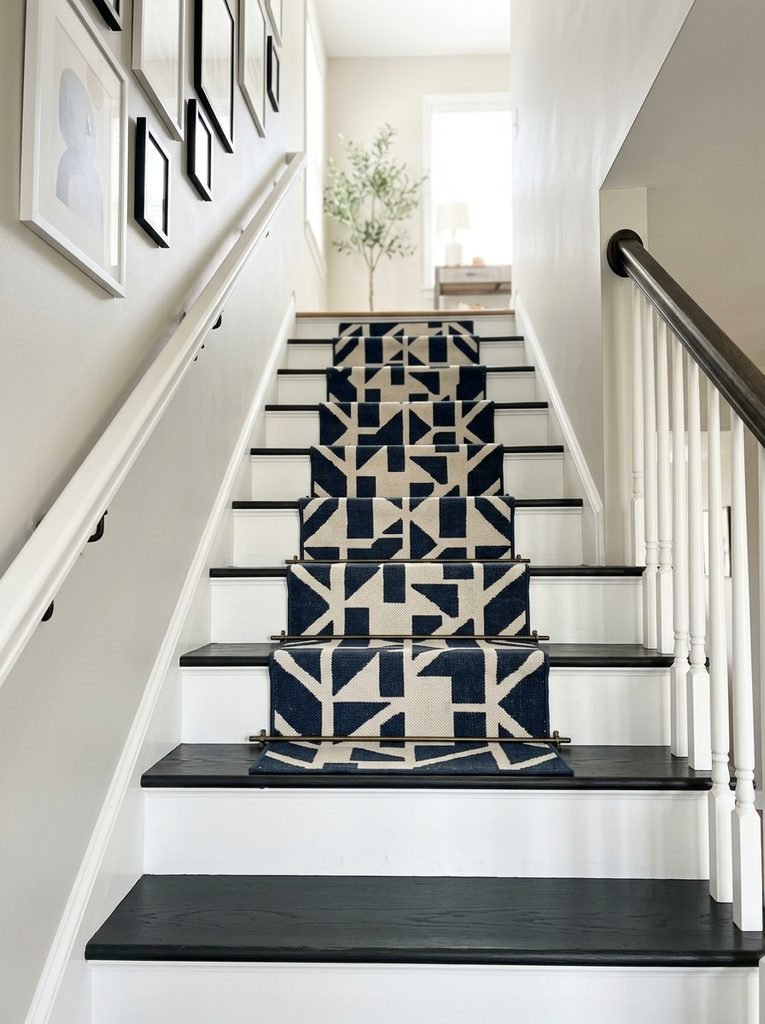
Paint plus a budget runner gives a dramatic change without a full sand and stain job.
Perfect if you want a quick result before guests arrive or want to test a color first.
- Low cost
- Quick result
- Test a color
9Choose a Two Tone Look
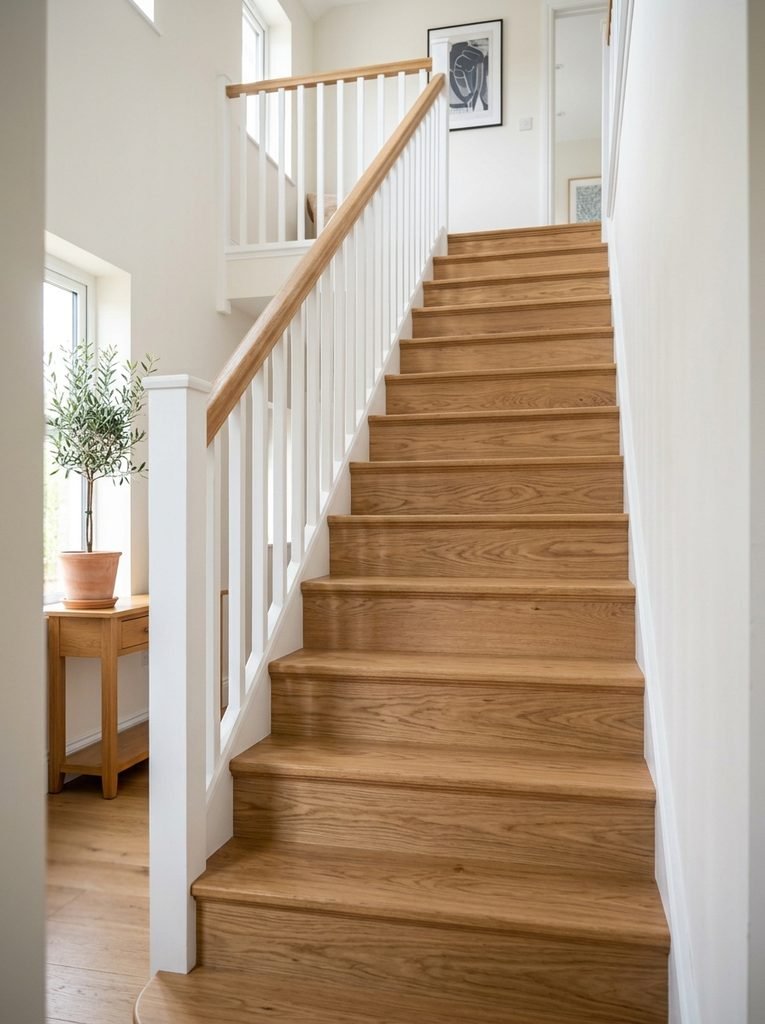
White risers with stained wood treads is the most popular staircase look for a reason.
It looks custom, hides scuffs on the treads and brightens the stairs at the same time.
- Most popular
- Looks custom
- Hides scuffs
10Tile Stair Risers for Pattern
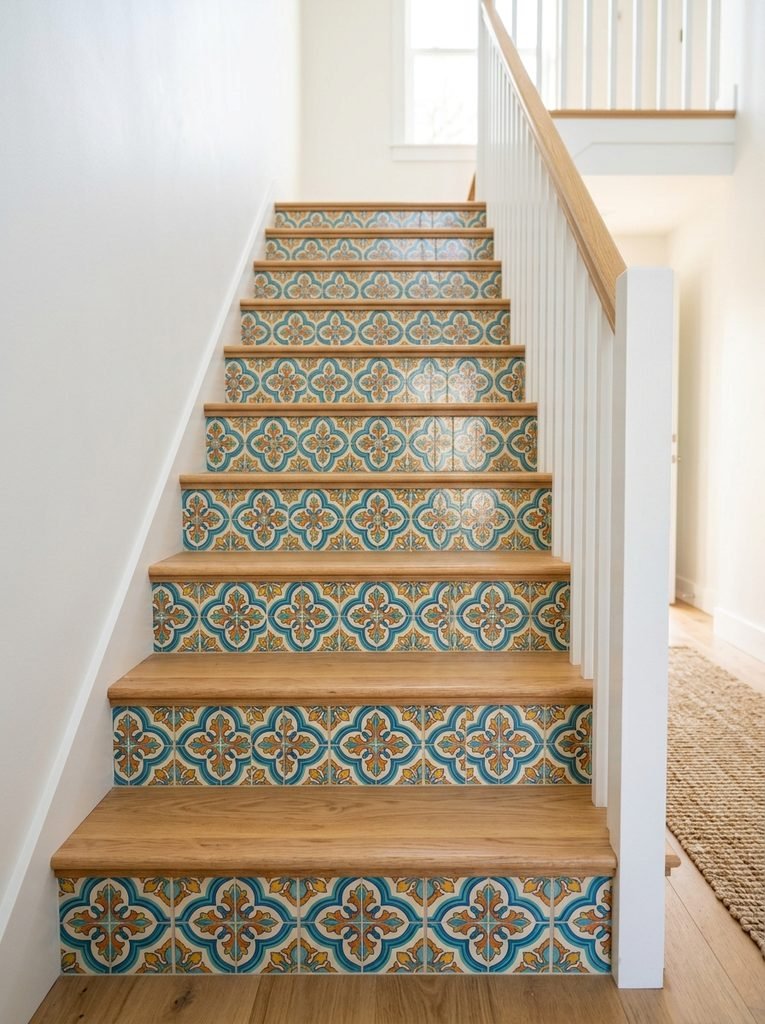
Patterned tile on the risers adds color you see from the bottom of the stairs.
Peel and stick tile stickers are the easy version and peel off when you want a change.
- Bold pattern
- Easy sticker option
- Removable
11Get Inspired by Before and After Photos
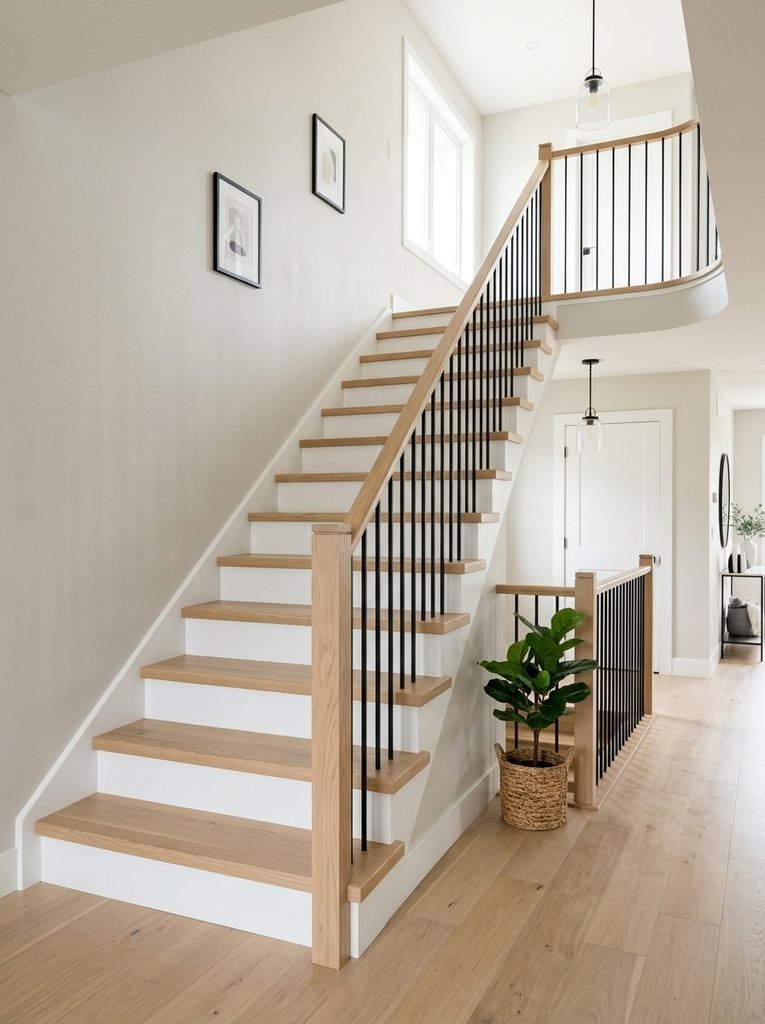
Looking at before and after makeovers helps you pick a style and know what one weekend can really achieve.
Save a few favorites, note the colors and finishes, and plan your own steps from there.
- Clear plan
- Pick your style
- Set expectations
12Keep Maintenance Easy
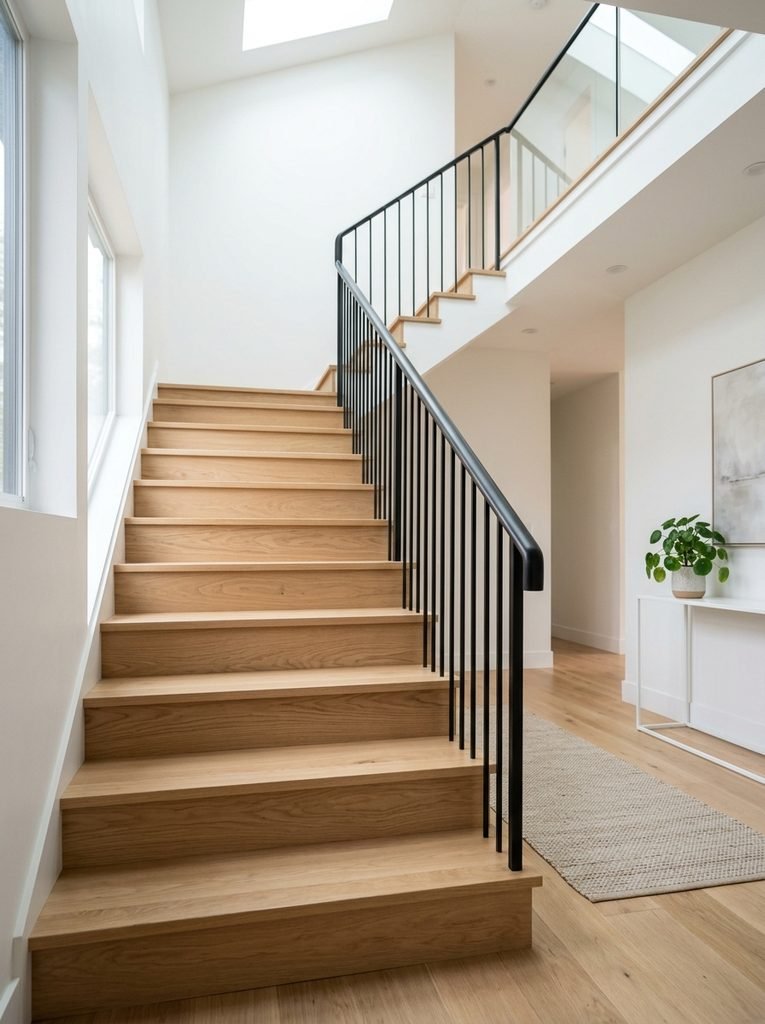
A tough topcoat and a washable runner keep the stairs looking good for years.
Add felt pads under any decor on the landing and touch up scuffs as soon as they appear.
- Lasts for years
- Washable runner
- Quick touch ups
Frequently Asked Questions
How long does a DIY staircase makeover take?
A paint refresh or runner can be done in a weekend. A full sand and stain usually takes three to four days with drying time.
How do I use the stairs while refinishing them?
Work on every other step. Let those dry fully, then do the rest, so there is always a safe way up and down.
Are painted stairs slippery?
They can be. Use porch and floor paint and mix a non slip additive into the tread paint, or add a runner.
What is the best finish for stair treads?
A floor grade polyurethane is the toughest choice. Apply two or three thin coats for good wear.
How do I keep a stair runner from slipping?
Use a rug pad and secure the runner at every step with carpet staples or stair rods. Test each step before regular use.
Final Thoughts on DIY Staircase Makeover
A staircase makeover is all about matching the update to your wood and your time. A quick paint and runner refresh looks very different from a full sand and stain.
Whatever you choose, do the sanding well and keep safety in mind. Good prep and good grip make a finish that looks great and lasts.


Amir Ali is the founder and site administrator of HomeDecorEdge, a modern home decor and interior design platform. Since starting the site, he has combined his passion for interior design, practical styling, and color coordination with hands-on content strategy and site management. He guides authors, curates high-quality articles, and ensures readers have access to actionable, visually inspiring, and user-focused home decor advice for apartments, small rooms, and family homes.