

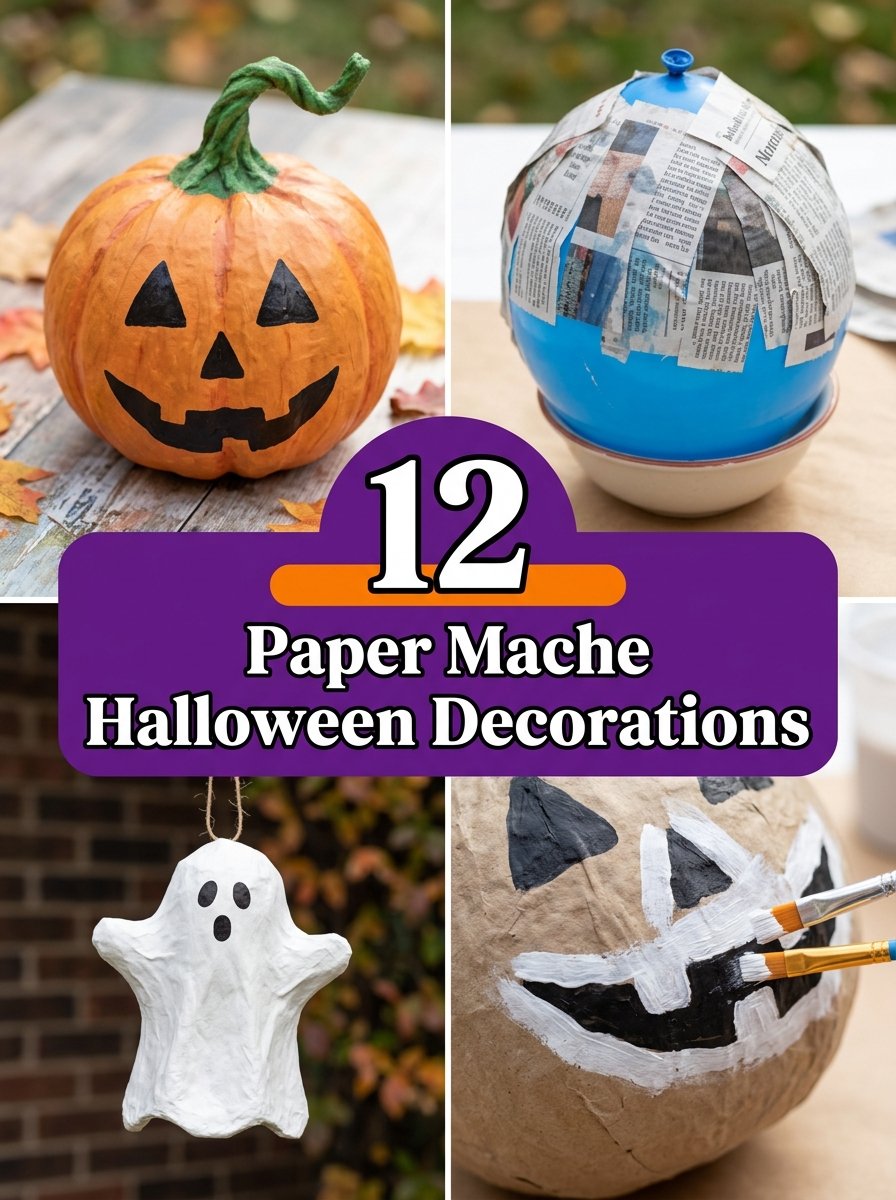
Honestly, paper mache genuinely deserves more credit than it gets in modern Halloween decorating, since there’s a specific vintage charm to a hand shaped, hand painted pumpkin that mass produced plastic decor just can’t replicate no matter how detailed it gets. I got into this technique specifically chasing that old fashioned, slightly imperfect look you see in genuinely old Halloween photographs from decades back, and it turned out to be way more approachable than I expected once I actually understood the layering process. This list covers 12 paper mache halloween decorations ranging from a simple balloon based pumpkin to more detailed vintage style pieces, along with honest notes about what actually makes paper mache hold up outdoors versus what falls apart at the first hint of rain.
This post contains affiliate links. If you purchase through these links I may earn a small commission at no extra cost to you.
1. Mix a Proper Paper Mache Paste
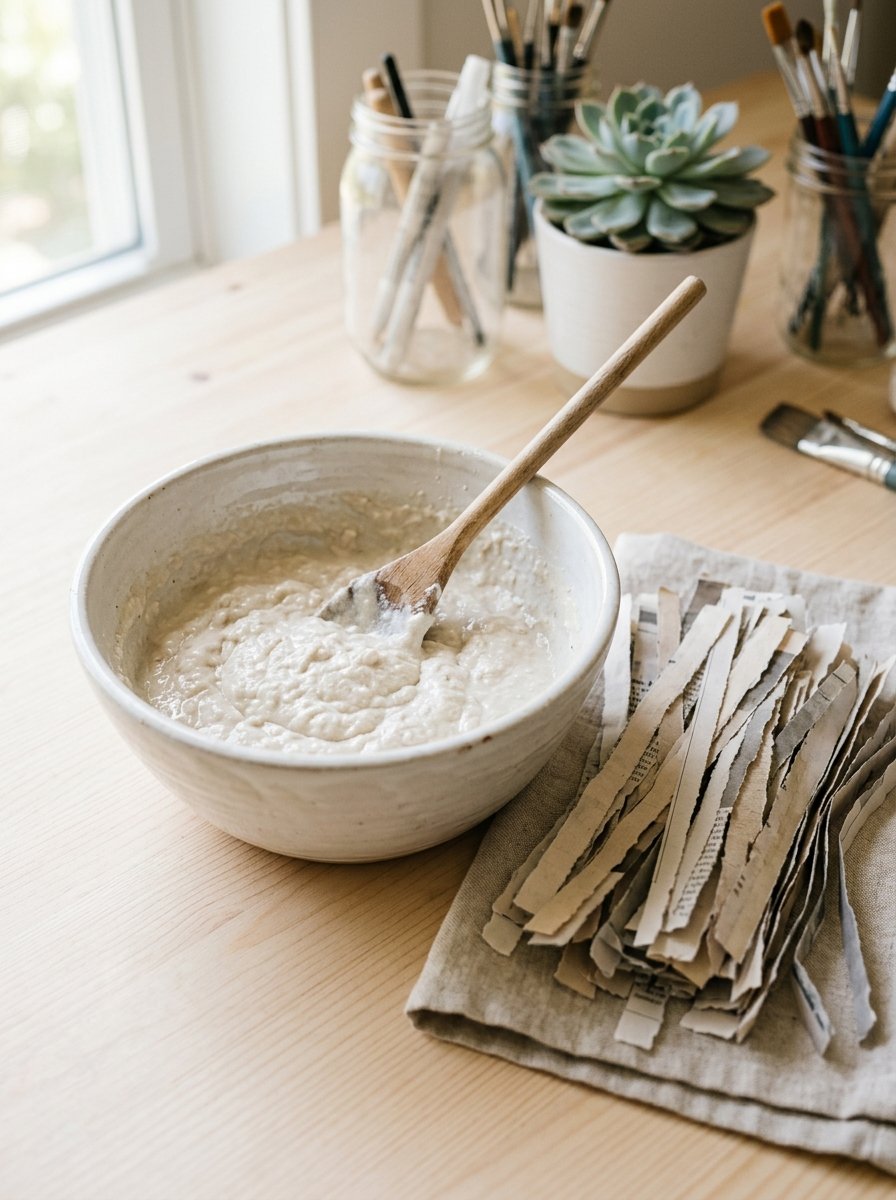
Honestly, the paste mixture genuinely matters more than people expect, since a paste that’s too thin leads to weak, floppy layers that never fully harden, while one that’s too thick gets clumpy and hard to smooth over your form. A pre-mixed paste specifically formulated for paper mache genuinely takes the guesswork out of getting the right consistency, especially if you’re working on this technique for the first time.
Materials Needed:
- Paper mache paste mix
- Newspaper strips
- Mixing bowl
How to Make It:
- Mix the paste according to the package instructions until smooth.
- Tear newspaper into strips roughly one to two inches wide.
- Dip strips into the paste, removing excess with your fingers.
- Layer strips over your form, smoothing out air bubbles as you go.
- Let each layer dry before adding the next for a genuinely sturdy final shape.

2. Shape Round Forms with Large Balloons
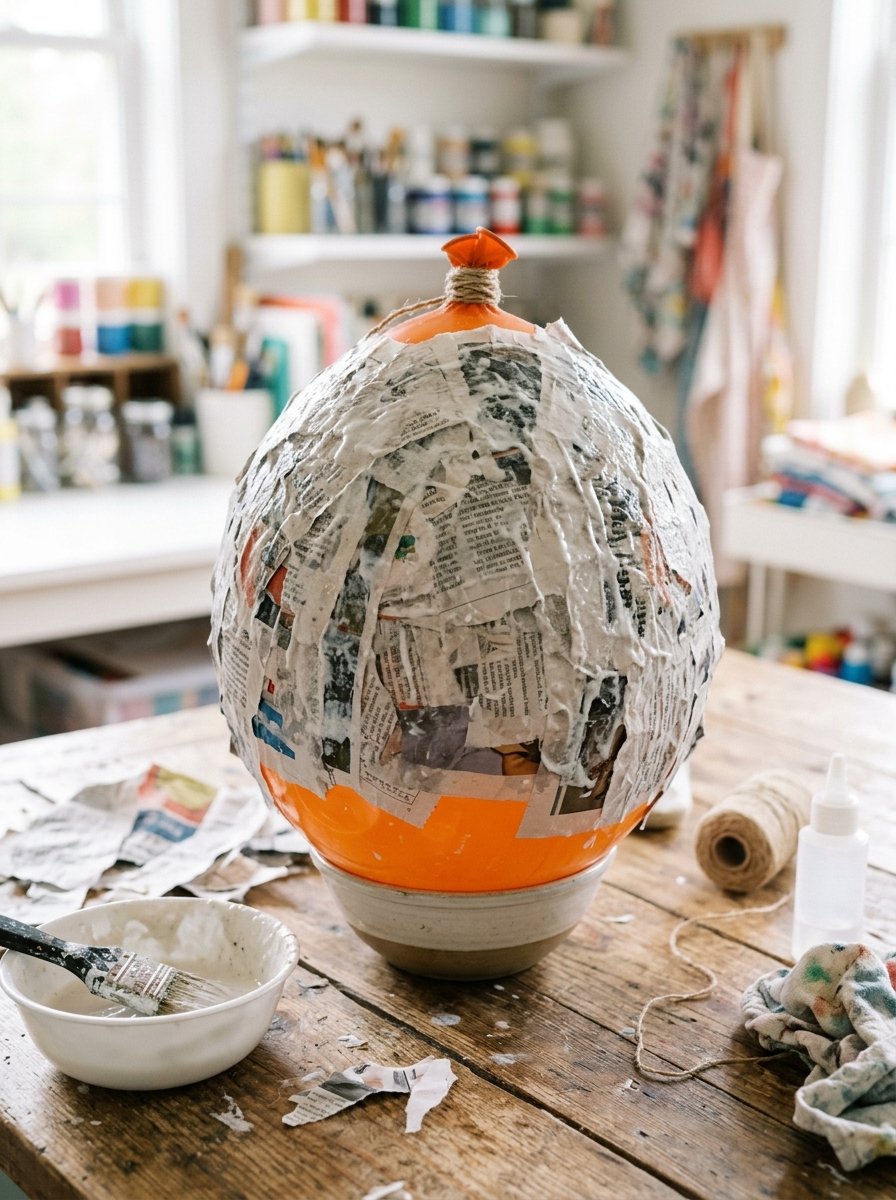
Genuinely, a large balloon gives you the perfect round starting shape for a pumpkin, ghost body, or any rounded Halloween form, and once the paper mache layers dry fully you simply pop and remove the balloon from inside, leaving a hollow, lightweight shell. Choosing a genuinely large balloon size matters if you’re going for a statement piece, since a small balloon limits how substantial the finished decoration actually ends up looking.
Overwhelmed by Clutter?
15 minutes a day for 30 days, and your home feels calm again.
Materials Needed:
- Balloon craft large
- Air pump for inflating
How to Make It:
- Inflate the balloon to your desired size and tie it off securely.
- Rest the balloon on a bowl or cup to keep it stable while working.
- Apply paper mache layers evenly around the entire balloon surface.
- Let the form dry completely, which can take a full day or more.
- Pop and remove the balloon once the shell is fully hardened.

3. Bring the Piece to Life with Acrylic Paint
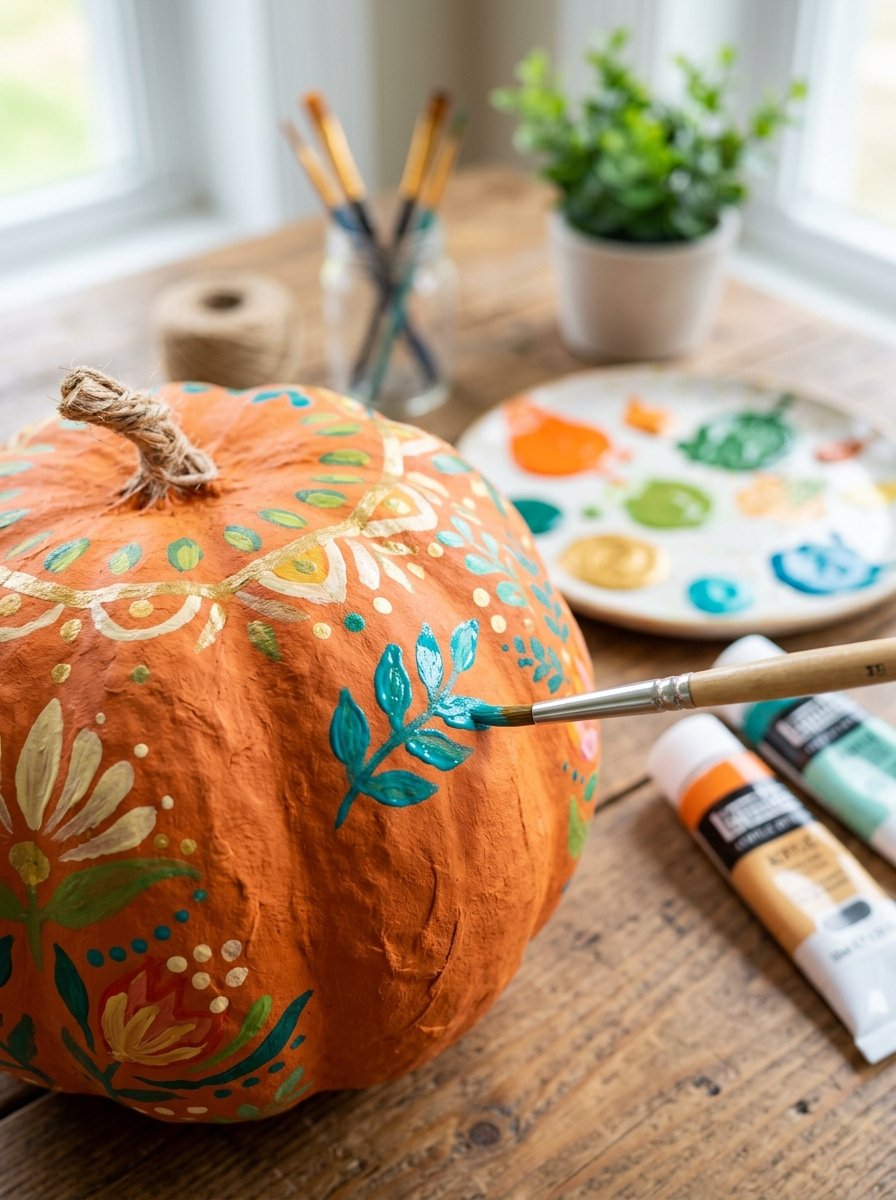
Honestly, the paint job is genuinely where a paper mache piece goes from looking like a lumpy craft project to something that actually reads as a proper vintage Halloween decoration, and acrylic paint covers the textured newspaper surface far more evenly than you might expect. I’d recommend a base coat first, then adding shading and highlights once that’s dry, since layering colors genuinely creates the same depth you see in old fashioned hand painted pieces from decades past.
Materials Needed:
Inside the 30-Day Declutter Challenge
- Daily 15 minute tasks
- Room checklists
- Printable labels
- Acrylic paint set craft
- Paintbrushes in a few sizes
How to Make It:
- Apply a solid base coat color across the entire dried form.
- Let the base coat dry fully before adding any detail work.
- Add shading in darker tones around natural curves and creases.
- Highlight raised areas with a lighter tone for dimension.
- Seal the finished paint job once it’s fully dry and cured.

4. Weatherproof Pieces for Outdoor Display
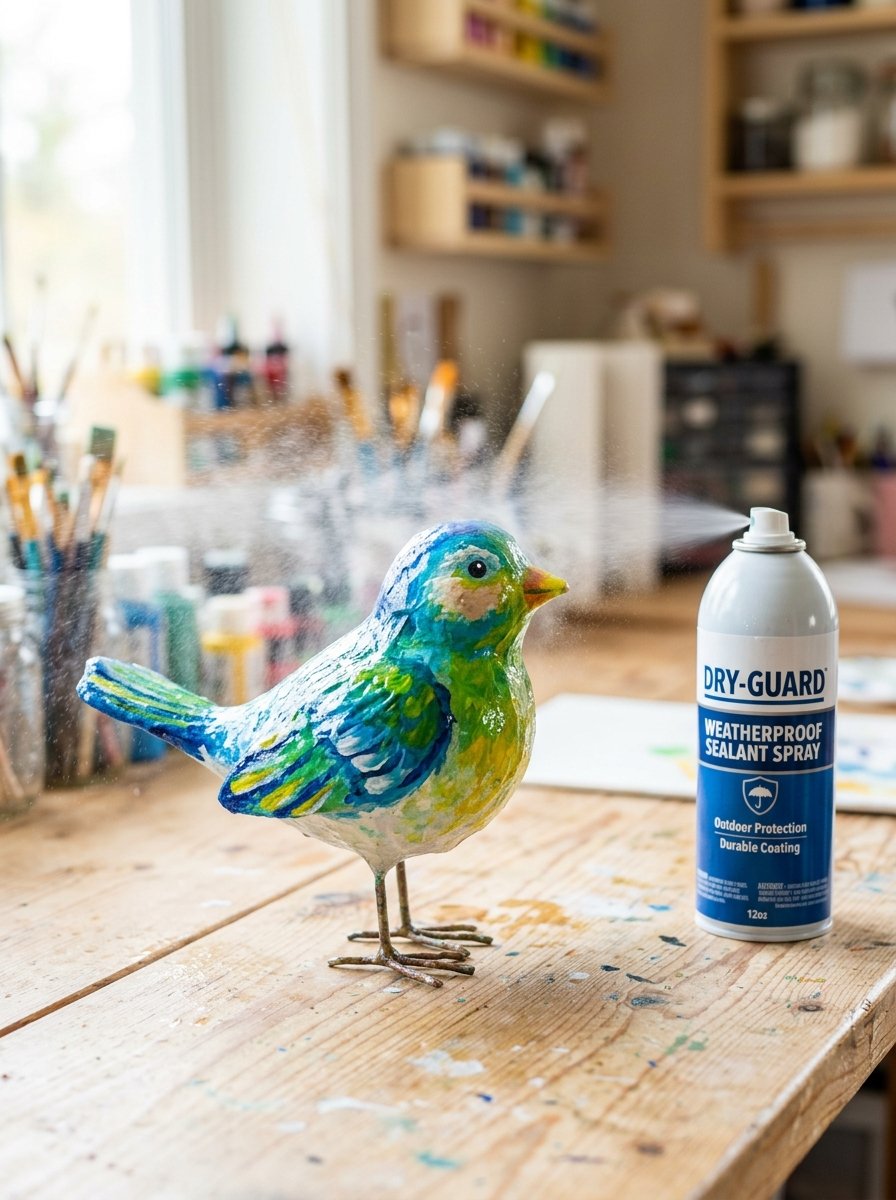
Genuinely, this step matters enormously if you’re planning to display your piece outside, since paper mache is fundamentally just paper and paste, and even a light drizzle can genuinely ruin an unsealed piece within minutes. A proper weatherproof sealant spray creates a protective barrier over the paint, letting your piece survive an evening of Halloween weather rather than dissolving into mush on the porch.
Materials Needed:
- Weatherproof sealant spray
- Well ventilated outdoor space for spraying
How to Make It:
- Make sure the paint job is fully dry before sealing.
- Spray in a well ventilated outdoor area following product safety instructions.
- Apply an even, light coat rather than one heavy saturated layer.
- Let the first coat dry fully before applying a second for extra protection.
- Reapply sealant each season if the piece gets stored and reused annually.

5. Craft a Classic Vintage Pumpkin
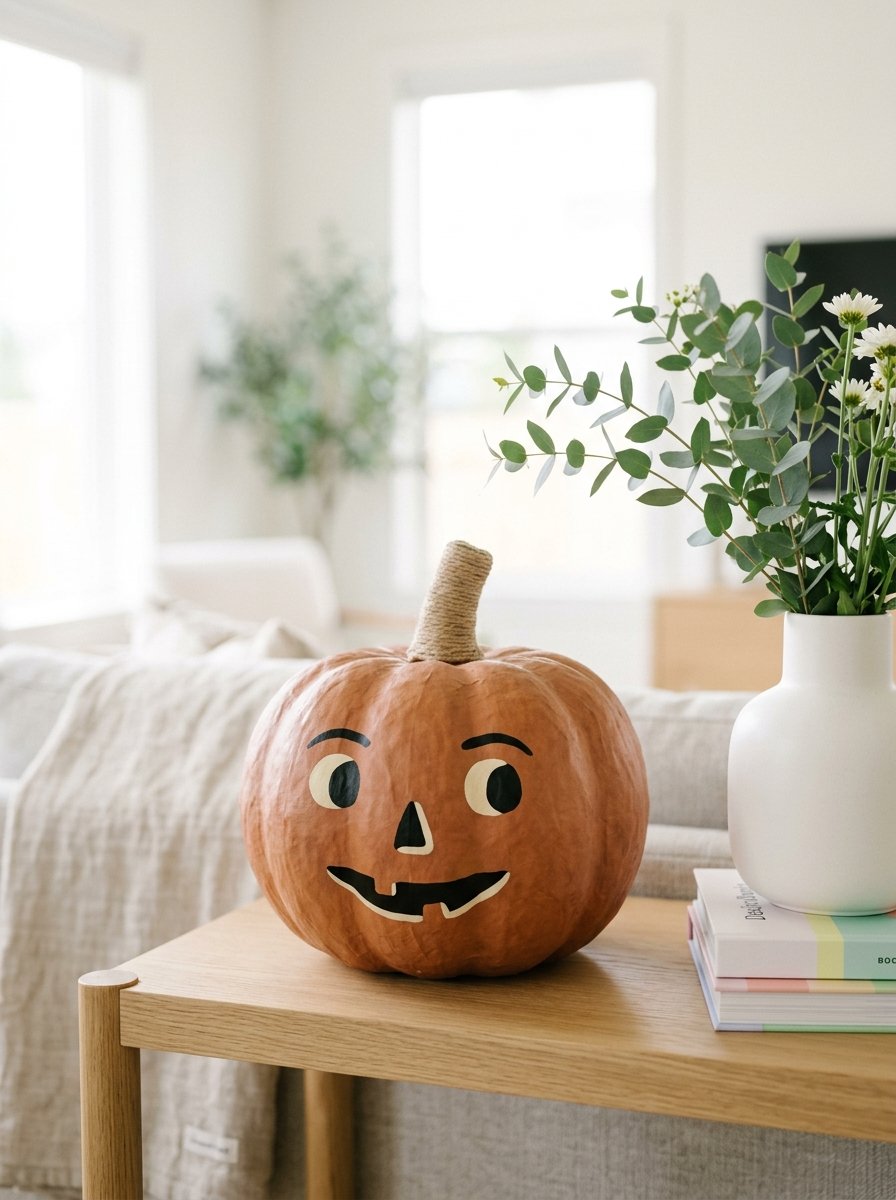
Genuinely, a vintage style pumpkin leans into slightly muted, earthy orange tones rather than the bright glossy orange most modern decorations use, and adding subtle painted cracks or shading creates that genuinely old fashioned look people associate with decades old Halloween decor. This vintage approach pairs well with the same nostalgic thinking covered in 12 halloween crochet ideas if you want to build out a whole vintage themed display across multiple crafts.
6. Build a Friendly Ghost Figure
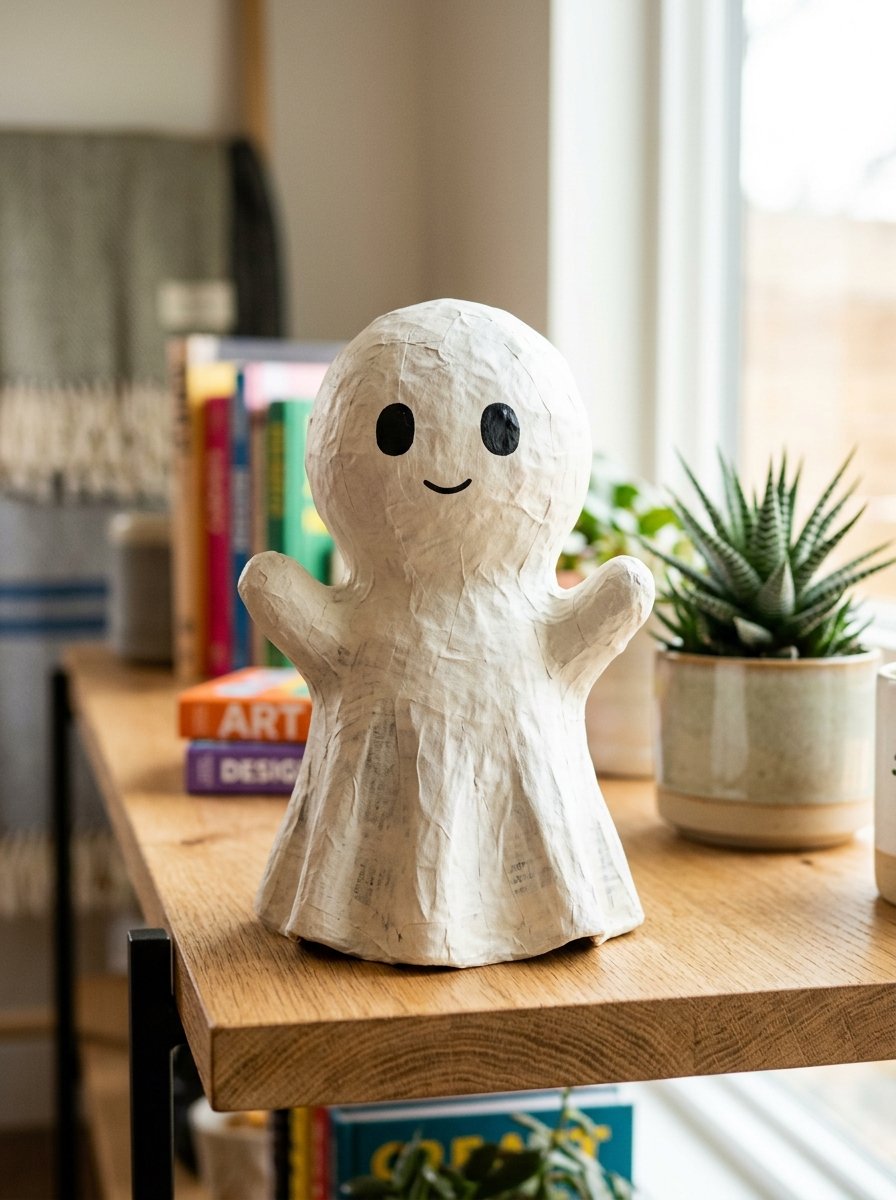
Honestly, a paper mache ghost, shaped with a rounded head and a draped, slightly irregular body, genuinely captures that classic, friendly Halloween ghost look better than a plain white sheet ever could, since the solid form holds a genuine shape rather than collapsing in the wind. Keeping the facial features simple, just two dark oval eyes, maintains that same vintage charm rather than anything overly detailed or modern looking.
7. Design for Outdoor Porch Display
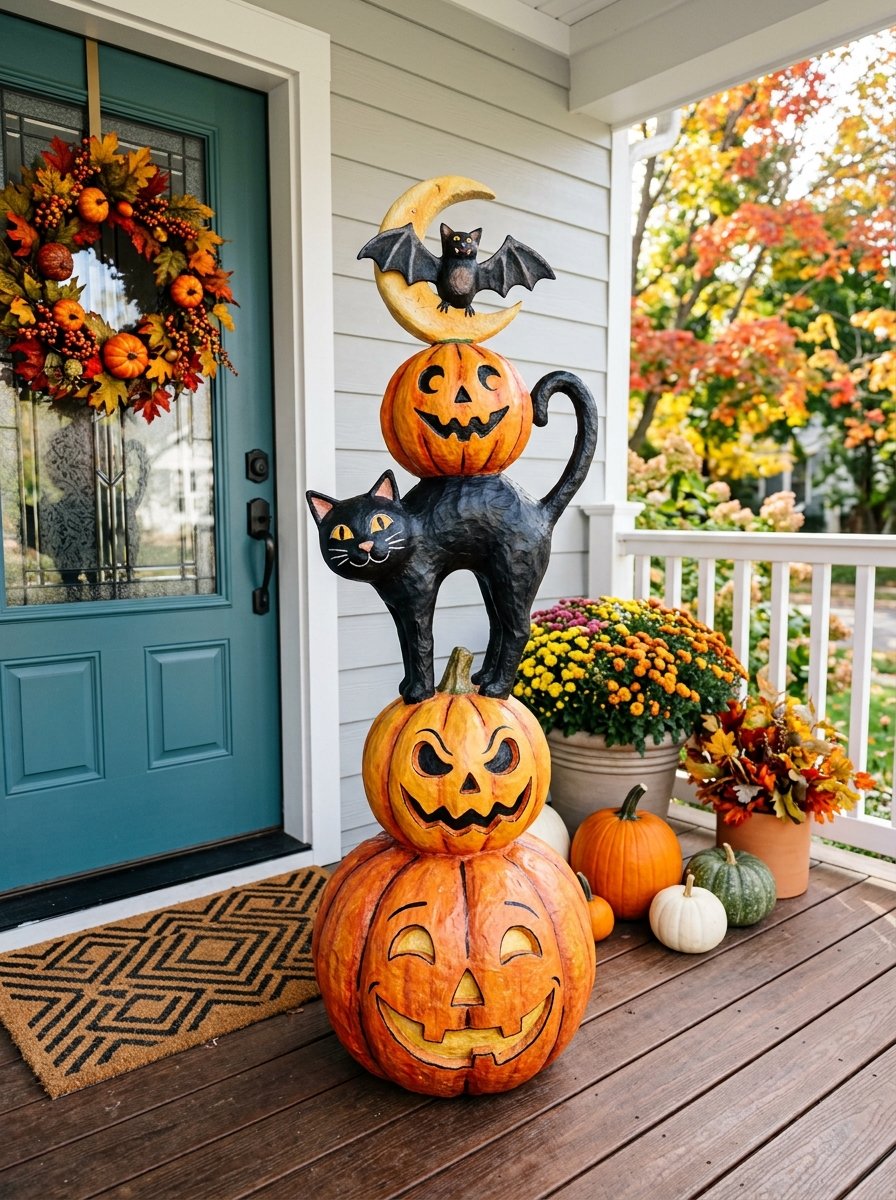
Genuinely, an outdoor porch piece needs to be considered for both weather exposure and genuine visibility from the street, so slightly larger scale and bolder painted details actually matter more here than they would for something displayed indoors up close. Combining a properly sealed paper mache piece with the same porch styling covered in 15 front porch fall decor ideas creates a genuinely cohesive seasonal transition from fall right into Halloween.
Start Your 30-Day Home Reset
Stop waiting for a "perfect" free weekend. Grab the 30-day plan and start feeling lighter in your own home by tomorrow.
View the 30-Day Plan Printable PDF · Instant download8. Try an Easy Beginner Shape First
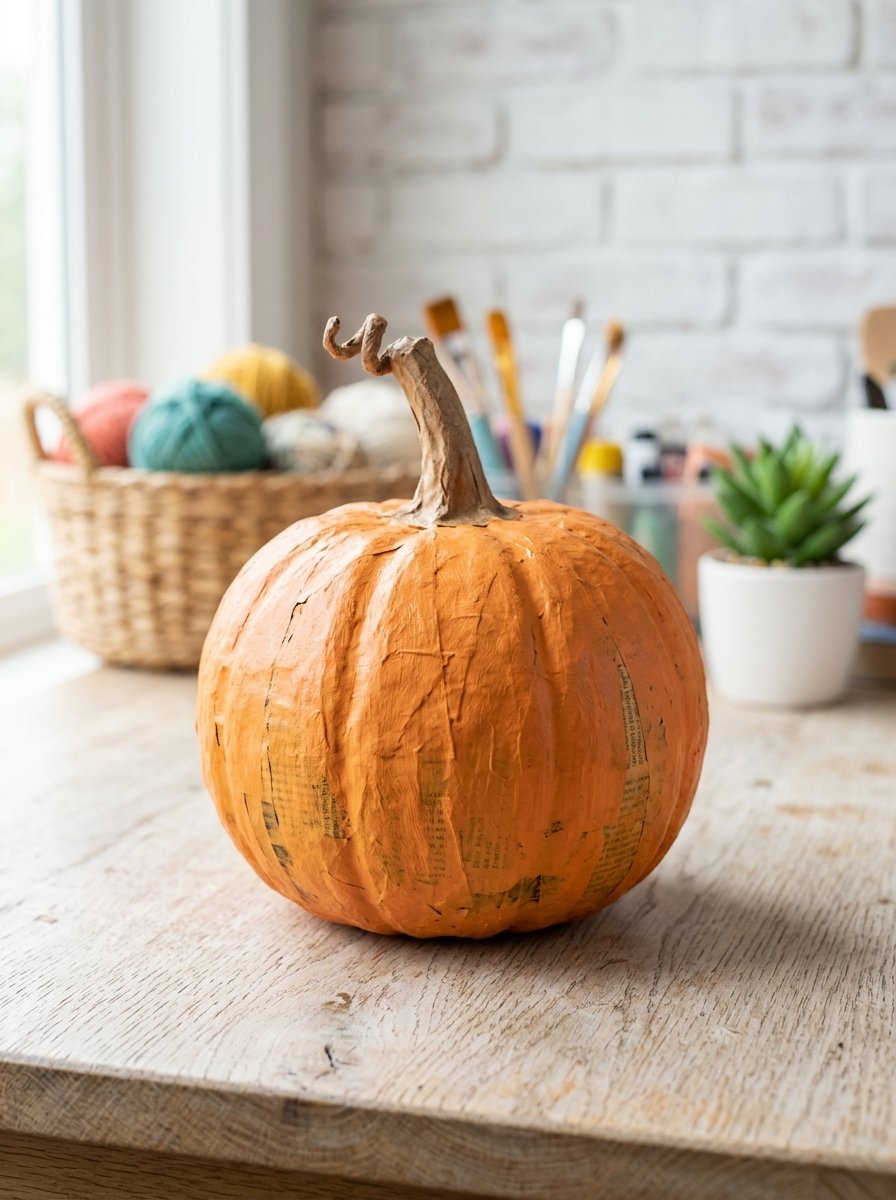
Honestly, if this is your first attempt at paper mache, starting with a genuinely simple shape, a basic round pumpkin without any carved details or complex curves, sets you up for a first project that actually succeeds rather than getting frustrated by an ambitious shape beyond your current skill level. Building confidence with layering and drying times on something simple makes a more detailed piece feel far more approachable the second time around.
9. Add Vintage Style Painted Lettering
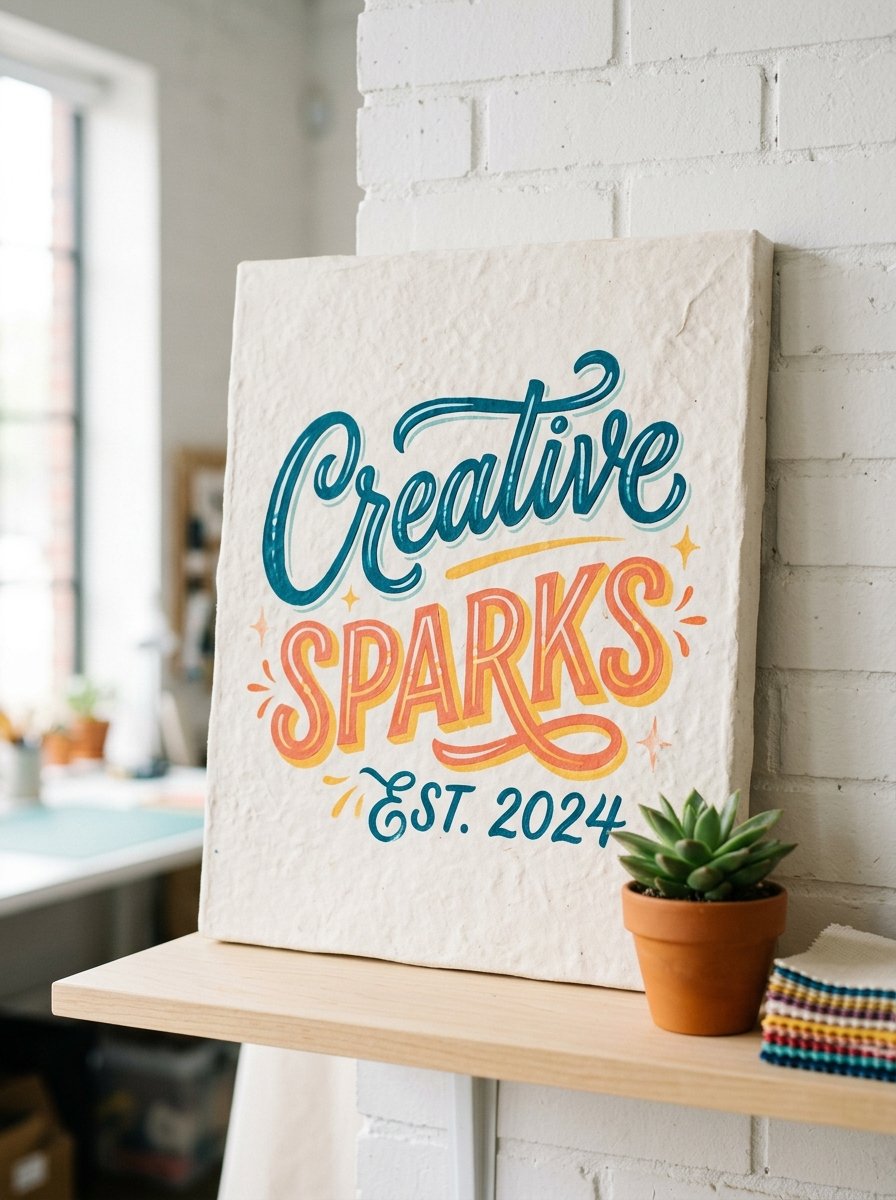
Genuinely, hand painted vintage lettering, a spooky greeting or a simple word like Boo painted directly onto a flat paper mache panel, brings genuine old fashioned sign painting charm that a printed or digital font just can’t replicate. This detail works especially well paired with slightly imperfect, hand drawn letter shapes rather than anything perfectly uniform, since the imperfection is genuinely part of what makes vintage style pieces feel authentic.
10. Craft a Small Tabletop Display Piece
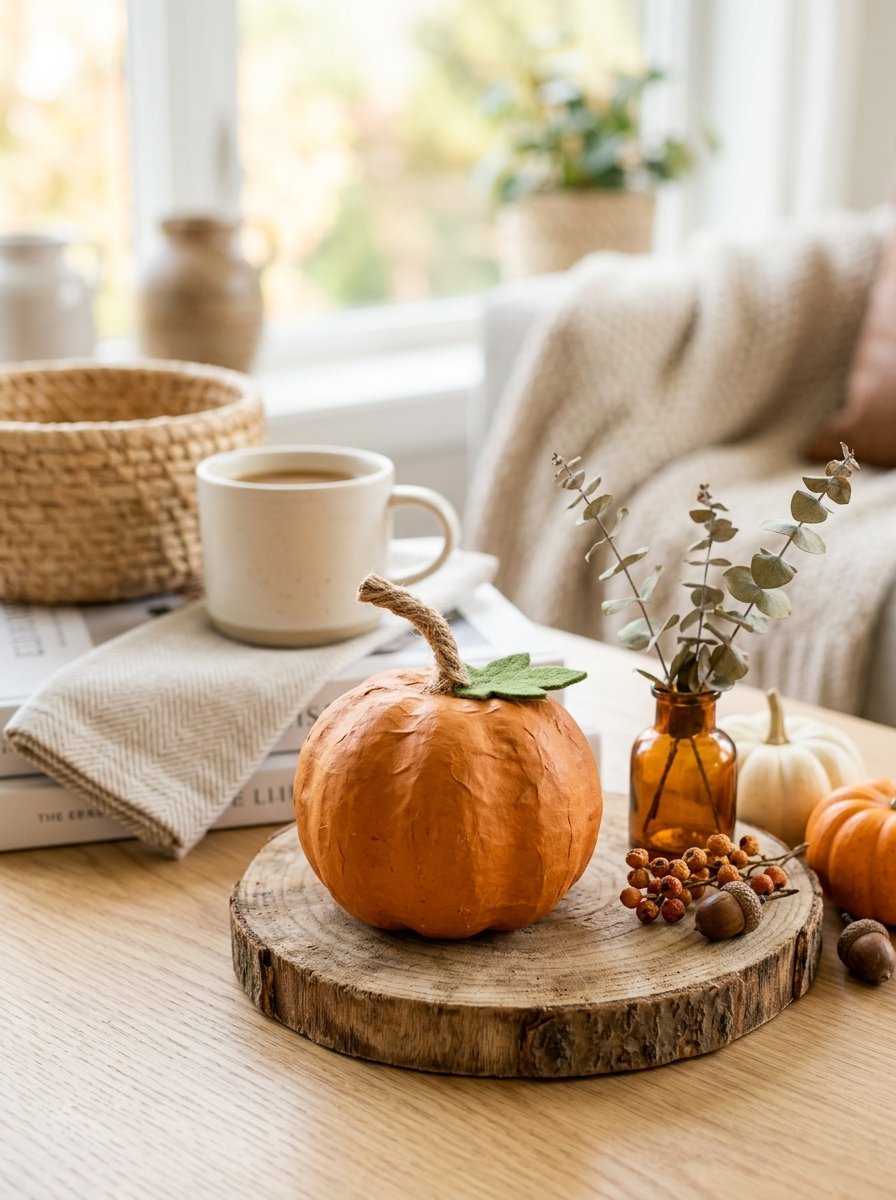
Honestly, not every paper mache project needs to be a large statement piece, since a small tabletop pumpkin or figure genuinely works well as part of a larger seasonal vignette alongside other smaller decorations. This scaled down approach pairs well with the same collected display thinking covered in 15 happy stones painting ideas for other small themed craft groupings.
11. Build a Layered Multi-Piece Scene
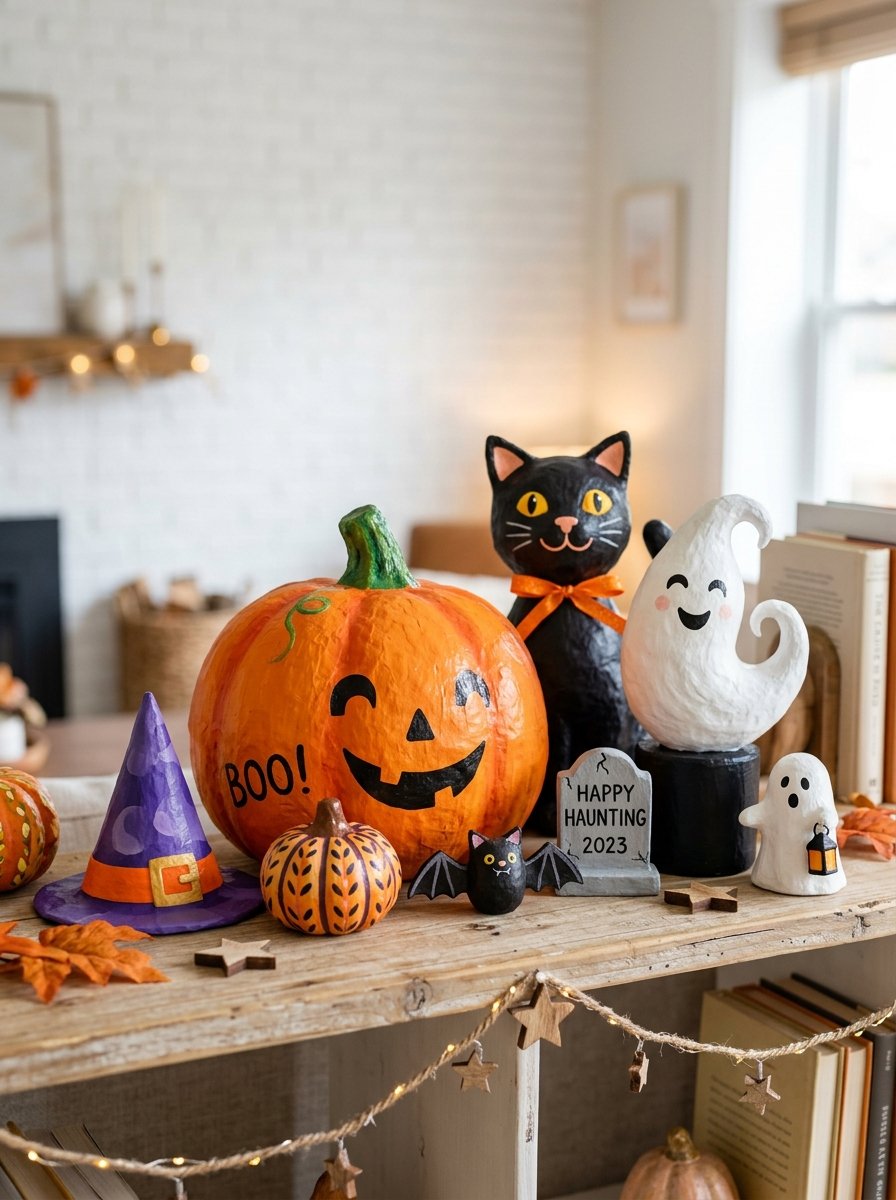
Genuinely, combining several paper mache pieces together, a pumpkin, a small ghost, a simple bat shape, into one coordinated display creates a genuinely more immersive scene than any single piece could achieve on its own. Working through several pieces across multiple crafting sessions also spreads out the drying time requirements, since paper mache genuinely needs patience between layers regardless of how many pieces you’re making.
12. Preserve Pieces for Next Year
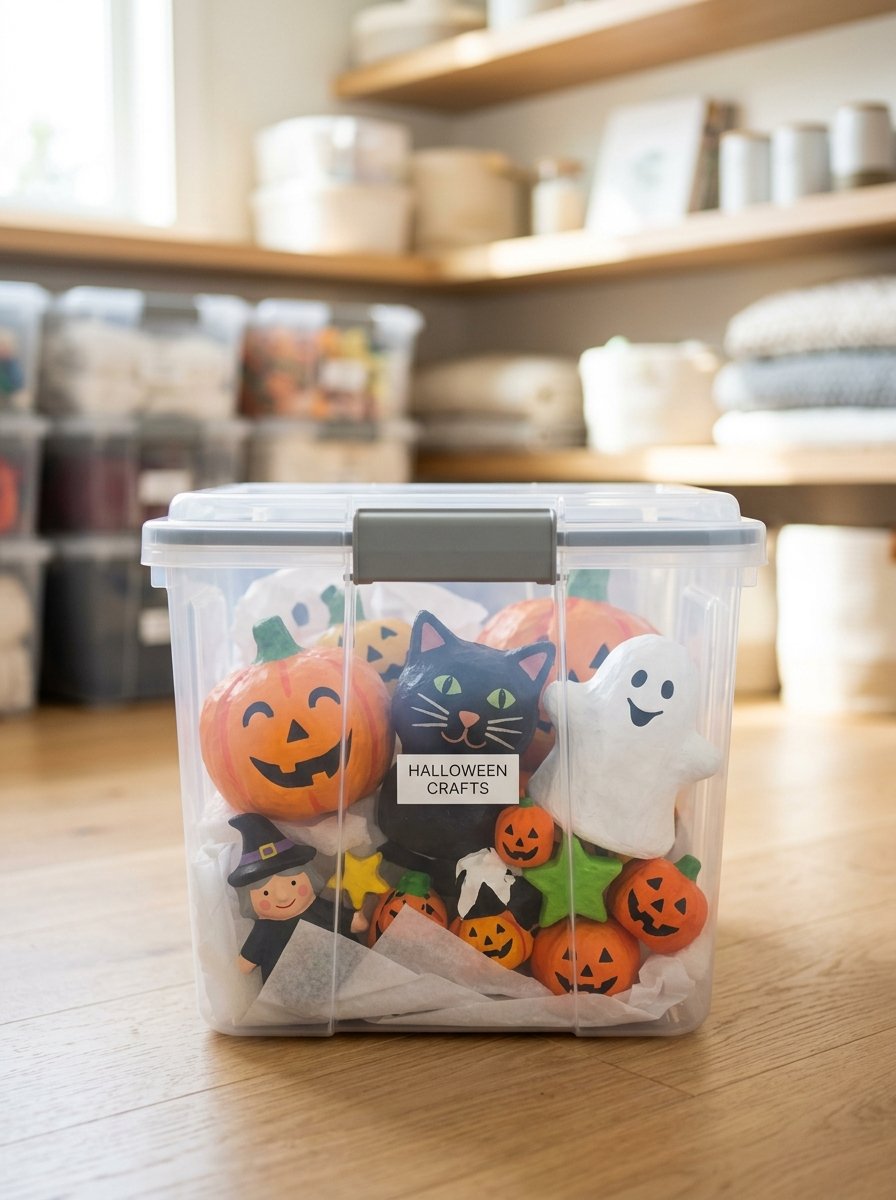
Honestly, storing finished paper mache pieces somewhere genuinely dry and protected between seasons, rather than in a damp garage or basement, makes the real difference in whether your work actually survives to be displayed again next Halloween. A dedicated storage bin with some padding between pieces prevents the kind of crushing damage that otherwise undoes an entire season’s worth of crafting effort.
Final Thoughts on Paper Mache Halloween Decorations
Honestly, what makes paper mache genuinely worth the time investment is that same slightly imperfect, hand shaped quality that instantly reads as more charming and personal than anything mass produced could ever achieve. Start with a simple balloon based pumpkin to build confidence with the basic layering and painting process, and you’ll have the exact skills needed to tackle a more ambitious vintage themed display in seasons to come.


Amir Ali is the founder and site administrator of HomeDecorEdge, a modern home decor and interior design platform. Since starting the site, he has combined his passion for interior design, practical styling, and color coordination with hands-on content strategy and site management. He guides authors, curates high-quality articles, and ensures readers have access to actionable, visually inspiring, and user-focused home decor advice for apartments, small rooms, and family homes.