

A tired, dated staircase genuinely drags down how the whole entryway or hallway feels, since stairs sit right in the middle of the home where everyone sees them multiple times a day. The good news is that most staircase updates come down to sanding, staining, or painting rather than a full structural renovation, making this one of the more approachable DIY projects a home can tackle. These 12 diy staircase makeover ideas cover wood finishing, budget updates, and every style from classic stained wood to fully painted stairs.
This post contains affiliate links. If you purchase through these links I may earn a small commission at no extra cost to you.

1. Stain the Wood for a Rich Finish
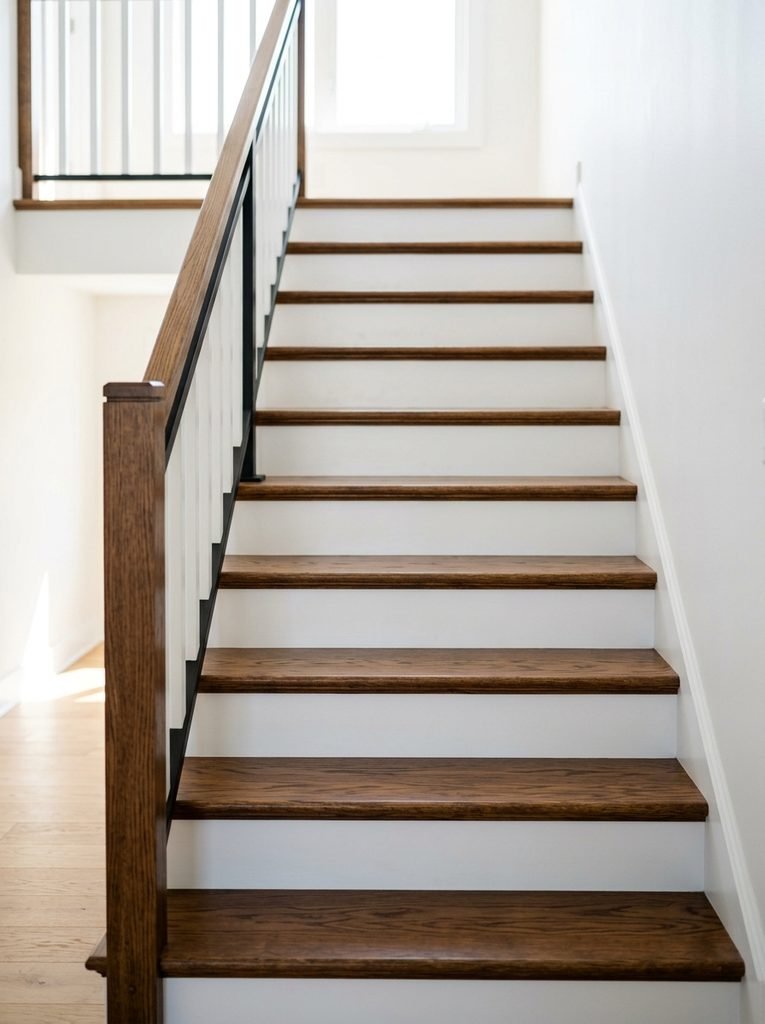
A fresh coat of stain genuinely revives a wood staircase that’s faded or worn from years of foot traffic, deepening the natural grain into a genuinely rich, warm tone. This wood stain stairs product is formulated specifically for high traffic surfaces, holding up to daily use far better than a standard furniture stain would.
Materials Needed:
- Wood stain stairs
- Sandpaper for prep
- Staining brush or cloth
- Protective sealant topcoat
How to Make It:
- Sand the existing stair surface to remove old finish and open the wood grain.
- Wipe away all sanding dust thoroughly before staining.
- Apply the stain evenly with a brush or cloth, working with the wood grain.
- Let the stain penetrate for the recommended time, then wipe off excess.
- Apply a protective sealant topcoat once the stain has fully dried.

2. Update Worn Treads with Covers
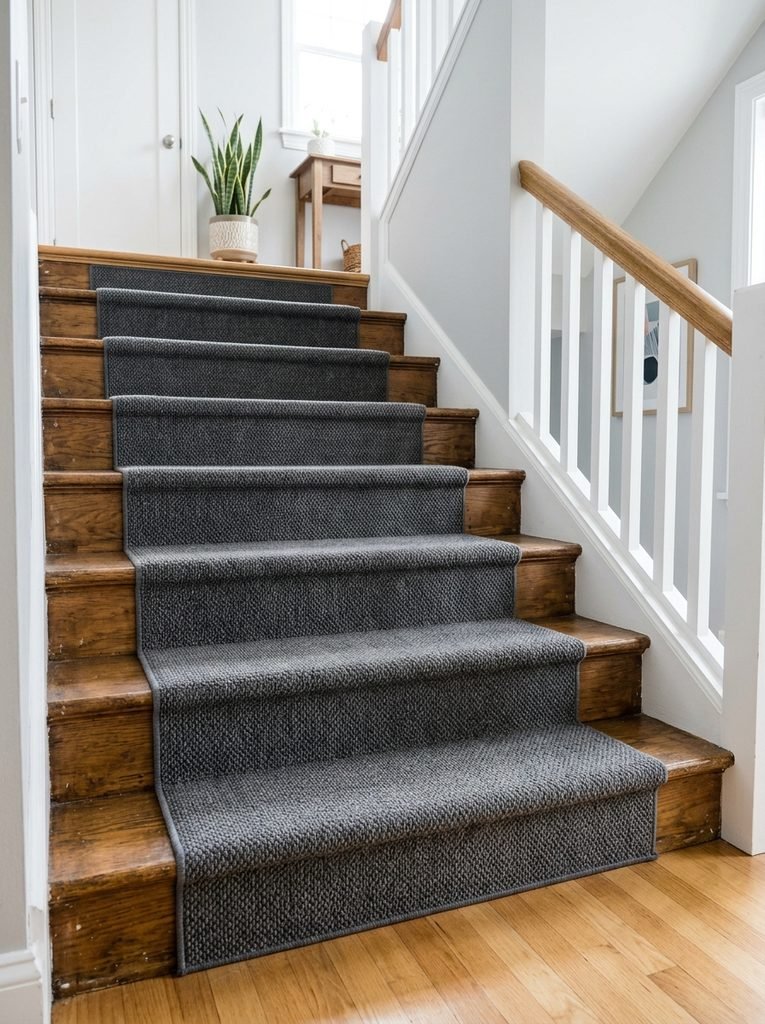
Tread covers genuinely solve the problem of cracked, chipped, or unevenly worn stair surfaces without requiring the full replacement a genuinely damaged tread would otherwise need. These stair tread covers install directly over the existing surface, giving each step a fresh, even finish in a fraction of the time a full rebuild would take.
Materials Needed:
- Stair tread covers
- Adhesive or mounting hardware
- Measuring tape
How to Make It:
- Measure each stair tread to confirm the covers fit correctly.
- Clean the existing tread surface thoroughly before installation.
- Apply adhesive or mounting hardware according to the cover’s instructions.
- Press each cover firmly into place, checking it sits flush and level.
- Let any adhesive cure fully before regular foot traffic resumes.

Stair Tread Covers
Tread covers for updating worn stairs without full replacement
Check Price on Amazon3. Add a Runner Rug for Style and Grip
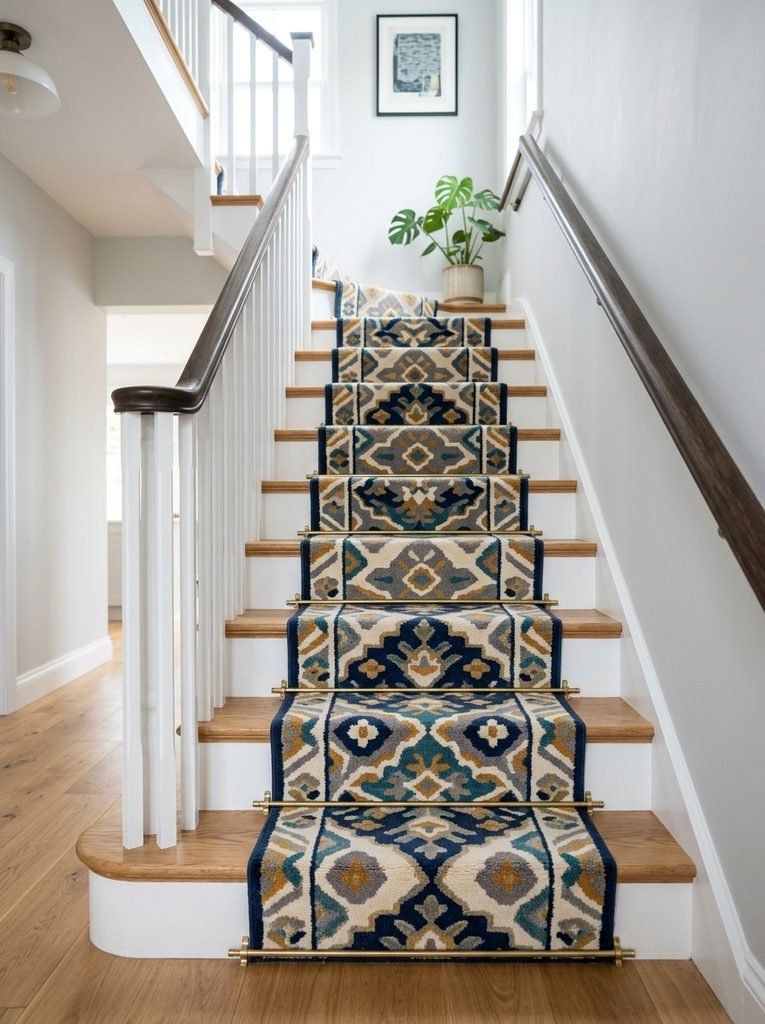
A runner rug genuinely adds both visual interest and safer footing, muffling sound and providing traction that bare wood stairs can lack, especially in socks. This stair runner rug installs down the center of each step, adding a coordinated pattern that instantly elevates the whole staircase’s finished look.
Materials Needed:
- Stair runner rug
- Runner rods or adhesive tape
- Measuring tape
How to Make It:
- Measure the staircase width and total run length before purchasing.
- Position the runner centered on the first step and secure the top edge.
- Work down the staircase, securing the runner at each step transition.
- Use runner rods or double sided tape depending on the chosen installation method.
- Check the runner lies flat and secure across every step before regular use.
4. Prep the Surface by Sanding
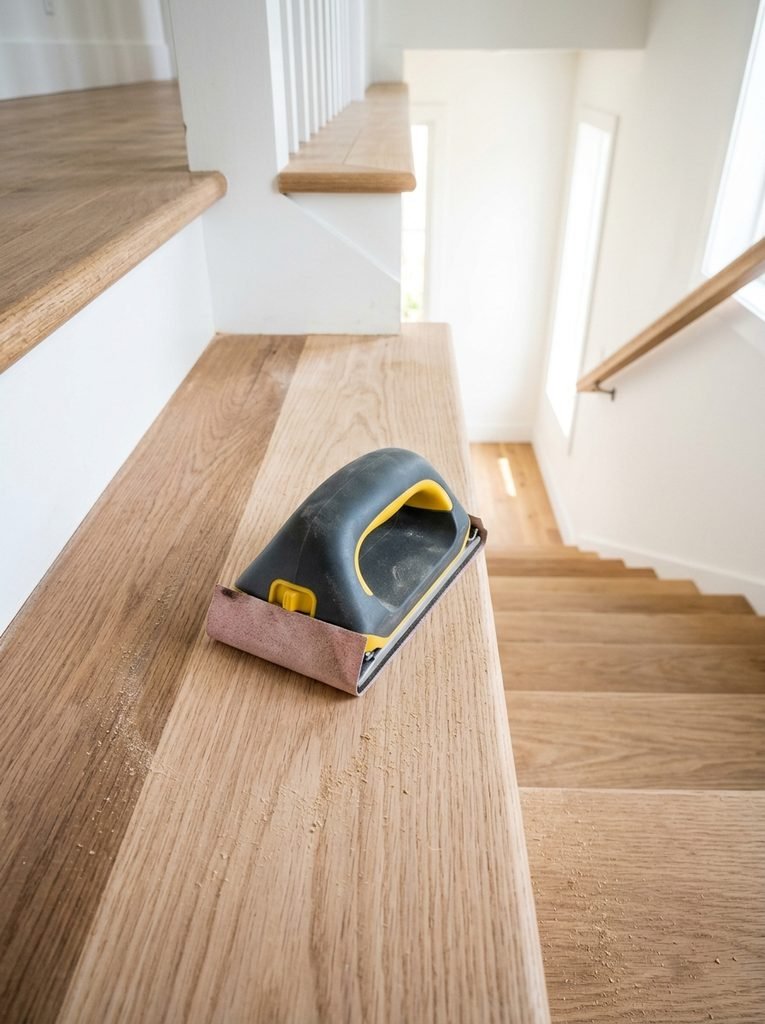
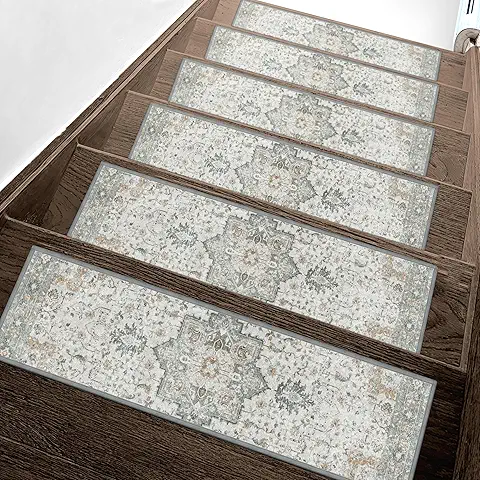
Proper sanding genuinely determines how well any stain or paint adheres afterward, removing the old worn finish and smoothing out surface imperfections before new product goes on. This sandpaper sanding block handles both flat treads and any detailed trim work along risers, giving a consistent surface across the whole staircase.
Materials Needed:
- Sandpaper sanding block
- Dust mask
- Vacuum or tack cloth for cleanup
How to Make It:
- Put on a dust mask before beginning any sanding work.
- Sand each tread and riser evenly, working with the wood grain.
- Check for any remaining glossy spots that need additional sanding.
- Vacuum thoroughly to remove all dust from the surface and corners.
- Wipe down with a tack cloth for a completely clean surface before finishing.

Sandpaper Sanding Block
Sanding block for prepping stair surfaces before staining or painting
Check Price on Amazon5. Paint the Stairs for a Fresh Color
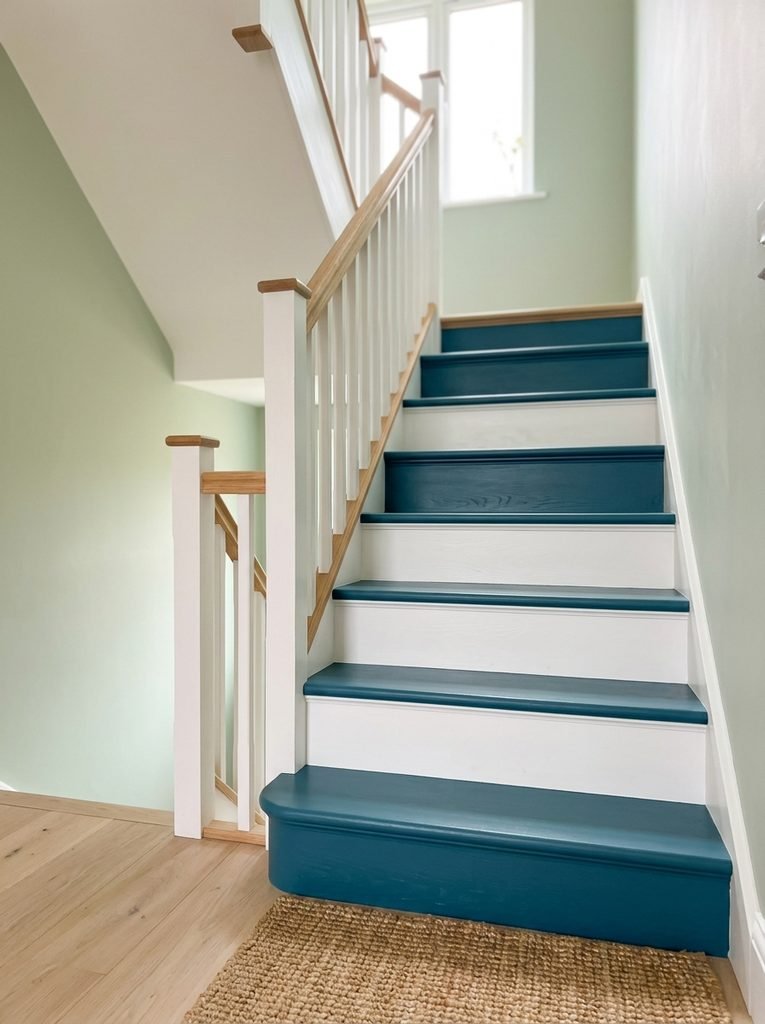
A painted staircase genuinely opens up color options that staining alone can’t achieve, letting the stairs match or contrast with the surrounding trim in nearly any shade. This approach works especially well for stairs made from lower grade wood without much attractive natural grain worth preserving through a clear stain instead.
6. Update the Bannister and Railing
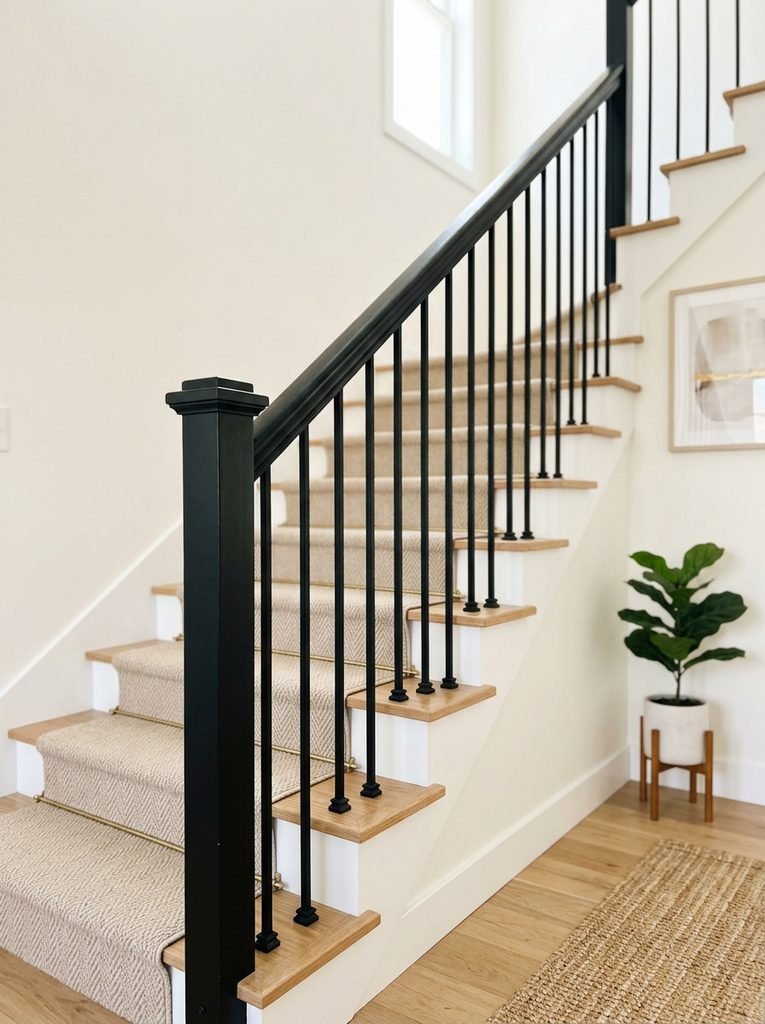
Swapping outdated railing spindles or simply repainting an existing bannister genuinely transforms how modern a staircase feels, since the railing is often what visitors touch and notice most directly. This update pairs well with the same refresh thinking used in 15 diy coat rack ideas for other entryway focused DIY projects.
7. Renovate Basement Stairs
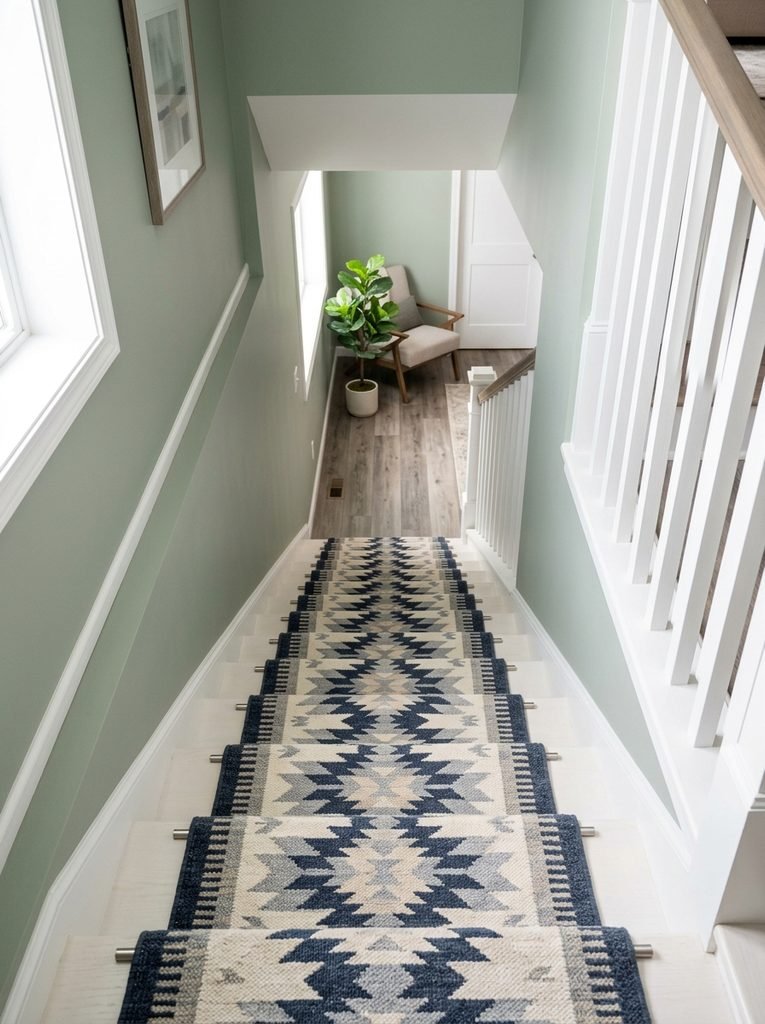
Basement stairs often get overlooked entirely, staying unfinished or painted a purely utilitarian gray long after the rest of the home gets updated. A simple coat of paint or a runner rug on basement stairs genuinely elevates a space that otherwise reads as an afterthought compared to the main living areas.
8. Try a Budget Friendly Makeover
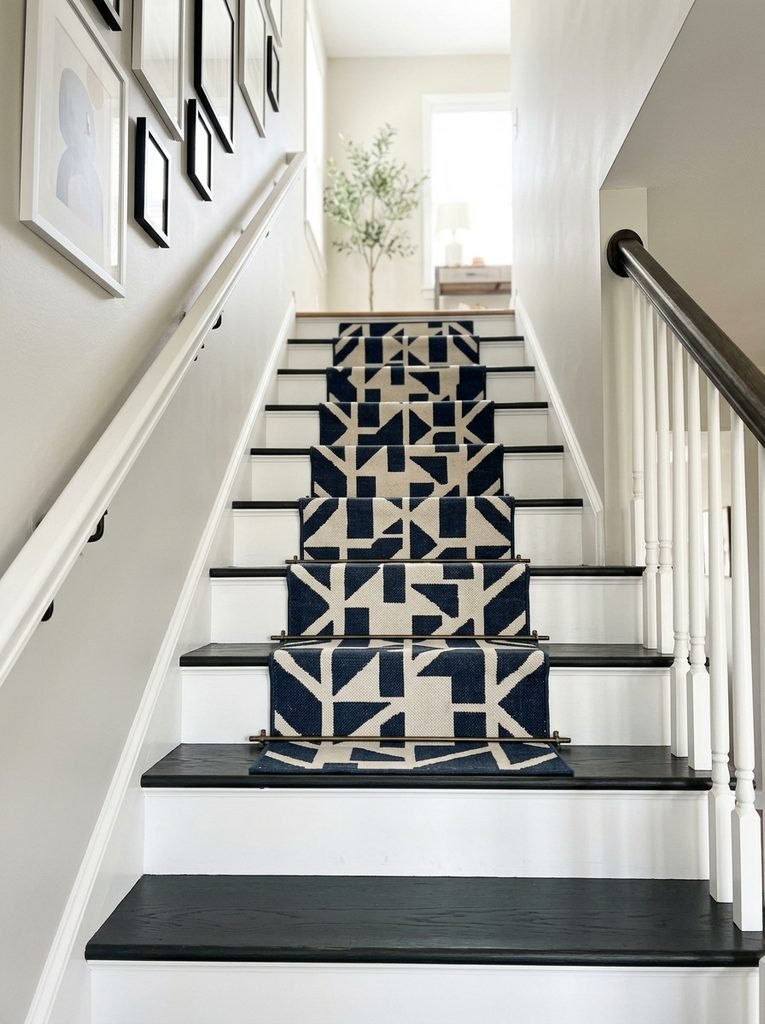
Combining a fresh coat of paint with a budget runner rug delivers dramatic visual change without the cost of a full sand and stain refinishing job. This approach works especially well for anyone wanting quick results before a specific event or just testing a new color before committing further.
9. Choose a Two Tone Painted Look
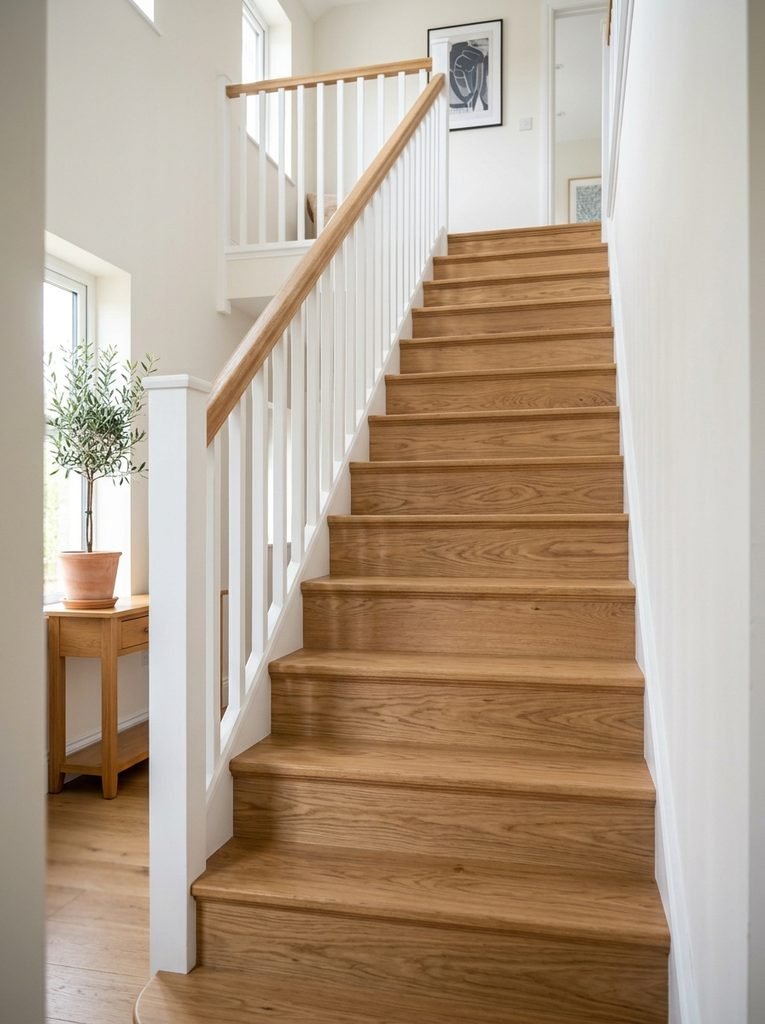
Painting risers one color and leaving treads in natural stained wood, or vice versa, creates a genuinely striking two tone effect that reads as more custom than a single flat finish throughout. This combination approach lets a staircase feel updated without committing to a single uniform look across every surface.
10. Tile Stair Risers for Texture
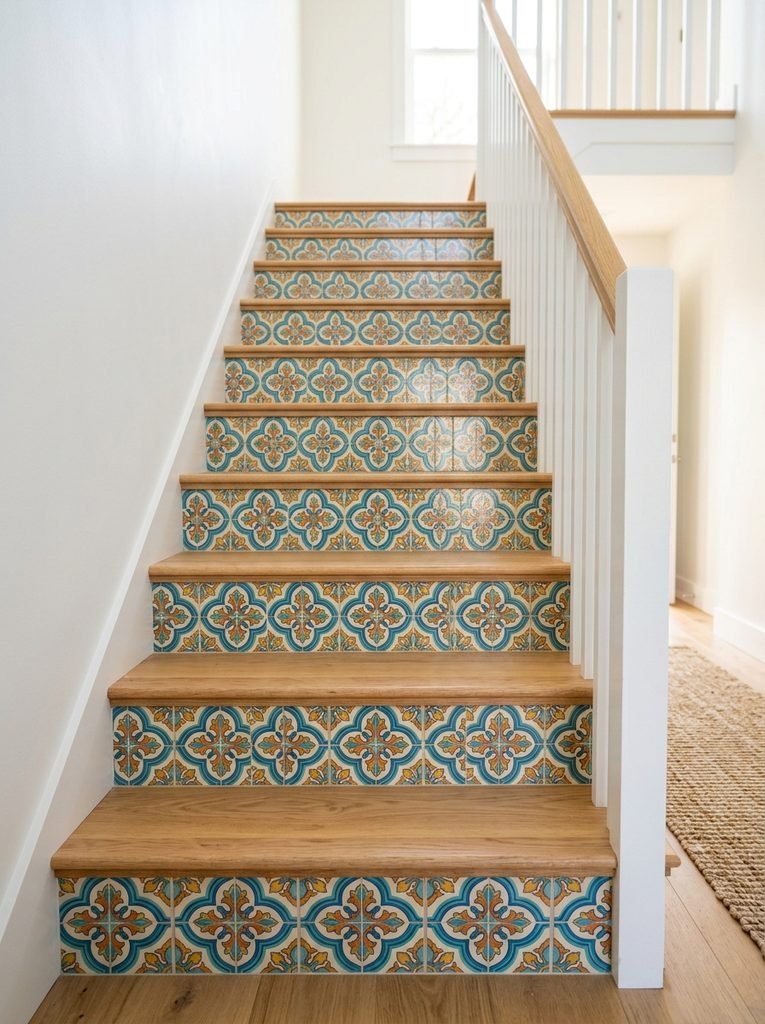
Adding patterned tile to the vertical riser faces while keeping treads in wood brings genuine textural contrast and a decorative element that paint or stain alone can’t replicate. This detail works especially well in a home already incorporating tile elsewhere, tying the staircase into the broader design scheme.
11. Get Inspiration from Before and After Photos
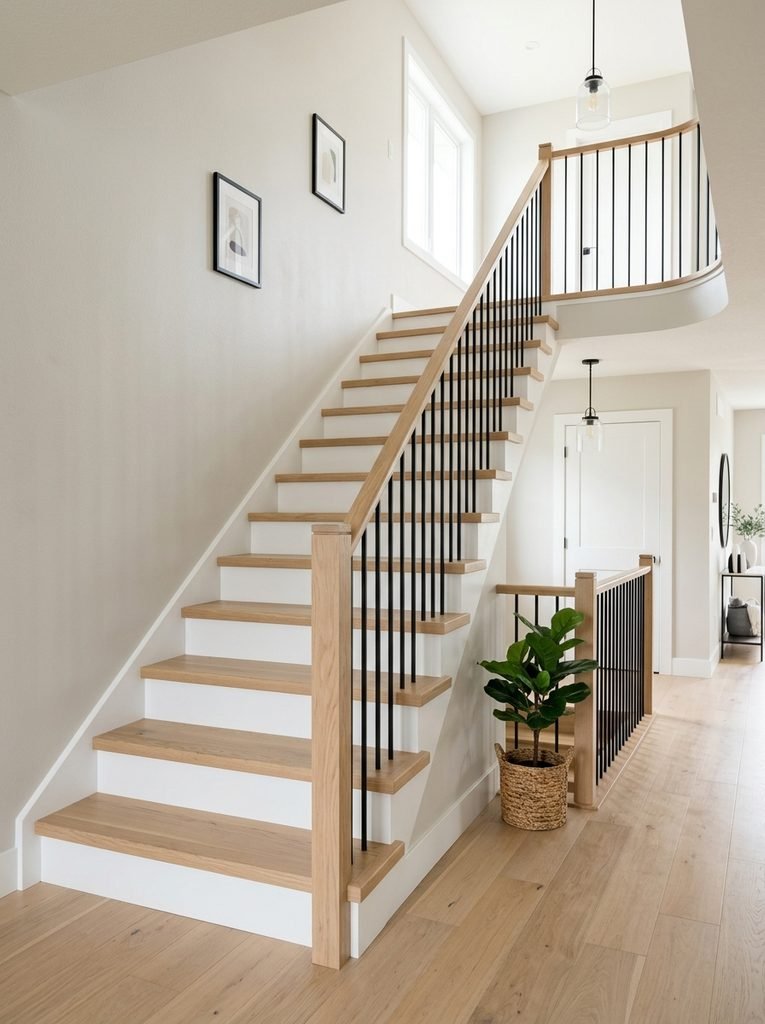
Looking through genuine before and after staircase transformations helps set realistic expectations for what a DIY sand, stain, or paint project can actually achieve within a weekend timeframe. This research step, similar to gathering inspiration covered in 45 garden design ideas for other home projects, prevents starting a project without a clear vision of the intended finished look.
12. Keep Maintenance Easy Going Forward
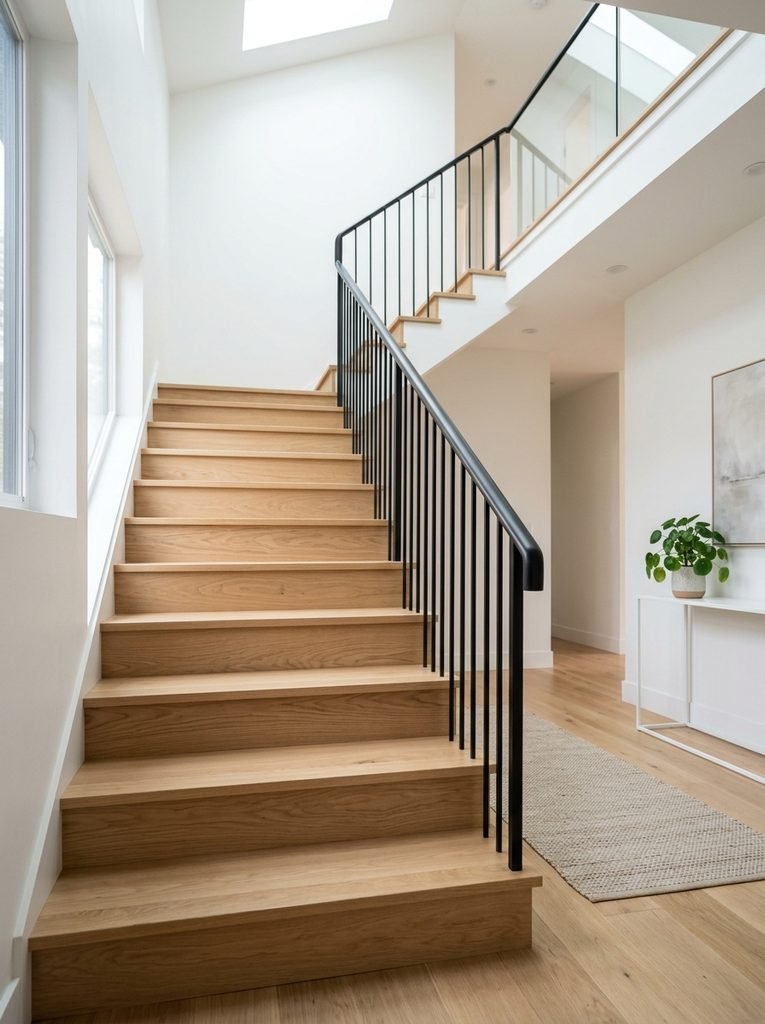
Choosing a durable topcoat sealant and a washable runner rug keeps a freshly updated staircase looking good for years rather than showing wear again within just a few months. This maintenance minded approach genuinely protects the time and effort invested in the initial makeover project.
Final Thoughts on DIY Staircase Makeover
A staircase makeover really comes down to matching the update to the existing wood quality and how much time is available, since a full sand and stain job delivers a completely different result than a quick runner rug and paint refresh. Starting with proper sanding prep, regardless of which finish comes next, genuinely determines how professional and long lasting the entire project turns out.

Amir Ali is the founder and site administrator of HomeDecorEdge, a modern home decor and interior design platform. Since starting the site, he has combined his passion for interior design, practical styling, and color coordination with hands-on content strategy and site management. He guides authors, curates high-quality articles, and ensures readers have access to actionable, visually inspiring, and user-focused home decor advice for apartments, small rooms, and family homes.