
I’m Amir — and while I’m more of a garden guy than a farmer, I’ve spent way too many hours researching chicken coops for family members and readers who keep asking. What I found is that most coop plans online look beautiful but are either way too complicated or way too expensive. So I put together this list of easy diy chicken coop plans that are actually buildable — no fancy tools, no huge budget, and no prior experience needed. Whether you’re keeping 6 chickens or 20 this list has you covered.
This post contains affiliate links. If you purchase through these links I may earn a small commission at no extra cost to you.
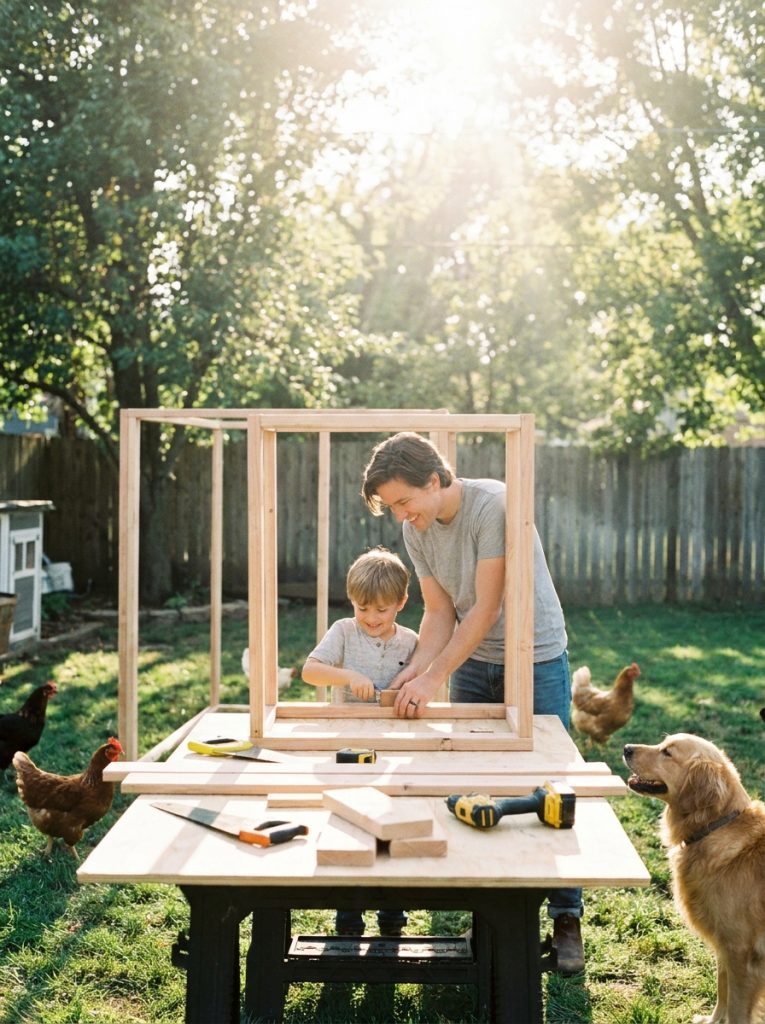
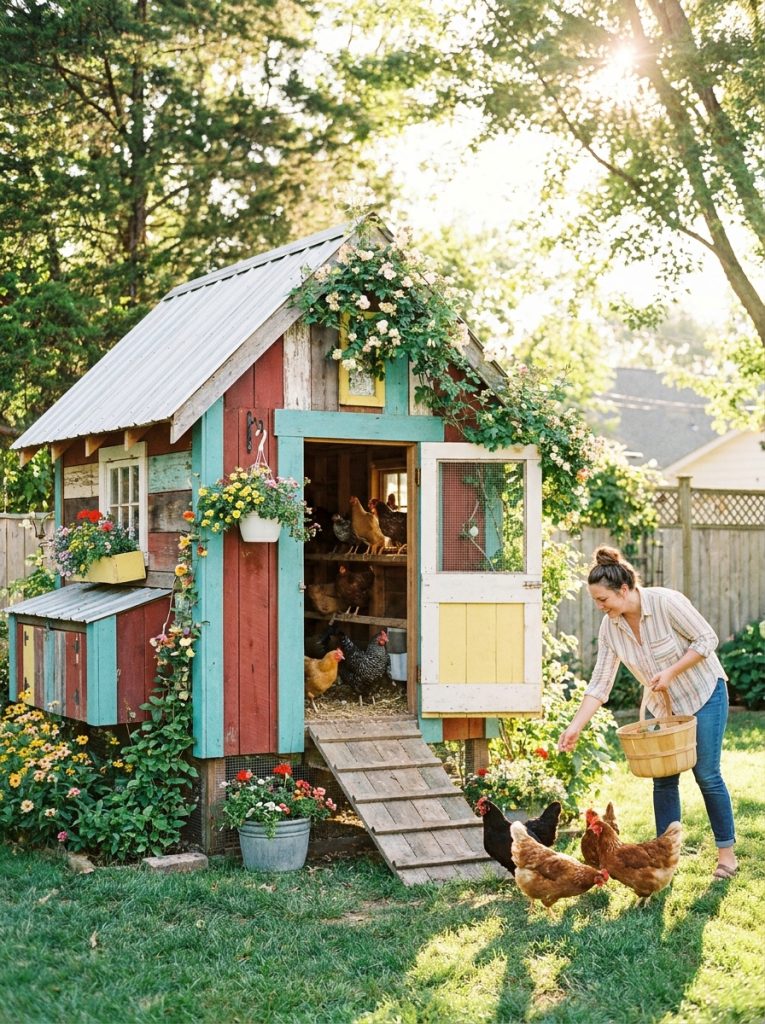
Building your own chicken coop is easier than you think — and so much more satisfying than buying one ready-made.
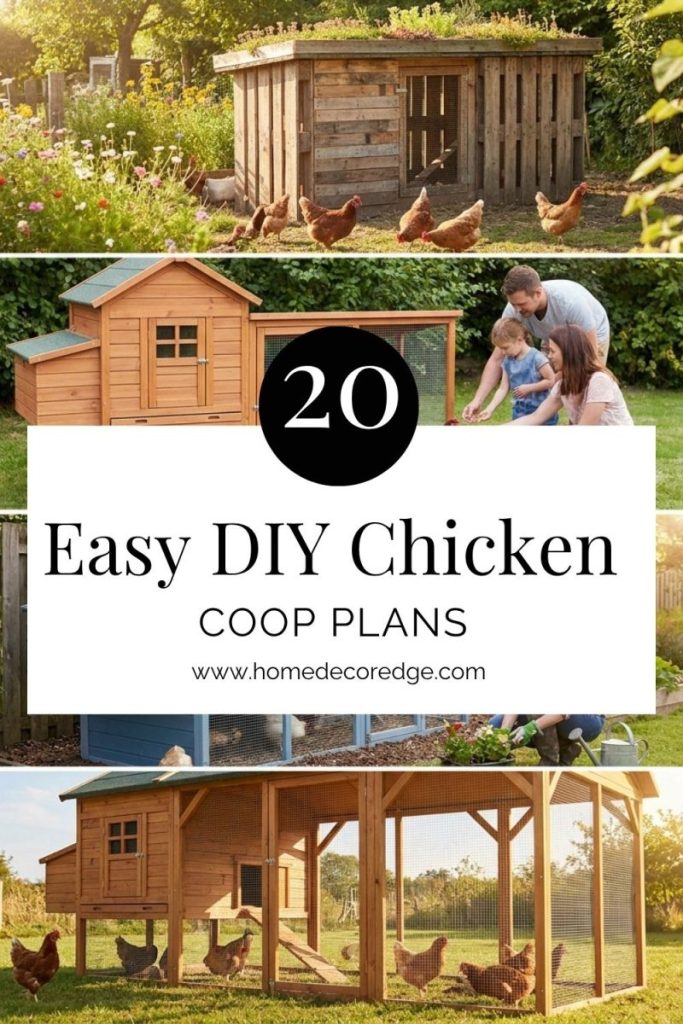
Here are 20 easy diy chicken coop plans that are simple enough for complete beginners and sturdy enough to last for years!
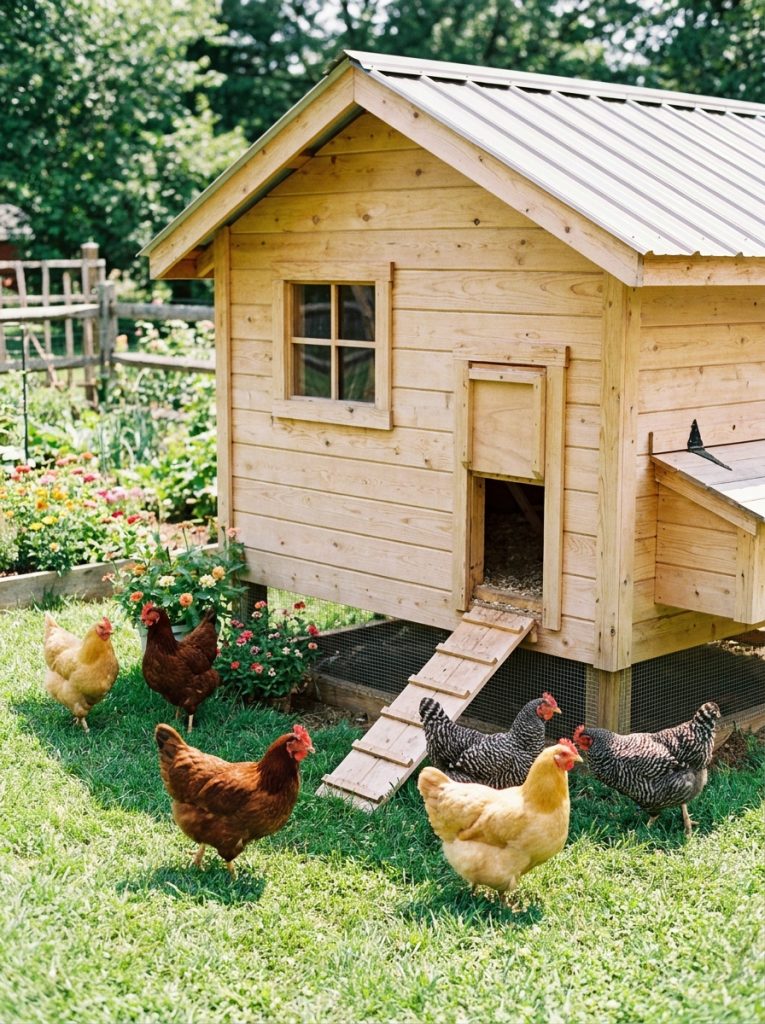
1. Simple 4×8 Beginner Chicken Coop Plan
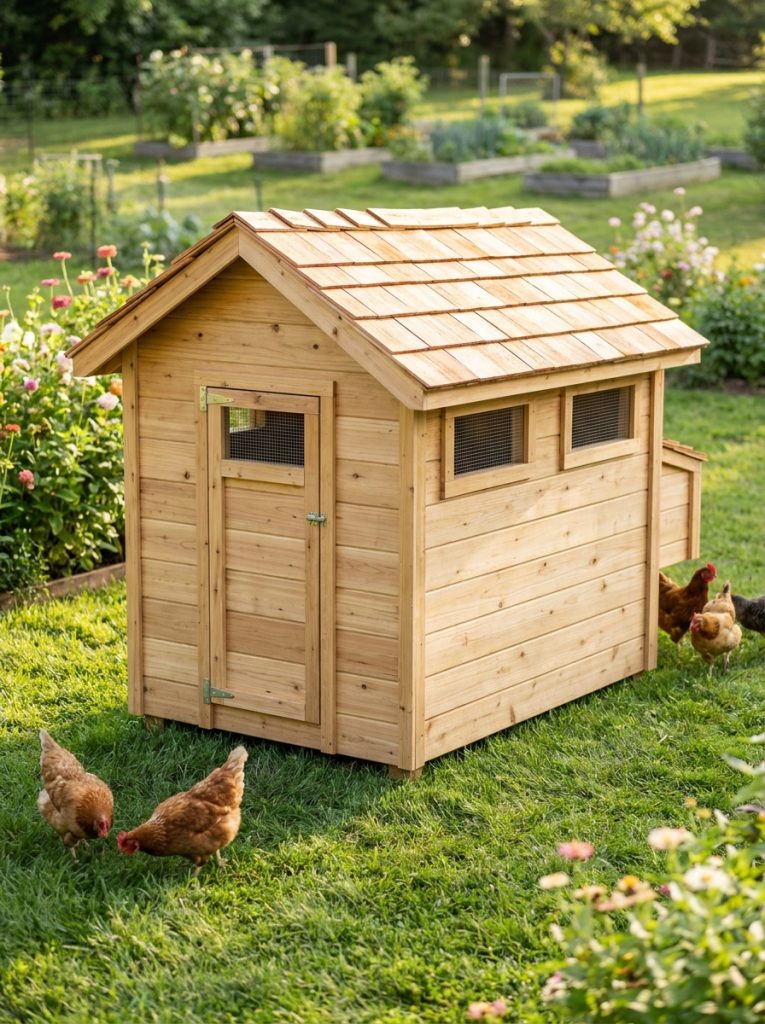
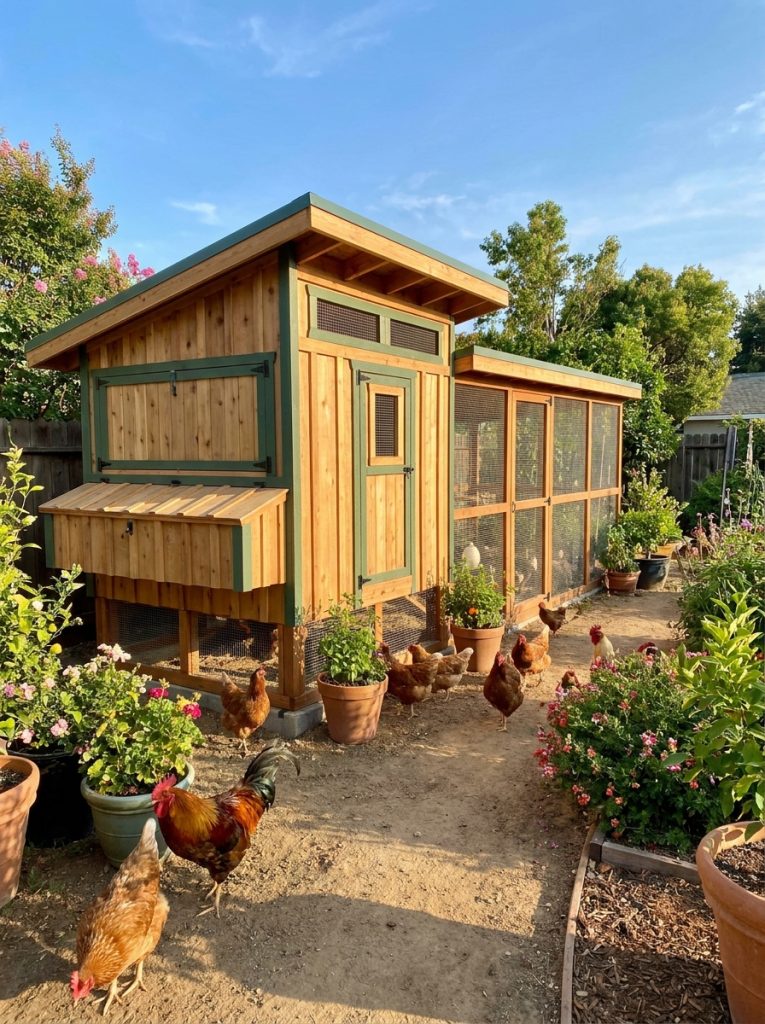
A 4×8 coop is the sweet spot for most backyard keepers — big enough for 6 to 8 chickens comfortably, small enough to build in a weekend without any major construction experience. Keep the design simple — four walls, a pitched roof, a pop door for the chickens, and a human-sized access door on the side. Start here if you have never built a coop before.
Materials Needed:
- Pressure treated lumber 2×4
- Plywood sheets for walls and floor
- Corrugated metal or shingles for roof
- Hinges and door latch
- Chicken wire or hardware cloth
- Exterior wood paint or stain
How to Build It:
- Build a simple rectangular floor frame from 2×4 lumber and add plywood floor on top
- Build four wall frames from 2x4s and attach to floor frame
- Add a pitched roof frame and cover with corrugated metal or shingles
- Cut openings for pop door, ventilation windows, and human access door
- Cover ventilation openings with hardware cloth
- Add door hinges and a secure latch
- Paint or stain exterior and let dry fully before introducing chickens
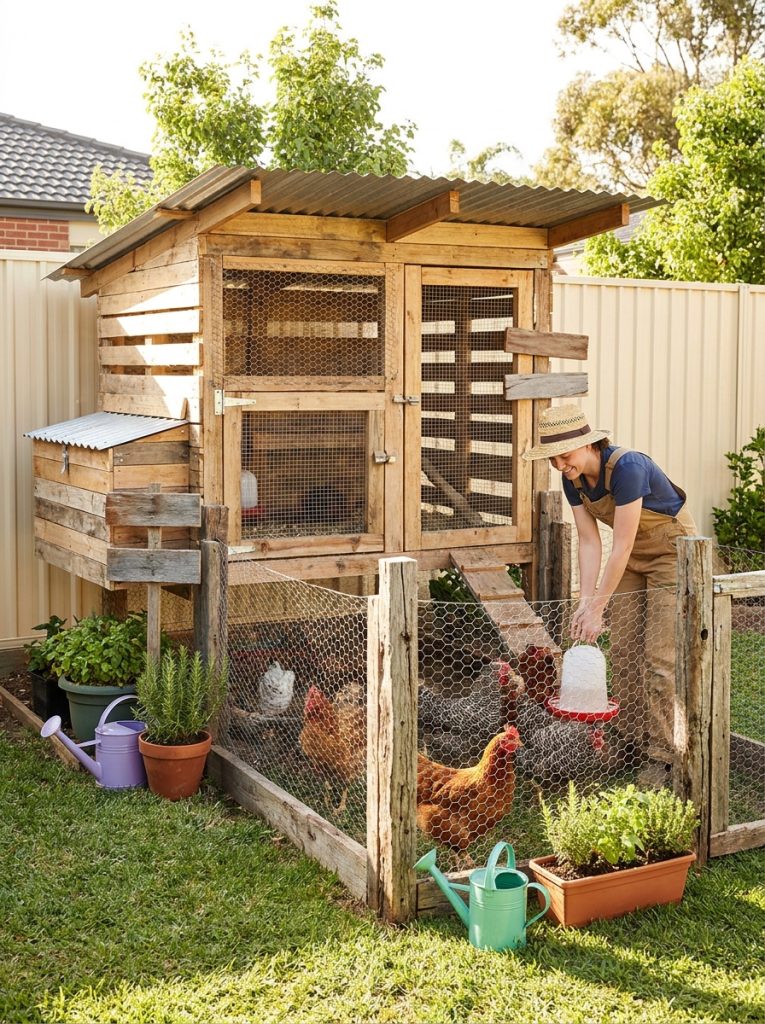
2. DIY Pallet Chicken Coop Plan
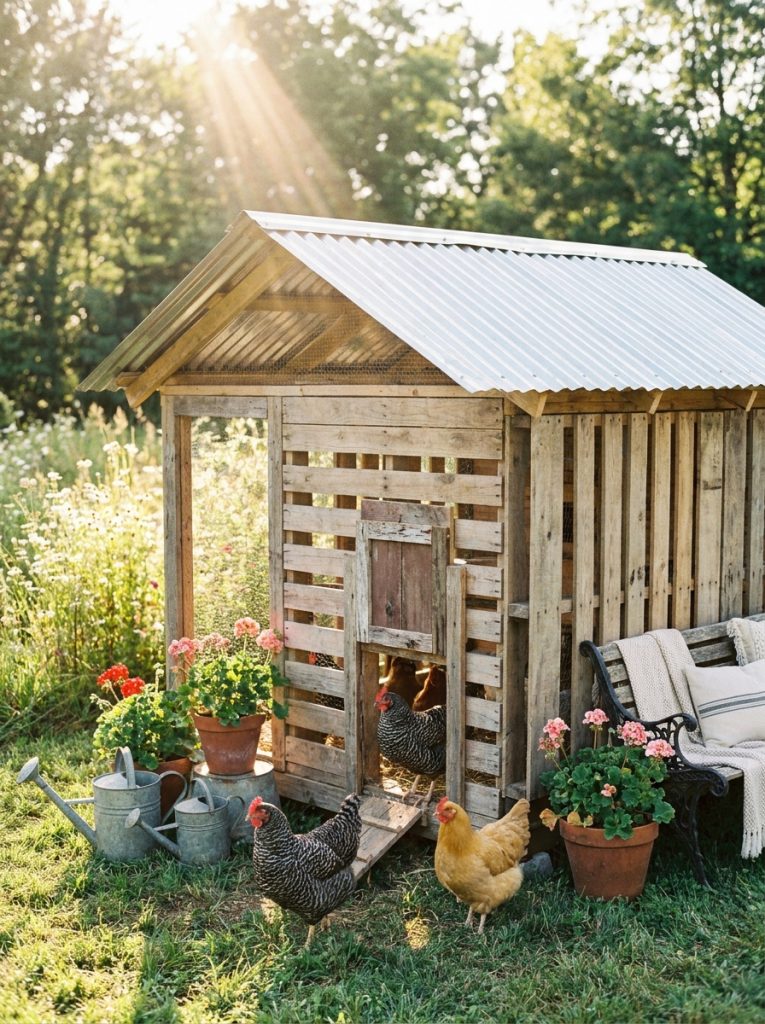
Pallets are free or nearly free and they make surprisingly solid chicken coops if you build them right. The gaps between pallet boards actually provide natural ventilation which is perfect for coops. Source your pallets from local businesses, bolt them together into a box shape, add a roof, and you have a functional coop for almost nothing. If you love using recycled materials in the garden check out our DIY duck enclosure ideas for more pallet project inspiration.
Materials Needed:
- 6 to 8 standard wooden pallets
- Corrugated metal sheet for roof
- Hardware cloth for any large gaps
- Screws and bolts for joining pallets
- Hinges and latch for door
How to Build It:
- Source dry untreated pallets — avoid heat treated or chemically treated ones
- Stand four pallets upright and bolt together at corners to form walls
- Add a fifth pallet as a partial roof frame or build a simple timber ridge
- Cover roof with corrugated metal sheeting
- Cut one pallet section to create a door opening
- Attach door with hinges and add a secure latch
- Cover any large gaps with hardware cloth to keep predators out
3. Easy Chicken Coop Kit Assembly Plan
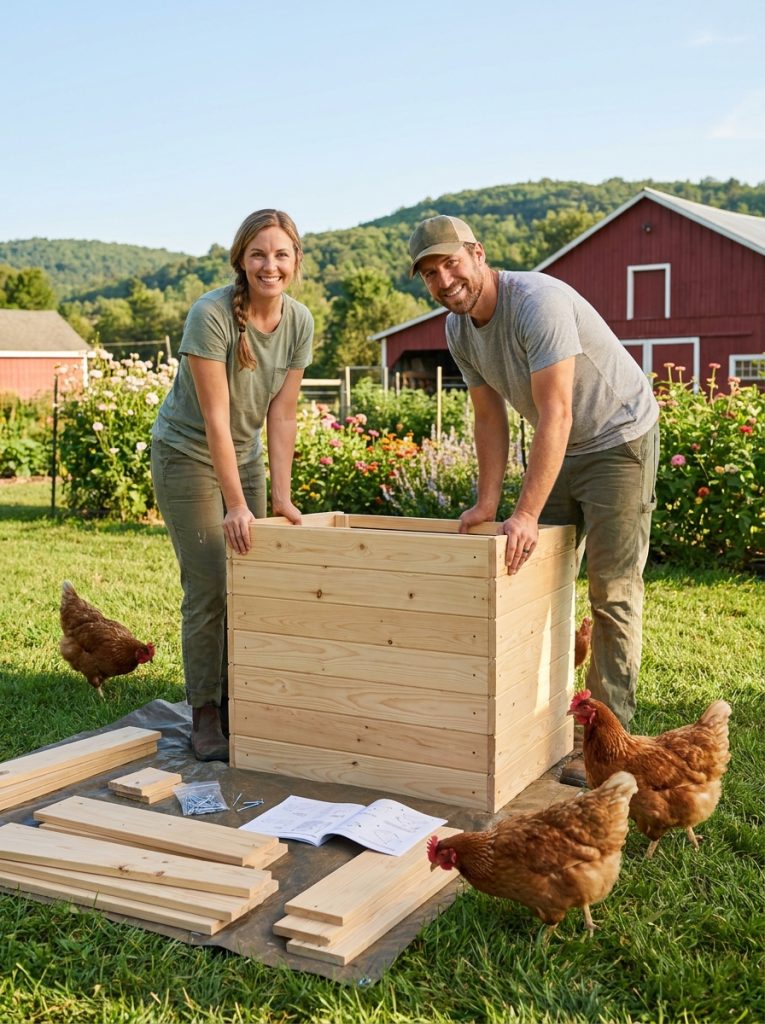
If building from raw lumber feels like too much — a good coop kit gives you all the pre-cut pieces with instructions and you just put it together like flat-pack furniture. This chicken coop kit is well made, straightforward to assemble, and goes up in a few hours rather than a full weekend. Perfect for beginners who want a solid result without the full build.

Chicken Coop Kit Easy Assembly
Pre-cut chicken coop kit with instructions — assembles in hours, no power tools needed
Check Price on AmazonMaterials Needed:
- Chicken coop kit
- Basic screwdriver and mallet
- Level for checking alignment
How to Build It:
- Lay out all pieces and check against the parts list
- Build the floor base first following the numbered instructions
- Attach walls one side at a time
- Add roof panels and secure all connections
- Hang doors and check they open and close properly
- Place in chosen backyard spot and level if needed
4. Simple Chicken Coop for 6 Chickens
Six chickens is the most popular starting flock size and a 4×6 coop is exactly what you need. Simple box design, one nesting box for every two or three hens, two ventilation windows, a pop door, and a human access door. Keep it simple and build it solid — chickens are not fussy about aesthetics but they are vulnerable to predators so every gap needs to be sealed.
Materials Needed:
- 2×4 pressure treated lumber
- Exterior plywood
- Hardware cloth
- Roofing material
- Nesting box inserts
- Predator-proof latches
How to Build It:
- Build a 4×6 floor frame and cover with plywood
- Frame four walls and attach securely
- Build a simple lean-to or pitched roof
- Install two ventilation windows covered with hardware cloth
- Add a 12×12 inch pop door with a slide latch
- Build or attach nesting boxes on the outside wall
- Seal every joint and gap with exterior caulk
5. DIY Chicken Coop with Automatic Door
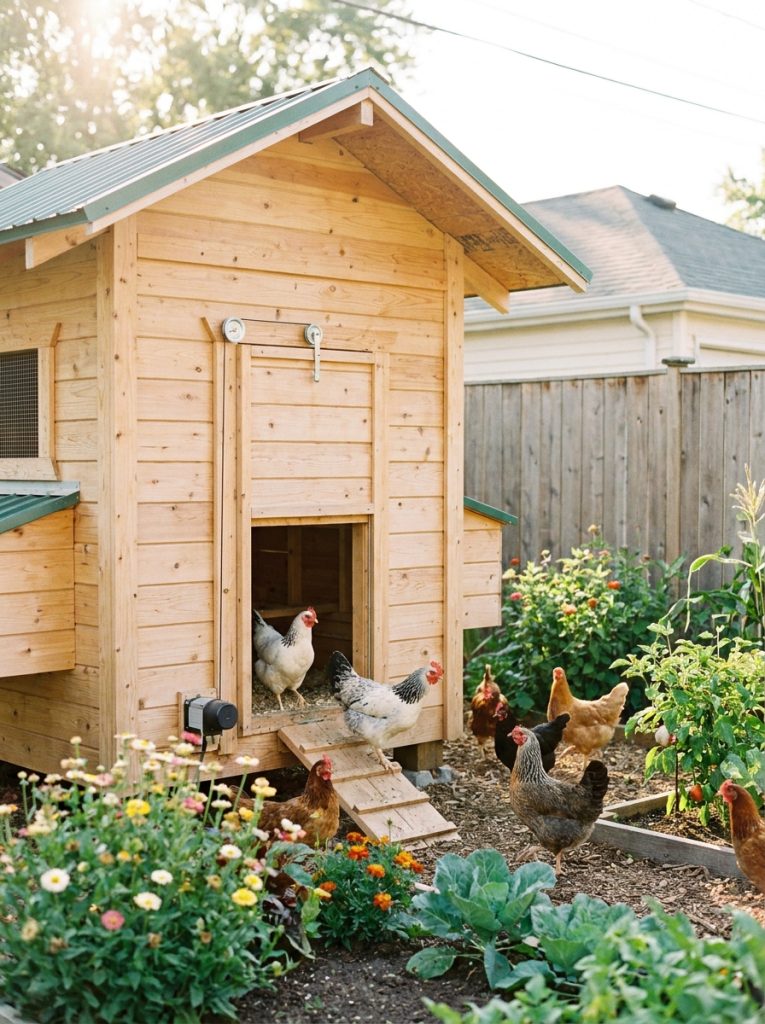
An automatic coop door is the single best upgrade you can add to any easy diy chicken coop plan — it opens at sunrise and closes at sunset without you having to do anything. No more rushing out at dusk to lock up, no more worrying if you forgot. This automatic chicken door installs in about an hour and works on any standard pop door opening.

Automatic Chicken Coop Door
Light-sensor automatic coop door — opens at dawn and closes at dusk, battery or solar powered
Check Price on AmazonMaterials Needed:
- Standard chicken coop with pop door opening
- Automatic door kit
- Screwdriver and drill
- Batteries or solar panel depending on model
How to Build It:
- Build or prepare your coop with a standard 12×12 inch pop door opening
- Mount the automatic door motor unit above the opening
- Attach the sliding door panel to the motor mechanism
- Set the light sensor or timer according to your local sunrise and sunset times
- Test the door open and close cycle before leaving chickens unattended
- Check monthly that the mechanism is working correctly
6. DIY Chicken Coop with Nesting Boxes Plan
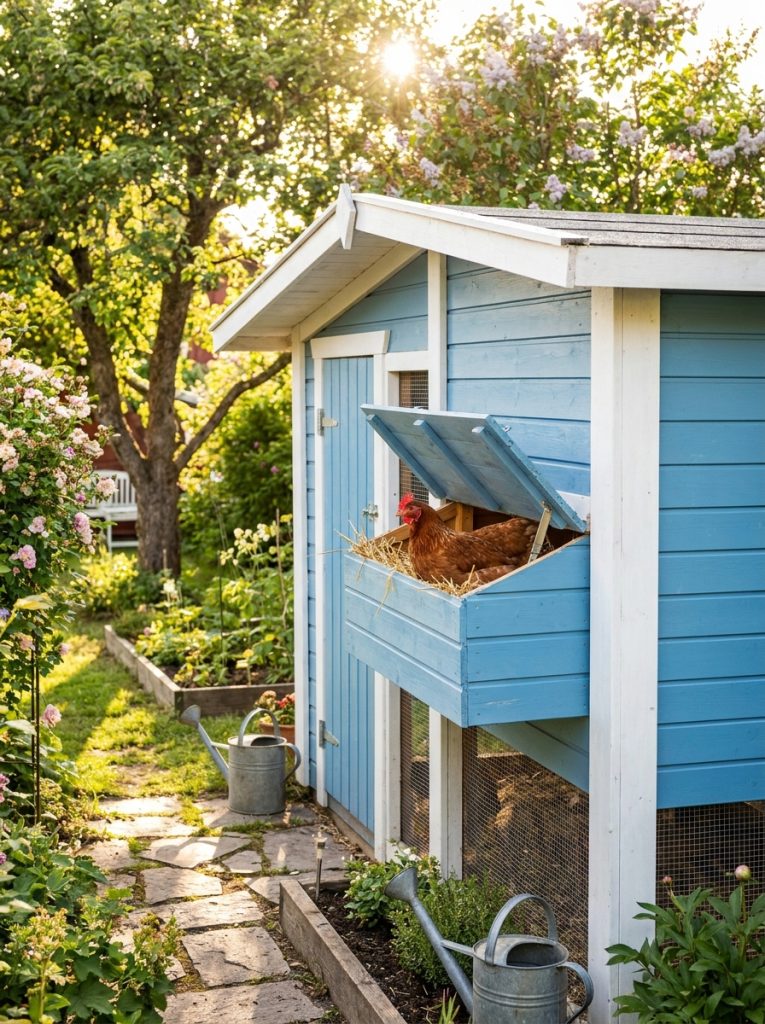
External nesting boxes are one of the smartest design choices in any easy diy chicken coop plan — they let you collect eggs from outside the coop without going in, which saves time every single morning. Build a simple box frame attached to the outside wall with a hinged lid on top. These nesting box inserts make setup even easier and hens take to them immediately.

Chicken Nesting Box
Easy-clean nesting box insert — fits standard DIY coops, hens love them immediately
Check Price on AmazonMaterials Needed:
- Timber for box frame
- Plywood for box walls and floor
- Hinges and latch for lid
- Nesting box inserts
- Straw or wood shavings for bedding
How to Build It:
- Build an external box frame attached to the side wall of the coop
- Divide into individual nesting sections — one per two to three hens
- Add a hinged lid on top that opens outward for easy egg collection
- Place nesting box inserts inside each section
- Fill with straw or wood shavings
- Cut a hole through the coop wall so hens can access boxes from inside
7. Cheap DIY Chicken Coop on a Budget
You can build a solid functional chicken coop for under $200 if you plan it right — use basic construction lumber, source secondhand wood where you can, skip the decorative extras, and focus on what actually matters — waterproof roof, predator-proof walls, ventilation, and easy access. Function over form and your chickens will be perfectly happy.
Materials Needed:
- Basic construction 2×4 lumber
- Secondhand plywood if available
- Hardware cloth for windows and run
- Corrugated metal for roof
- Basic hinges and latches
How to Build It:
- Plan the smallest footprint that gives your flock enough space — 4 square feet per bird inside
- Build the simplest possible box frame from 2x4s
- Use secondhand or offcut plywood for walls and floor
- Cover roof with corrugated metal — cheapest waterproof option
- Hardware cloth on all ventilation openings — never use chicken wire for security
- Add basic hinges and a simple bolt latch on every door
8. Step by Step DIY Chicken Coop Plan for Beginners
The biggest mistake beginners make is overcomplicating the plan. A chicken coop is just a weatherproof box with ventilation, nesting space, roosting bars, and a secure door. Build the floor first, then the four walls, then the roof — in that exact order. Keep every joint square and level and the rest takes care of itself.
Materials Needed:
- 2×4 and 2×6 pressure treated lumber
- Exterior plywood
- Hardware cloth
- Roofing material of choice
- Basic carpentry tools — drill, circular saw, level, tape measure
How to Build It:
- Draw a simple plan on paper first — measure your space and decide on flock size
- Build the floor frame and attach plywood floor — raise off ground on corner posts
- Frame all four walls flat on the ground then stand them up and attach
- Build roof frame and add chosen roofing material
- Cut all door and window openings and cover ventilation with hardware cloth
- Hang all doors and check every latch is predator-proof
- Add roosting bars inside at least 2 feet off the floor
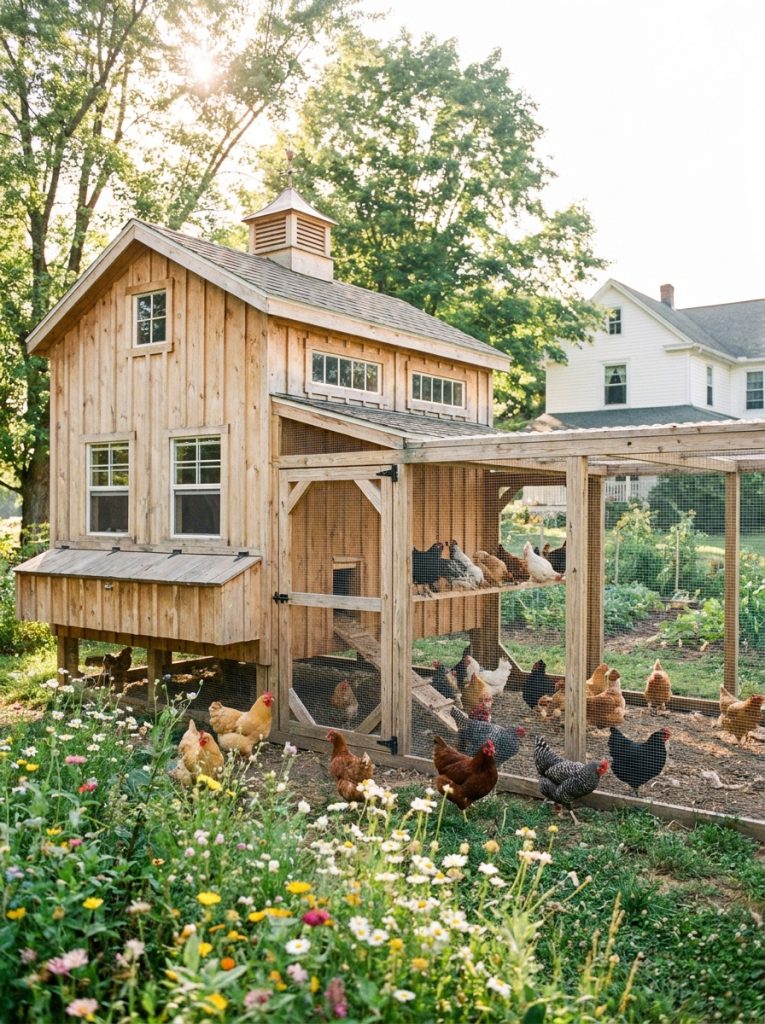
9. DIY Chicken Coop with Chicken Wire Mesh Run
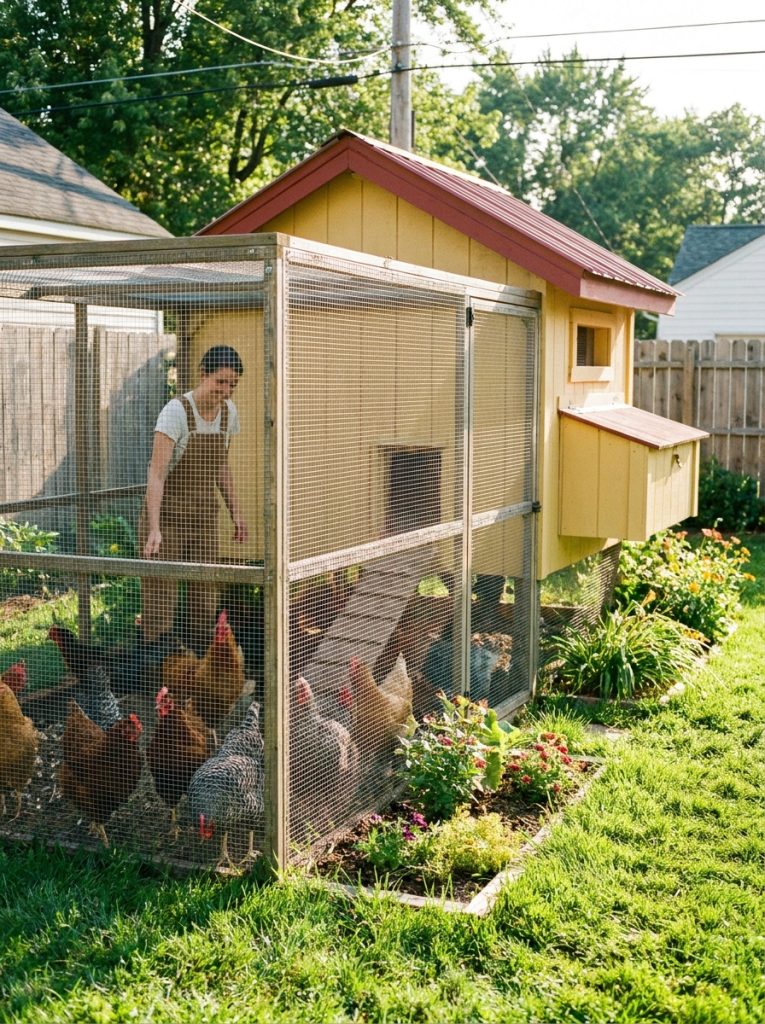
A coop without a run means your chickens are either confined all day or free ranging unsupervised — neither is ideal. A simple attached run from chicken wire mesh gives them outdoor space to scratch and forage while keeping them safe from predators. Build the run frame from 2x4s and cover all sides and the top with wire.
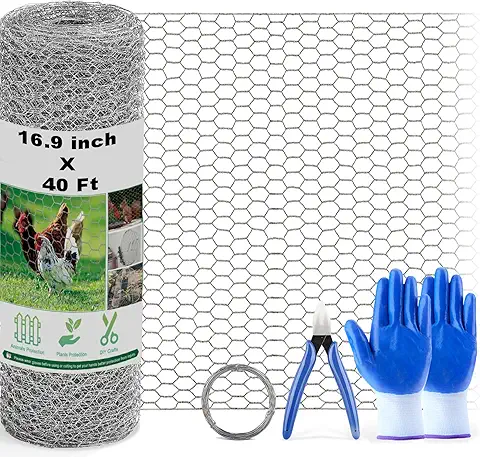
Chicken Wire Mesh Roll
Galvanized chicken wire mesh roll — perfect for building attached chicken runs and enclosures
Check Price on AmazonMaterials Needed:
- 2×4 lumber for run frame
- Chicken wire mesh roll
- Staple gun and staples
- Gate hinges and latch
- Ground stakes or buried wire to prevent digging
How to Build It:
- Build a rectangular frame from 2x4s attached to the side of the coop
- Cover all four sides with chicken wire mesh and staple securely
- Cover the top of the run with wire to keep aerial predators out
- Bury wire 12 inches underground around the perimeter to stop digging predators
- Build a simple gate at one end for your own access
- Add a secure latch on the gate
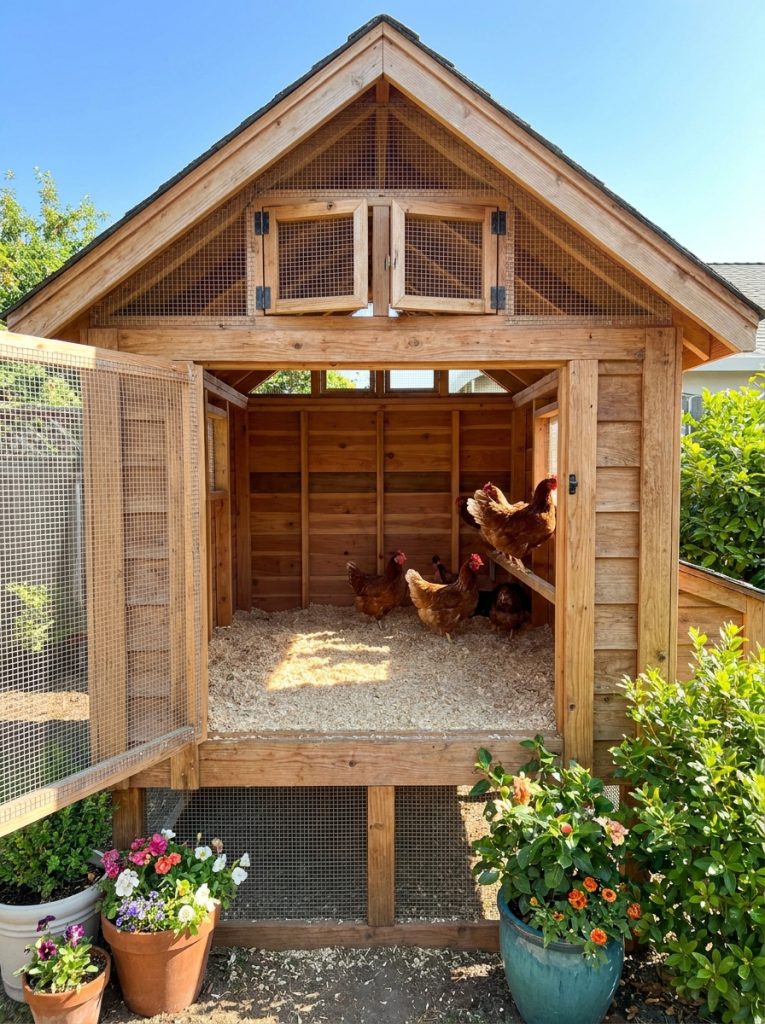
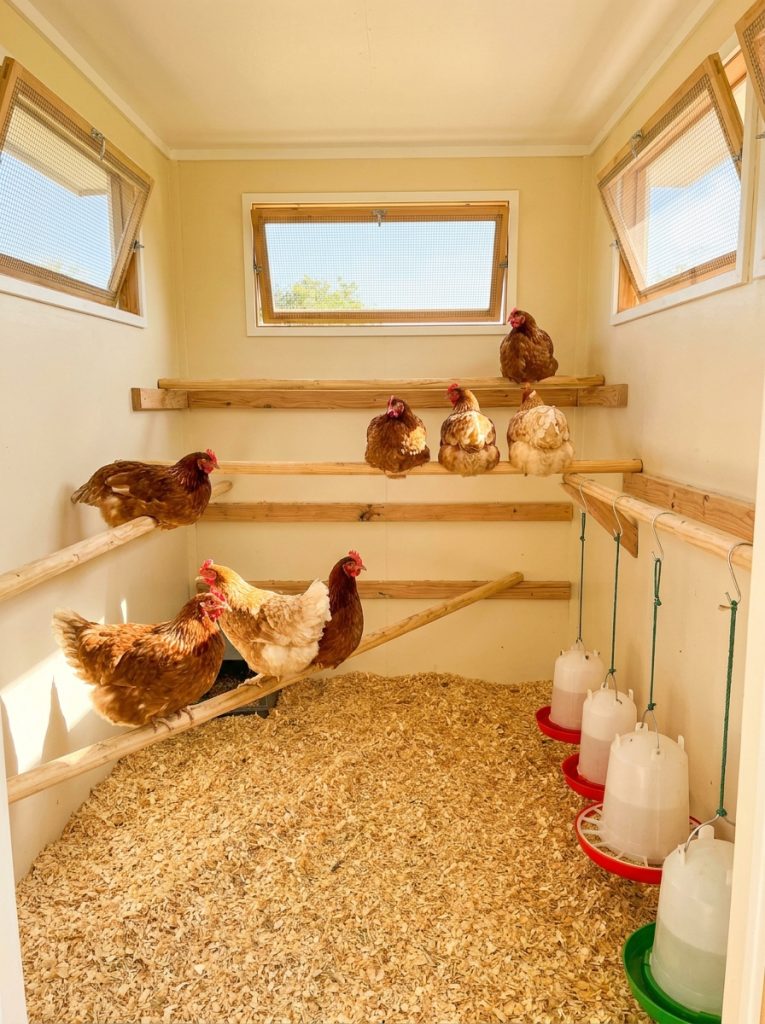
10. Easy Inside Chicken Coop Layout Plan
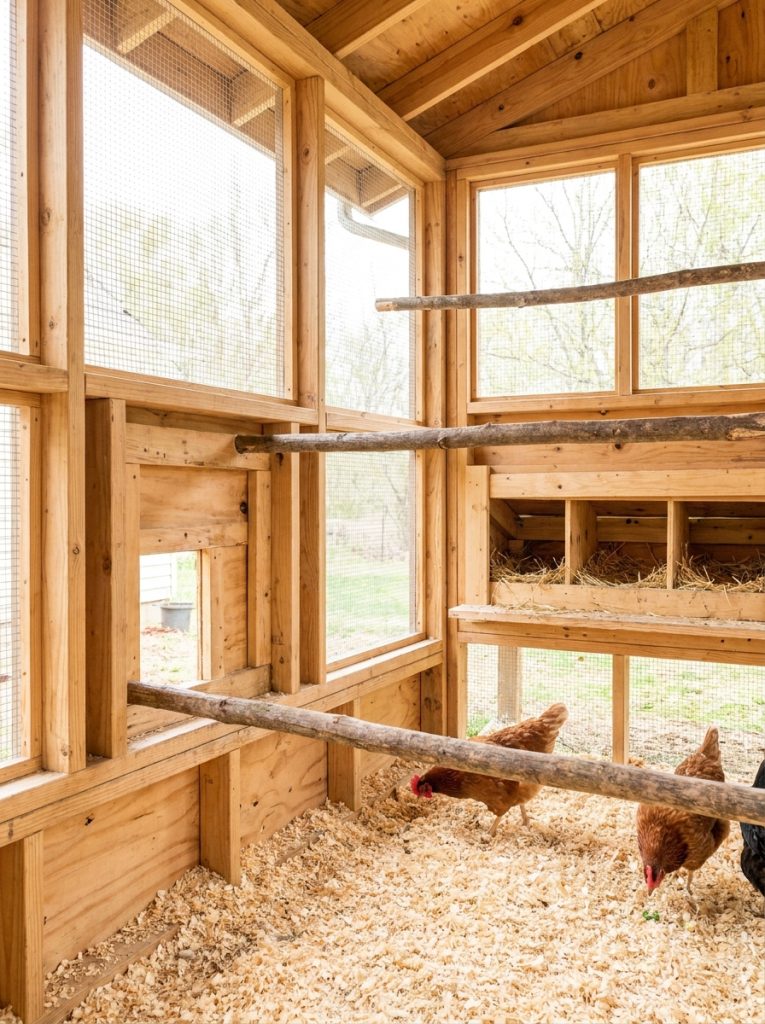
The inside of a chicken coop matters just as much as the outside — good ventilation, roosting bars higher than nesting boxes so hens sleep on the bars not in the boxes, and enough floor space so birds are not crowded. Keep the layout simple and easy to clean. A deep litter floor of wood shavings that you top up regularly is the easiest low-maintenance option.
Materials Needed:
- Smooth wooden roosting bars — 2 inch diameter
- Nesting box inserts
- Wood shavings for bedding
- Feeder and waterer hooks
- Whitewash or paint for interior walls
How to Build It:
- Install roosting bars along one wall at 18 to 24 inches above floor level
- Space bars at least 12 inches apart so hens have room to sit comfortably
- Position nesting boxes on the opposite wall — lower than roosting bars
- Add hooks for hanging feeder and waterer to keep them off the floor
- Paint interior walls with whitewash to deter mites and make cleaning easier
- Spread 4 inches of wood shavings across the floor
11. DIY Chicken Coop with Wheels — Mobile Plan
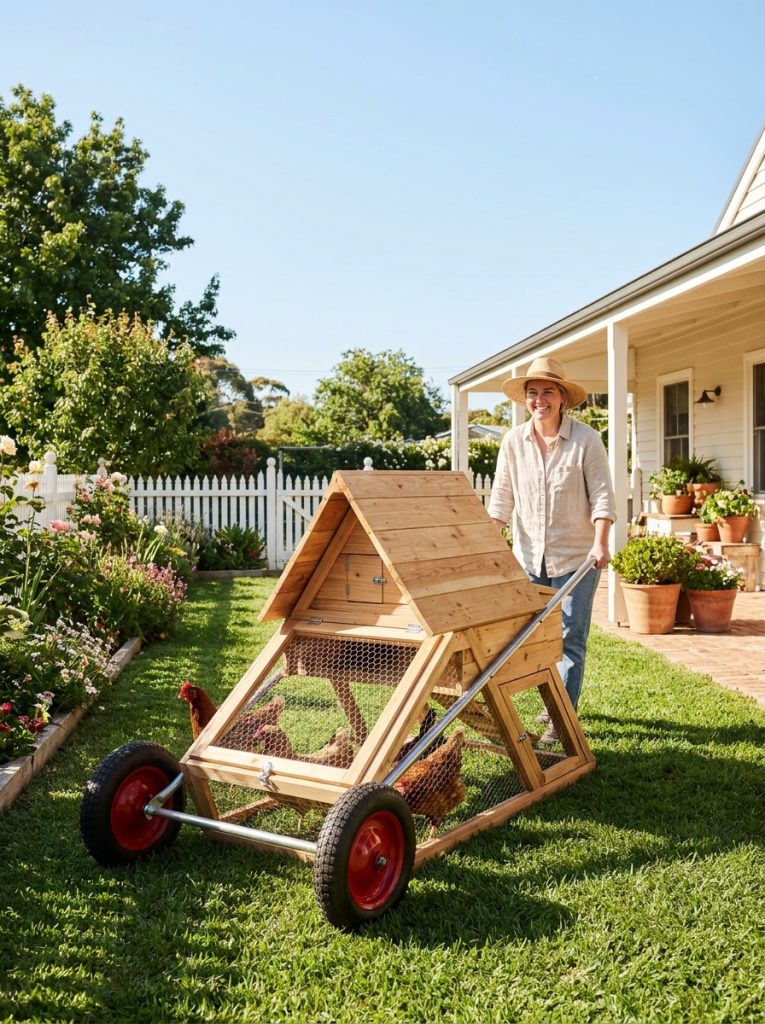
A mobile chicken coop — often called a chicken tractor — lets you move the flock around the garden so they fertilize different areas and always have fresh ground to scratch. Build a simple A-frame or box coop on two wheels at one end and handles at the other. Chickens do the weeding and fertilizing and you just move it every few days.
Materials Needed:
- Lightweight timber 2×3 or 2×2
- Chicken wire for run section underneath
- Two wheels and axle from hardware store
- Handles or rope for pulling
- Small roosting bar and nesting box inside
How to Build It:
- Build a lightweight A-frame or box structure — keep it under 200 pounds so it moves easily
- Divide into two sections — enclosed sleeping area on top and open wire run below
- Add two wheels to one end and handles to the other
- Cover the run section with chicken wire on all sides
- Add a small roosting bar and one nesting box inside the sleeping area
- Move to fresh ground every 2 to 3 days
12. DIY Chicken Coop with Feeder and Waterer Setup
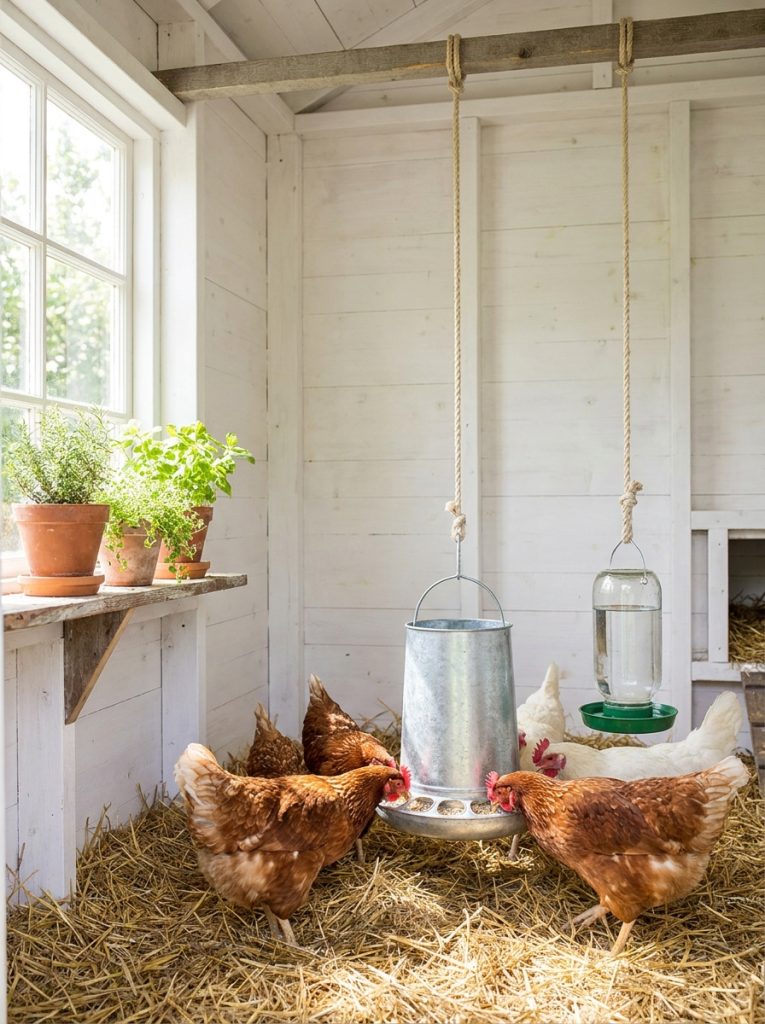
Getting the feeder and waterer setup right inside your easy diy chicken coop plan makes daily care so much easier. Hanging feeders and waterers keep feed off the floor — which means less waste and fewer pests. This chicken feeder and waterer set is easy to hang from the ceiling and holds enough for several days at a time.
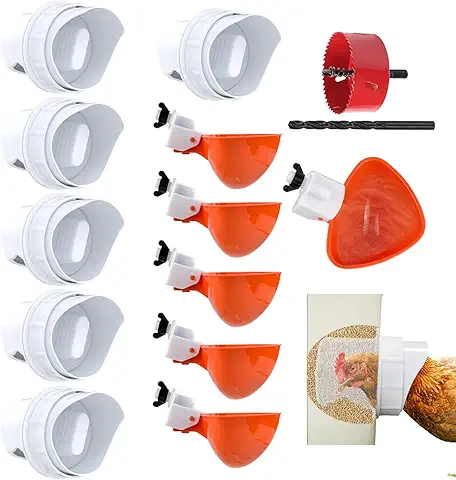
Chicken Feeder and Waterer Set
Hanging chicken feeder and waterer — reduces waste, keeps feed clean, holds several days supply
Check Price on AmazonMaterials Needed:
- Hanging feeder and waterer set
- Ceiling hook or rope for hanging
- Feed storage container
How to Build It:
- Install a sturdy hook in the coop ceiling at chicken back height
- Hang feeder from hook so the feeding tray is at chicken back height — prevents scratching feed out
- Hang waterer slightly higher than feeder
- Fill feeder with layer pellets and waterer with fresh water
- Check and top up every 2 to 3 days
- Clean waterer weekly to prevent algae buildup
13. DIY Predator-Proof Chicken Coop Lock Plan
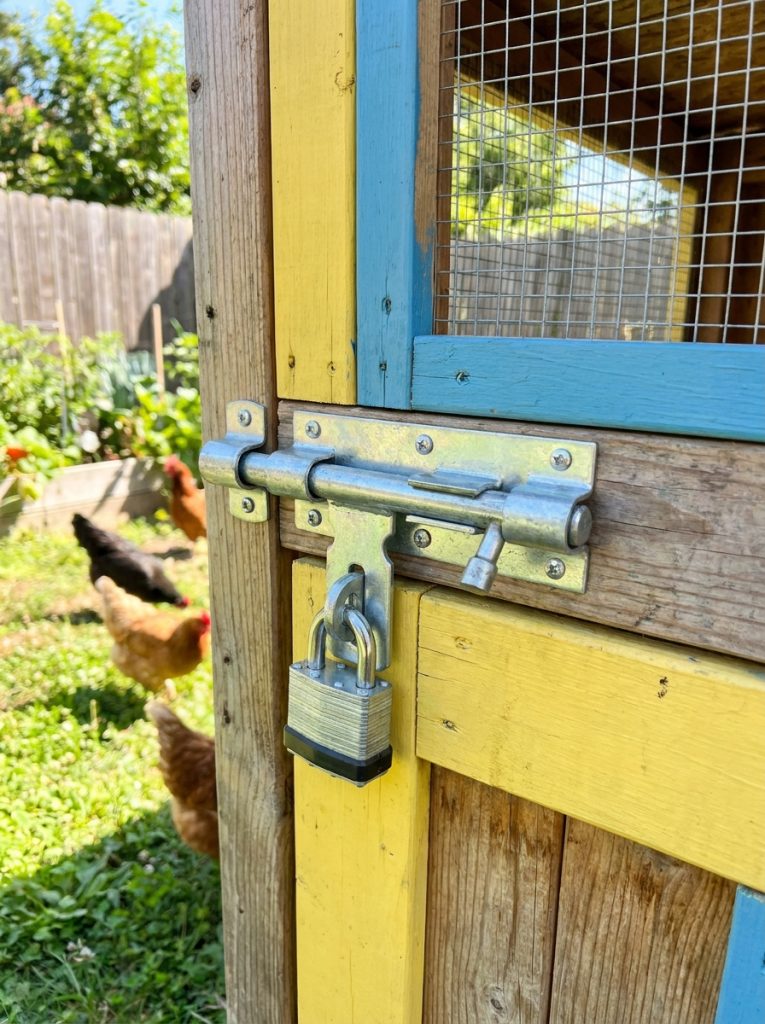
Raccoons, foxes, and possums are smarter than most people give them credit for — a simple hook and eye latch will not keep them out. Every door on your easy diy chicken coop needs a proper predator-proof lock that requires two steps to open. This predator-proof coop lock is what I recommend on every single coop door — human-accessible but predator-proof.
Chicken Coop Lock Predator Proof
Heavy duty predator-proof coop lock — raccoon-resistant two-step latch for all coop doors
Check Price on AmazonMaterials Needed:
- Predator-proof lock for each door
- Screwdriver for installation
- Hardware cloth for any remaining gaps
How to Build It:
- Install predator-proof locks on every door — pop door, human door, nesting box lid
- Check that no single step opens any door — raccoons can lift, pull, and push simple latches
- Cover all ventilation openings with hardware cloth — not chicken wire — stapled on the inside
- Check the entire coop perimeter for gaps larger than half an inch and seal them
- Bury hardware cloth 12 inches below ground around the run perimeter
14. DIY Large Chicken Coop Plan for 20 Chickens
A coop for 20 chickens needs at least 80 square feet of interior space — think 8×10 or 10×10 footprint. The build process is exactly the same as a small coop just scaled up. Add more nesting boxes — one per three hens — more roosting bar length, and a larger attached run. Build it right and a flock of 20 is just as easy to manage as a flock of 6. Our garden enclosure ideas post has great fencing ideas for keeping the surrounding garden area tidy too.
Materials Needed:
- Heavy duty 2×6 lumber for floor and roof frame
- 2×4 for wall framing
- Exterior plywood for walls
- Corrugated metal roofing
- Large run frame materials
- Multiple nesting box units
How to Build It:
- Build a solid 8×10 or 10×10 floor frame from 2×6 lumber raised off the ground
- Frame all four walls from 2x4s and sheath with exterior plywood
- Build a strong roof frame — a larger coop needs a more robust ridge beam
- Install at least 6 to 7 nesting boxes along one wall
- Add roosting bars along the full length of opposite wall
- Build a large attached run to give birds outdoor access all day
15. Simple Chicken Coop with Ventilation Plan
Ventilation is the most overlooked part of any easy diy chicken coop plan and it is critically important — a damp poorly ventilated coop causes respiratory illness in chickens and rots the wood much faster. Ventilation openings should be near the roofline so fresh air flows through above the birds without creating cold drafts at roost level. This coop ventilation fan is a brilliant addition for hot summer climates.

Chicken Coop Ventilation Fan
Solar powered coop ventilation fan — keeps air fresh and reduces moisture buildup in summer
Check Price on AmazonMaterials Needed:
- Hardware cloth for ventilation openings
- Timber frame for window openings
- Optional ventilation fan for hot climates
- Weatherproof sealant
How to Build It:
- Plan ventilation openings on opposite walls near the roofline — cross ventilation is ideal
- Size openings at roughly 1 square foot of ventilation per 10 square feet of floor space
- Cover all openings with hardware cloth on the inside
- Add simple hinged covers on the outside for winter months when you need less airflow
- Install a ventilation fan in one opening if you are in a hot climate
- Check regularly that openings are not blocked by debris or nesting material
16. DIY 8×8 Chicken Coop Plan
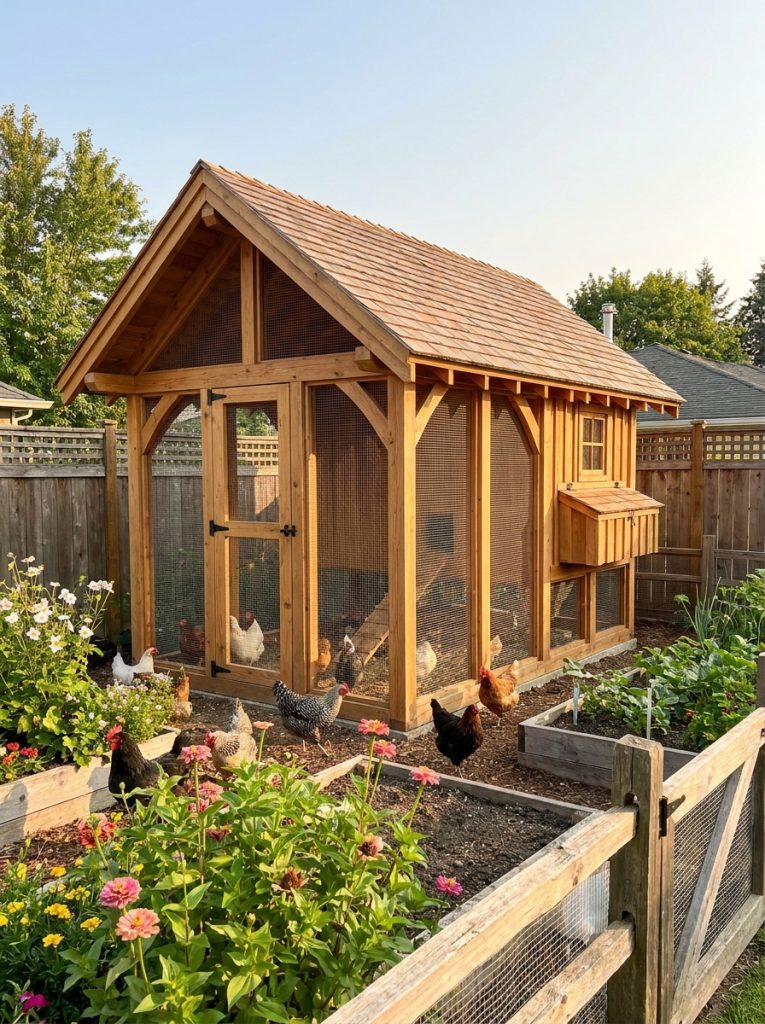
An 8×8 coop is a great mid-size build — comfortably houses 12 to 16 chickens and gives you room to walk inside for cleaning without hunching over. Build it to standing height — at least 6 feet at the peak — and you will thank yourself every single time you go in to collect eggs or clean. Same build process as a smaller coop just with more materials.
Materials Needed:
- Pressure treated 2×6 for floor
- 2×4 for wall and roof framing
- Exterior plywood for sheathing
- Metal roofing
- 4 to 5 nesting box units
- Full length roosting bars
How to Build It:
- Build an 8×8 floor frame from 2×6 lumber and raise on corner posts or concrete blocks
- Frame four walls to at least 7 feet at the tallest point
- Build a pitched roof with a strong central ridge beam
- Install 4 to 5 external nesting boxes along the back wall
- Add full-length roosting bars at 3 feet height
- Install large ventilation windows on both side walls near roofline
17. Cheap DIY Chicken Coop from Recycled Wood
The cheapest easy diy chicken coop plan is the one that uses whatever you already have or can source for free. Secondhand timber, old fence boards, salvaged windows, reclaimed corrugated metal for the roof — a coop built from recycled wood often ends up being the most characterful one in the neighborhood. Just make sure all wood is untreated and dry before using it.
Materials Needed:
- Salvaged timber and fence boards
- Reclaimed corrugated metal or old roofing tiles
- Secondhand hinges and latches
- Hardware cloth for any gaps and ventilation
How to Build It:
- Source timber from local demolition sites, online marketplaces, or neighbors
- Sort pieces by size and condition — discard anything rotten or treated with chemicals
- Build a solid floor frame first — do not compromise on this part
- Use the best pieces for structural framing and fill in walls with boards and fence panels
- Mix and match roofing materials — just make sure the overlap sheds water
- Add hardware cloth on all openings and predator-proof latches on all doors
18. DIY Chicken Coop with Inside Roosting Bar Plan
Roosting bars are where chickens sleep every night and getting them right makes a huge difference to the health of your flock. Bars should be round and smooth — about 2 inches in diameter — set at different heights so birds can choose their spot, and always positioned higher than the nesting boxes so hens are not tempted to sleep in them. Allow at least 10 inches of bar space per bird.
Materials Needed:
- Smooth rounded timber or thick dowel rod
- Brackets or notched supports for mounting bars
- Removable dropping boards below bars for easy cleaning
- Sandpaper to smooth any rough edges
How to Build It:
- Cut roosting bars to span the full width of the coop
- Sand all bars smooth to prevent foot injuries and splinters
- Mount bars at different heights — lowest at 18 inches, highest at 30 inches
- Angle bars slightly if using multiple levels so droppings fall clear
- Install removable dropping boards below bars for easy weekly cleaning
- Check that no bar is directly above a nesting box
19. DIY 30 Chicken Large Coop Plan Step by Step
A coop for 30 chickens is a proper small barn build — you are looking at 120 square feet of interior space minimum. At this scale it makes sense to build a proper stud-framed structure on a concrete or paver base rather than a raised floor. Plan for 10 nesting boxes, full-length roosting bars on two walls, and a very large attached run. Take your time with the plan before you start building.
Materials Needed:
- Concrete blocks or pavers for base
- Heavy duty 2×6 stud framing
- OSB or plywood sheathing
- Metal roofing sheets
- 10 nesting box units
- Industrial feeder and waterer
How to Build It:
- Lay a level concrete block or paver base — critical for a structure this size
- Build heavy duty stud-framed walls directly on the base
- Frame a strong roof with proper ridge beam and collar ties
- Install 10 external nesting boxes along two walls
- Add full-length roosting bars on two opposing walls inside
- Build a very large attached run — at least 10 square feet per bird outside
20. Simple Free-Range Chicken Coop Plan
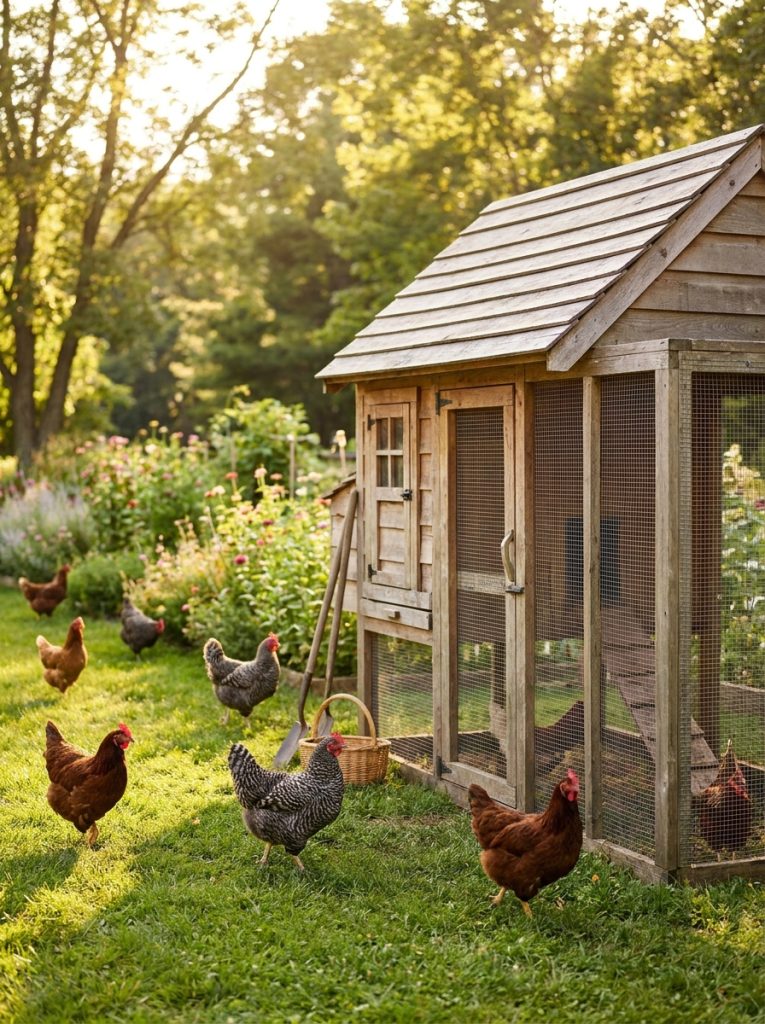
A free-range setup only needs a coop for sleeping and laying — the chickens do the rest themselves. This means you can build a smaller, simpler coop than a fully enclosed setup because your birds are outside all day and only inside at night. Focus your effort on security — predator-proof locks, solid walls, and no gaps — and keep the interior clean and comfortable. If you want to keep the garden looking great while your chickens free range, our garden enclosure ideas post has some great ideas for protecting your plants. Also check out our poop shelf chicken coop post for the best way to keep the inside of any coop clean.
Materials Needed:
- Basic 2×4 timber frame
- Exterior plywood for walls
- Secure roofing material
- Predator-proof locks on all doors
- Roosting bars and nesting boxes inside
How to Build It:
- Size the coop for sleeping only — 4 square feet per bird is enough when they free range all day
- Focus on security above all else — predator-proof every door and seal every gap
- Install good roosting bars — free range hens still need comfortable places to sleep
- Add nesting boxes — one per three hens
- Make sure the coop is easy to clean since birds will spend all night inside
- Add an automatic door so the coop closes securely every evening without you needing to be there
Final Thoughts on Easy DIY Chicken Coop Plans
There you have it — 20 easy diy chicken coop plans for every flock size and every budget. Whether you are starting with 6 chickens and a pallet coop or building a proper barn for 30 birds the principles are the same — keep it simple, build it solid, and focus on security and ventilation above everything else. Start with a basic plan, get it built, and you can always upgrade and expand later. Your chickens will be happy in almost anything as long as it is dry, safe, and comfortable.

Amir Ali is the founder and site administrator of HomeDecorEdge, a modern home decor and interior design platform. Since starting the site, he has combined his passion for interior design, practical styling, and color coordination with hands-on content strategy and site management. He guides authors, curates high-quality articles, and ensures readers have access to actionable, visually inspiring, and user-focused home decor advice for apartments, small rooms, and family homes.