
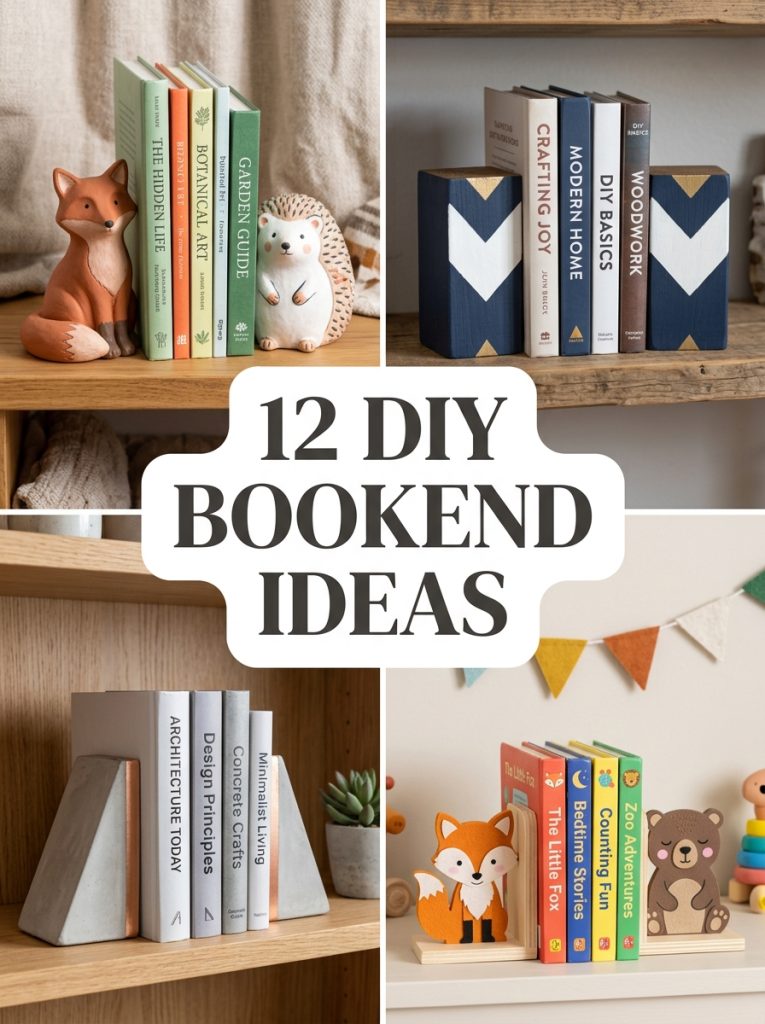
Bookends are one of those small projects that punch well above their size when done right. A handmade pair on a shelf changes how the whole shelf reads, adding intention and personality that a store bought version never quite delivers. These DIY bookend ideas cover every skill level and style, from a five minute dollar tree build anyone can finish in an afternoon to a poured concrete pair that looks like it came from a design shop.
This post contains affiliate links. If you purchase through these links I may earn a small commission at no extra cost to you.
The right pair of bookends makes a shelf look styled rather than just stacked.
1. Sculpt Clay Bookends
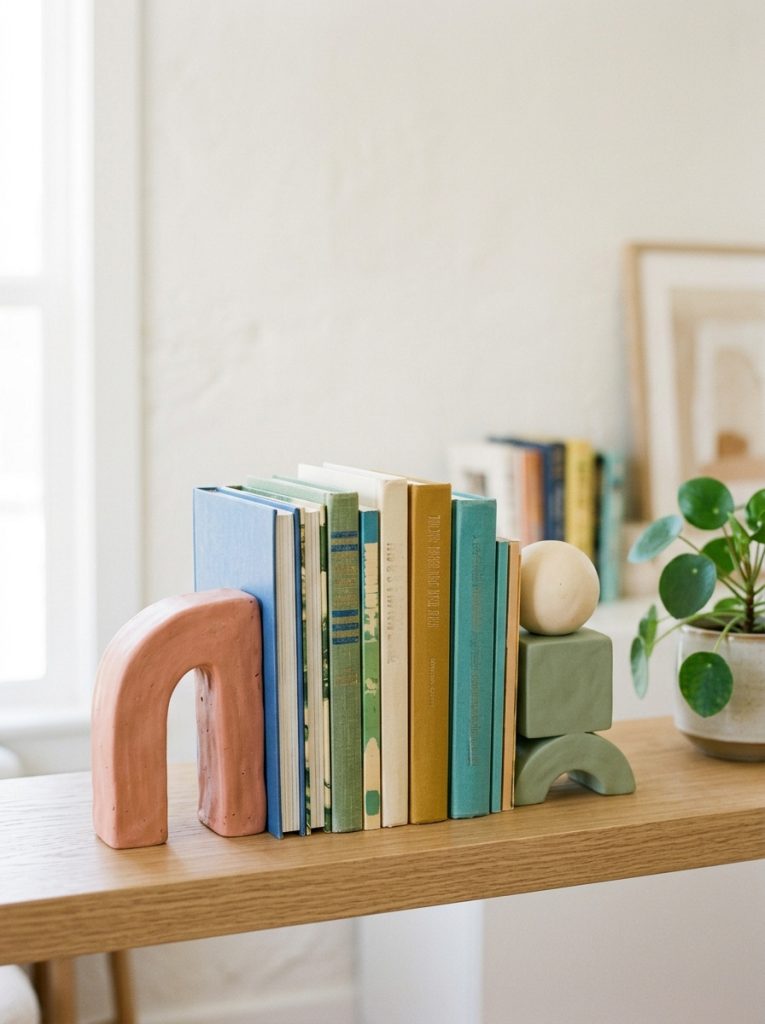
Air dry clay is probably the easiest material to start with for a first bookend build since it requires no kiln, no special tools, and dries to a solid finish that holds weight reliably. This bookend clay sculpt kit has everything needed to shape, smooth, and finish a pair without buying supplies separately. Form two matching blocks or any shape you want, press a flat weight into the base while the clay is still soft for a stable non-slip bottom, and paint after drying.
Materials Needed:
- Air dry clay
- Flat heavy weight for base pressing
- Sandpaper for smoothing
- Acrylic paint
- Sealant spray
How to Make It:
- Divide clay into two equal portions for a matching pair.
- Shape each portion into the desired form — a simple block, arch, or sculptural shape all work well.
- Press each piece firmly onto a flat surface to create a stable weighted base.
- Allow both pieces to dry completely, at least 24 to 48 hours.
- Sand smooth, paint in chosen color, and seal with a clear sealant spray.

Clay Sculpt Kit for Bookends
Complete clay kit for shaping and finishing a custom bookend pair without any special tools.
Check Price on Amazon2. Build Simple Wood Block Bookends
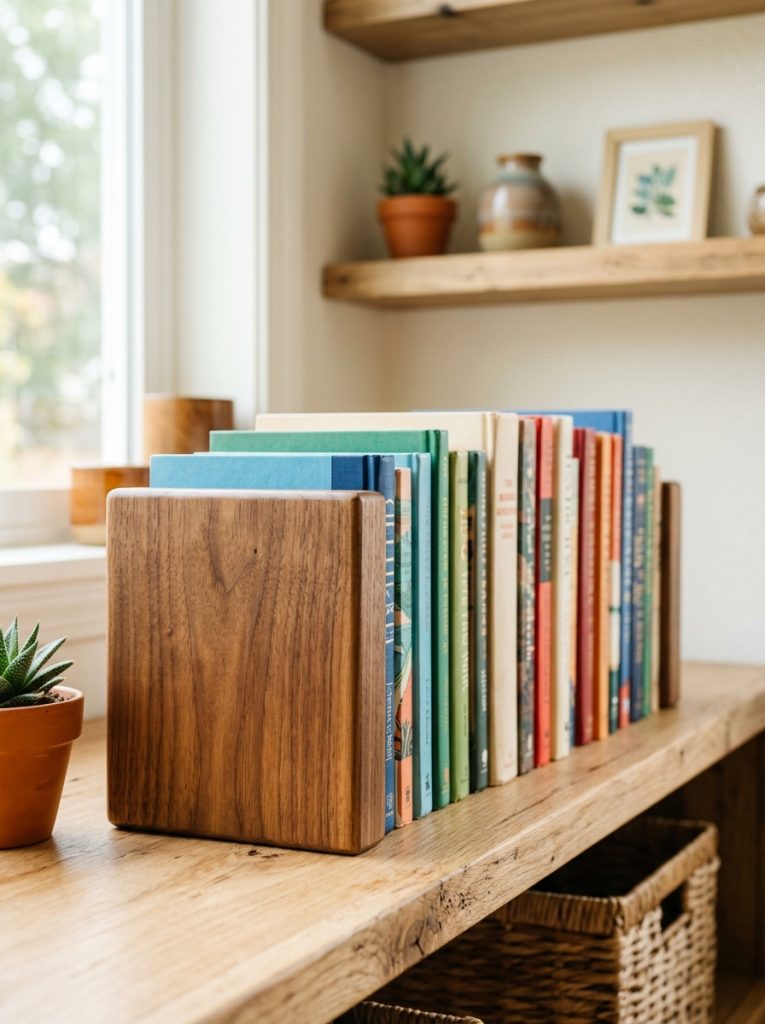
Two pieces of scrap wood cut to the right size and weighted with an L-bracket inside make a pair of bookends that are genuinely sturdy and look far more considered than their simple construction would suggest. This bookend wood decorative shows the clean natural finish to aim for. Sand every edge smooth so no splinters catch on book covers, and choose a stain that complements the existing shelf or furniture nearby.
Materials Needed:
- Scrap wood blocks
- L-brackets for internal weight
- Wood screws
- Sandpaper
- Wood stain or paint
How to Make It:
- Cut two matching wood blocks to the desired bookend height.
- Attach an L-bracket to the inside base of each block for added weight and stability.
- Sand all surfaces and edges thoroughly smooth.
- Apply wood stain or paint in the chosen finish.
- Add rubber feet to the base so the bookends grip the shelf without scratching.

Decorative Wood Bookends
Natural wood bookend style — great reference for finish and proportion when building your own.
Check Price on Amazon3. Pour Concrete Bookends
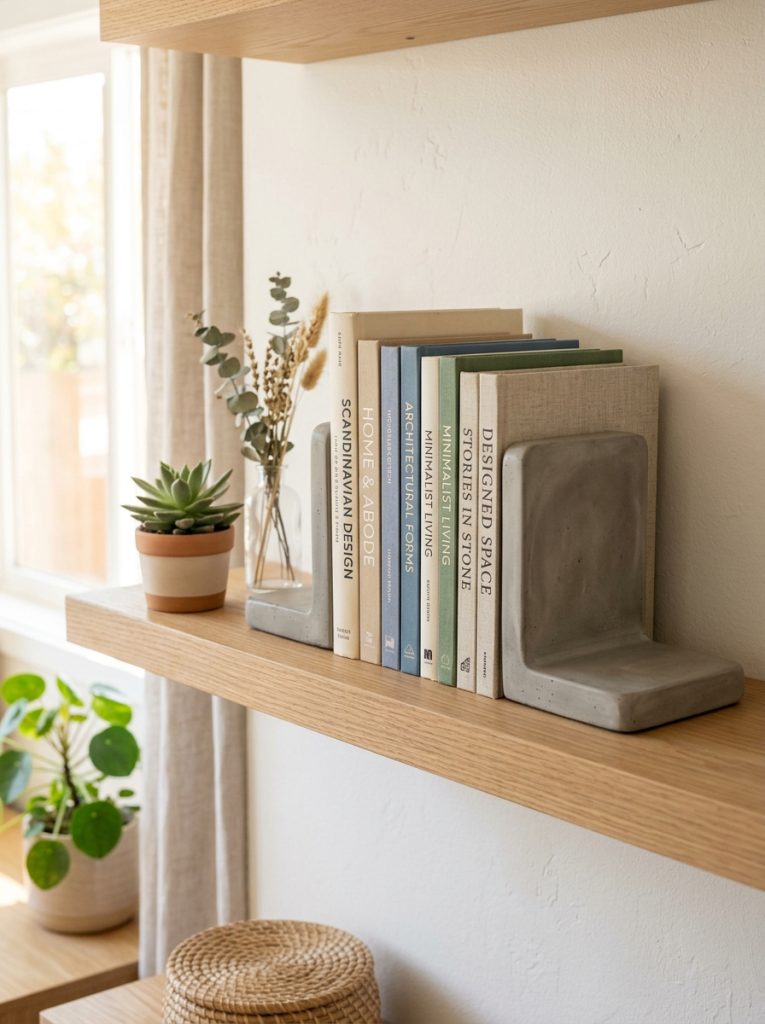
Concrete bookends have a weight and presence that almost no other material can replicate, with their dense heft keeping even a heavy row of books perfectly in place. This bookend concrete mold is the right shape for a first concrete pour without needing to build custom formwork. Mix, pour, and wait the full curing time before demolding — rushing this step is the most common reason concrete pieces crack or crumble at the edges.
Materials Needed:
- Concrete mix
- Silicone or plastic bookend mold
- Mixing bucket and stick
- Rubber gloves
- Sealant spray
How to Make It:
- Mix concrete according to package instructions until smooth and pourable.
- Pour into molds, tapping the sides to release air bubbles.
- Allow to cure fully, at least 24 to 48 hours, before demolding.
- Sand any rough edges lightly once fully cured.
- Apply a concrete sealant spray to protect the surface and reduce dust.

Concrete Bookend Mold
Ready-shaped silicone mold for pouring a clean geometric concrete bookend pair.
Check Price on Amazon4. Make Cute Nursery Bookends
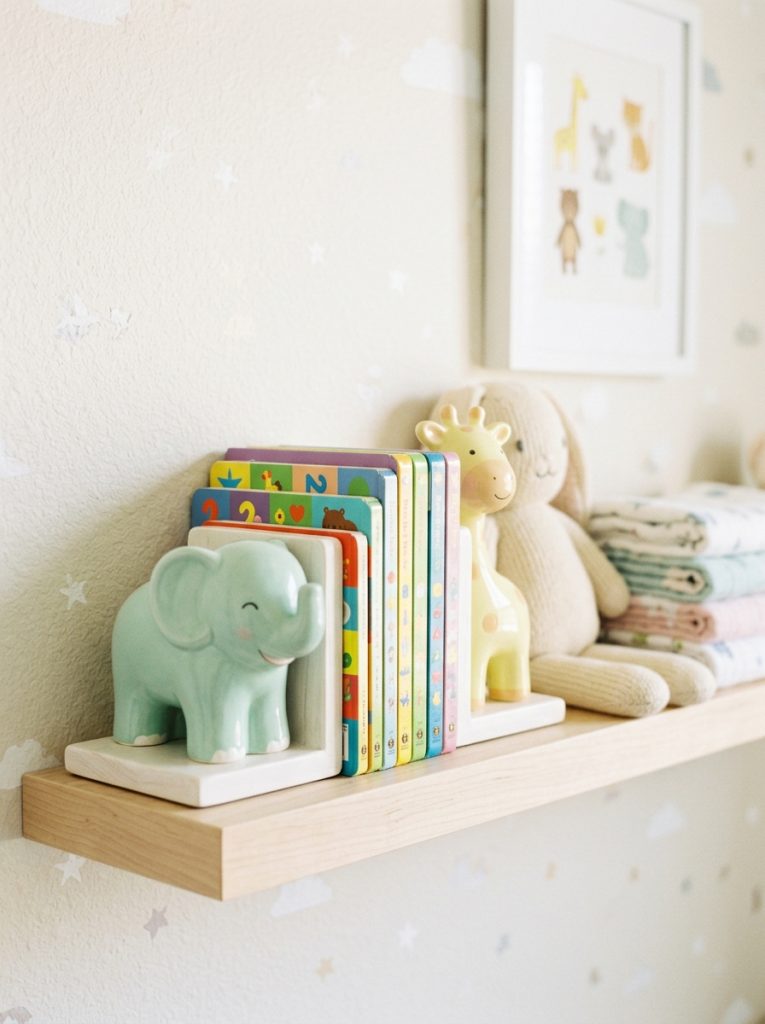
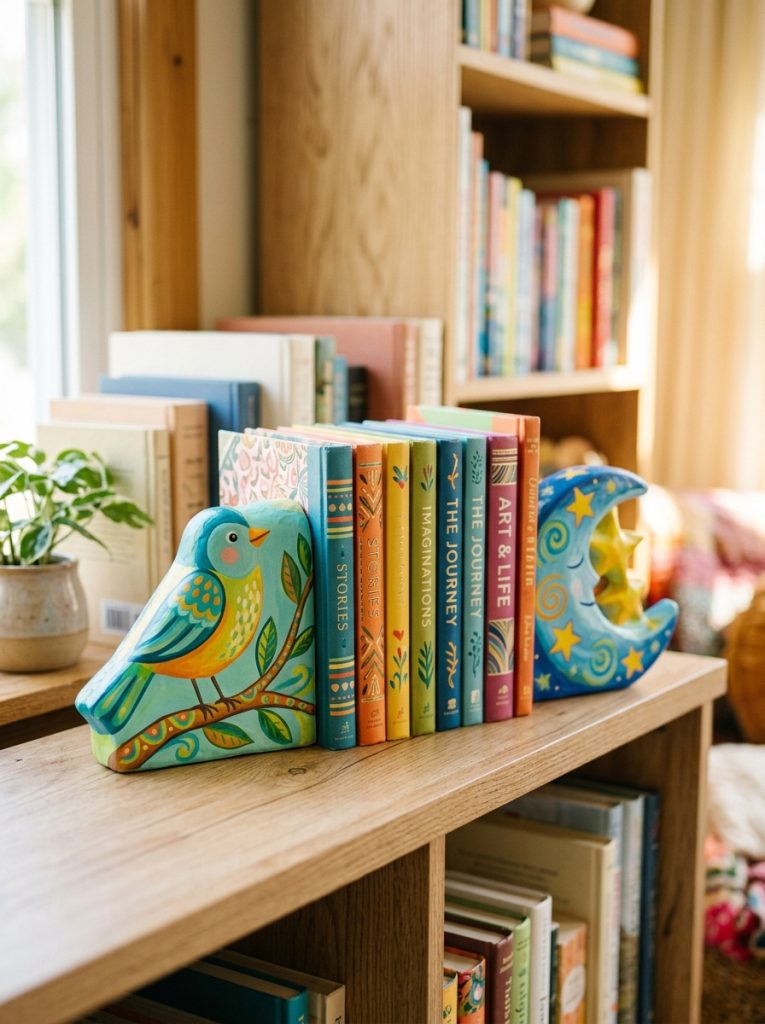
A nursery shelf benefits from bookends that match the gentle, playful aesthetic of the room rather than the more graphic or architectural styles that suit adult spaces. This bookend kids nursery cute shows the soft pastel animal style that works beautifully in a baby or toddler room. Make your own version from air dry clay shaped into simple animal silhouettes and painted in soft tones matching the nursery color scheme. For more nursery organization ideas check out these baby closet organization ideas.
Materials Needed:
- Air dry clay
- Pastel acrylic paint
- Small sculpting tools
- Sealant spray
How to Make It:
- Shape two matching animal or simple character forms from air dry clay.
- Create a flat weighted base on each piece for shelf stability.
- Allow to dry fully before painting.
- Paint in soft pastel tones matching the nursery palette.
- Seal with a child safe sealant spray once paint is fully dry.

Cute Nursery Bookends
Soft pastel animal bookends — great reference for a handmade nursery shelf version.
Check Price on Amazon5. Create Vintage Style Bookends

Vintage bookends with a distressed metallic finish give a shelf the kind of collected, curated look that takes years to achieve accidentally but only one afternoon to build deliberately. This bookend vintage antique style shows the aged brass aesthetic to recreate with paint. Start with a basic wood or clay base, apply a dark undercoat, then drybrush gold or brass paint over it for a convincing antique effect that costs almost nothing.
Materials Needed:
- Wood block or clay base
- Dark brown or black base paint
- Gold or brass metallic paint
- Dry brush
- Matte sealant
How to Make It:
- Build or shape two bookend bases in a simple architectural form.
- Apply a dark brown or black base coat and allow to dry completely.
- Load a dry brush with gold or brass metallic paint and lightly drag across raised surfaces only.
- Repeat dry brushing until the desired aged metallic look is achieved.
- Seal with a matte sealant to protect the finish without adding unwanted shine.

Vintage Antique Style Bookends
Aged brass finish bookends — great reference for recreating the vintage look with paint.
Check Price on Amazon6. Add a Mini Planter Bookend
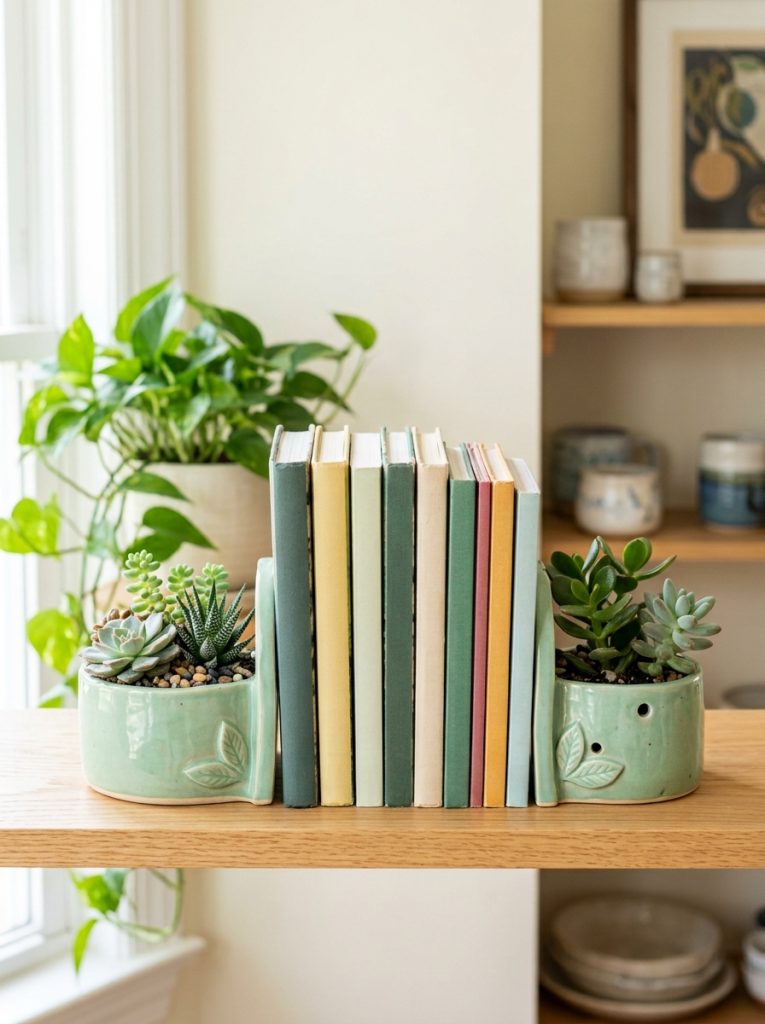
A bookend that doubles as a small planter is one of the most creative approaches on this list, combining functional shelf organization with a living plant element. This bookend planter succulent shows the style to build toward. Use a small waterproof clay or concrete base with a hollowed center section for a tiny succulent or air plant, since these varieties require minimal care and stay compact enough not to overwhelm the books they are holding.
Materials Needed:
- Air dry clay or concrete
- Small waterproof liner insert
- Tiny succulent or air plant
- Succulent potting mix
- Sealant for waterproofing
How to Make It:
- Shape two bookend bases with a hollow center section sized for a small plant.
- Waterproof the hollow interior with sealant before adding soil.
- Allow all materials to cure and dry fully.
- Add a small amount of succulent potting mix to the hollow.
- Plant a tiny succulent or nestle in an air plant and water sparingly.

Planter Bookend with Succulent
Bookend planter combo — great reference for building a version that holds a tiny living plant.
Check Price on Amazon7. Build Dollar Tree Bookends
The classic dollar tree bookend build glues a decorative figurine or small object onto a flat weighted base — both sourced from the dollar store — creating a pair that costs under five dollars total and looks genuinely intentional. Choose two matching items, glue each to a flat book-shaped base, and add weight with rocks, pennies, or gravel hidden inside the base if the original pieces are too light to actually hold books in place.
Materials Needed:
- Two matching dollar store decorative objects
- Flat wooden or heavy base pieces
- Strong adhesive (E6000)
- Heavy filler material for weight
- Paint (optional)
How to Make It:
- Choose two matching decorative objects from the dollar store.
- Attach each object to a flat heavy base using strong adhesive.
- If the assembled pieces feel too light, drill a small hole in the base and fill with gravel or coins before sealing.
- Allow adhesive to cure fully before testing with books.
- Paint if a cohesive color finish is preferred over the original mixed materials look.
8. Make Cardboard Bookends for Kids
Cardboard bookends are the most accessible project on this list for younger kids, requiring only materials already at home and producing a surprisingly functional result when layered and weighted correctly. Stack and glue multiple cardboard layers together until the piece is thick and rigid, then paint in bright colors or cover with patterned paper. These work best for lighter paperback books rather than heavy hardcovers. For more kids craft ideas check out these craft ideas for kids.
Materials Needed:
- Thick cardboard (multiple layers)
- PVA glue
- Acrylic paint or patterned paper
- Scissors or craft knife
How to Make It:
- Cut two matching L-shaped or block forms from thick cardboard.
- Layer and glue multiple cardboard pieces together for each bookend until sturdy.
- Allow glue to dry completely under a heavy book or flat weight.
- Cover with patterned paper or paint in bright colors.
- Seal with a layer of PVA glue for a harder, more durable finish.
9. Turn a Small Lamp into a Bookend
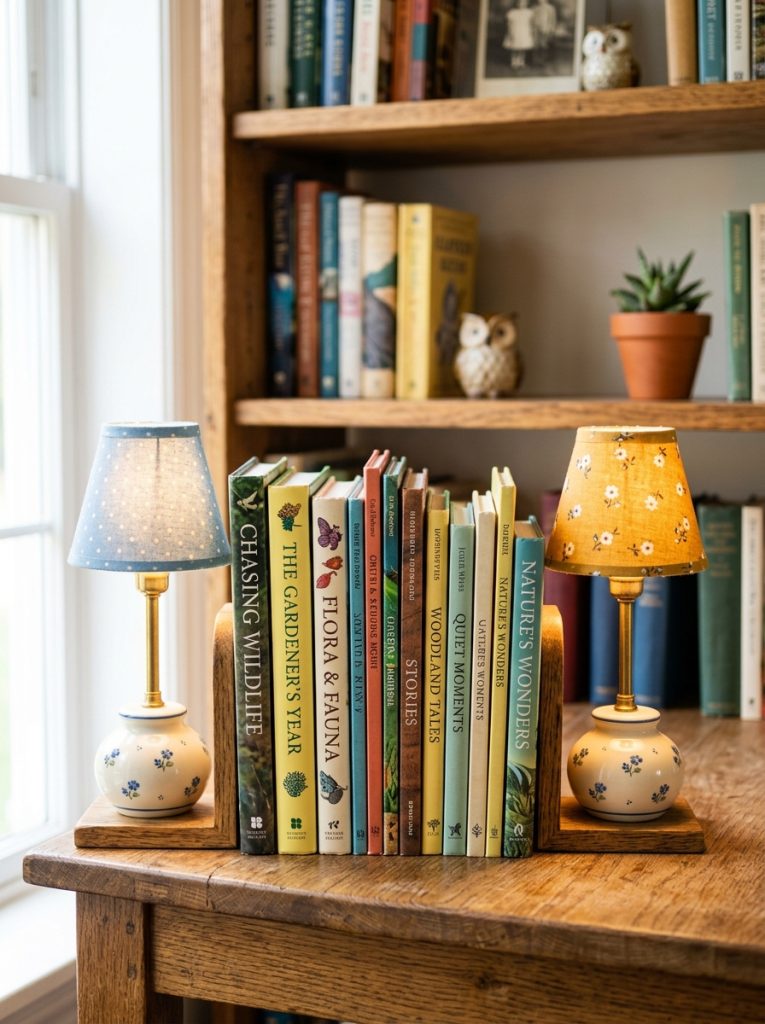
A miniature lamp repurposed as a bookend is one of the most creative and unexpected approaches, creating a conversation piece on any shelf where most visitors will do a double take on noticing the lamp doubles as a book stopper. Source two identical small lamps from a thrift store, add a weighted base inside if needed, and the finished pair brings a playful, slightly surreal quality that fully custom made bookends cannot replicate.
Materials Needed:
- Two matching small lamps from a thrift store
- Weighted base material if needed
- Strong adhesive
- Paint (optional)
How to Make It:
- Source two identical small lamps in a compatible scale for the intended shelf.
- Clean and remove any loose or damaged parts from each lamp.
- Add weighted material inside the base if the lamp feels too light for holding books.
- Seal the base closed once weighted.
- Paint in a matching color or leave as found depending on the shelf aesthetic.
10. Shape Creative Geometric Bookends
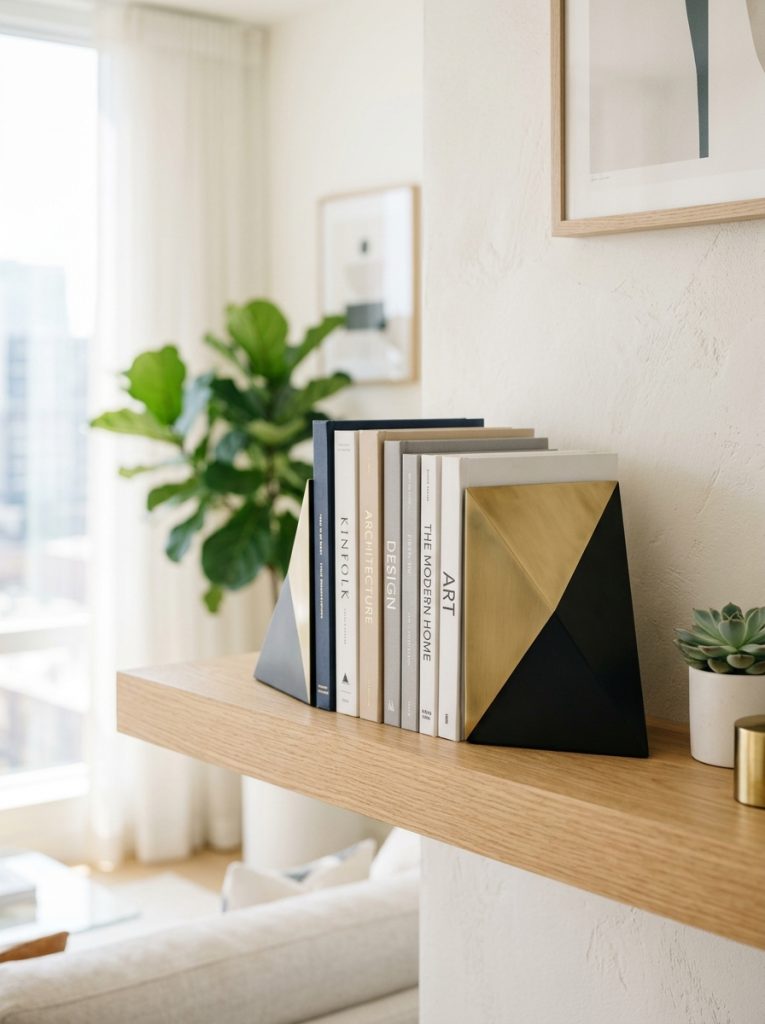
Geometric bookends with sharp angles and clean faceted surfaces look considerably more complex to build than they actually are when made from wood or clay. Cut wood into angular pyramid or prism shapes, sand every face flat and smooth, and paint in a bold solid color or metallic finish for a result that reads as professionally designed. This style suits a modern minimalist shelf far better than traditional decorative or figurative bookend styles.
11. Make Paper Mache Bookends
Paper mache bookends are one of the lightest and most budget friendly options on this list, built over a balloon or small box armature and painted once fully dry and hardened. They work best for lighter book collections since they cannot support the same weight as clay or concrete versions. The advantage is total shape freedom — any form is achievable with paper mache in a way that rigid materials like wood cannot match without complex cutting.
12. Craft Easy Bookends with Kids
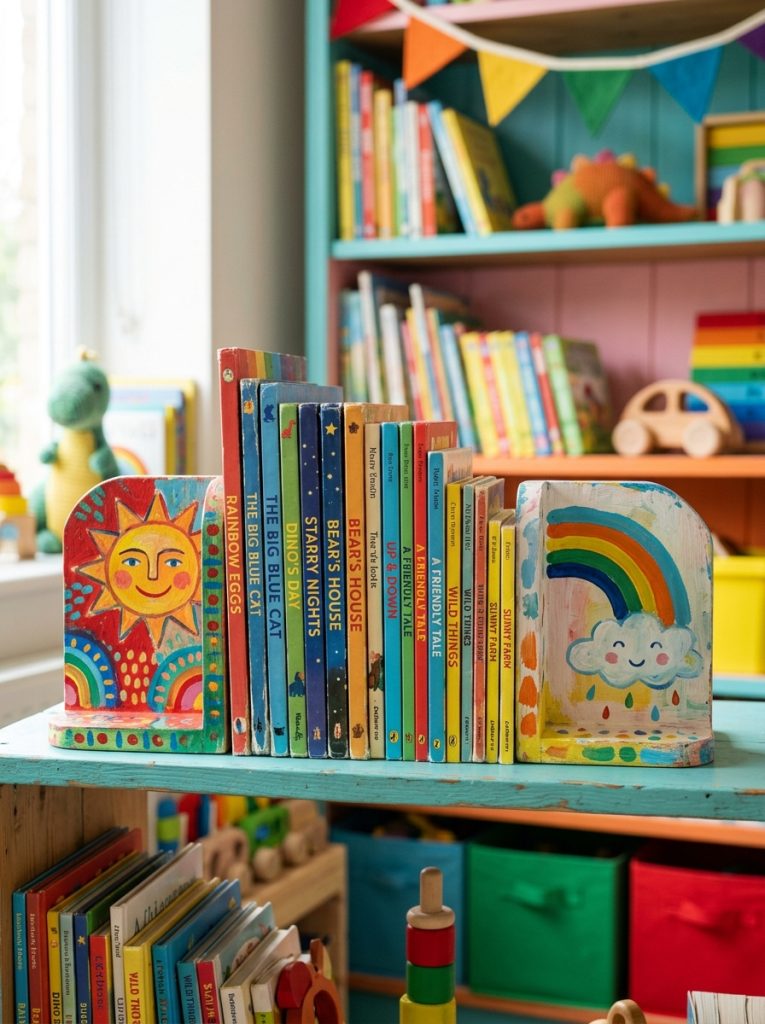
A bookend making session with kids works best when the build stays genuinely simple — painted rocks, decorated boxes filled with sand, or basic clay blobs all make perfectly functional bookends that hold books reliably. The goal is a finished pair the child feels proud to display on their own shelf. For more creative kids activity ideas check out these DIY sensory bin ideas and these recycled crafts for kids.
Final Thoughts on DIY Bookends
A handmade pair of bookends does something no store bought version quite manages — it puts a piece of genuine effort and personality directly on the shelf. Whether built from a dollar tree find, poured in concrete, or shaped from clay in an afternoon, the right pair makes every book display look more intentional. Pick one idea from this list and build your first pair this week.

Amir Ali is the founder and site administrator of HomeDecorEdge, a modern home decor and interior design platform. Since starting the site, he has combined his passion for interior design, practical styling, and color coordination with hands-on content strategy and site management. He guides authors, curates high-quality articles, and ensures readers have access to actionable, visually inspiring, and user-focused home decor advice for apartments, small rooms, and family homes.