

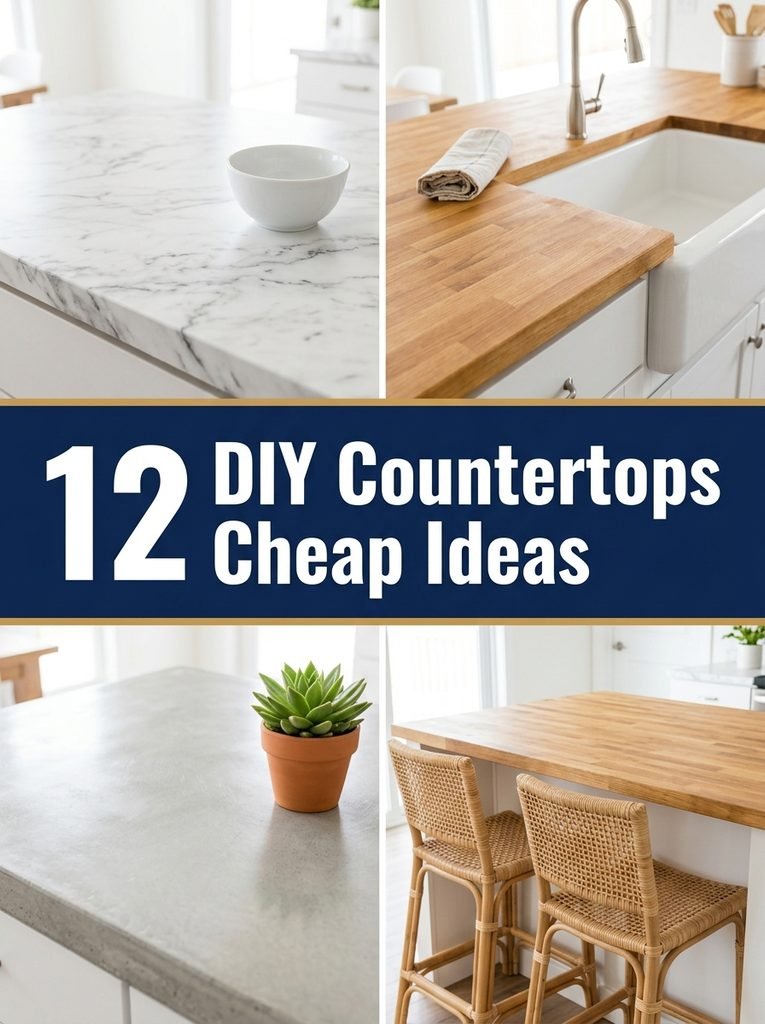
When I got my first quote for new stone countertops, I closed the email and pretended I’d never seen it. That number was more than everything else in my kitchen combined. So I started looking at what people were doing on a real budget, and honestly, I was blown away. Paint, contact paper, plywood, a bit of epoxy. Some of the best looking kitchens I’ve seen were done for less than a nice dinner out. Here are 12 cheap DIY countertop ideas, from quick weekend fixes to proper wood installs, each with a practical tip and a quick list of what you’ll need.
1. Paint Laminate Countertops to Look Like Marble
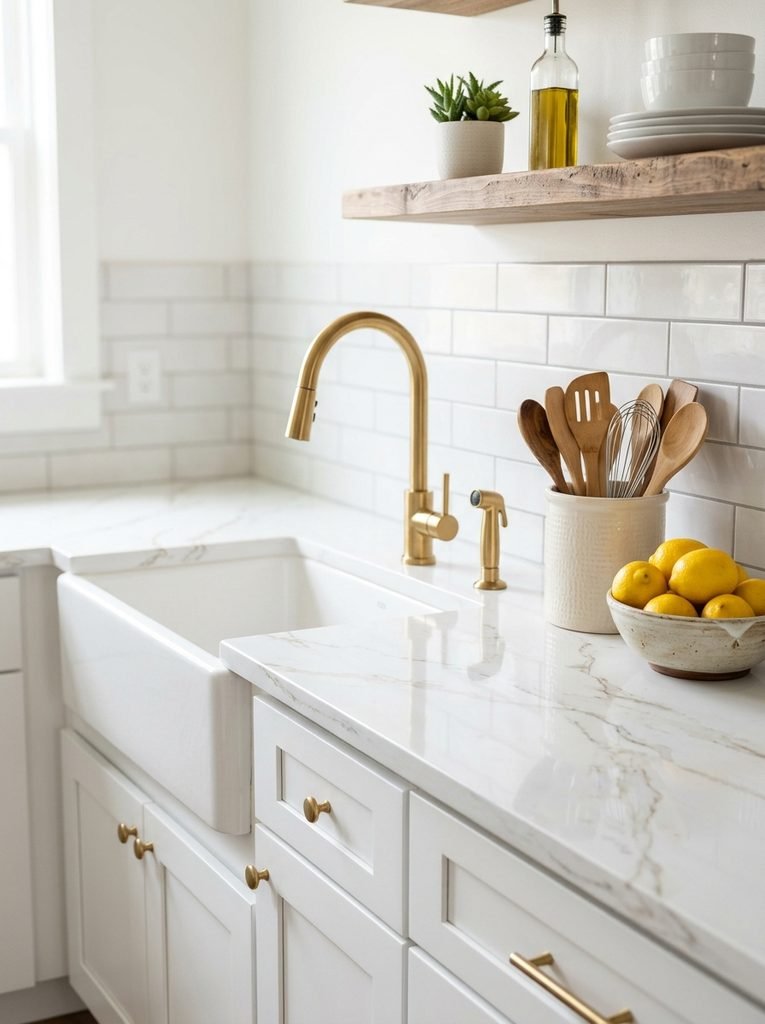
Painting old laminate is the cheapest countertop makeover there is, and done well, it looks surprisingly like real marble. It’s perfect for dated beige or speckled countertops that are still in good shape.
Materials Needed: A degreasing cleaner, 220 grit sandpaper, painter’s tape, a bonding primer, white or off white paint (a countertop paint kit works well), small artist brushes or a feather for veining, grey and soft gold craft paint, a foam roller, and a clear water based topcoat or epoxy made for countertops.
How to Make It: Clean the countertop thoroughly with a degreaser, then sand lightly so the primer can grip. Wipe away all the dust and tape off the backsplash, sink and walls. Roll on a coat of bonding primer and let it dry fully. Add two thin coats of white paint. While the last coat is still slightly wet, drag a fine brush or feather with thinned grey paint in loose, wobbly diagonal lines, then soften them with a dry brush. Add a few thin gold veins if you like. Finish with several thin coats of clear topcoat and let it cure for the full time on the label before using it. A tip I picked up: look at a photo of real marble while you paint. Real veins are uneven and break off, and copying that randomness is what makes it believable.
2. Contact Paper Countertop Makeover
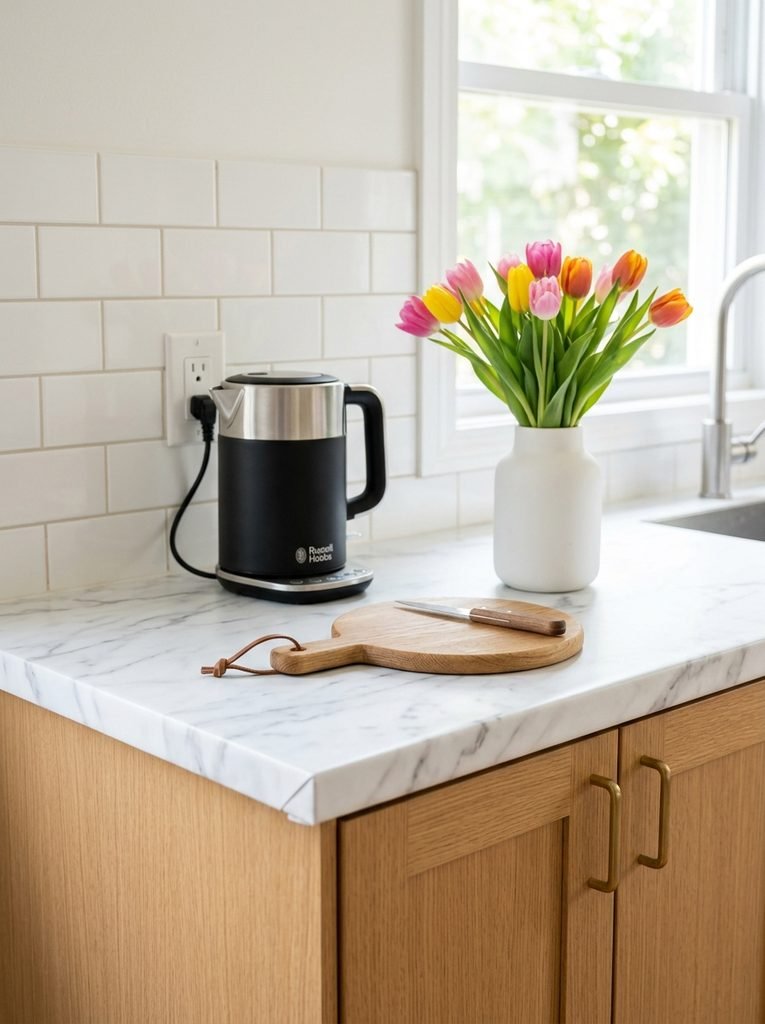
Contact paper is the go to fix for renters, because it peels off when you move out. It’s also the fastest way to change the whole look of a kitchen in an afternoon.
Materials Needed: Thick, water resistant marble or granite look contact paper, a plastic squeegee or credit card, a sharp craft knife, a measuring tape, a hair dryer, and a soft cloth.
How to Make It: Clean and dry the countertop completely, because any crumbs will show as bumps. Measure each section and cut the paper a couple of inches larger on all sides. Peel back just a few inches of the backing, line up the straight edge with the back wall, and smooth it down with the squeegee as you slowly pull off more backing. Work from the center out to push air bubbles to the edges. Warm the paper with a hair dryer at the front edges and corners so it stretches and wraps neatly, then trim the extra with a sharp knife. Where two pieces meet, overlap them slightly and line up the pattern. In my experience, it’s worth buying one extra roll. You’ll want it for mistakes, and for patching later.
3. Butcher Block Countertop Install
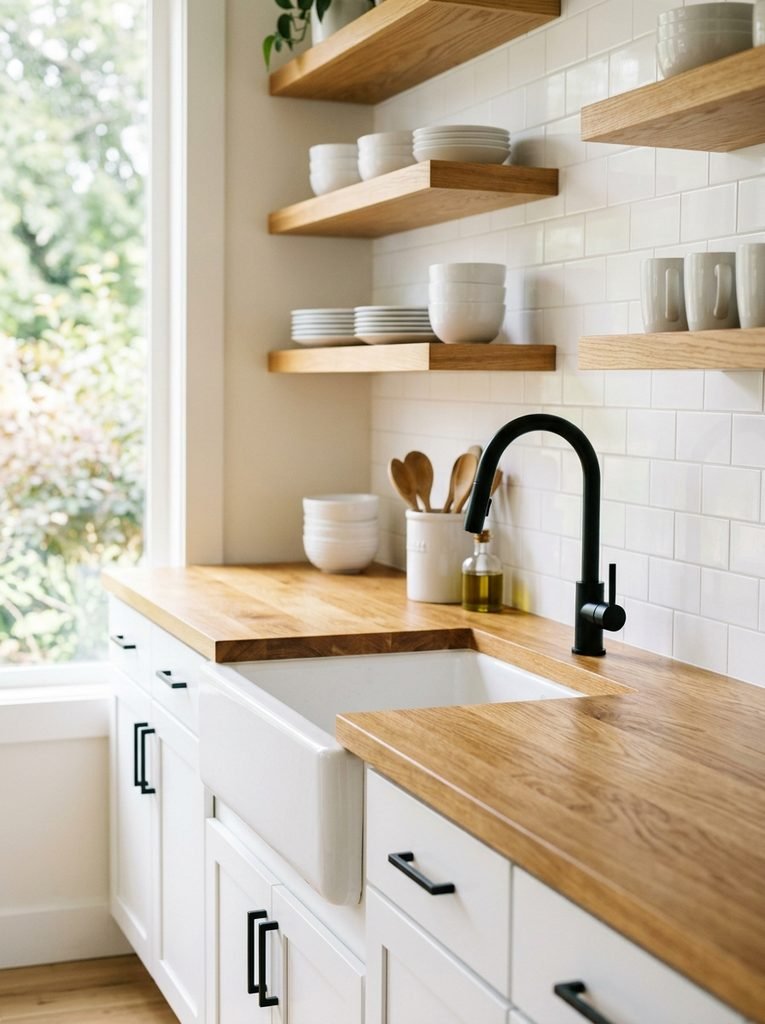
Butcher block gives you real wood warmth for a fraction of the cost of stone. You can buy ready made slabs at most home improvement stores and install them yourself in a weekend.
Materials Needed: Butcher block slabs, a circular saw with a fine tooth blade, a straight edge guide, clamps, a jigsaw for a sink cutout, sandpaper, wood screws with washers, a drill, a level, and a finish such as food safe mineral oil and wax or a durable water based polyurethane.
How to Make It: Remove the old countertop and check that your cabinets are level, adding shims where needed. Measure carefully, then cut the slab to length with a circular saw guided by a clamped straight edge. If you need a sink cutout, trace the template and cut it with a jigsaw. Sand all the edges smooth. Seal every side of the slab, including the underside and the cut edges, before installing, so moisture can’t sneak in. Set the slab on the cabinets and fasten it from below through the cabinet corner brackets, drilling slightly oversized holes so the wood can expand and shrink with the seasons. Apply your top finish. A tip I picked up: around the sink, use polyurethane instead of oil. Water sitting near the faucet is the number one thing that ruins wood countertops.
4. Plywood Countertop With a Sealed Finish
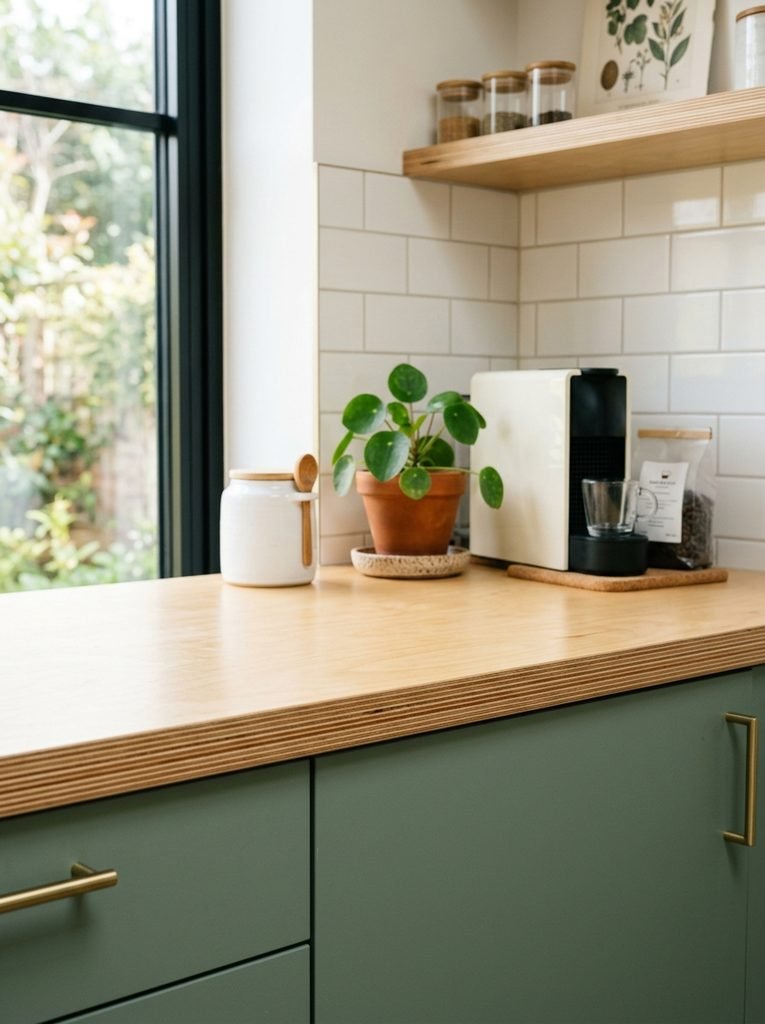
Plywood countertops have a cool, modern look, especially when the layered edge is left showing. They’re one of the cheapest options out there. Use a good quality birch or maple plywood with a smooth face, and choose a thickness that feels sturdy, or glue two sheets together for a chunkier look. Sand it well and seal it with several coats of water based polyurethane. Honestly, I love how the striped edge looks with sage or navy cabinets. A tip I picked up: seal the underside too, so it doesn’t warp from moisture.
You’ll need: smooth faced birch plywood, wood glue, a circular saw, 120 and 220 grit sandpaper, and water based polyurethane.
5. Epoxy Coating Over Old Countertops
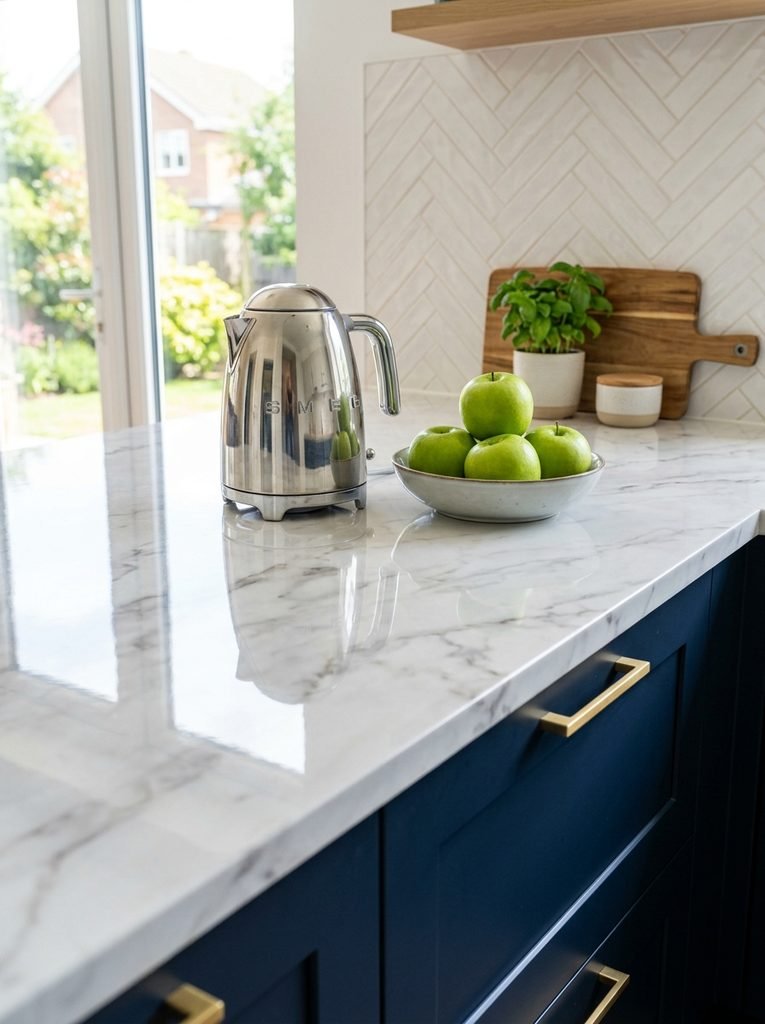
Epoxy gives old countertops a super glossy, glass like finish that looks really high end. You can pour it over a painted marble base, a solid color or even a metallic swirl. It’s tougher than paint alone, which is great for busy kitchens. Plan for good ventilation, take your time, and tape under the edges to catch drips. In my experience, epoxy waits for no one, so have everything ready before you mix. Read the working time on the label and prepare small batches if you’re new to it.
You’ll need: a countertop epoxy kit, primer and base paint, painter’s tape, plastic sheeting, a foam roller, mixing buckets, and a small heat gun or torch for bubbles.
6. Concrete Overlay on Laminate
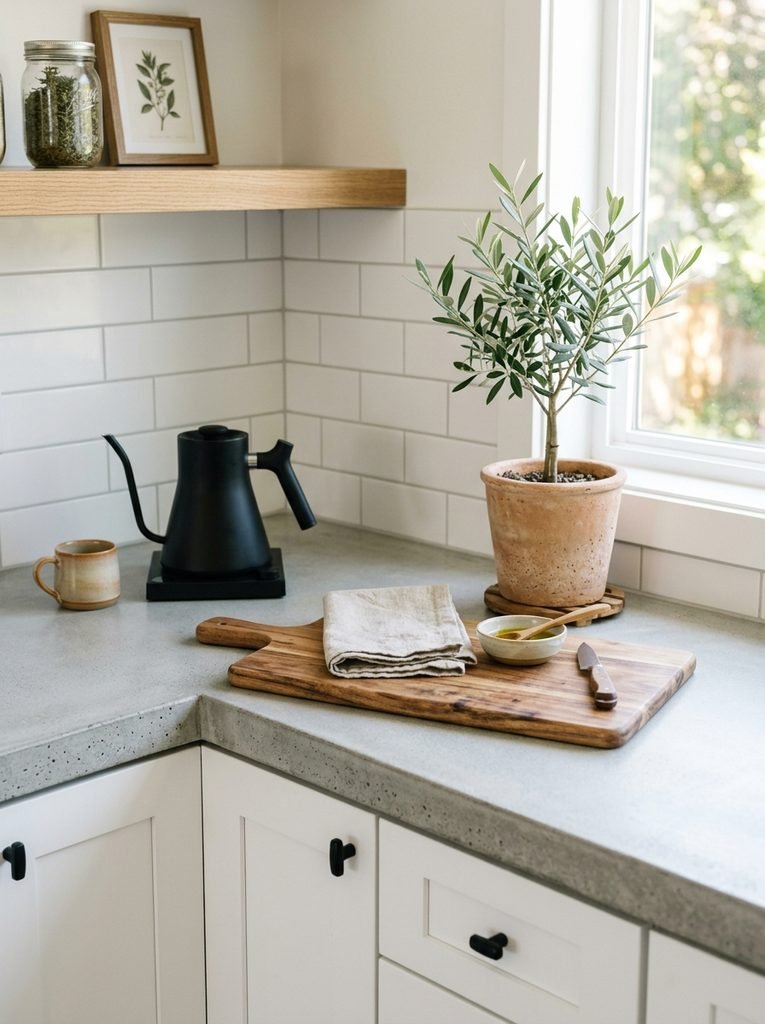
A concrete overlay gives you the industrial look of poured concrete without the weight or the cost. You trowel thin layers of a fine cement mix right over your existing laminate. Each layer gets a light sanding, then you seal the whole thing. The look is soft, natural and a little different everywhere. Honestly, I love that no two concrete countertops are the same. A tip I picked up: use a good penetrating concrete sealer and reseal once a year, because concrete stains easily without it.
You’ll need: a feather finish or overlay cement mix, a mixing bucket, a steel trowel, 120 grit sandpaper, a primer for laminate, and a food safe concrete sealer.
7. Tile Over an Old Countertop
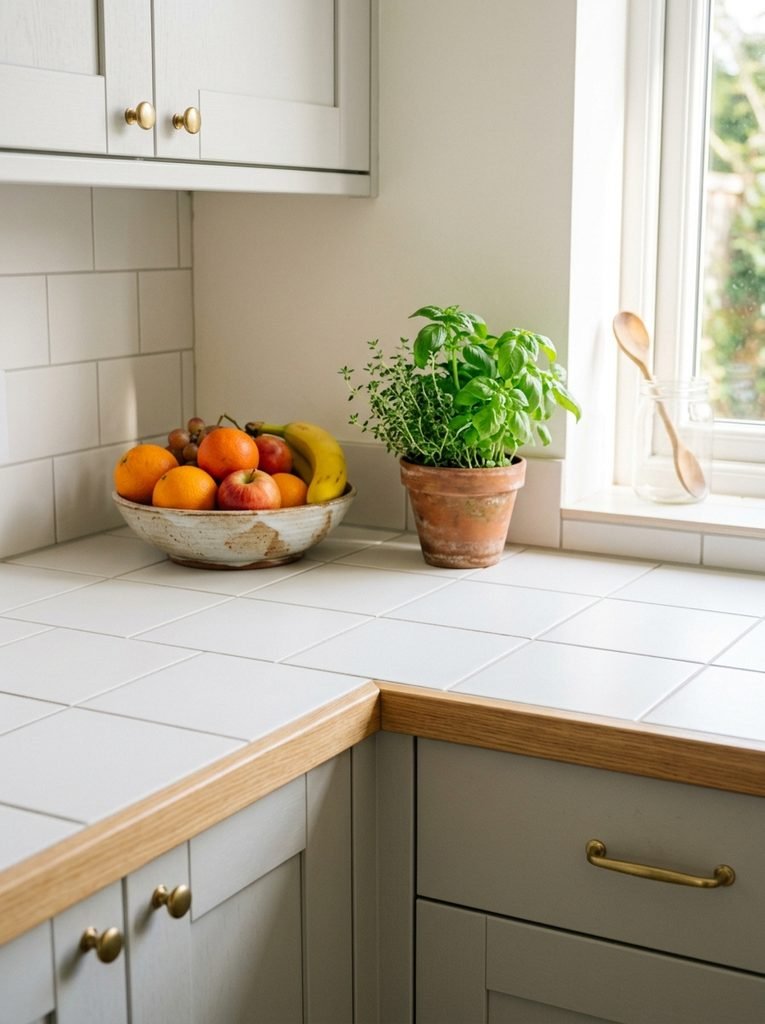
Tile is a classic cheap countertop upgrade, and large tiles look much more modern than the small squares you might remember. For a solid base, screw down a layer of cement backer board over the old countertop before tiling. Choose larger tiles so there are fewer grout lines to clean. In my experience, a stain resistant or epoxy grout is worth the extra cost in a kitchen. Finish the front edge with a wood trim or bullnose tile for a clean look.
You’ll need: large format tiles, cement backer board with screws, thinset mortar, a notched trowel, tile spacers, stain resistant grout, a tile cutter, and edge trim.
8. Wood Plank Countertop
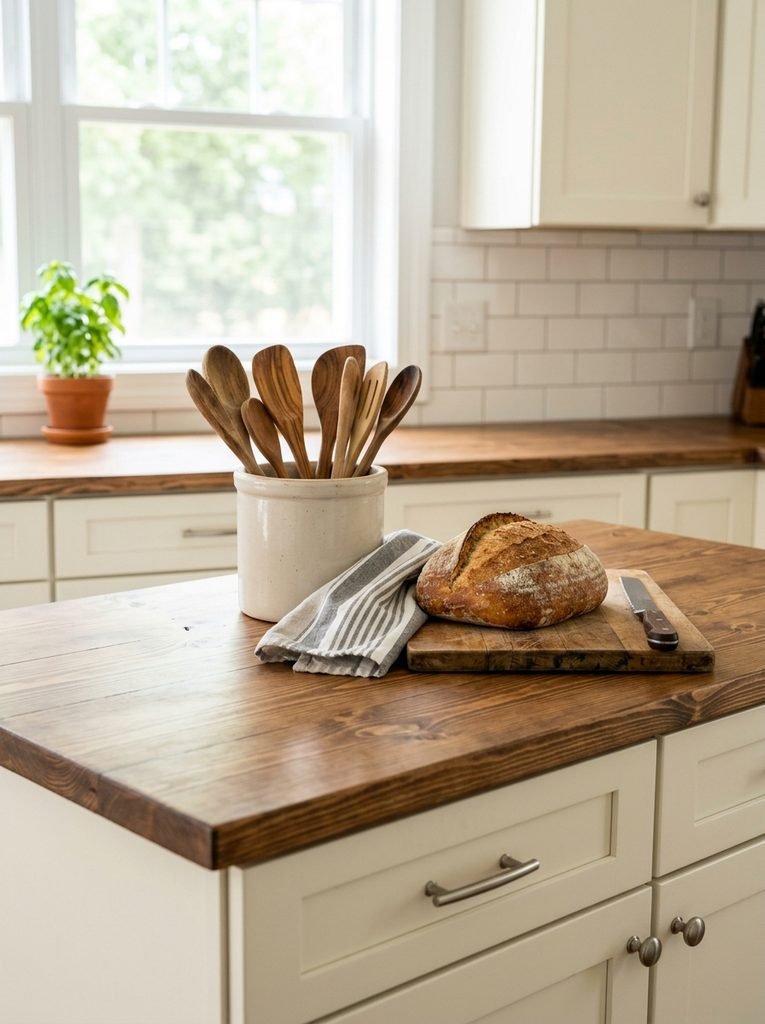
If you can’t find butcher block in your size or budget, you can make your own countertop from planks. Glue and clamp straight boards together edge to edge, then sand everything flat. A warm stain and a few coats of polyurethane make it look rich and cozy. Honestly, this one has so much farmhouse charm. A tip I picked up: choose boards that are perfectly straight and dry, because warped wood will fight you every step of the way.
You’ll need: straight pine or poplar boards, wood glue, long bar clamps, an orbital sander, wood stain, and polyurethane.
9. Butcher Block Kitchen Island Countertop
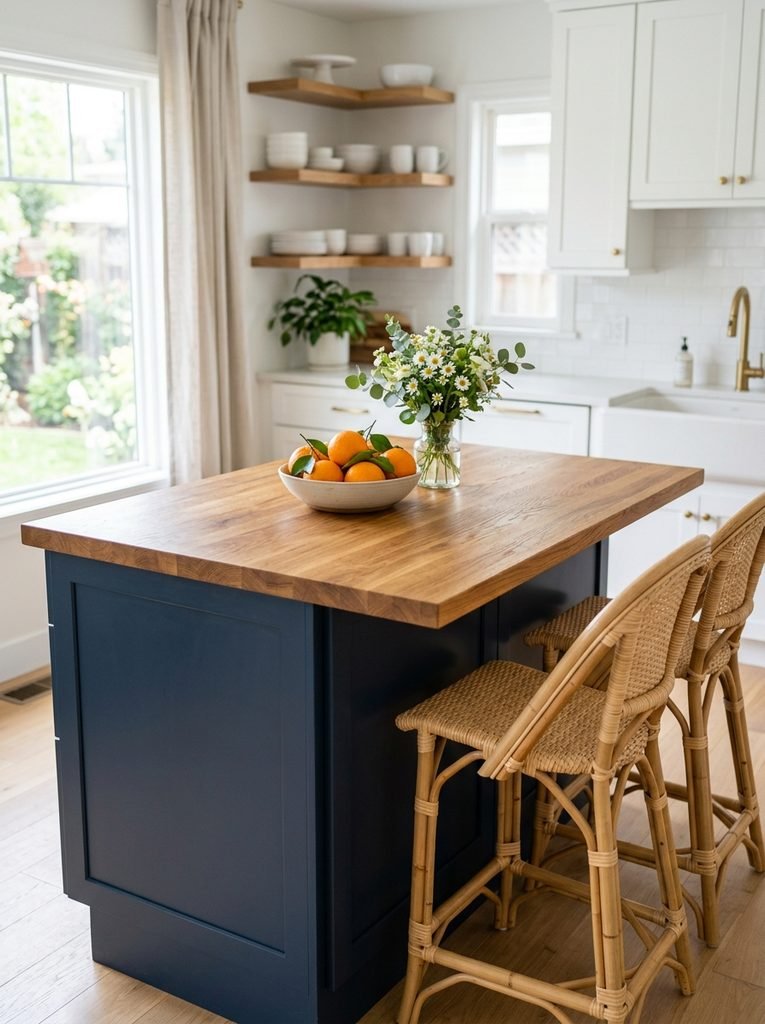
If your budget can’t stretch to the whole kitchen, just upgrade the island. A butcher block island top looks warm and inviting, and it works beautifully next to white or painted countertops. Add an overhang of around 10 to 12 inches on one side if you want seating, and support it with sturdy brackets. I like pairing a wood island top with a navy or sage island base. Honestly, it instantly becomes the heart of the kitchen.
You’ll need: a butcher block slab, a circular saw, sandpaper, food safe oil or polyurethane, countertop support brackets, and wood screws.
10. Stone Look Countertop Paint Kit
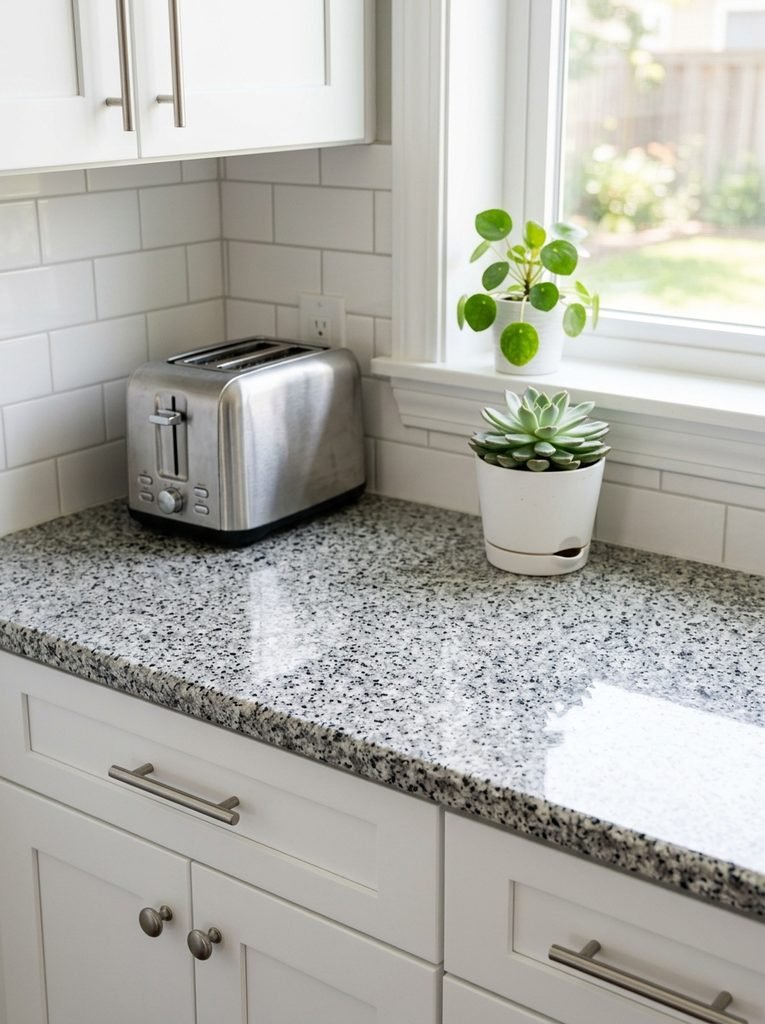
Stone look countertop kits come with everything you need to create a granite or speckled stone effect. You roll on a base, sprinkle or sponge the stone colored layers, then seal it all with a clear coat. It’s very forgiving, because the speckles hide small mistakes. In my experience, these kits are a great choice if painting marble veins feels too tricky. Follow the steps in order and don’t rush the drying time.
You’ll need: a stone look countertop paint kit, a degreaser, 220 grit sandpaper, painter’s tape, foam rollers, sponges, and plastic sheeting.
11. New Laminate Sheet on the Old Base
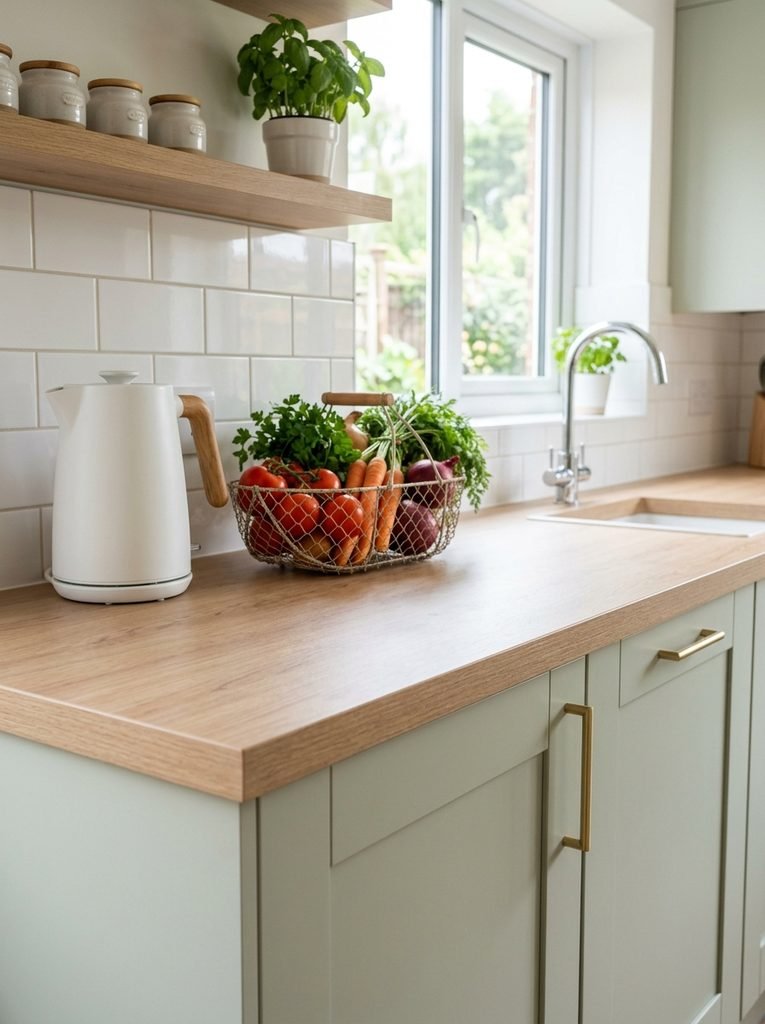
Modern laminate looks nothing like the old shiny stuff. Matte wood grain, marble and concrete finishes are really convincing now. If your countertop base is still solid, you can glue a new laminate sheet right on top of the old one after scuffing it. Use contact cement and a roller to press it flat. Honestly, it’s one of the most durable cheap options, because laminate handles heat and spills better than paint. A tip I picked up: trim the edges with a router and a flush trim bit for a clean, factory finish.
You’ll need: a new laminate sheet, contact cement, a J roller, coarse sandpaper, a router with a flush trim bit, and a fine file.
12. Wood Edge Trim Upgrade
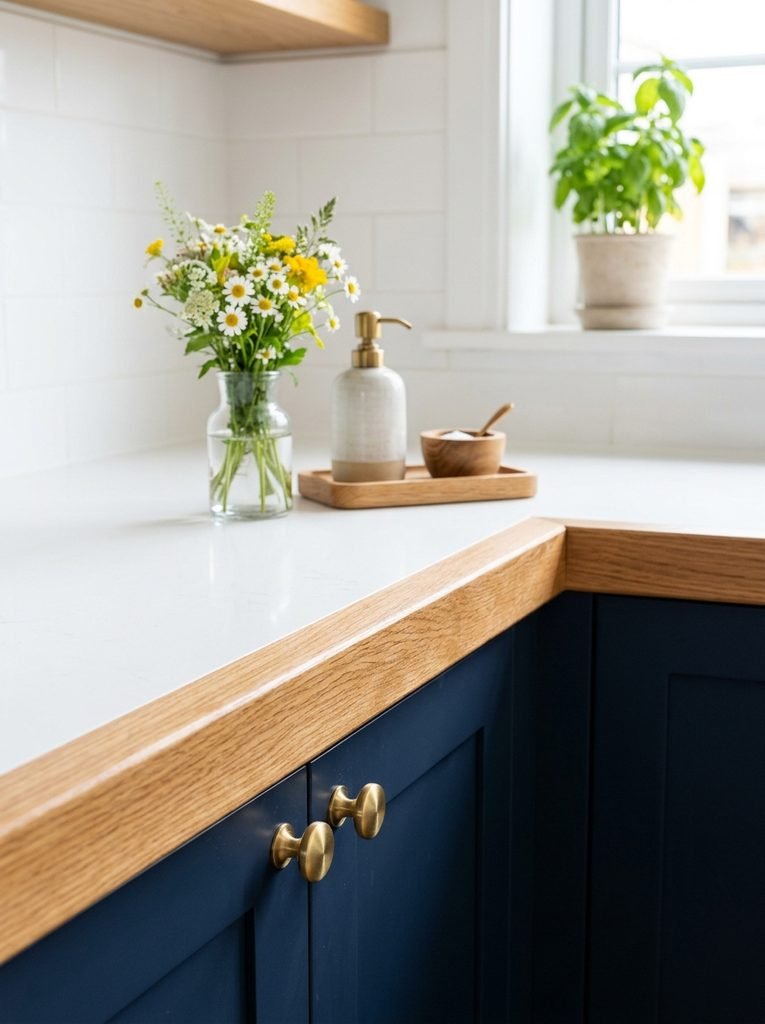
Sometimes the edge is what makes a countertop look cheap, especially old rounded laminate edges. Adding a wood edge trim along the front instantly makes the whole countertop look thicker and more custom. It pairs beautifully with a painted or contact paper top. Stain or paint the trim to match your cabinets or flooring. In my experience, this tiny upgrade makes people think you replaced the whole countertop.
You’ll need: oak or pine trim strips, construction adhesive, finishing nails, a miter saw, wood filler, sandpaper, and stain or paint.
Final Thoughts on DIY Countertops Cheap
You don’t need a huge budget to love your kitchen again. Start with the method that fits your space and your skills, whether that’s paint, contact paper or butcher block. Honestly, the best DIY countertops cheap or not are the ones that make you smile every time you make a cup of coffee.


Amir Ali is the founder and site administrator of HomeDecorEdge, a modern home decor and interior design platform. Since starting the site, he has combined his passion for interior design, practical styling, and color coordination with hands-on content strategy and site management. He guides authors, curates high-quality articles, and ensures readers have access to actionable, visually inspiring, and user-focused home decor advice for apartments, small rooms, and family homes.