
Hummingbirds are one of those backyard visitors that make the whole garden feel alive. Getting them to show up regularly is easier than most people think — all they need is a reliable nectar source in the right spot. These DIY hummingbird feeder ideas use everyday materials like mason jars, wine bottles, and plastic bottles to make feeders that work just as well as anything from a store.
This post contains affiliate links. If you purchase through these links I may earn a small commission at no extra cost to you.
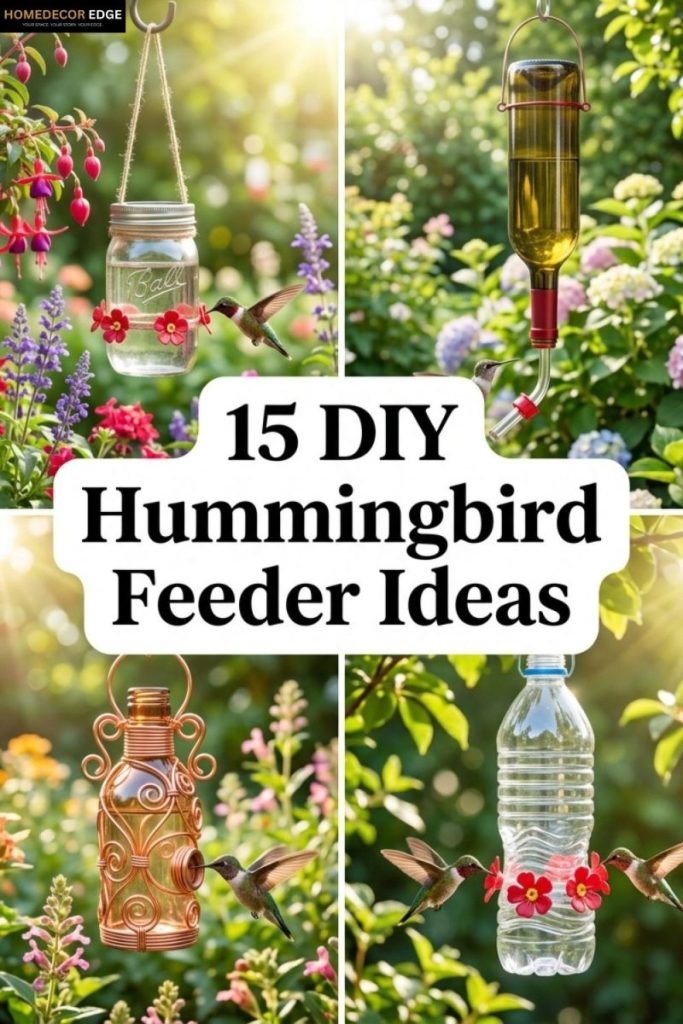
Set up one of these feeders this weekend and the hummingbirds will find it.
1. Make a Classic Mason Jar Hummingbird Feeder
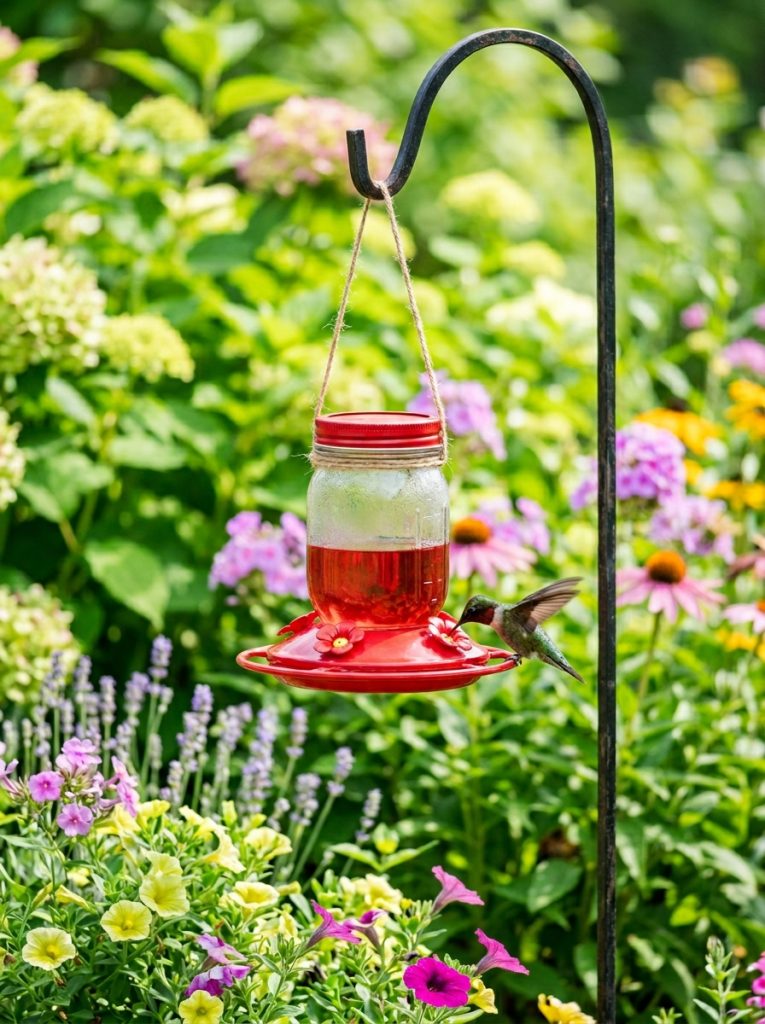
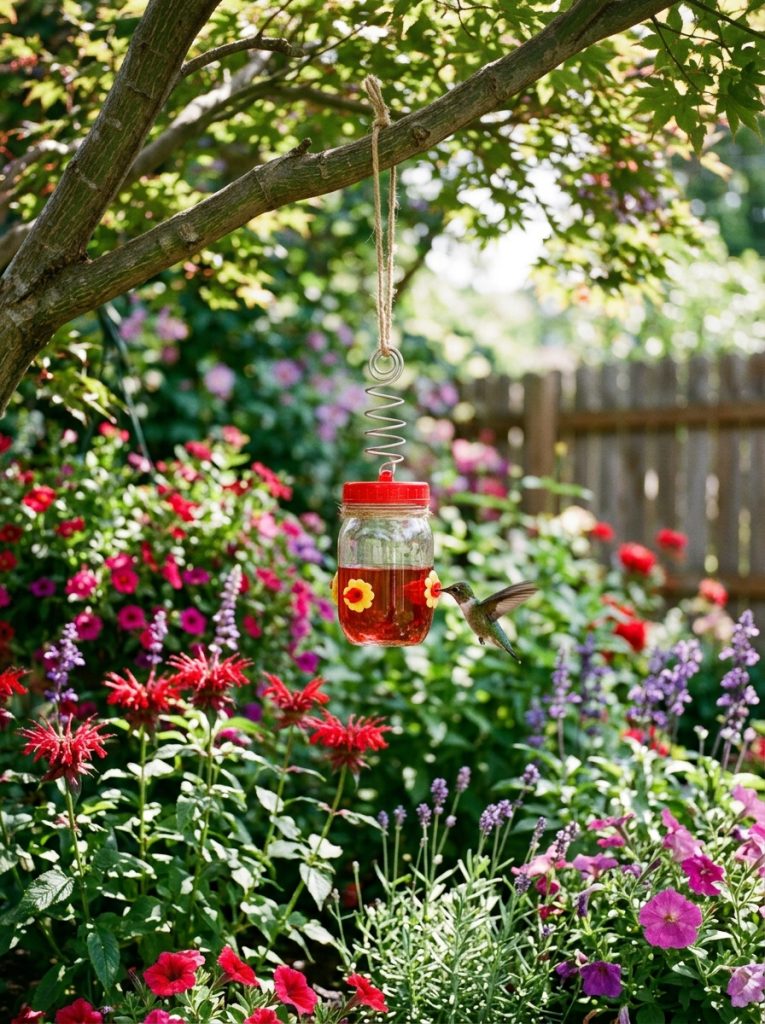
A mason jar hummingbird feeder is the easiest and most popular DIY build on this list. The jar holds the nectar, a red plastic lid with feeding ports screws on the bottom, and a wire hanger lets you hang it anywhere in the garden. This mason jar hummingbird feeder kit includes the lid and ports so all you need is a standard wide mouth mason jar. Red is the most important color — hummingbirds are strongly attracted to red and will find the feeder faster.
Materials Needed:
- Wide mouth mason jar
- Hummingbird feeder lid with ports
- Wire for hanging
- Homemade or store bought nectar
How to Make It:
- Fill a clean wide mouth mason jar with hummingbird nectar.
- Screw the feeder lid with ports onto the jar firmly so it does not leak.
- Turn the jar upside down — the lid with ports now faces down.
- Twist wire around the jar neck to create a hanging loop.
- Hang from a shepherd hook or tree branch in a shaded garden spot.

Hummingbird Feeder Mason Jar Kit
Complete mason jar feeder kit with red lid and feeding ports — just add a wide mouth mason jar and nectar.
Check Price on Amazon2. Wrap a Feeder with Copper Wire for a Decorative Look
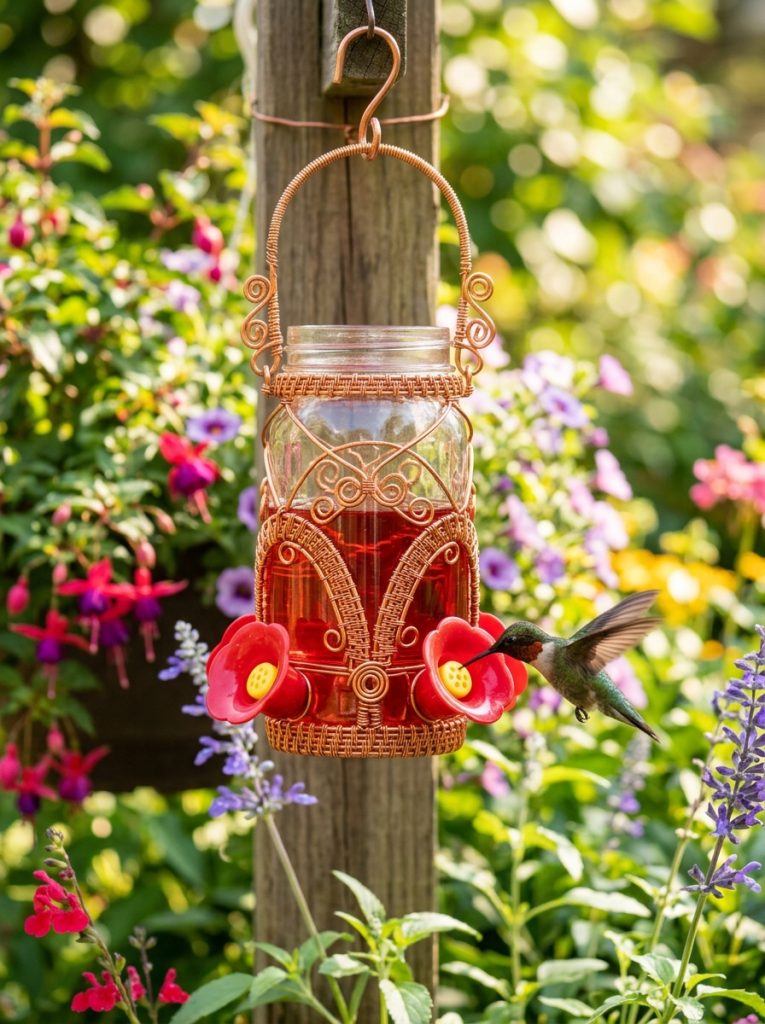
Copper wire wrapped around a mason jar or glass bottle feeder turns a plain functional feeder into a garden art piece. Wrap the wire in spiral patterns, create leaves or flower shapes at the top, or simply coil it tightly for a clean textured look. This copper wire for hummingbird feeders is the right gauge — flexible enough to shape but sturdy enough to hold. Copper also develops a natural patina over time that looks even better outdoors.
Materials Needed:
- Mason jar or glass bottle feeder
- Copper wire
- Wire cutters and pliers
- Feeder lid with ports
How to Make It:
- Start at the base of the jar and begin wrapping copper wire in a tight coil upward.
- Leave sections unwrapped or vary the pattern for a decorative effect.
- At the top, form a sturdy hanging loop by twisting extra wire into a tight coil.
- Add leaf or flower shapes with small separate wire pieces twisted onto the main wrap.
- Attach the feeder lid and fill with nectar before hanging.
Hummingbird Feeder Copper Wire
Craft copper wire in the right gauge for wrapping and shaping decorative hummingbird feeders.
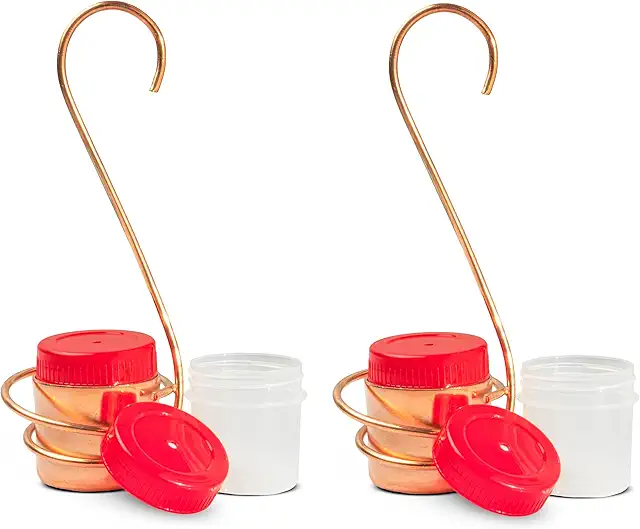
Check Price on Amazon3. Add an Ant Moat to Keep Ants Out
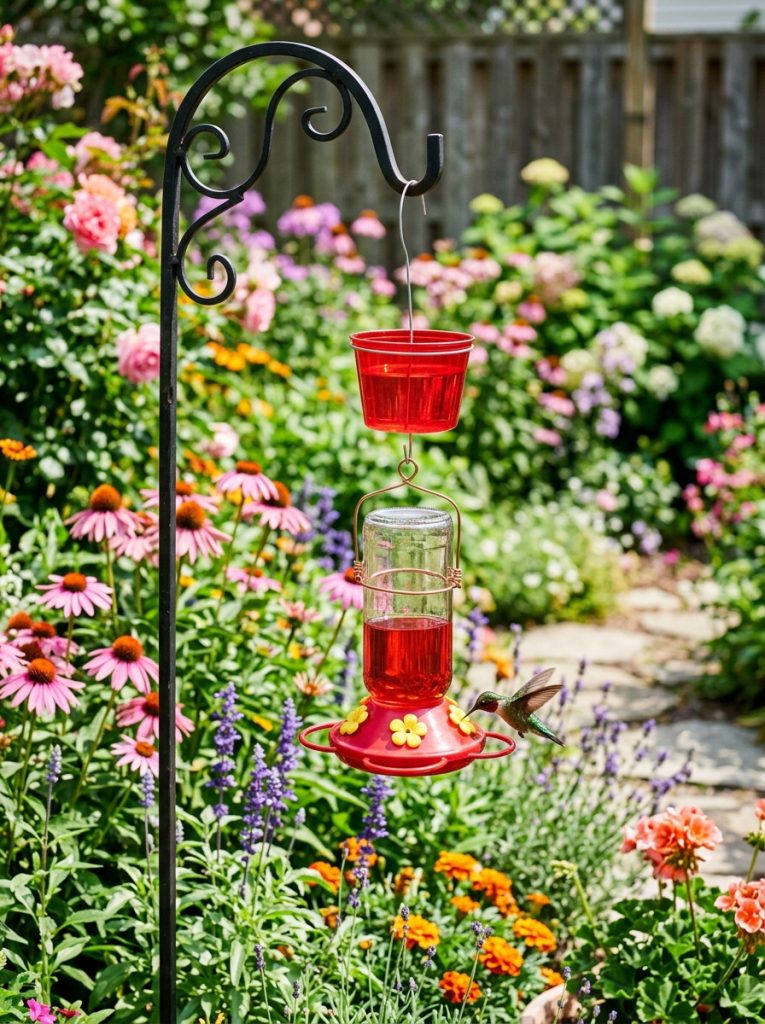
Ants will find any hummingbird feeder and ruin the nectar fast. An ant moat is a small cup filled with water that sits on the hanging wire above the feeder — ants cannot cross the water to reach the nectar below. This hummingbird feeder ant moat clips onto any standard hanging wire and needs just a small amount of water refilled every few days. A simple addition that makes any DIY feeder genuinely ant proof.
Materials Needed:
- Ant moat cup
- Hanging wire or hook
- Water to fill the moat
- Any DIY hummingbird feeder
How to Make It:
- Thread the hanging wire of your feeder through the center hole of the ant moat cup.
- Position the ant moat above the feeder so ants reach it before the nectar.
- Fill the moat cup with plain water — never oil which can harm hummingbirds.
- Rehang the feeder below the moat and check the water level every few days.

Hummingbird Feeder Ant Moat
Simple ant moat cup that clips above any feeder and keeps ants out of the nectar completely.
Check Price on Amazon4. Add a Perch So Hummingbirds Can Rest

Hummingbirds hover to feed but they also like to perch and rest between visits. Adding a perch to a DIY feeder makes it more welcoming and lets you observe the birds up close for longer. This hummingbird feeder perch attaches to most standard feeders and gives birds a comfortable ring to sit on while feeding. A small addition that makes a real difference to how often hummingbirds return. For more ways to attract wildlife to the garden check out these DIY bird bath ideas.
Materials Needed:
- Hummingbird feeder perch ring
- Existing DIY feeder
- Small wire or ties for attachment if needed
How to Make It:
- Check the perch ring diameter against your feeder base before ordering.
- Slide or clip the perch ring around the base of the feeder below the feeding ports.
- Secure with small wire ties if the fit is loose.
- Hang the feeder as normal and watch hummingbirds use the perch between feeds.

Hummingbird Feeder Perch
Perch ring that attaches to most feeders and gives hummingbirds a comfortable spot to rest while feeding.
Check Price on Amazon5. Mount Feeders on a Pole Stand
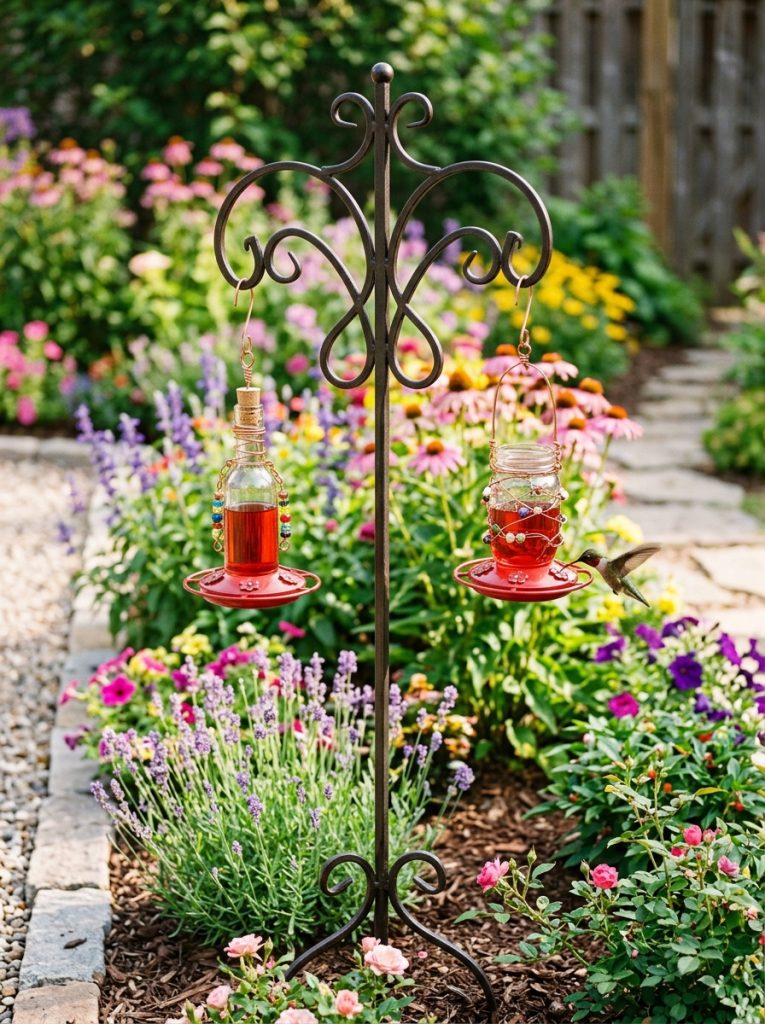
A pole stand lets you place feeders exactly where you want them without needing a tree or hook nearby. It also makes the feeders easier to take down and refill since you are not climbing or reaching overhead. This hummingbird feeder pole stand has multiple arms so you can hang two or three feeders at once which attracts more birds and reduces territorial fighting between them.
Materials Needed:
- Hummingbird feeder pole stand
- DIY feeders to hang
- Mallet for driving the pole into the ground
How to Make It:
- Choose a spot in the garden with good visibility from indoors and partial shade.
- Drive the pole stake into the ground firmly with a mallet.
- Attach the arm extensions and hang feeders at different heights if possible.
- Fill feeders with nectar and check that they hang level so nectar does not spill.
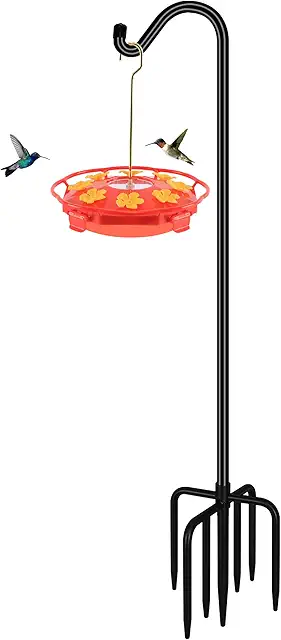
Hummingbird Feeder Pole Stand
Multi arm pole stand that holds two or three feeders in any garden spot without needing a tree or hook.
Check Price on Amazon6. Add a Shade Cover to Protect the Nectar
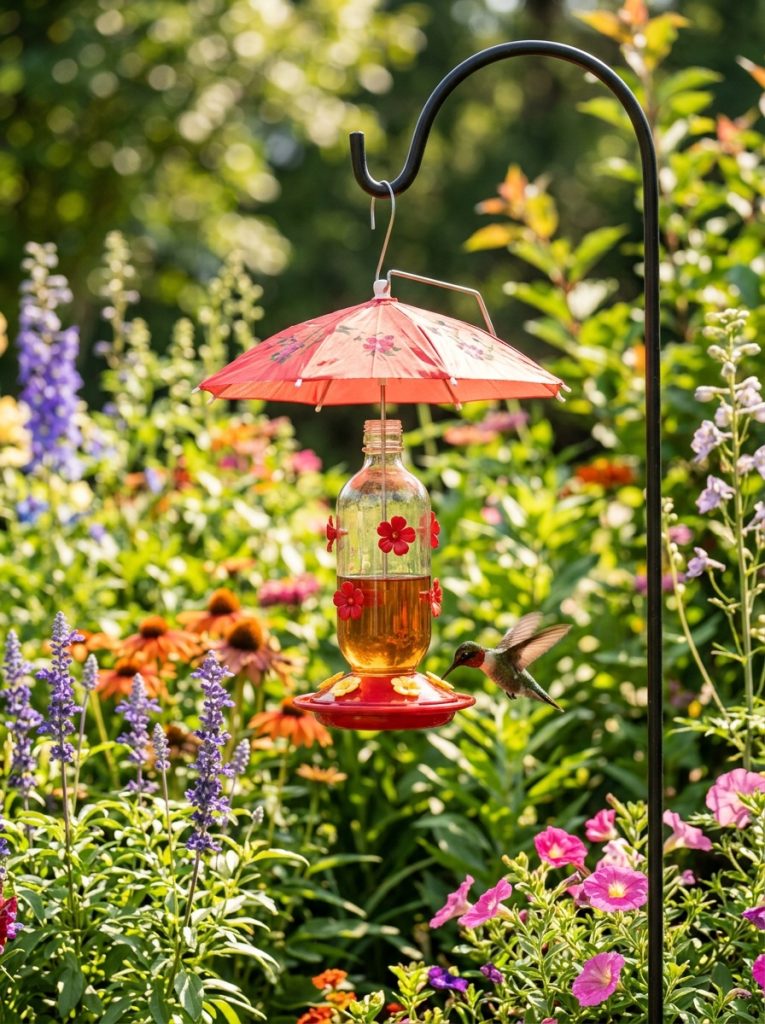
Nectar spoils much faster in direct sun and can grow mold within a day or two in summer heat. A shade cover above the feeder keeps the nectar cooler and fresher for longer which means less frequent cleaning and healthier nectar for the birds. This hummingbird feeder shade cover attaches above any hanging feeder and is a simple upgrade that makes a real difference in summer. Always hang feeders in partial shade if possible.
Materials Needed:
- Hummingbird feeder shade cover
- Existing DIY feeder
- Hanging hook or wire
How to Make It:
- Thread the hanging wire of the feeder through the center of the shade cover.
- Position the shade cover above the feeder so it blocks direct overhead sun.
- Rehang the assembly so the shade sits naturally above the feeder.
- Check that the cover does not interfere with birds approaching the feeding ports.

Hummingbird Feeder Shade Cover
Umbrella shade cover that attaches above any feeder to keep nectar cooler and fresher in summer heat.
Check Price on Amazon7. Make a Kids Hummingbird Feeder Project
Making a hummingbird feeder is one of the best outdoor projects to do with kids. It is simple, safe, and the payoff of watching hummingbirds visit is genuinely exciting for children. This hummingbird feeder kit for kids includes everything needed for a first feeder build. For a fully DIY version use a clean plastic bottle, a red bottle cap with a small hole, and let kids decorate the outside with weatherproof paint or stickers.
Materials Needed:
- Kids hummingbird feeder kit or plastic bottle
- Red paint or stickers for decoration
- Weatherproof paint (if decorating)
- Nectar
How to Make It:
- Use the kit as directed or start with a clean small plastic bottle.
- Let kids paint the bottle with red and bright colors — red attracts hummingbirds.
- Make a small feeding hole in the bottle cap just large enough for a hummingbird bill.
- Fill with nectar, replace the cap, and hang upside down in a shaded garden spot.
- Check with kids daily for hummingbird visitors.

Hummingbird Feeder Kit for Kids
Complete feeder kit designed for kids — everything included for a fun first hummingbird feeder project.
Check Price on Amazon8. Make Your Own Hummingbird Nectar
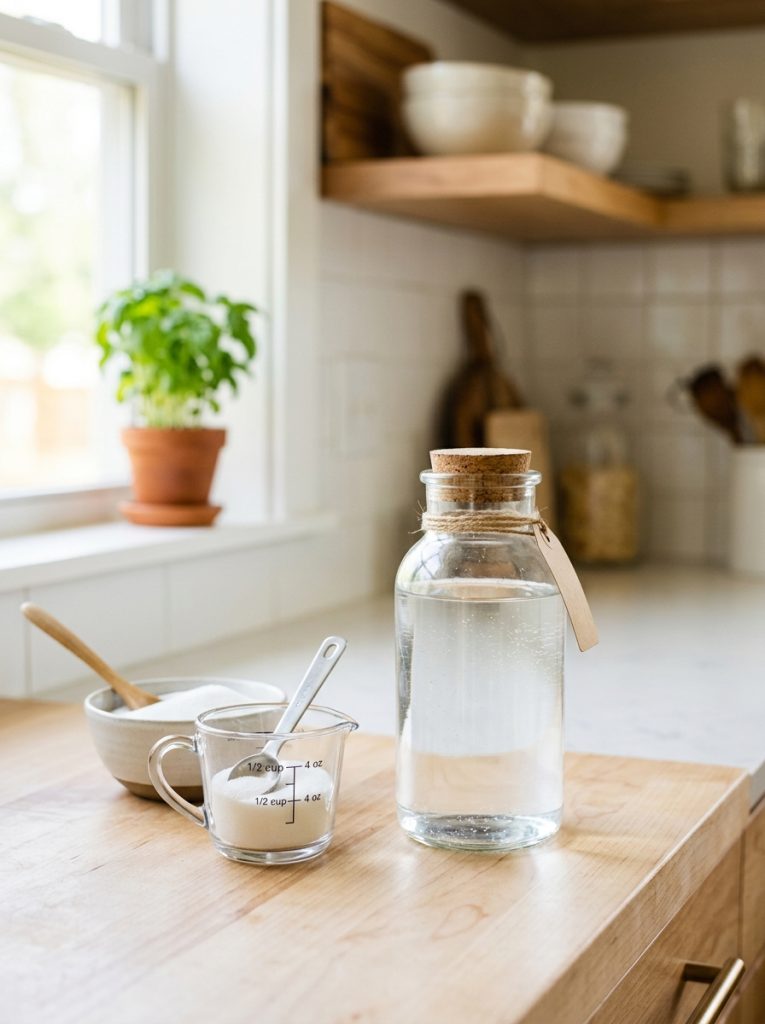
Store bought nectar works but homemade is better — no dyes, no additives, and far cheaper. The recipe is four parts water to one part plain white sugar. Boil the water, stir in the sugar until fully dissolved, let it cool completely, and fill the feeder. This hummingbird nectar is a good ready made option when you need a quick refill. Never use honey, artificial sweeteners, or red food dye — all are harmful to hummingbirds.
Materials Needed:
- 4 cups water
- 1 cup plain white granulated sugar
- Saucepan
- Storage jar for extra nectar
How to Make It:
- Bring 4 cups of water to a full boil in a saucepan.
- Add 1 cup of plain white sugar and stir until completely dissolved.
- Remove from heat and allow to cool completely before using.
- Fill the feeder and store extra nectar in the fridge for up to two weeks.
- Clean the feeder every three to five days and refill with fresh nectar.

Hummingbird Nectar Food
Ready made hummingbird nectar with no harmful dyes or additives — convenient for quick feeder refills.
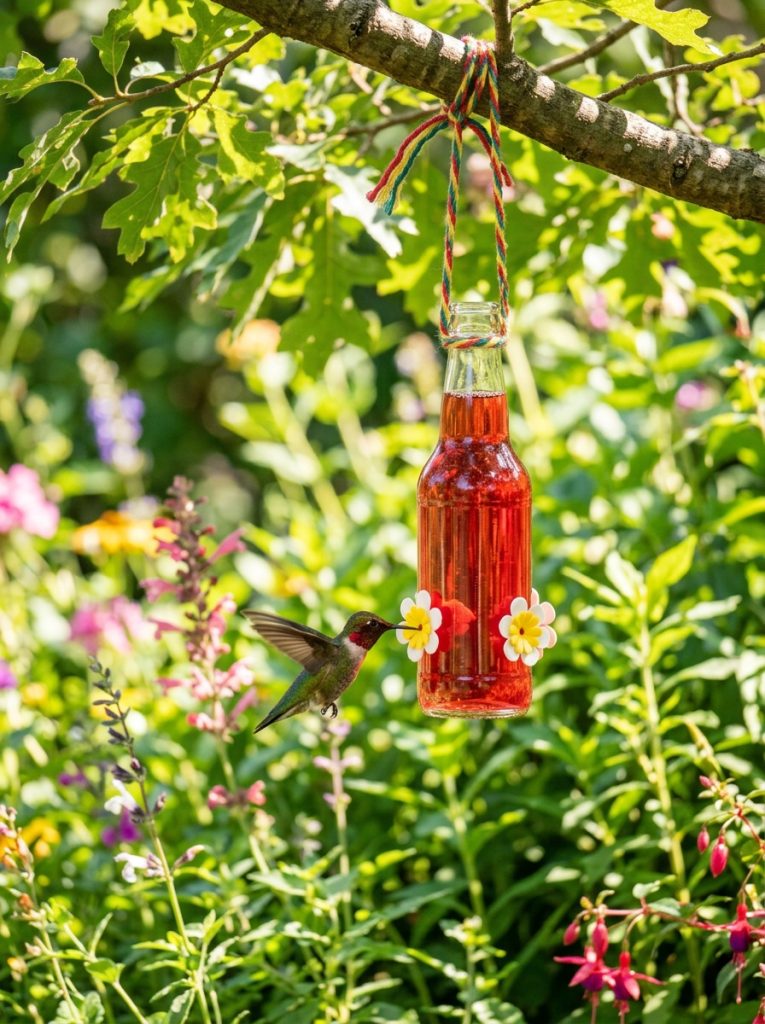
Check Price on Amazon9. Build a Wine Bottle Hummingbird Feeder
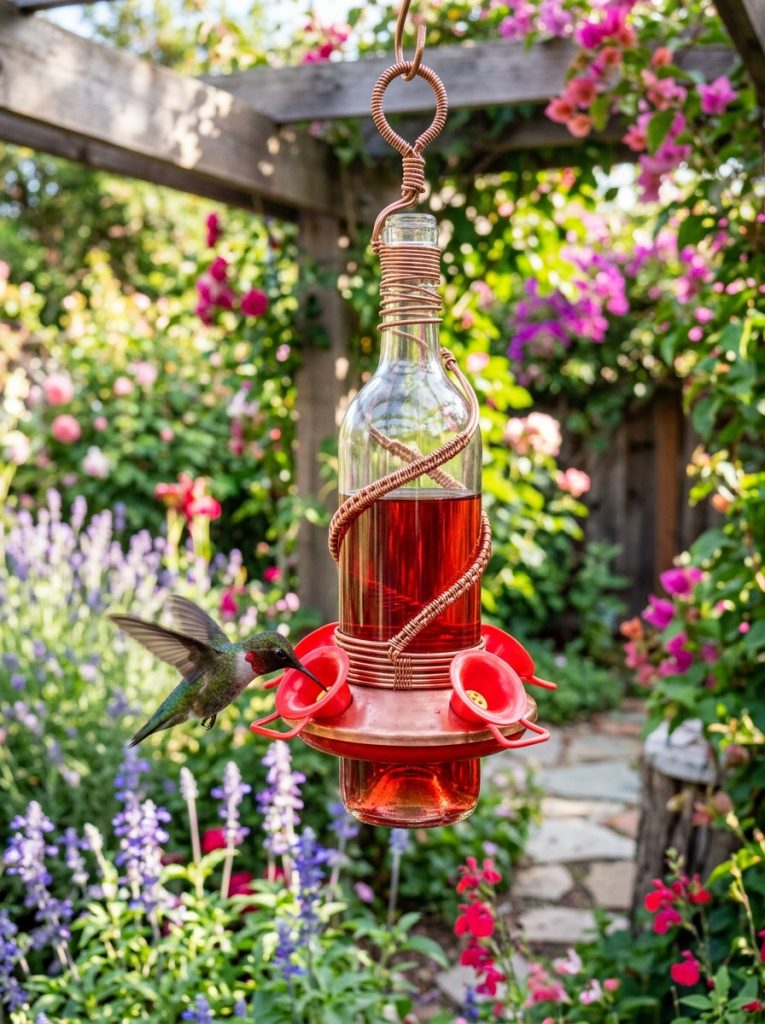
A wine bottle makes a beautiful hummingbird feeder with a lot more nectar capacity than a mason jar. The long neck is perfect for attaching a feeding tube and the bottle itself looks decorative in the garden. Wrap the bottle in copper wire for a finished look, attach a feeding tube to the neck, and hang it upside down from a sturdy hook. The dark glass also helps slow nectar spoilage in warm weather.
Materials Needed:
- Empty clean wine bottle
- Hummingbird feeder tube or stopper with port
- Copper wire for decoration and hanging
- Wire cutters and pliers
How to Make It:
- Clean the wine bottle thoroughly and let it dry completely.
- Wrap copper wire around the bottle in a decorative pattern leaving the neck clear.
- Form a sturdy hanging loop from extra wire at the bottle base which will face up when hung.
- Insert a hummingbird feeding tube or stopper with port into the bottle neck.
- Fill with nectar, invert, and hang so the neck with feeding port faces down.
10. Make a Plastic Bottle Feeder for Free
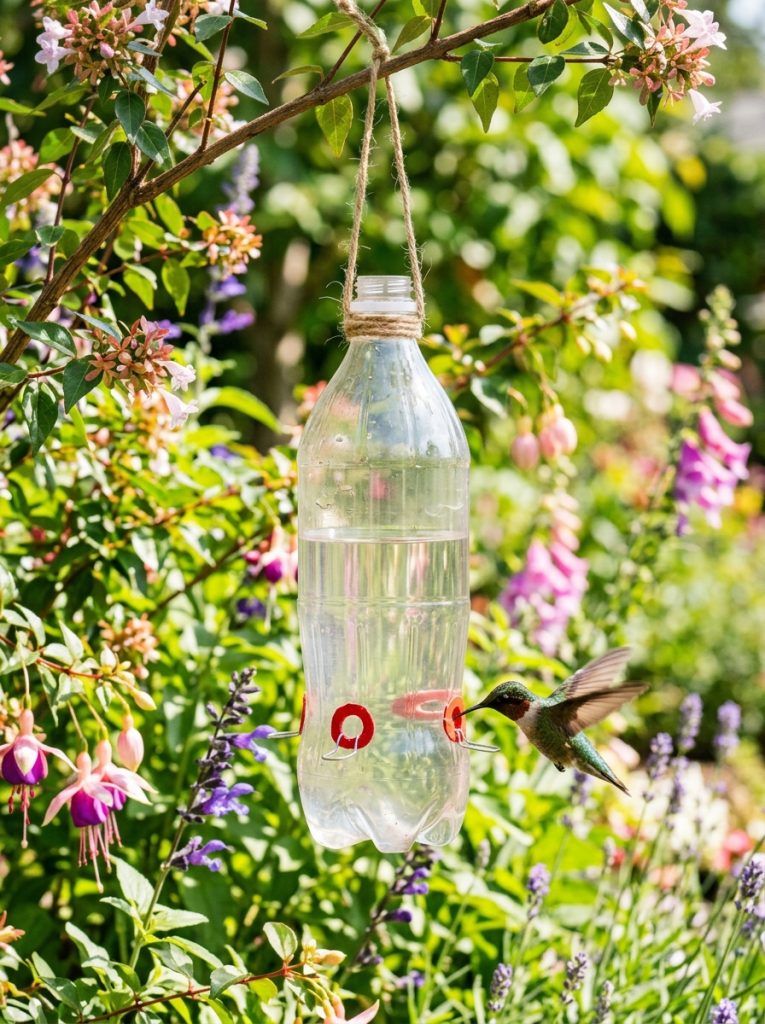
A clean plastic bottle is the fastest and cheapest hummingbird feeder you can make. It costs nothing if you have a bottle at home and takes about ten minutes. Use a red bottle to attract birds faster or paint a clear bottle with red waterproof paint. Poke small feeding holes near the base of the bottle, fill with nectar, seal the cap, and hang it upside down. Hummingbirds will find it within a day or two.
Materials Needed:
- Clean plastic bottle with cap
- Red waterproof paint (if bottle is clear)
- Small nail or drill for feeding holes
- String or wire for hanging
How to Make It:
- Clean the bottle thoroughly and let it dry.
- Paint the bottle red if it is not already a red or bright color.
- Poke or drill three to four small holes near the bottom of the bottle.
- Fill with nectar and replace the cap tightly.
- Tie string around the bottle neck and hang upside down so holes face down.
11. Make a Soda Bottle Feeder in Minutes
A small red soda bottle is one of the easiest starting points for a DIY hummingbird feeder because the color is already right. Remove the label, clean thoroughly, attach a feeder port to the cap, fill with nectar, and invert. The narrow bottle holds enough nectar for several visits and is light enough to hang from a thin branch. A ten minute build that genuinely works.
Materials Needed:
- Small red soda bottle (cleaned)
- Hummingbird feeder port for cap
- String or wire
How to Make It:
- Remove the label and clean the bottle inside and out.
- Drill or push a feeder port through the bottle cap.
- Fill the bottle with nectar and screw the modified cap on tightly.
- Tie string around the bottle base and hang upside down so the port faces down.
12. Make a Liquor Bottle Feeder for the Garden
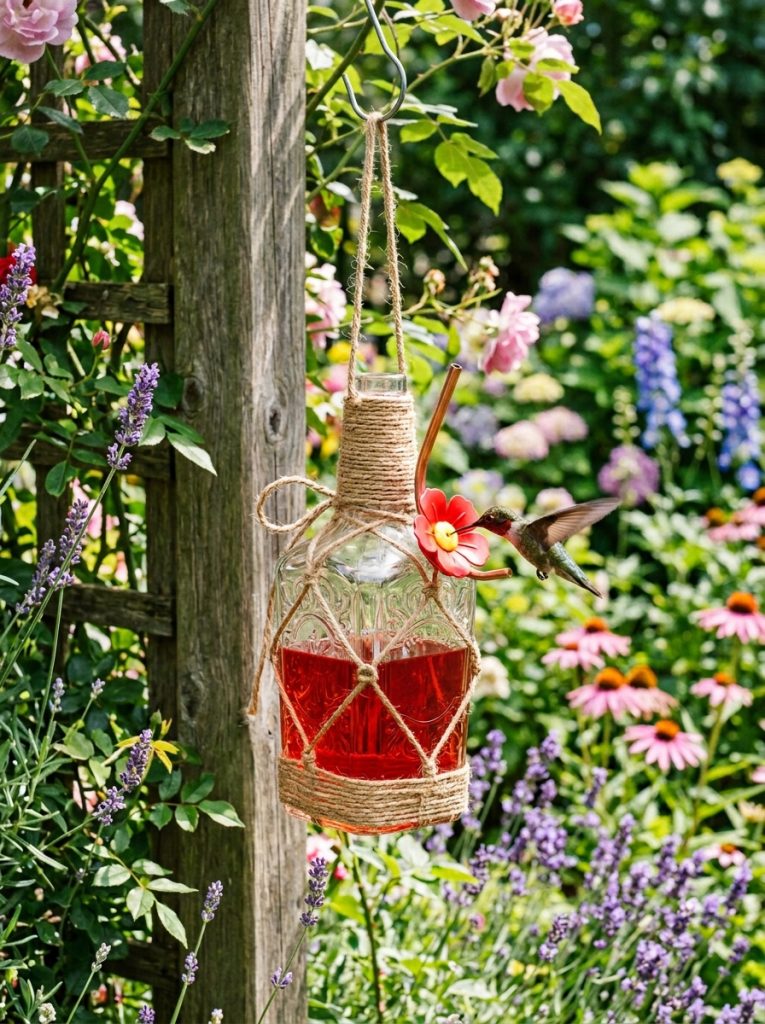
Decorative liquor bottles with interesting shapes make beautiful hummingbird feeders. The thicker glass holds nectar well, the shapes are more varied and interesting than plain bottles, and the colors are often naturally vibrant. Clean thoroughly, attach a feeding tube to the neck, wrap in twine or copper wire for a hanging loop, and fill with nectar. A great upcycling project that results in a genuinely unique garden feeder.
Materials Needed:
- Empty decorative liquor bottle
- Hummingbird feeding tube
- Twine or copper wire
- Nectar
How to Make It:
- Clean the bottle completely and allow to dry.
- Wrap twine or wire around the bottle body for decoration and to create a hanging loop at the base.
- Insert a hummingbird feeding tube into the bottle neck — it should fit snugly.
- Fill with nectar through the tube opening before inserting fully.
- Hang upside down so the feeding tube points downward.
13. Build a Chandelier Style Feeder
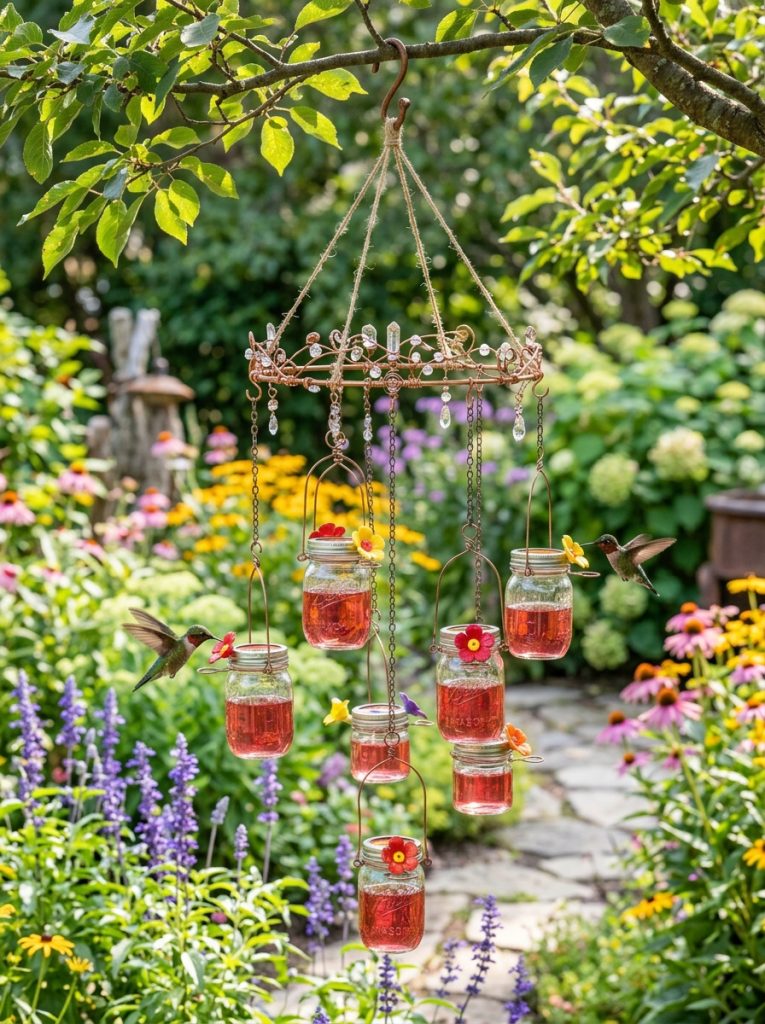
A chandelier style feeder hangs multiple small feeders from a single central wire frame — like a garden chandelier. It looks impressive, attracts multiple hummingbirds at once, and reduces territorial behavior because birds can feed simultaneously at different ports. Bend heavy gauge wire into a circle, hang three or four small mason jar feeders at even intervals, and suspend the whole frame from one central hook. These DIY yard decor ideas have more statement garden builds like this.
Materials Needed:
- Heavy gauge wire for frame
- 3 to 4 small mason jars with feeder lids
- Wire cutters and pliers
- Central hanging hook
How to Make It:
- Bend heavy gauge wire into a circle approximately 12 to 18 inches in diameter.
- Twist three or four evenly spaced shorter wire lengths downward from the circle.
- Attach a small mason jar feeder to the end of each hanging wire.
- Connect three wires from the top of the circle to a central hanging point above.
- Fill each jar with nectar and hang the chandelier from a sturdy overhead hook.
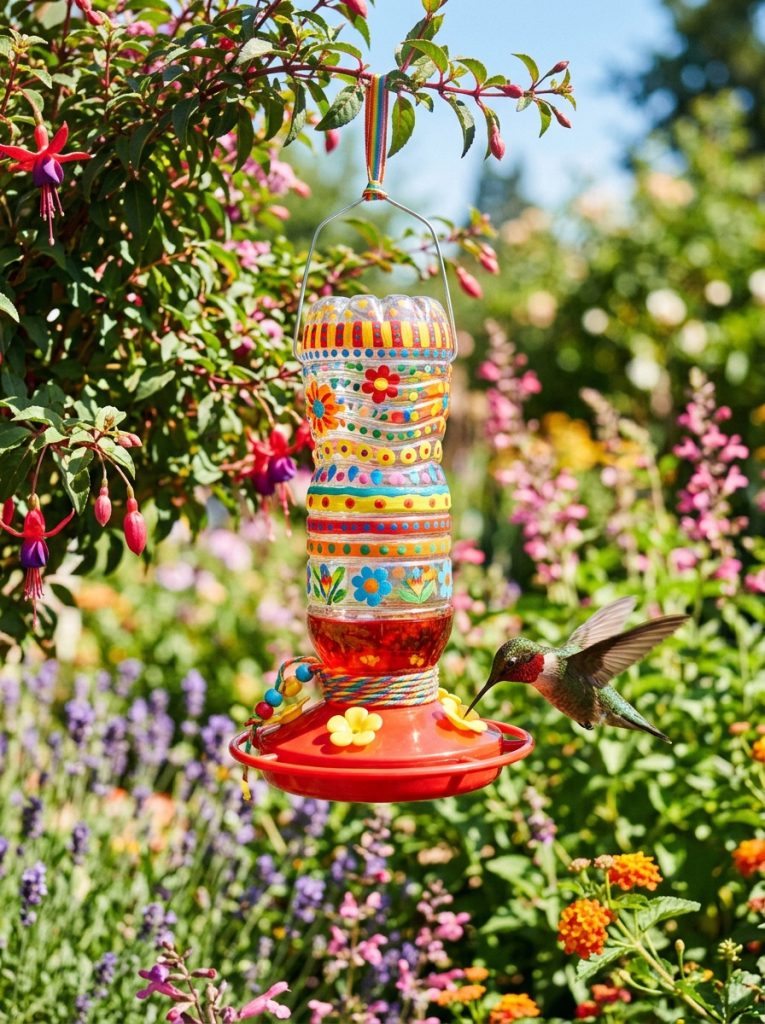
14. Make a Cute Decorated Feeder
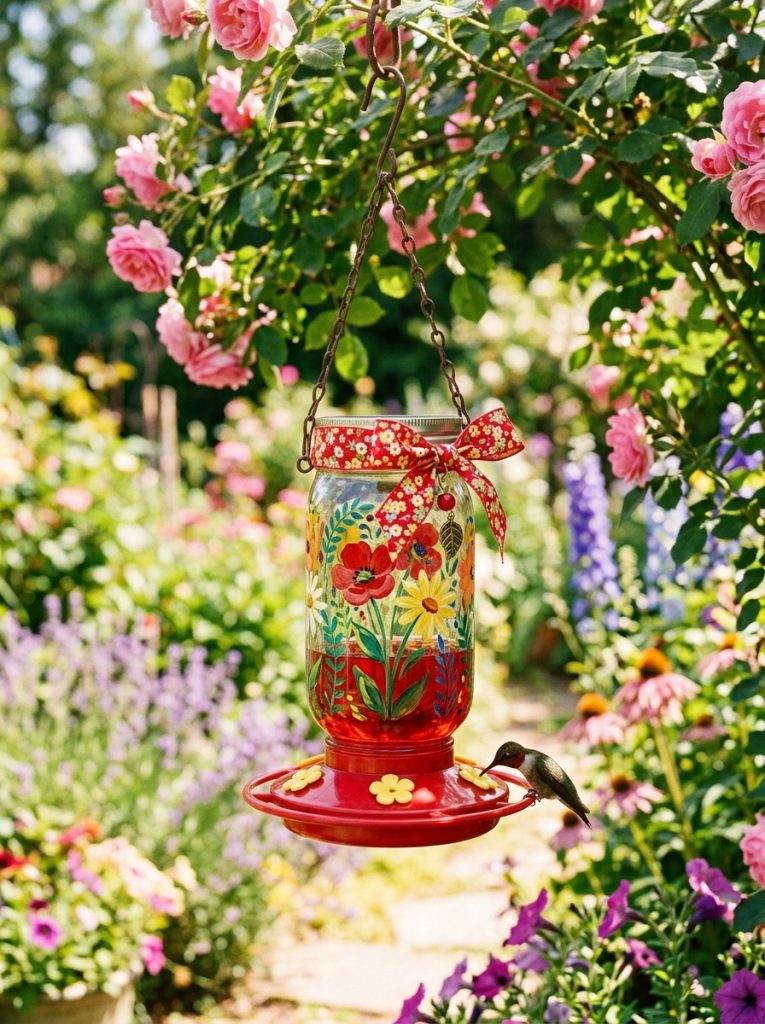
A plain mason jar feeder becomes a cute garden accent with a little decoration. Paint flower shapes on the glass with outdoor enamel paint, tie a ribbon around the neck, add a few painted dots in coordinating colors. The decoration does not affect how the feeder works and makes it look intentional and charming in the garden rather than just functional. Use at least some red in the design since hummingbirds respond strongly to red accents.
Materials Needed:
- Mason jar with feeder lid
- Outdoor enamel paint in red and other colors
- Small paintbrush
- Ribbon for decoration
How to Make It:
- Clean and dry the mason jar completely before painting.
- Paint simple flower shapes, dots, or patterns on the outside of the jar with outdoor enamel paint.
- Include red in the design prominently to attract hummingbirds.
- Allow paint to cure fully according to the paint manufacturer instructions before filling.
- Fill with nectar, attach the feeder lid, and hang in a garden spot with good visibility.
15. Place Feeders in the Right Spot Every Time
Where you hang the feeder matters as much as how you build it. Hummingbirds prefer feeders in partial shade because it keeps the nectar fresh longer and gives them a comfortable feeding environment. Hang near flowering plants if possible — they are already searching that area for nectar. Place feeders close enough to a window that you can watch from inside but far enough from doors that cats cannot reach. Clean the feeder every three to five days regardless of whether the nectar looks fresh. These outdoor garden decor ideas have more ways to make the whole garden as welcoming as possible.
Final Thoughts on DIY Hummingbird Feeder
A homemade hummingbird feeder does not need to be complicated to work well. A mason jar, a wine bottle, or even a plastic soda bottle with the right feeder port and a good nectar recipe is all it takes. Pick one build from this list, hang it in the right spot, keep the nectar fresh, and the hummingbirds will come back every single day.

Amir Ali is the founder and site administrator of HomeDecorEdge, a modern home decor and interior design platform. Since starting the site, he has combined his passion for interior design, practical styling, and color coordination with hands-on content strategy and site management. He guides authors, curates high-quality articles, and ensures readers have access to actionable, visually inspiring, and user-focused home decor advice for apartments, small rooms, and family homes.