

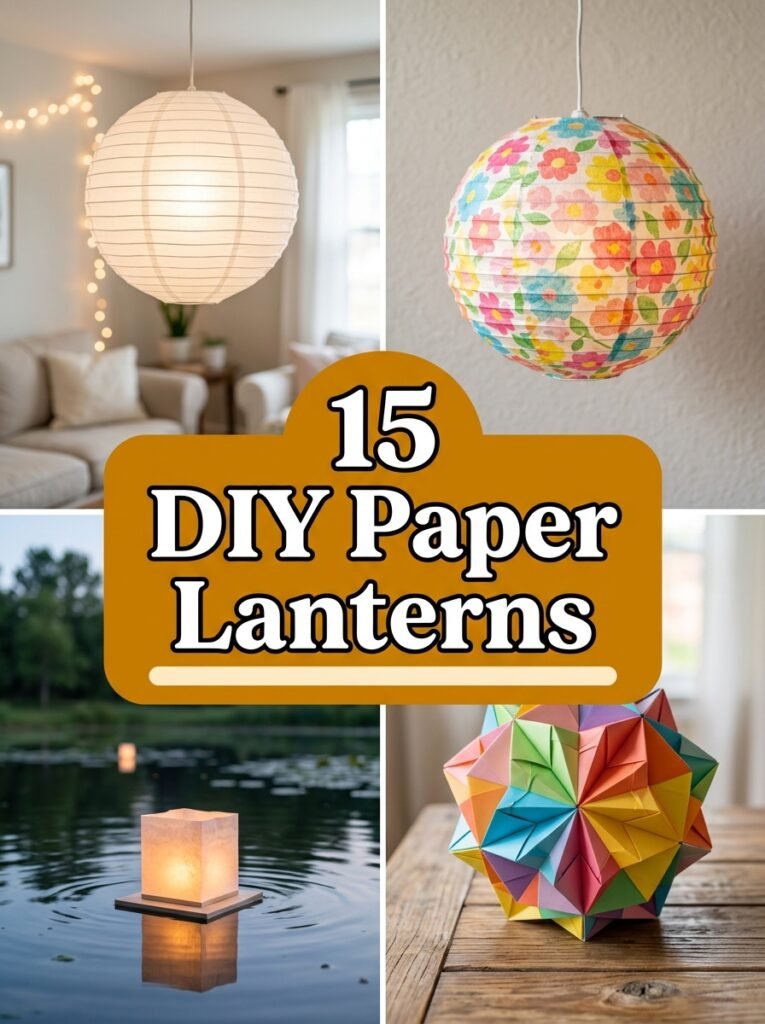
Paper lanterns bring a soft, glowing warmth to a space that string lights alone cannot quite replicate, and the range of techniques available means there is a version suited to nearly every skill level and occasion. From simple tissue paper wraps to more involved origami folds, these projects turn basic craft supplies into genuinely beautiful lighting. These 15 diy paper lanterns cover everyday hanging decor, floating designs, and seasonal celebrations throughout the year.
This post contains affiliate links. If you purchase through these links I may earn a small commission at no extra cost to you.
1. Start with a Classic White Lantern Kit
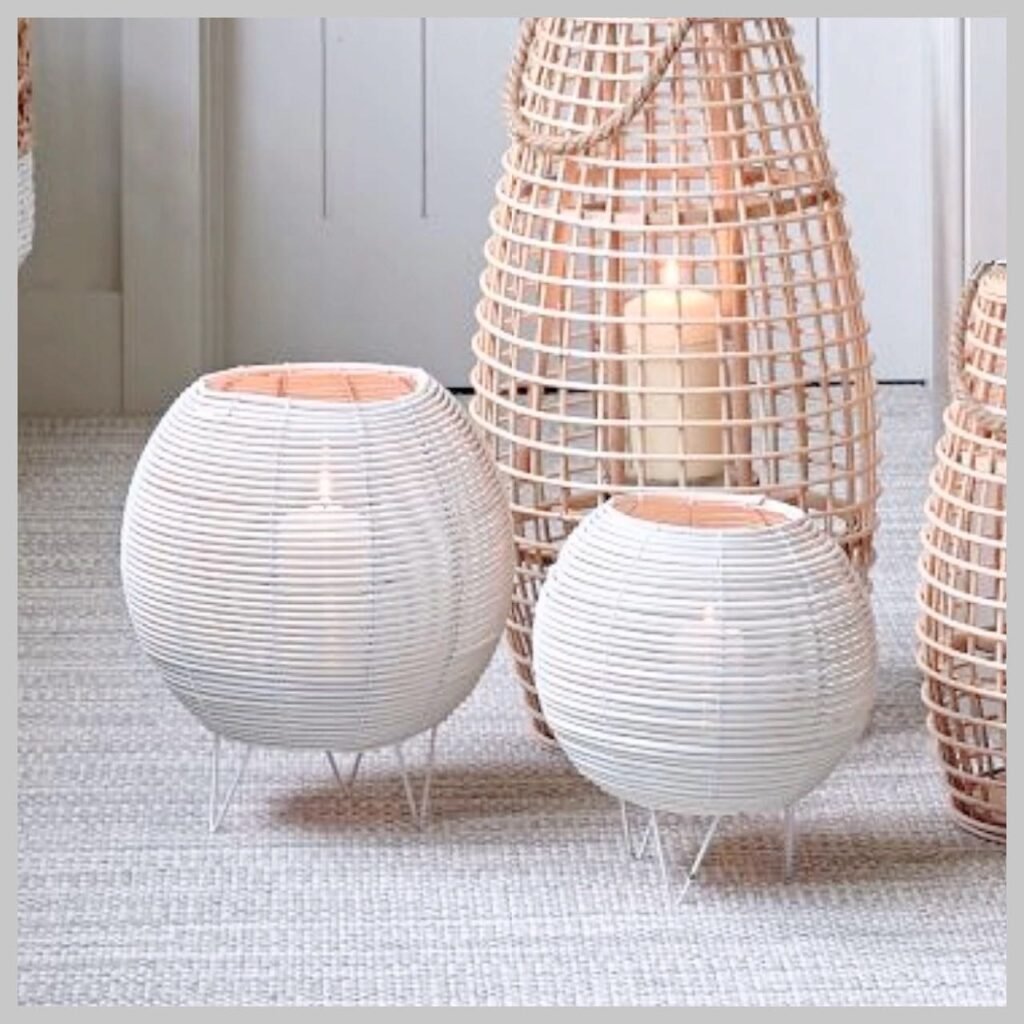
A basic white paper lantern kit gives every other technique on this list a blank canvas to decorate, whether the plan is to paint it, add tissue paper, or leave it simply lit as is. This paper lantern kit white style comes with a collapsible wire frame, making assembly quick and the finished shape reliably round.
Materials Needed:
- Paper lantern kit white
- LED light for the interior
- Scissors if trimming excess paper
How to Make It:
- Unfold the wire frame according to the kit instructions until it forms a full sphere.
- Smooth out the paper covering evenly around the frame.
- Insert an LED light through the bottom opening if lighting the lantern.
- Attach the hanging string or hook included with the kit.
- Hang the finished lantern in the desired location.

Paper Lantern Kit White
Classic white paper lantern kit for a versatile decorating base
Check Price on Amazon2. Wrap a Lantern in Colorful Tissue Paper
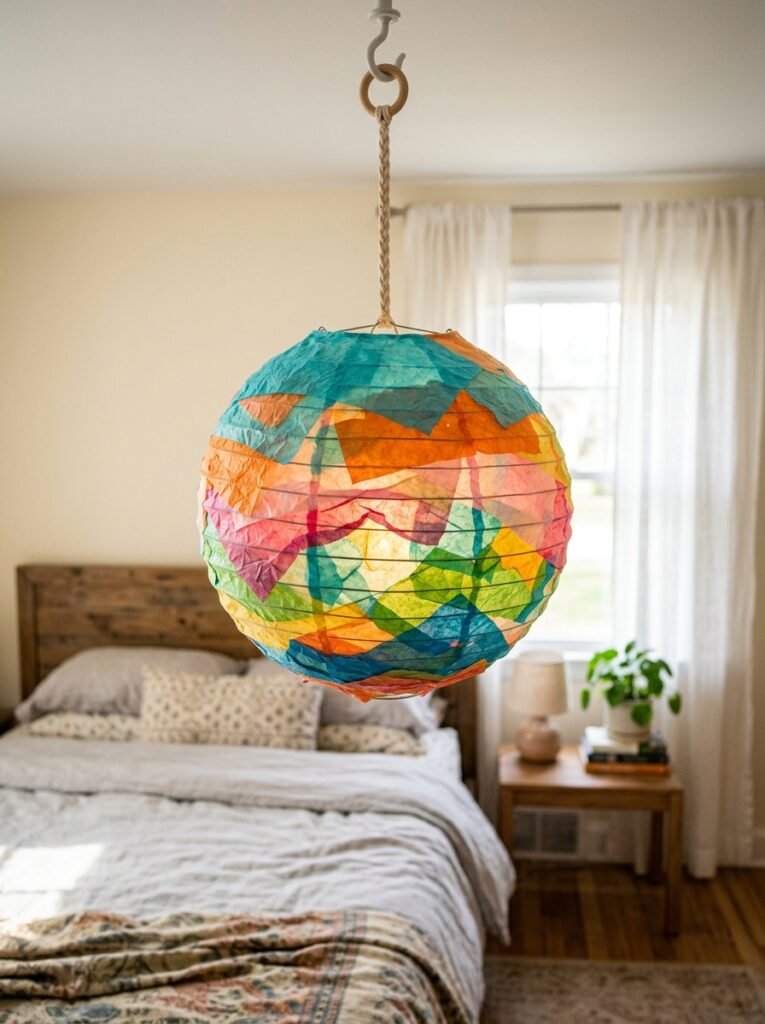
Layering tissue paper over a plain lantern frame adds instant color and a slightly translucent glow once lit from the inside. These tissue paper craft sheets come in a wide range of colors, letting you mix and layer shades for a genuinely custom finished look.
Materials Needed:
- Tissue paper craft sheets
- Paper lantern kit white
- Craft glue or Mod Podge
- Small paintbrush for applying glue
How to Make It:
- Tear or cut the tissue paper into small irregular pieces for layering.
- Brush a thin layer of glue onto a section of the lantern surface.
- Press tissue paper pieces onto the glued area, slightly overlapping edges.
- Continue working in sections until the entire lantern is covered.
- Let the glue dry fully before adding an LED light inside.

Tissue Paper Craft Sheets
Colorful tissue paper sheets for wrapping and decorating paper lanterns
Check Price on Amazon3. Light It Up with Battery LED Lights
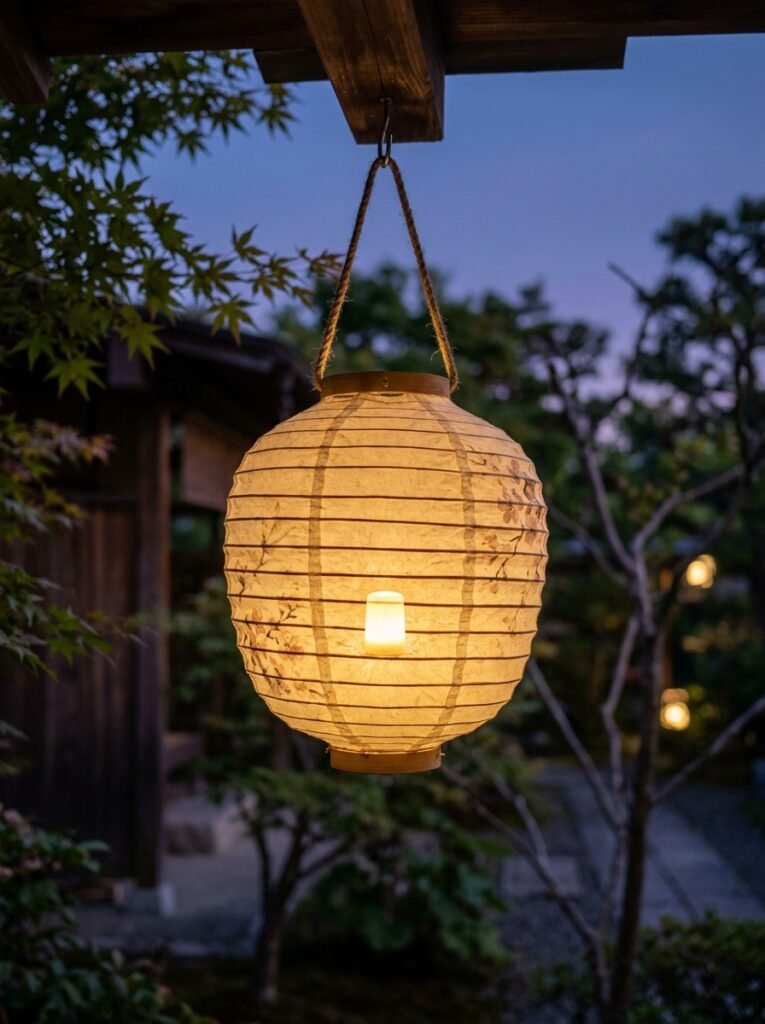
Battery powered LED lights eliminate the fire risk and cord clutter that traditional candles or plug in options create, making them the safest choice for any paper lantern project. These LED battery lights lantern options often include a warm white glow that mimics candlelight without any of the associated hazards.
Materials Needed:
- LED battery lights lantern
- Finished paper lantern
- Batteries if not included
How to Make It:
- Insert batteries into the LED light unit if they are not pre-installed.
- Test the light briefly before placing it inside the lantern to confirm it works.
- Suspend or place the LED light centered inside the lantern.
- Close or secure the lantern’s bottom opening around the light.
- Turn the light on and adjust positioning until the glow looks even.

LED Battery Lights Lantern
Safe battery powered LED lights for illuminating paper lanterns
Check Price on Amazon4. Create a Delicate Rice Paper Lantern
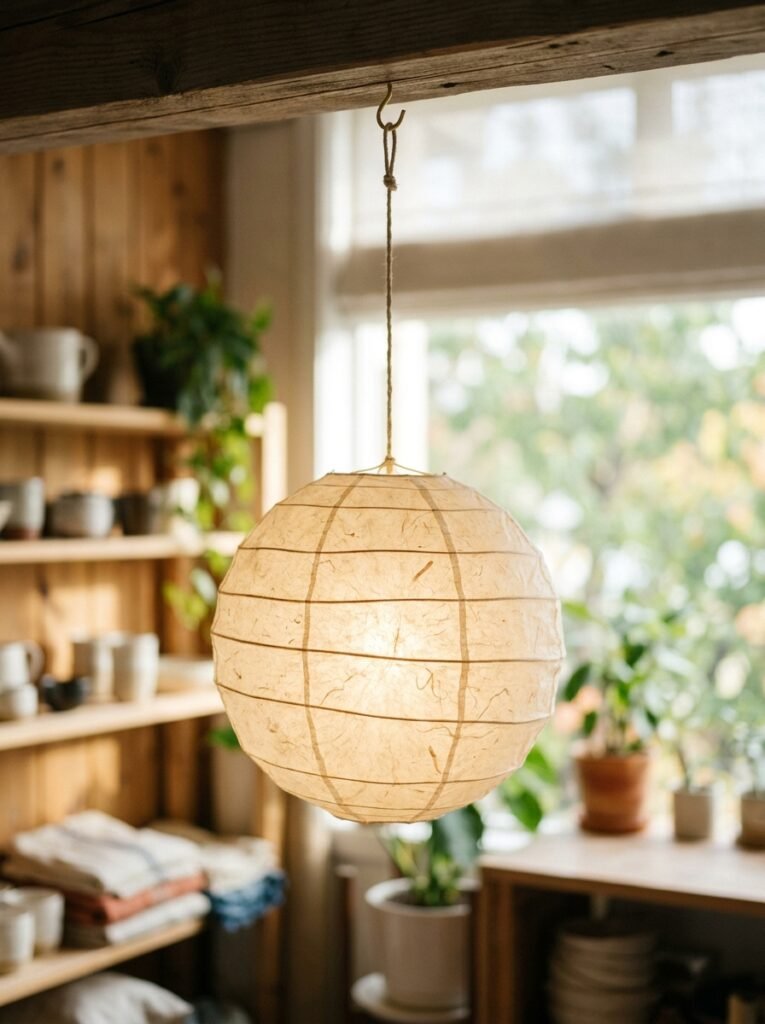
Rice paper offers a more delicate, textured translucency than regular craft paper, letting light diffuse through in a genuinely soft, glowing way once the lantern is lit. These rice paper craft sheets have a slightly fibrous quality that adds visual interest even before any decoration is added.
Materials Needed:
- Rice paper craft sheets
- Paper lantern frame
- Craft glue
- Scissors
How to Make It:
- Cut the rice paper sheets into panels sized to fit the lantern frame sections.
- Apply a thin, even layer of glue to each frame section.
- Carefully press the rice paper onto the glued frame, smoothing out wrinkles.
- Trim any excess paper along the frame edges once dry.
- Insert an LED light and hang the finished lantern.

Rice Paper Craft Sheets
Delicate textured rice paper for a softly diffused lantern glow
Check Price on Amazon5. String Lanterns Together for Outdoor Ambiance
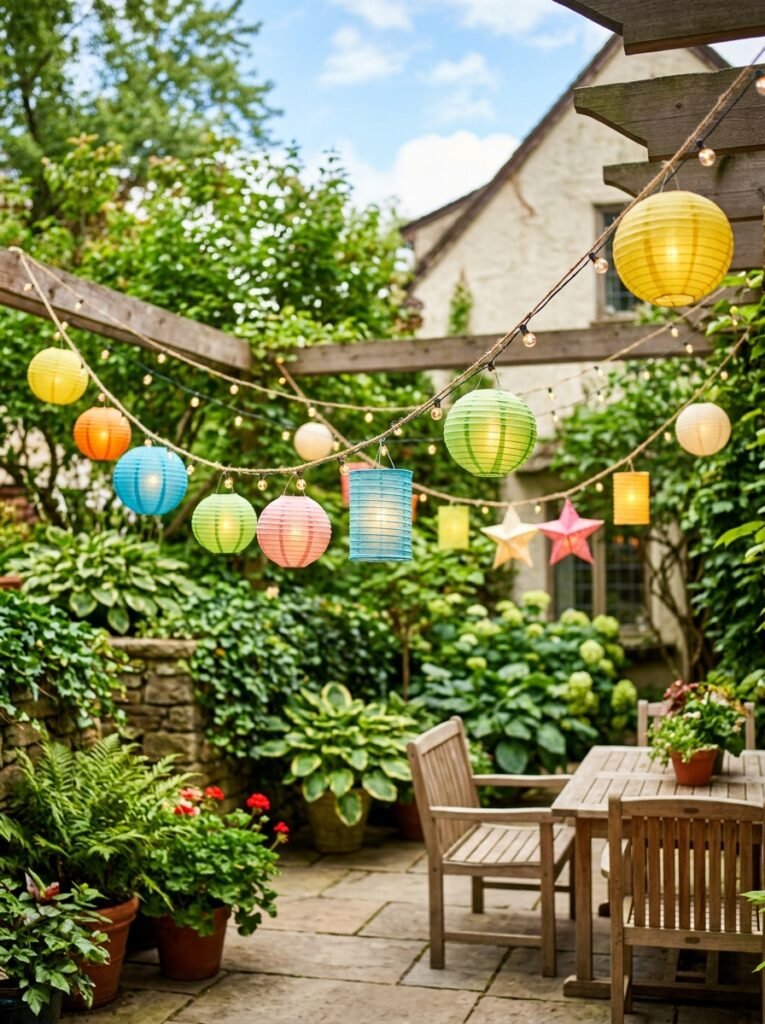
Stringing several lanterns together along a single light strand creates an outdoor ambiance similar to a string light installation but with the added texture and dimension paper lanterns provide. This paper lantern string lights outdoor set is weather resistant, making it a reliable option for a patio or backyard gathering.
Materials Needed:
- Paper lantern string lights outdoor
- Multiple paper lanterns of varying sizes
- Hooks or hanging hardware
How to Make It:
- Lay out the light strand and attach a lantern at each designated bulb spot.
- Vary the lantern sizes along the strand for visual interest.
- Mount hooks at each end of the intended hanging location.
- String the connected lanterns between the two hooks.
- Turn on the lights once the sun begins to set for full effect.

Paper Lantern String Lights Outdoor
Weather resistant string lights for stringing paper lanterns outdoors
Check Price on Amazon6. Fold an Origami Style Paper Lantern
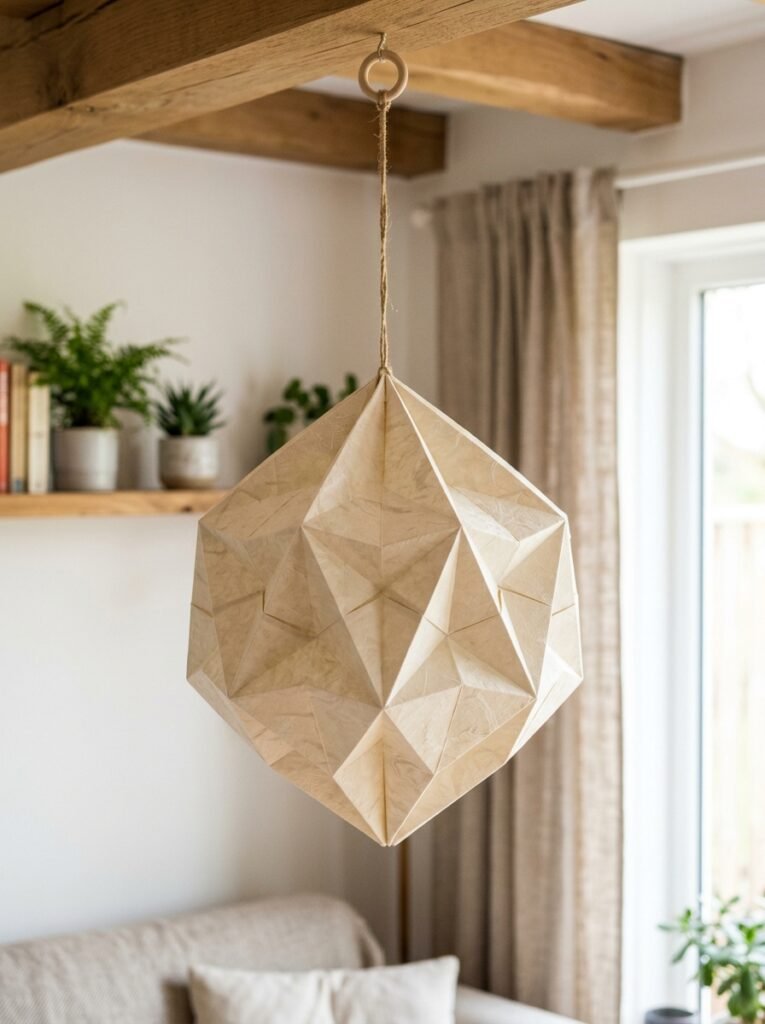
An origami style lantern relies entirely on precise folding rather than glue, creating a geometric, architectural shape once the paper springs into its final accordion form. This origami paper kit provides pre-cut squares in coordinating colors, ideal for practicing the repeated fold pattern this style requires.
Materials Needed:
- Origami paper kit
- Craft glue for securing the final seam
- Hanging string
How to Make It:
- Fold the origami paper into an accordion pattern following a lantern fold guide.
- Bring the two ends of the folded strip together to form a cylinder shape.
- Secure the seam with a small amount of glue.
- Gently push the top and bottom inward to create the classic lantern bulge.
- Attach a hanging string through the top opening once fully assembled.

Origami Paper Kit
Origami paper kit for folding a geometric accordion style lantern
Check Price on Amazon7. Shape a Star Lantern for a Focal Point
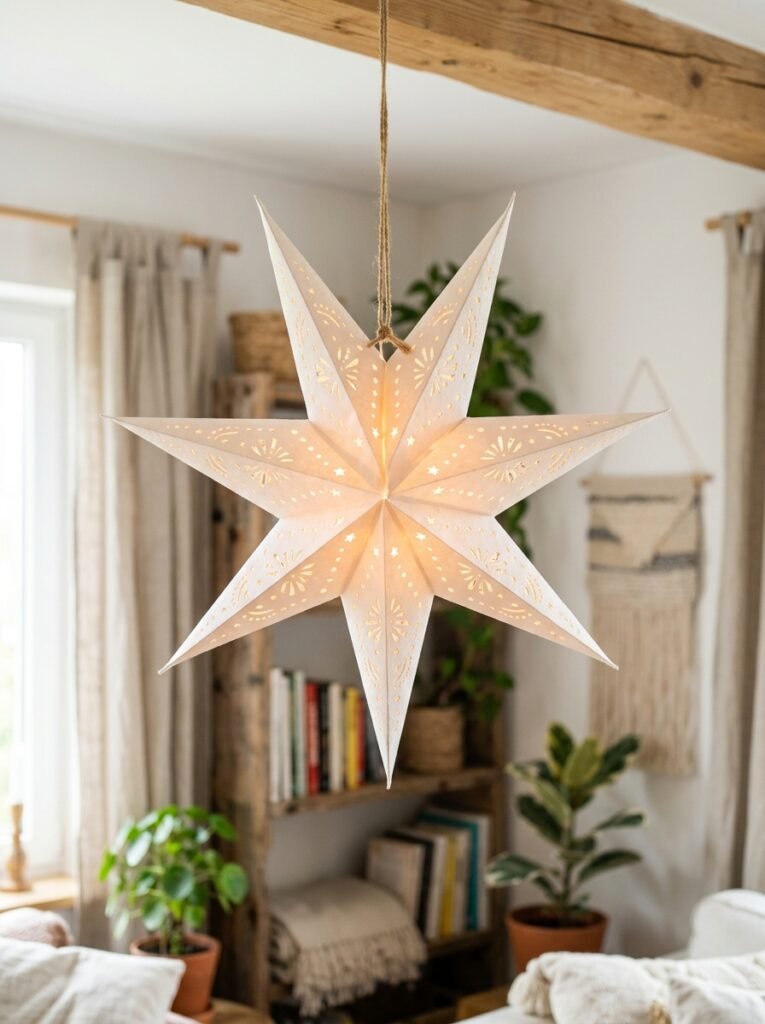
A star shaped lantern instantly becomes the focal point of any hanging display, its pointed silhouette creating a completely different lighting pattern than a standard round lantern. Building the star shape requires more structural folding than a basic round design, but the payoff is a genuinely eye catching centerpiece.
8. Create Floating Lanterns for a Table Display
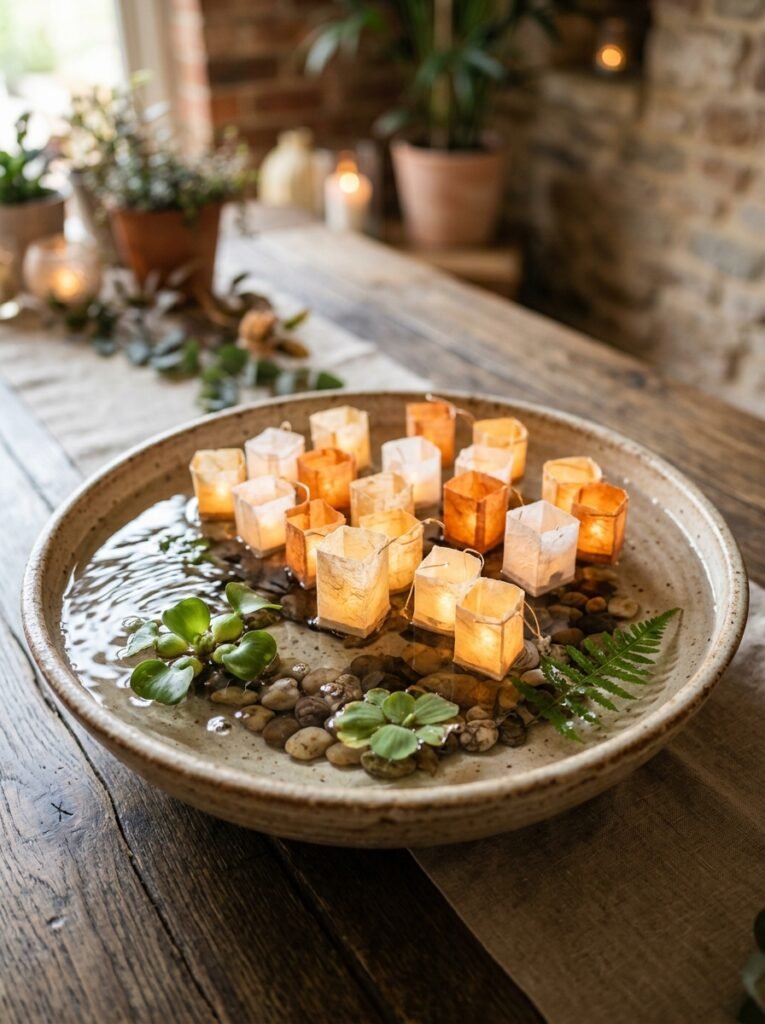
Small floating lanterns placed in a shallow water bowl create a serene table centerpiece, especially striking when several are grouped together and lit at dusk. Waterproofing the base of each lantern with a light wax coating helps them float properly without the paper becoming waterlogged too quickly.
9. Design a Christmas Season Lantern

A Christmas themed lantern in classic red, green, and gold tones extends holiday lighting beyond typical string lights, adding a handmade touch to seasonal decor. Adding small paper holly accents or a simple gold trim around the lantern’s opening ties the design into the broader holiday color scheme.
10. Build a Spooky Halloween Lantern
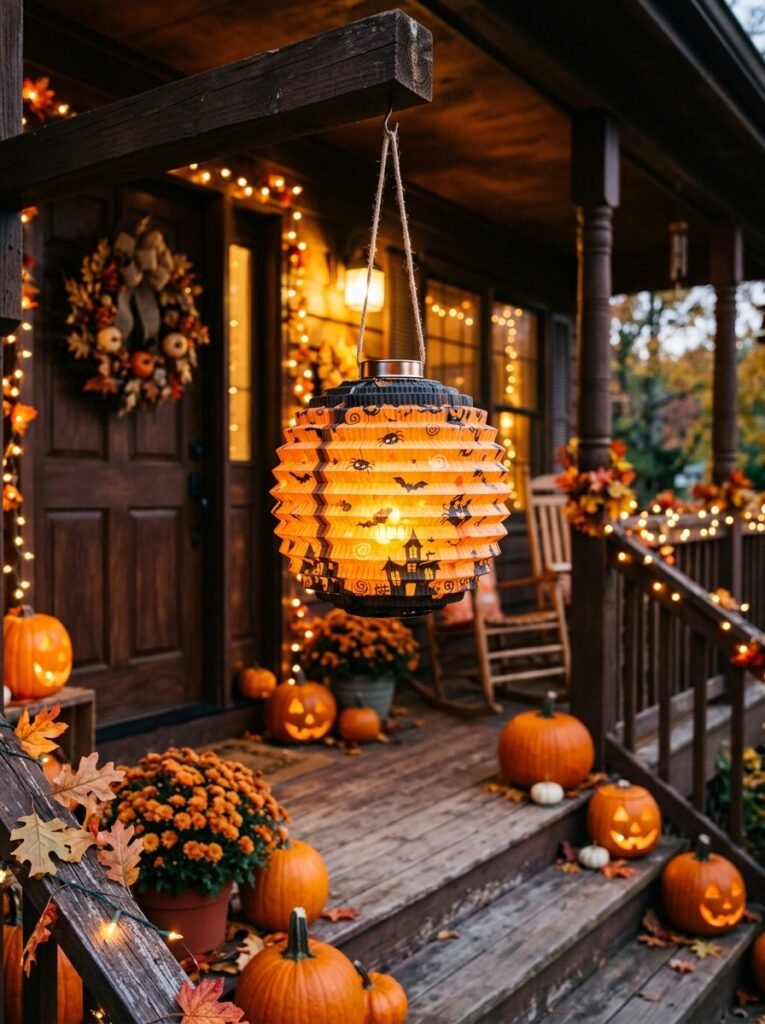
A Halloween lantern in bold orange and black tones works beautifully lining a front porch or walkway, especially when paired with a flickering style LED bulb that mimics candlelight. Simple silhouette cutouts, bats or a moon shape, added to the lantern’s surface let extra light spill through in a genuinely spooky pattern.
11. Craft a Diwali Celebration Lantern
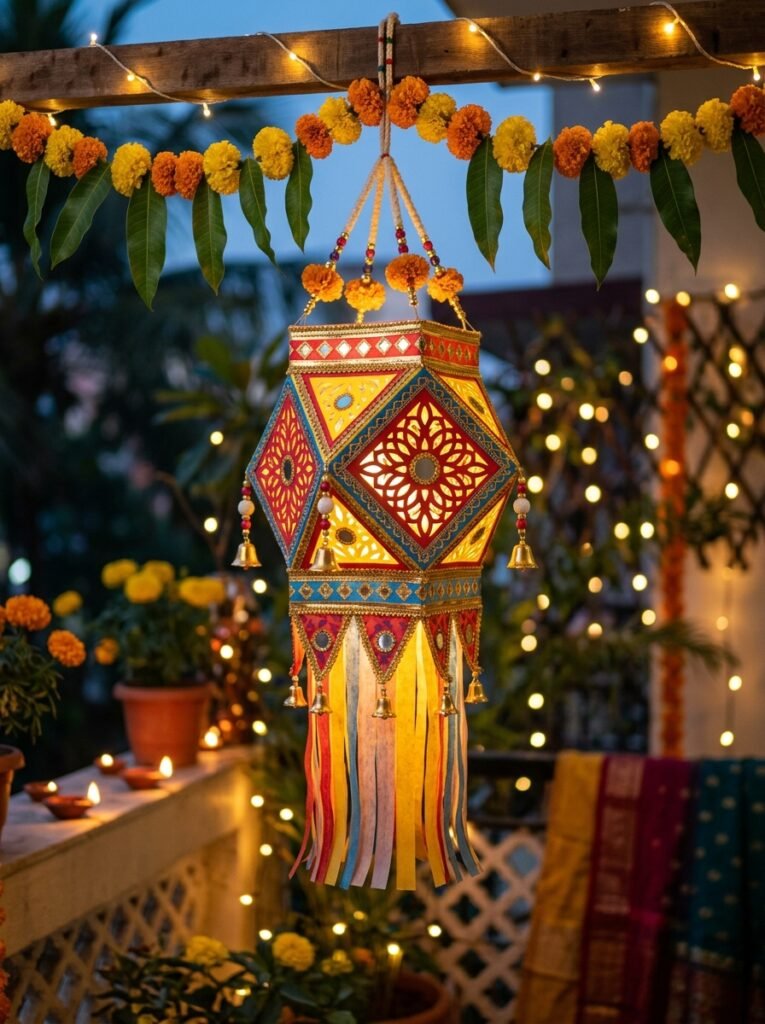
A Diwali lantern crafted with bright jewel tones and gold accents celebrates the festival of lights in a genuinely handmade way, making it a meaningful craft project for children to participate in during the celebration. Adding small sequins or metallic paper strips along the lantern’s edges enhances the festive shimmer once lit.
12. Make a Ramadan Themed Lantern
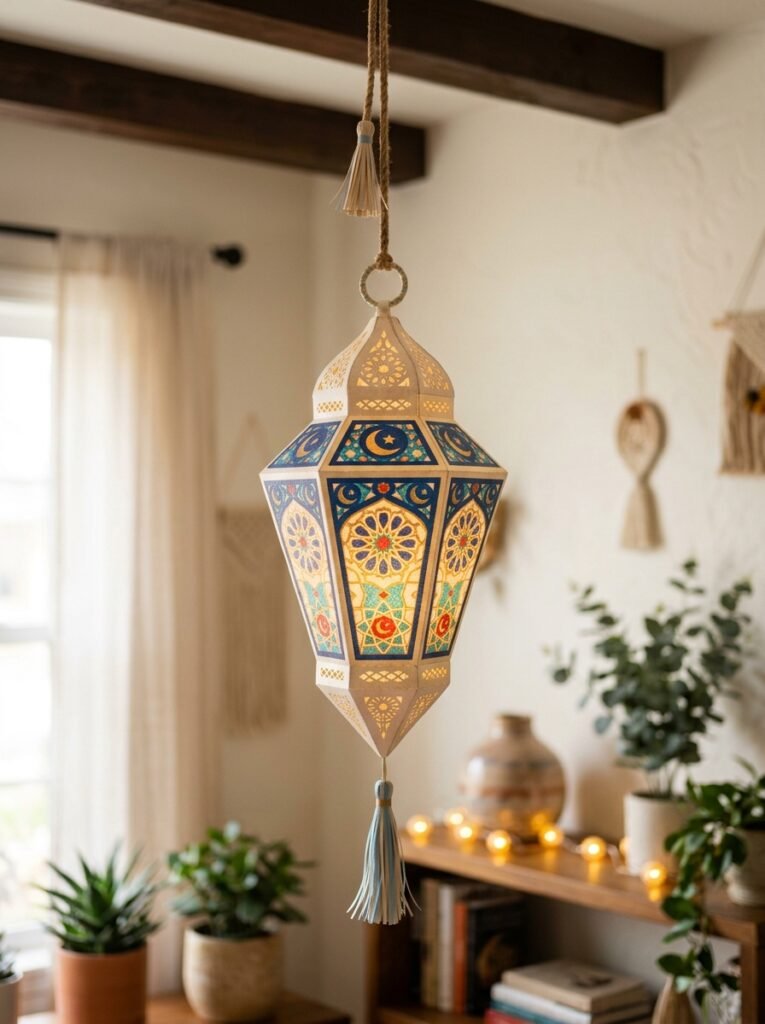
A Ramadan lantern featuring intricate geometric cutout patterns pays homage to traditional Fanoos lantern designs, letting light filter through in beautiful star and diamond shaped patterns. This project works well as a family activity leading up to the holy month, with each family member contributing their own lantern to the collection.
13. Hang Lanterns Above a Bed for Cozy Light
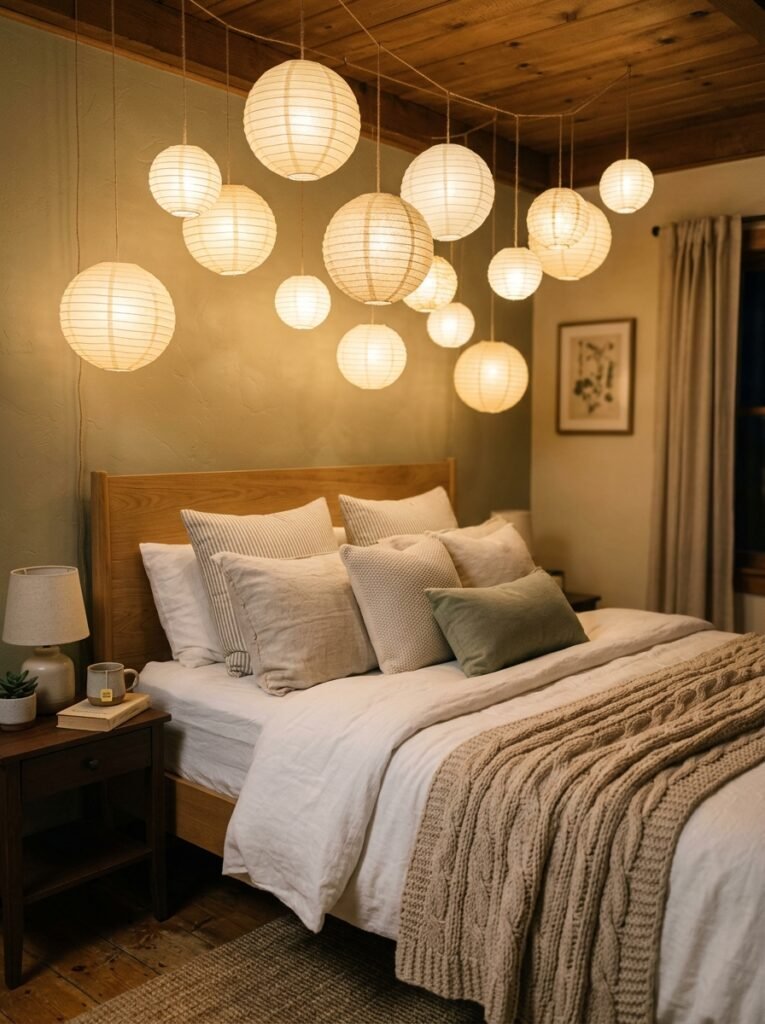
Hanging a cluster of small lanterns above a bed at varying heights creates soft, layered ambient light that works beautifully as an alternative to a traditional overhead fixture. This installation pairs well with the layered lighting approach used in pink wallpaper bedroom ideas for a cohesive soft glow throughout the room.
14. Decorate a Classroom with Hanging Lanterns
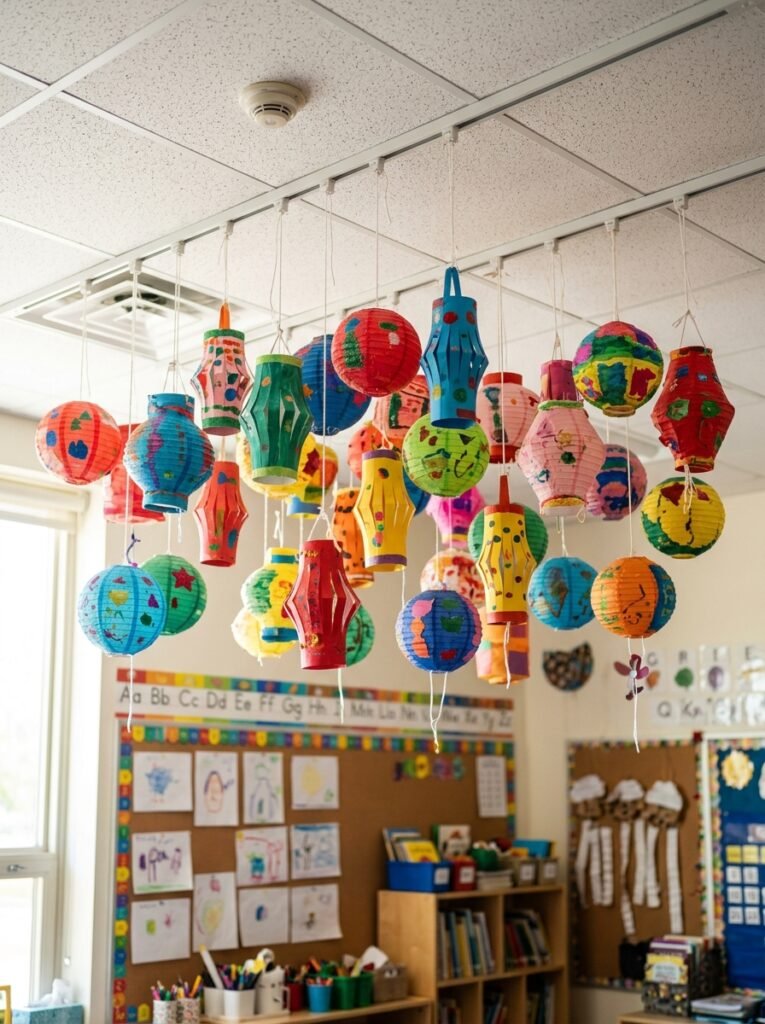
A classroom lantern project lets each student contribute an individually decorated lantern to a collective hanging display, turning a simple craft assignment into a genuinely collaborative classroom decoration. Varying lantern colors and sizes across the group creates a lively, visually interesting ceiling installation.
15. Paint a Custom Design Lantern
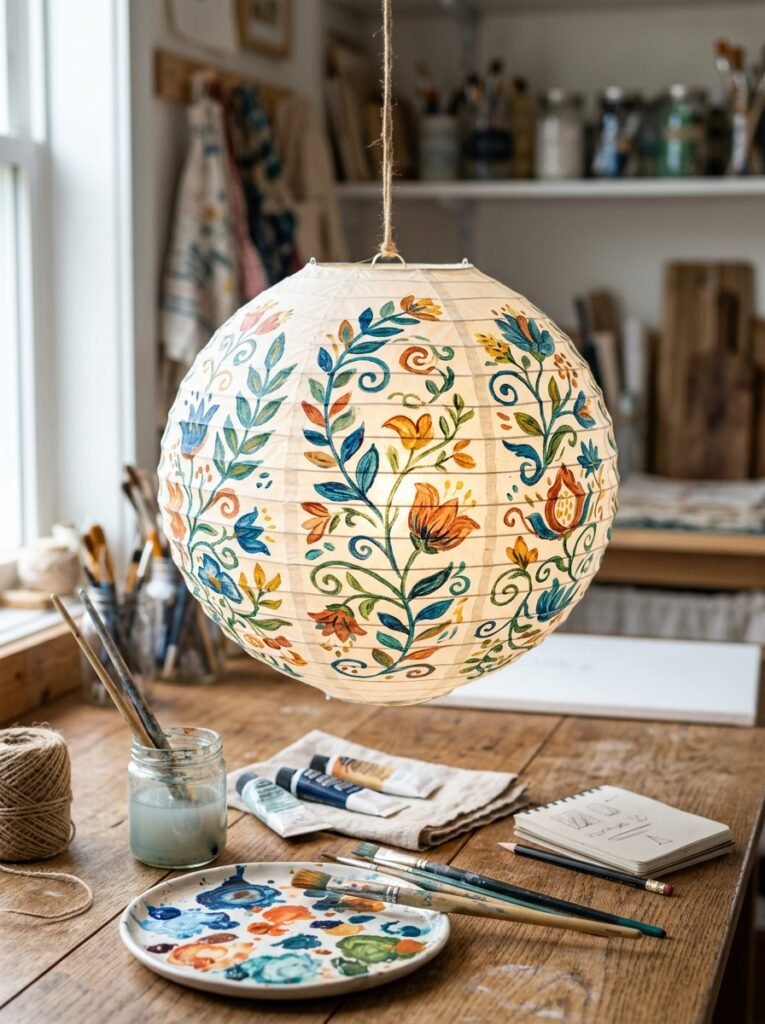
Painting directly onto a lantern’s paper surface with acrylic paint allows for completely custom designs beyond what pre-made patterns or tissue paper offer, from simple polka dots to more detailed floral motifs. This technique pairs well with the color exploration covered in 15 diy abstract canvas art techniques for anyone wanting to bring painting skills into a new craft format.
Final Thoughts on DIY Paper Lanterns
The best diy paper lantern project depends on the occasion and the amount of time available, ranging from a quick tissue paper wrap to a more involved origami fold or hand painted design. Starting with a basic white lantern kit as the foundation makes it easy to experiment across several techniques on this list, building confidence for more elaborate seasonal designs as each new holiday approaches.


Amir Ali is the founder and site administrator of HomeDecorEdge, a modern home decor and interior design platform. Since starting the site, he has combined his passion for interior design, practical styling, and color coordination with hands-on content strategy and site management. He guides authors, curates high-quality articles, and ensures readers have access to actionable, visually inspiring, and user-focused home decor advice for apartments, small rooms, and family homes.