

How many single gloves are sitting in your house right now? In mine, I once counted seven. Seven gloves with no partner, spread across coat pockets, the car, the garage shelf and one very confusing spot behind the washing machine.
Gloves are small, they come in pairs, and most of them get used outside, which means they come back wet, muddy or sweaty. That’s why a regular drawer rarely works. They need a spot where they stay together and get a chance to dry. These 10 glove storage ideas cover every kind, from winter gloves and work gloves to garden, boxing, baseball and kitchen gloves.
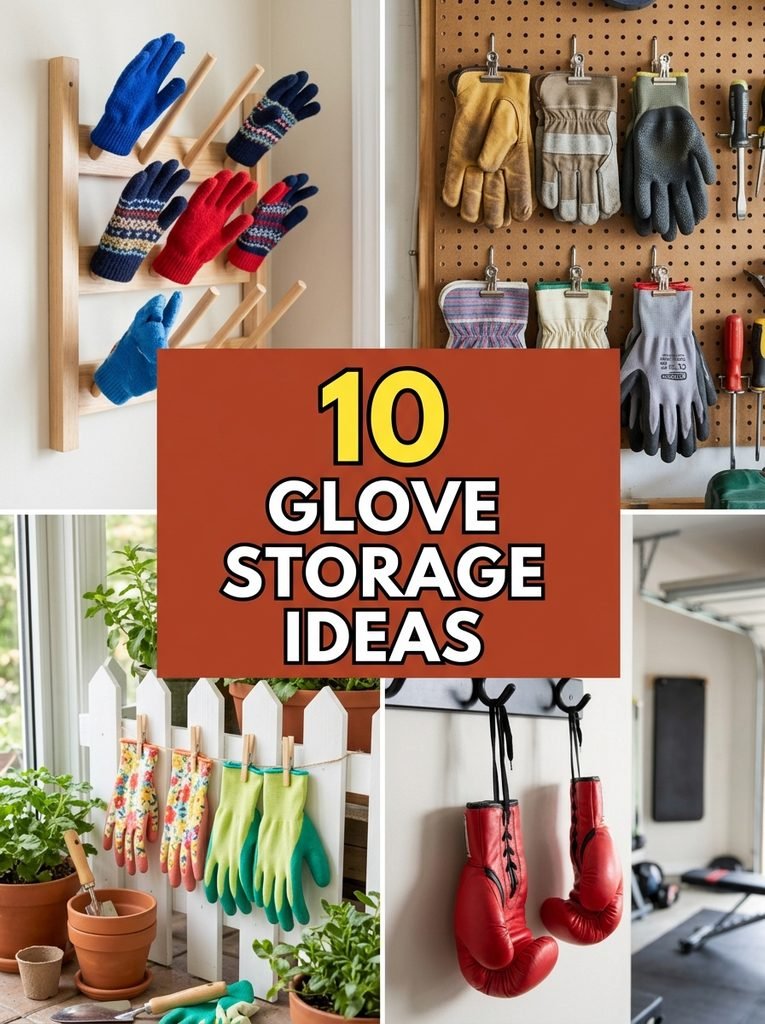
Quick picks if you’re short on time:
- Best for winter: the DIY glove drying rack (idea 1)
- Best for the garage: the work glove station (idea 2)
- Best for gardeners: the fence picket glove holder (idea 3)
- Best for the kitchen: rubber glove hooks under the sink (idea 7)
1. DIY Wall Glove Drying Rack
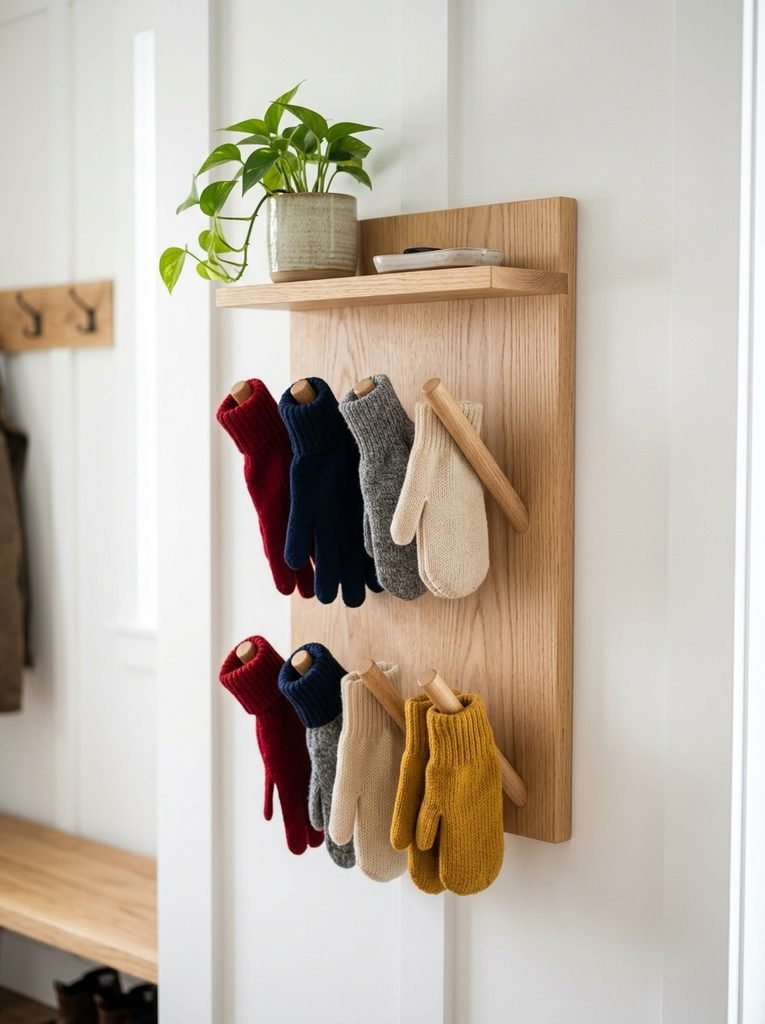
Wet winter gloves tossed in a basket stay damp all night and smell musty by morning. A glove drying rack fixes that. Each glove slides over its own upward angled dowel, so air gets inside and it’s dry by the next day. Pairs stay side by side, so nothing goes missing.
I hung mine near the front door, close to a heating vent. Gloves that used to be soggy in the morning are now warm and dry.
Time: One afternoonCost: LowSkill: Beginner friendly
Materials Needed:
- One 1×6 board, about 30 inches long
- Ten 3/4 inch wooden dowels, cut to 6 inches
- A drill with a 3/4 inch spade bit
- Wood glue and sandpaper
- Stain, paint or clear sealer
- Two D ring hangers and wall anchors
How to Make It:
- Mark two rows of five holes on the board, about 5 inches apart, and stagger the rows so gloves don’t touch.
- Drill each hole at a 15 degree upward angle so the dowels tilt toward the ceiling.
- Round the top end of each dowel with sandpaper so it slides easily into a glove.
- Glue the dowels into the holes and let them dry overnight.
- Finish the board with stain, paint or sealer, since wet gloves will drip on it.
- Attach D rings to the back and hang the rack near a heat vent or a sunny spot.
A tip I picked up: hang each pair on side by side dowels. Your eyes match them in a second, and single gloves stand out right away.
2. DIY Garage Work Glove Station
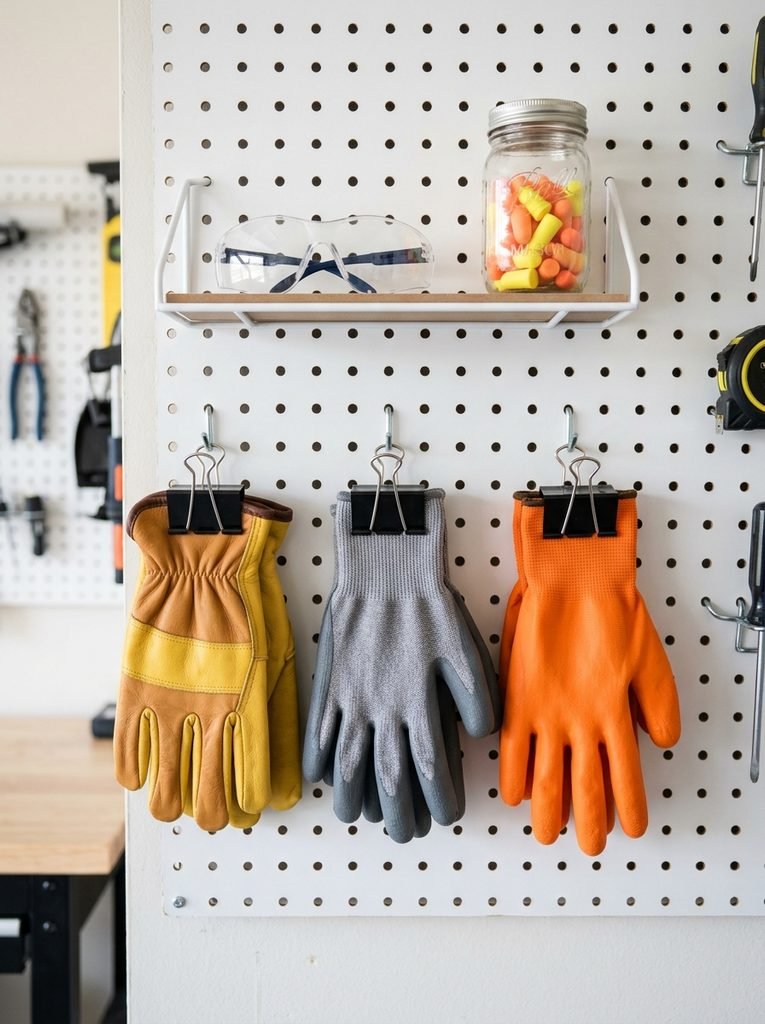
Work gloves get tossed on a bench, dropped behind the car or left in a bucket. A simple pegboard station gives every pair a hook, right where you start your projects. Clip each pair together and they’ll never split up again.
In my experience, sorting them by job helps too. Leather gloves for heavy work, grip gloves for general jobs, and coated gloves for wet or messy work.
Time: Two hoursCost: LowSkill: Beginner friendly
Materials Needed:
- One pegboard panel, about 2 by 3 feet
- Two 1×2 furring strips
- Pegboard hooks
- Medium binder clips or small spring clamps
- A small pegboard shelf
- Wall screws and a drill
How to Make It:
- Screw the furring strips to the wall horizontally, into studs, about 2 feet apart.
- Screw the pegboard onto the strips so there’s a gap behind it for the hooks.
- Push hooks into the pegboard in rows, leaving about 6 inches between them.
- Clip each pair of gloves together at the cuff with a binder clip.
- Hang each clipped pair on its own hook, grouping them by type.
- Add a small shelf on top for safety glasses, earplugs and a marker.
Write each person’s name on their binder clip with a paint marker. No more borrowing someone else’s favorite pair.
3. DIY Garden Glove Holder from a Fence Picket
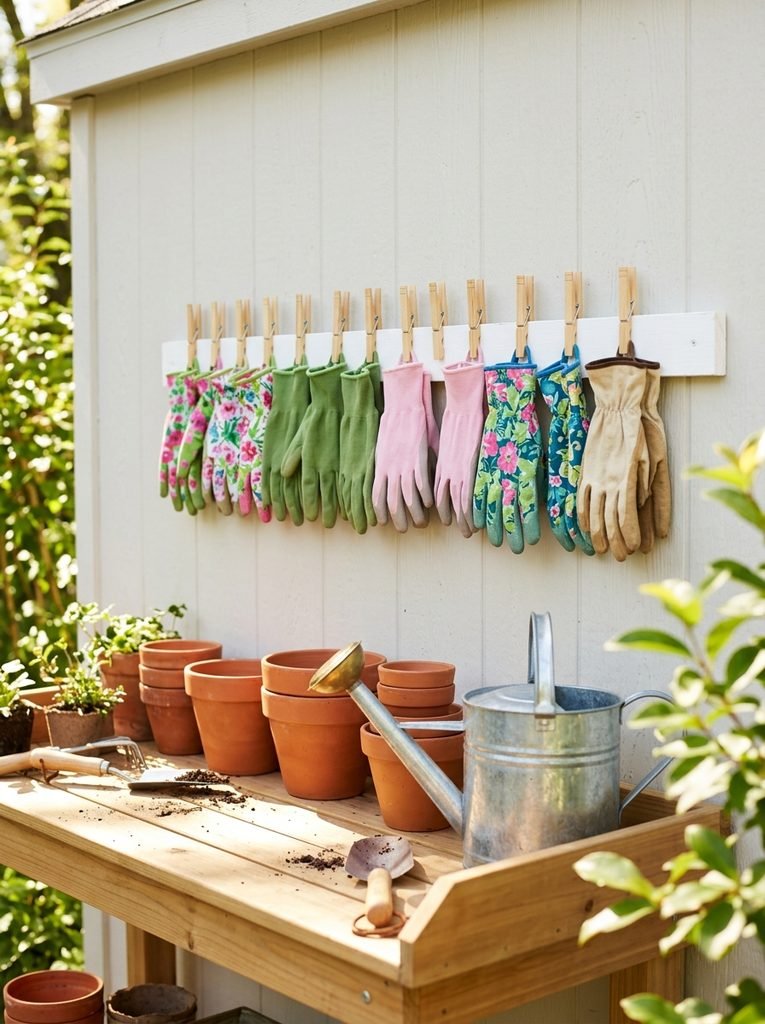
Garden gloves need to dry out after every use, or they get stiff and smelly. A fence picket with clothespins glued on is the cutest way to hang them by the potting bench. They dry in the open air, and the whole thing looks charming.
I made this in under an hour with a leftover picket and a pack of clothespins.
Time: One hourCost: Very lowSkill: Beginner friendly
Materials Needed:
- One wooden fence picket
- Six to eight wooden clothespins
- Exterior paint or stain
- Strong waterproof wood glue
- Two exterior screws
- Sandpaper
How to Make It:
- Sand the picket lightly and wipe off the dust.
- Paint or stain the picket and the clothespins and let them dry.
- Glue the clothespins along the picket, spaced about 4 inches apart, all facing the same way.
- Let the glue cure for a full day so the pins hold tight.
- Screw the picket to the shed, a fence or a wall near your potting area.
- Clip each pair of gloves by the cuff, fingers pointing down so water drains out.
Mount it under a roof edge or overhang. The gloves still get air, but rain won’t soak them again.
4. Boxing Glove Hooks with Airflow
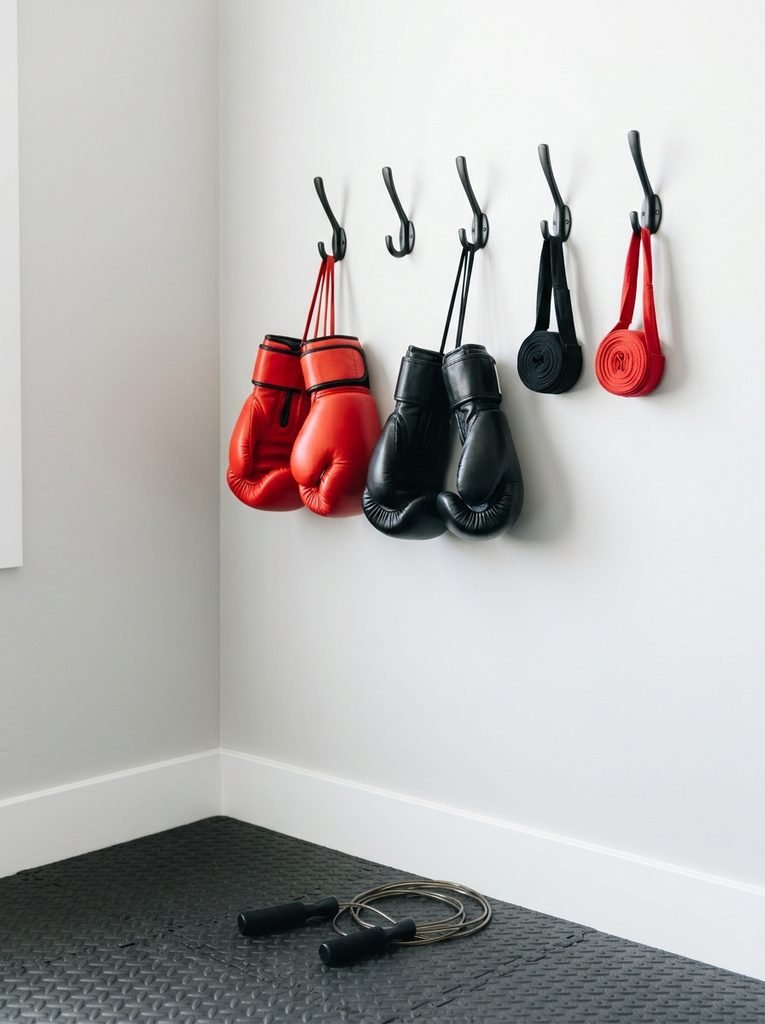
Boxing gloves get sweaty fast, and if you zip them into a gym bag, they start to smell within days. Hang them on wall hooks by the wrist loop with the cuffs open, so air flows inside.
Honestly, this is the most important thing you can do for your gloves. Hang your hand wraps next to them so they dry too.
Start Your 30-Day Home Reset
Stop waiting for a "perfect" free weekend. Grab the 30-day plan and start feeling lighter in your own home by tomorrow.
View the 30-Day Plan Printable PDF · Instant downloadYou’ll need: two or three sturdy wall hooks and a small hook or rail for the hand wraps.
Best for: home gyms and garages
5. Baseball Glove Storage That Keeps Its Shape
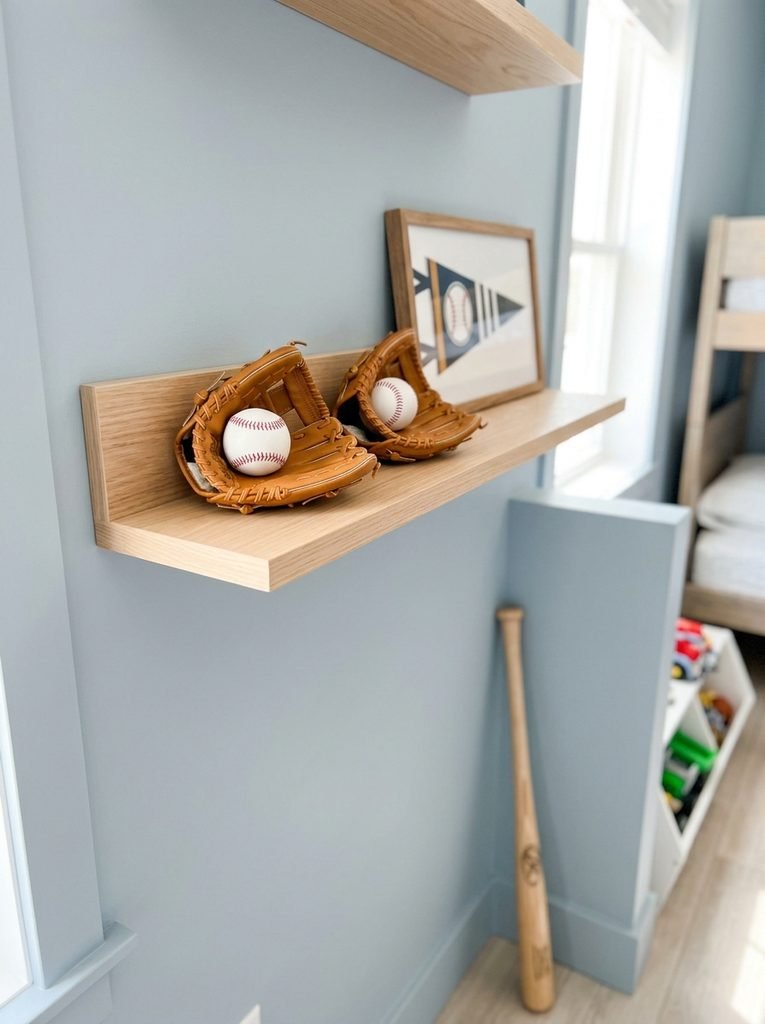
A baseball glove keeps its shape best when it’s stored with a ball in the pocket. Set it on a shelf with the pocket open and the ball inside, never squashed in a bag under heavy gear.
A tip I picked up: keep it out of a hot car or a sunny window. Heat dries out the leather and makes it crack.
You’ll need: a small wall shelf and a baseball for each glove.
Best for: kids’ rooms and sports corners
6. Wall Mounted Disposable Glove Box Holder
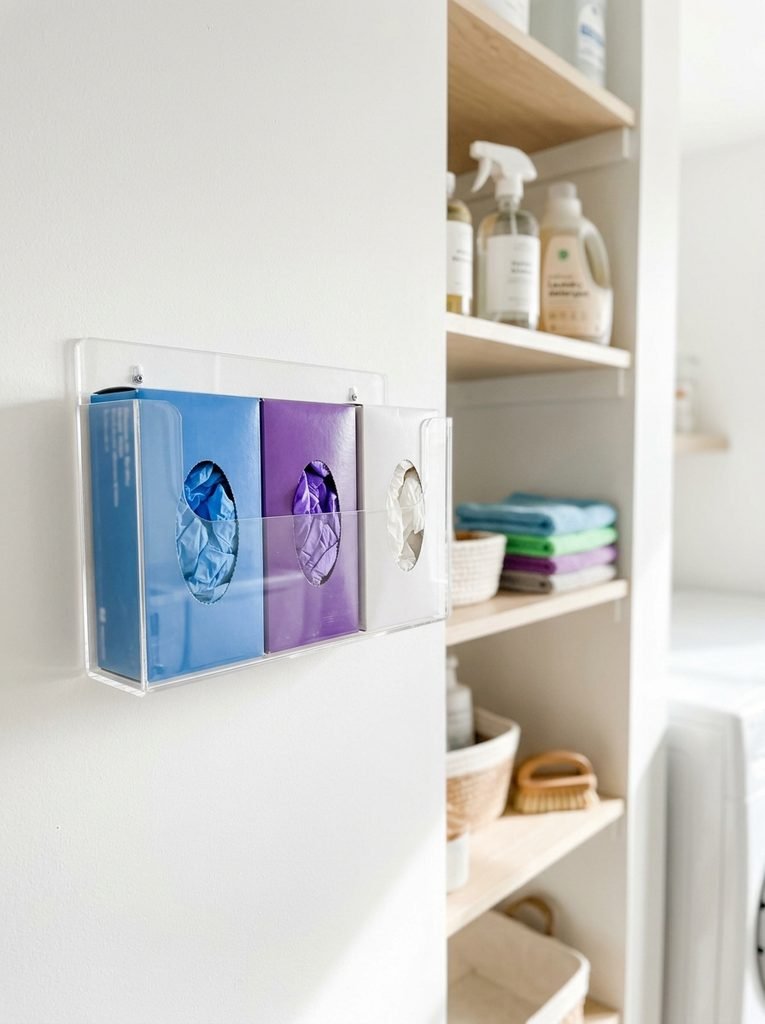
Boxes of disposable gloves always end up crushed in a cabinet. A wall mounted holder keeps the box upright, so you can pull a glove with one hand. It’s handy in the kitchen, laundry room or garage.
I keep one box by the sink for raw meat and cleaning jobs, and one in the garage for messy projects.
You’ll need: a wall mounted glove box holder and two small screws or strong adhesive strips.
Best for: kitchens, laundry rooms and garages
7. Rubber Glove Hooks Under the Kitchen Sink
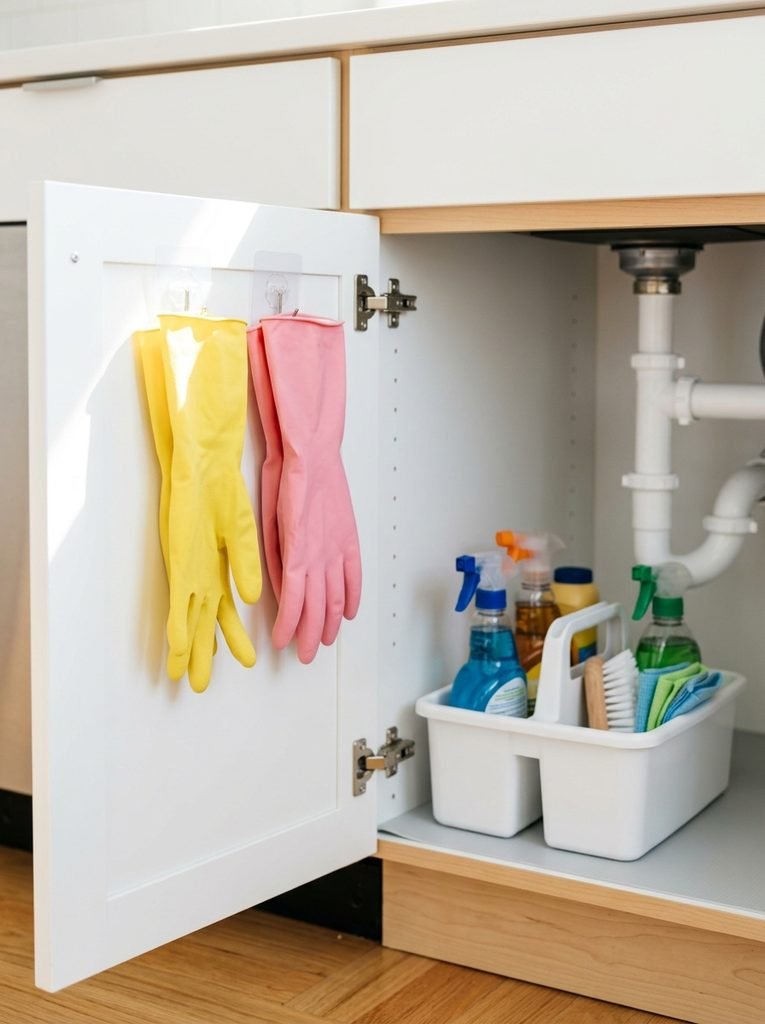
Rubber gloves left on the edge of the sink look messy, and stuffing them wet in a drawer makes them grow mildew. Stick a couple of hooks inside the cabinet door under the sink and hang them by the cuff to dry.
I clip mine with a small clothespin onto the hook. They hang open, drip dry and are right there for the next dish pile.
You’ll need: two adhesive hooks and a couple of small clothespins.
Best for: kitchens and small apartments
8. Closet Drawer Dividers for Leather Gloves
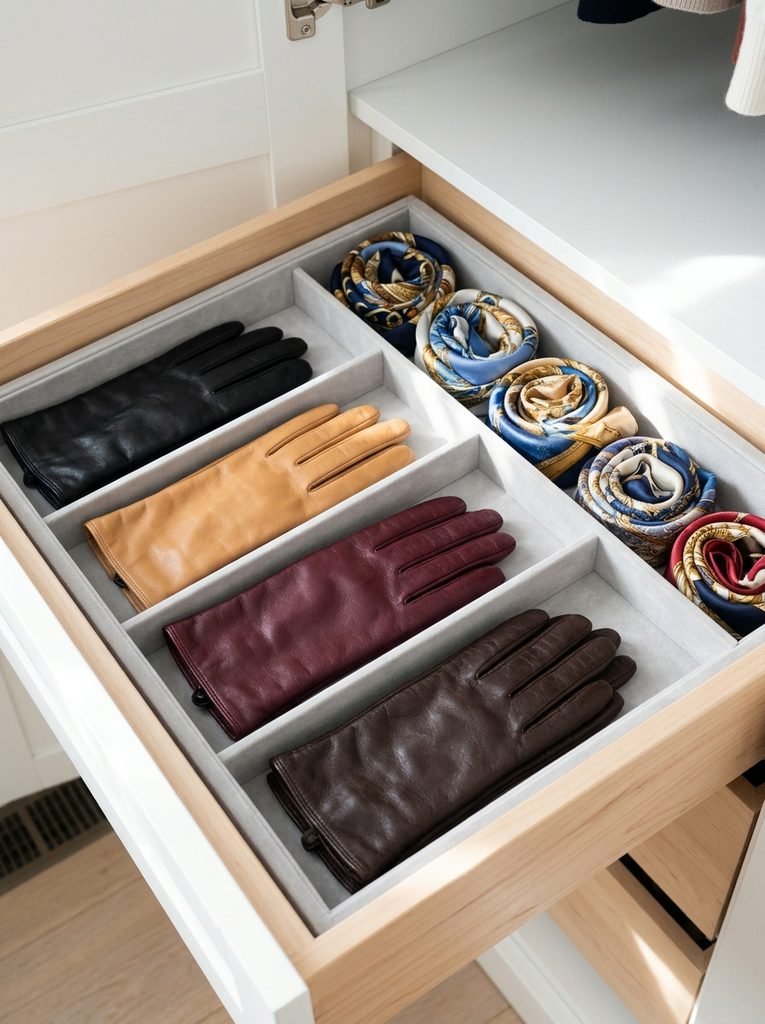
Leather gloves deserve better than a pile. Lay each pair flat in its own section of a lined drawer divider. They keep their shape, the leather doesn’t crease, and you can see every pair at once.
I tuck a small cedar ball in the corner of the drawer. It keeps everything fresh.
You’ll need: a velvet or felt lined drawer divider tray.
Best for: closets and dressers
9. Over the Door Pocket Organizer for Winter Hats and Gloves
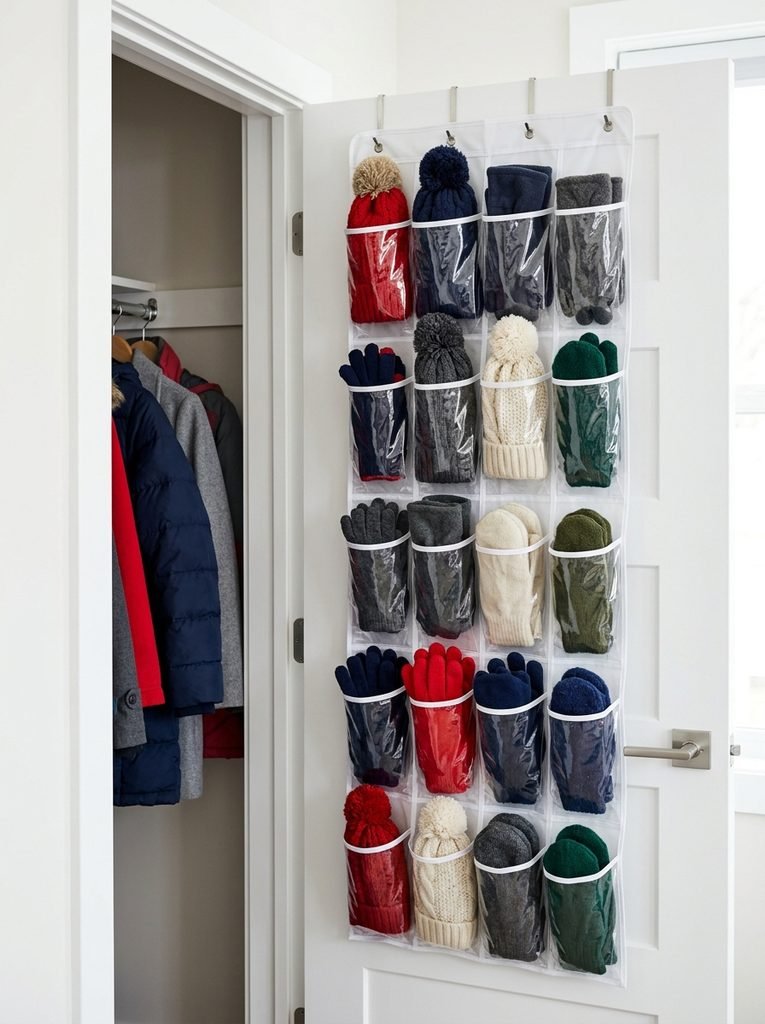
An over the door pocket organizer on the coat closet keeps winter hats and gloves together in one spot. Clear pockets let you see every pair, and each pocket can hold a hat and matching gloves.
I give each family member their own column of pockets. Kids find their own gear and nobody has to search.
You’ll need: a clear over the door pocket organizer.
Best for: coat closets and busy families
10. Clip Line for Kids’ Winter Gloves
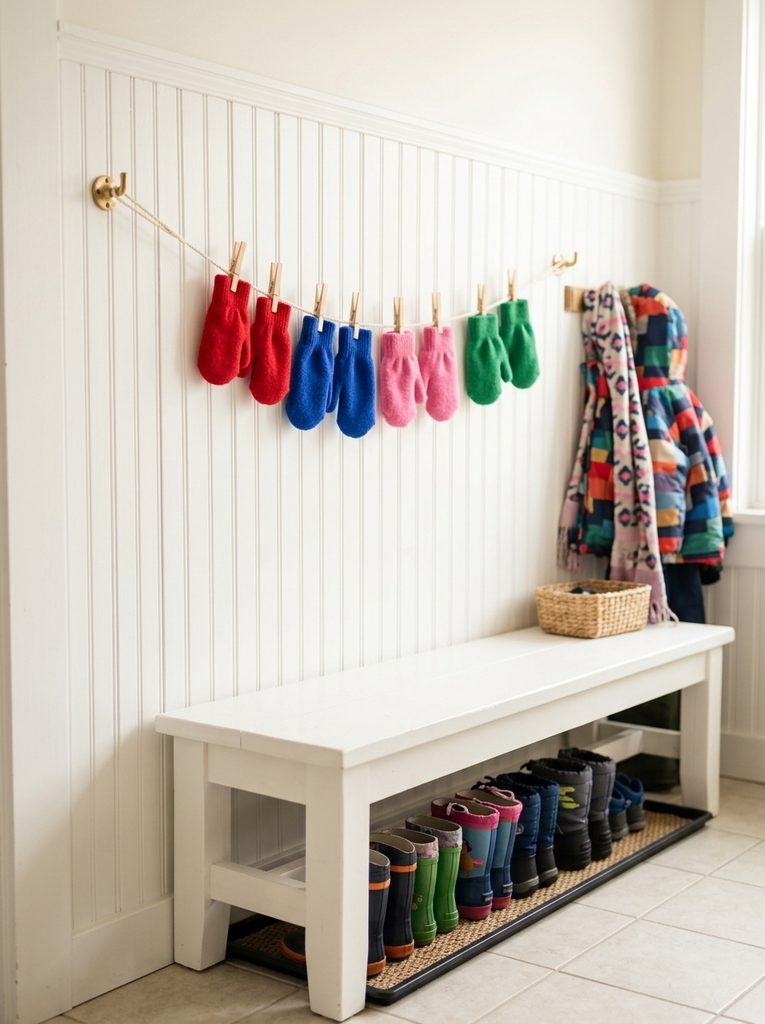
Kids come in from the snow with soaking wet mittens. A simple clip line by the door, or near a heater, lets them hang their own mittens to dry. It’s fun, easy for little hands, and it stops wet mittens from ending up on the floor.
Hang the line low enough for kids to reach on their own. They’ll actually use it.
You’ll need: two small hooks, cotton rope or twine and a handful of wooden clothespins.
Best for: families with young kids
Final Thoughts on Glove Storage Ideas
The best glove storage ideas all do two things: keep pairs together and let gloves dry. Give winter gloves a drying rack, work gloves a pegboard, garden gloves a clip line and kitchen gloves a hook. Once every pair has its spot, those lonely single gloves will finally stop showing up.


Amir Ali is the founder and site administrator of HomeDecorEdge, a modern home decor and interior design platform. Since starting the site, he has combined his passion for interior design, practical styling, and color coordination with hands-on content strategy and site management. He guides authors, curates high-quality articles, and ensures readers have access to actionable, visually inspiring, and user-focused home decor advice for apartments, small rooms, and family homes.