

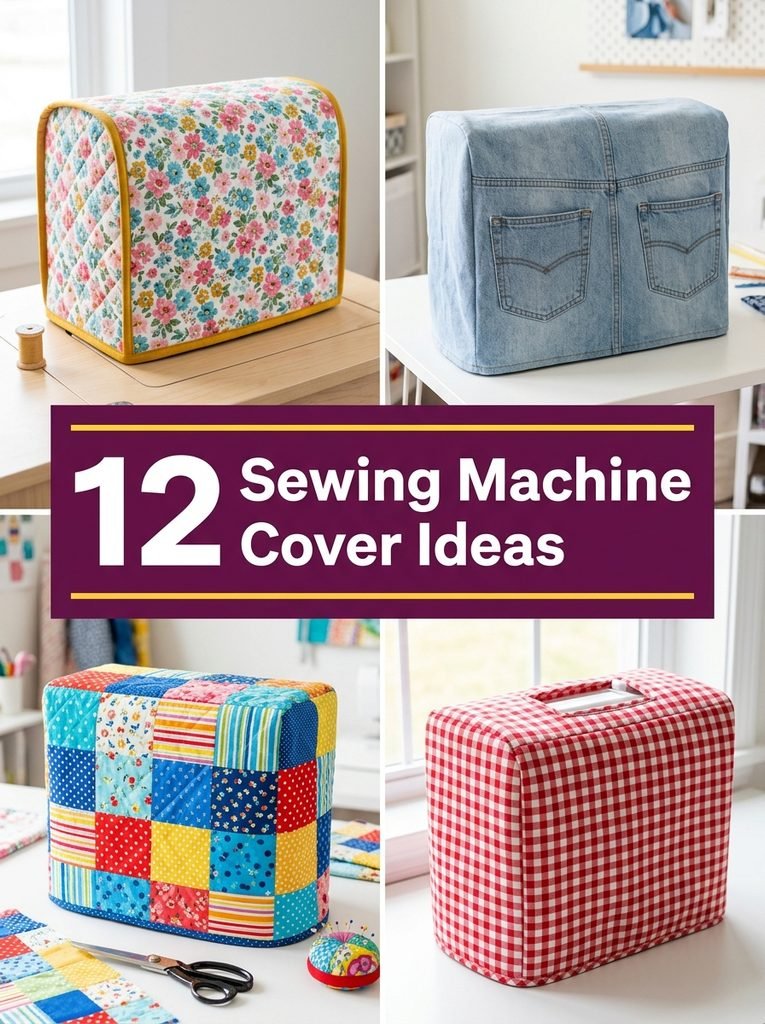
Quick question. When did you last wipe the dust off your sewing machine? If you had to think about it, you’re not alone. I used to leave mine uncovered, and dust kept settling in the bobbin area and around the tension discs. A cover fixed that overnight. It’s also one of the most satisfying things to sew, because it’s simple, quick and makes your sewing space look instantly put together. Below you’ll find a free pattern with a measuring guide in idea 1, then 11 more ways to customize it, each with a tip I learned along the way.
1. Basic Fitted Cover With a Free Pattern
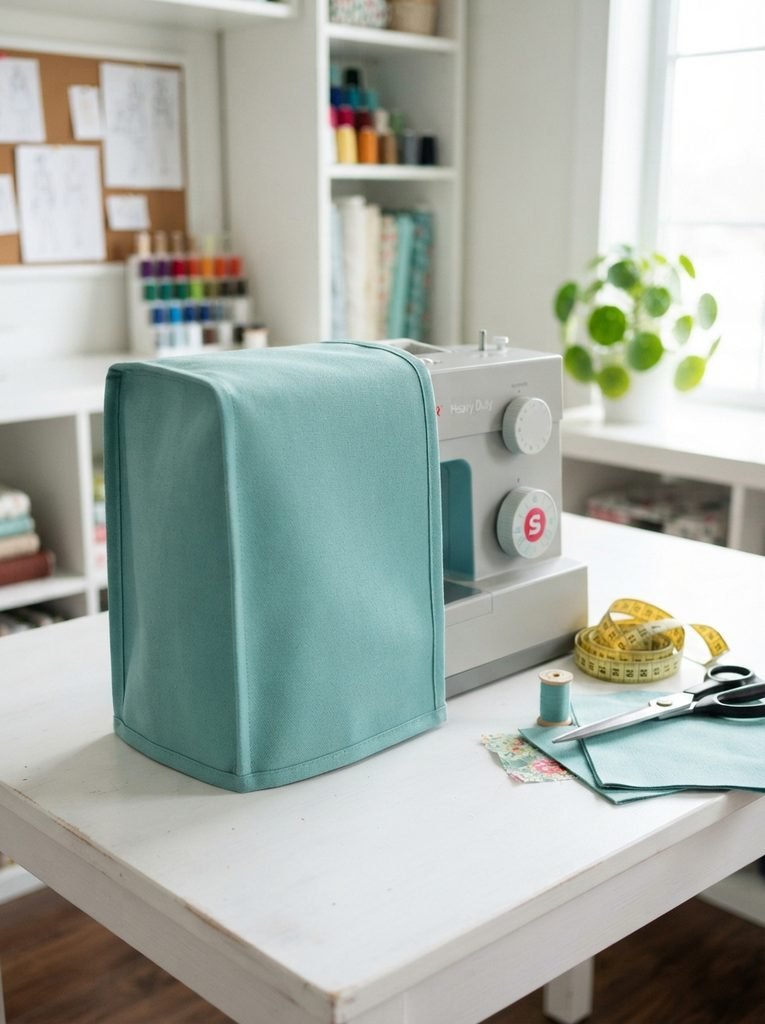
This is the free pattern that every other idea builds on. Because every machine is a different size, you’ll draft it from your own measurements. Honestly, that’s better than a printed pattern, because it fits perfectly.
Materials Needed: About 1 yard of medium weight cotton, canvas or linen, matching thread, a measuring tape, a ruler, chalk, pins or clips, and fabric scissors.
How to Measure: With the machine on a flat table, measure three things. Width (W) from the left side to the right side at the widest point, including the hand wheel. Height (H) from the table to the top of the machine, including the thread spool pin. Depth (D) from the front to the back at the deepest point.
How to Cut: Front and back panels: cut two rectangles, each W + 2 inches wide by H + 2 inches tall. Side gusset: cut one long strip D + 2 inches wide by (H x 2) + W + 4 inches long. These numbers already include ease, half inch seam allowances and a 1 inch bottom hem.
How to Make It: Find the center of the gusset strip and the center top of the front panel and pin them together, right sides facing. Pin the gusset down both sides of the front panel, clipping the gusset seam allowance at the two top corners so it turns neatly. Sew, then repeat with the back panel on the other edge of the gusset. Finish the seams with a zigzag stitch. Fold the bottom edge up twice and hem it. A tip I picked up: try the cover on the machine before hemming. If it’s a little long, trim the bottom first.
2. Quilted Cover
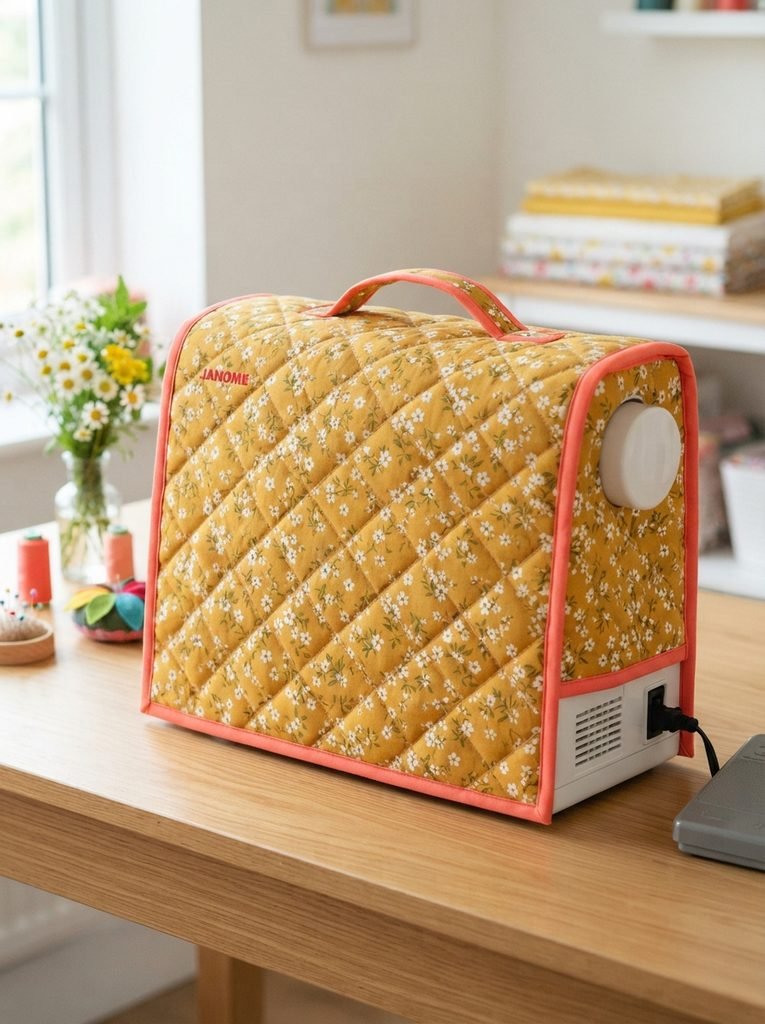
A quilted cover feels soft, looks beautiful and protects your machine from small bumps. It’s my personal favourite.
Materials Needed: Outer fabric, lining fabric, thin cotton batting or fusible fleece, bias binding, a walking foot if you have one, a ruler, a fabric marker, and thread.
How to Make It: Cut your front, back and gusset pieces using the measurements from idea 1, in outer fabric, lining and batting. Layer each piece as lining face down, batting, then outer fabric face up. Mark diagonal lines and quilt each piece. Trim the edges straight, then assemble the cover just like the basic pattern. Finish the bottom edge and the seams with bias binding. In my experience, a walking foot makes a huge difference here, because it stops the layers from shifting as you quilt.
3. Cover With Front Pockets
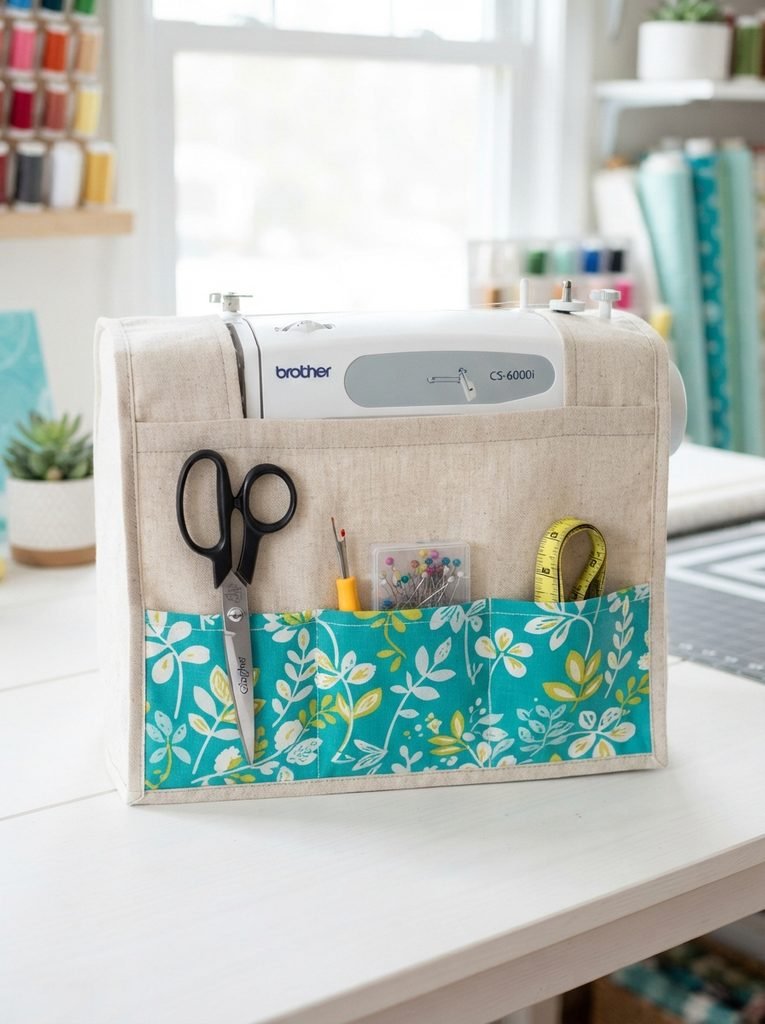
Adding pockets turns your cover into a handy tool organizer. Your scissors and seam ripper are always right where you need them.
Materials Needed: Your cover pieces from idea 1, an extra fabric rectangle for the pocket panel, interfacing if the fabric is light, pins, a ruler, chalk, and thread.
How to Make It: Cut a pocket panel the same width as your front panel and about half its height. Fold it in half lengthwise, wrong sides together, and press. Place it on the bottom of the front panel with raw edges lined up and baste the sides. Mark vertical lines to divide it into pockets, and stitch along them from the bottom to the top edge of the pocket. Backstitch at the top for strength. Then assemble the cover as usual. A tip I picked up: measure your favourite scissors before marking pockets, so at least one pocket fits them perfectly.
4. Upcycled Denim Cover
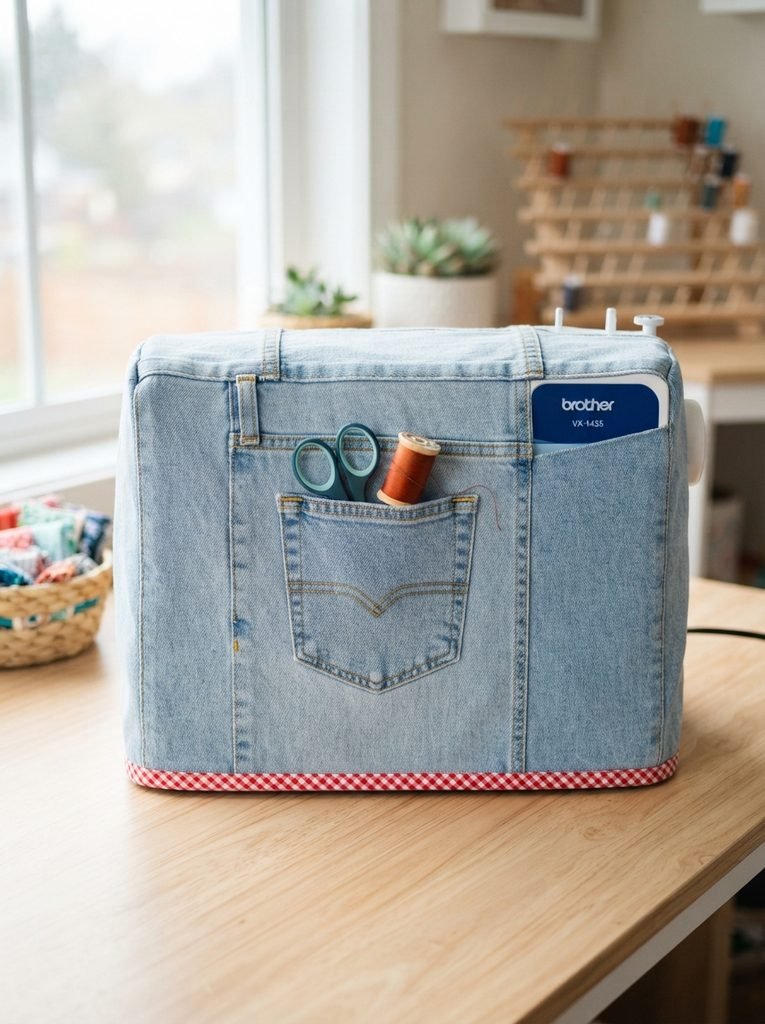
Old jeans make a tough, stylish cover, and the back pockets come ready made. Cut the jean legs open to get flat panels, then piece them together if needed to reach your measurements. Stitch the original back pockets onto the front panel for storage. Honestly, the worn denim texture looks great in a sewing room. Use a denim needle, because you’ll be sewing through some thick seams.
5. Patchwork Scrap Cover
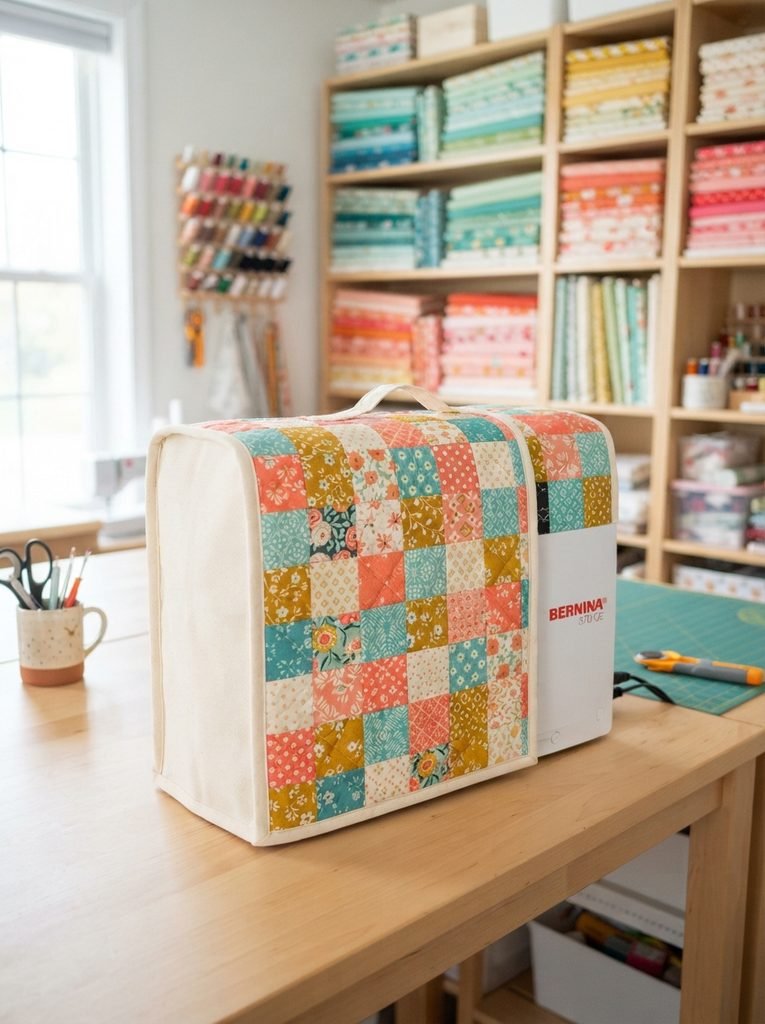
If your scrap bin is overflowing, a patchwork cover is the perfect way to use it. Sew small squares together into panels big enough to cut your front and back pieces. A solid fabric for the gusset helps the busy patchwork look calmer. In my experience, sticking to three or four main colors keeps it looking planned instead of random. It’s honestly a cover that tells the story of all your past projects.
6. Cute Embroidered Cover
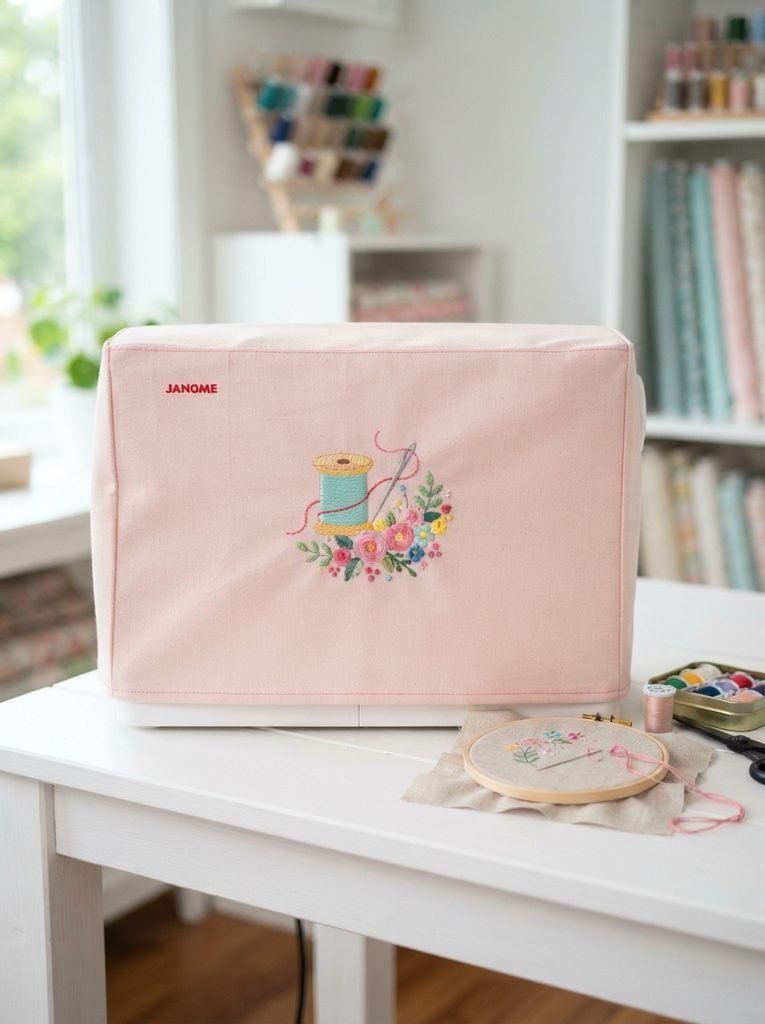
A little embroidery makes your cover adorable and totally yours. Sewing themed motifs like a spool of thread, a needle and tiny flowers are so cute. Embroider the design on the front panel before you assemble the cover, while the fabric is flat in a hoop. You can hand embroider or use your machine’s decorative stitches. A tip I picked up: use a stabilizer behind the fabric so the stitching doesn’t pucker.
7. Carry Bag Style Cover With Handles
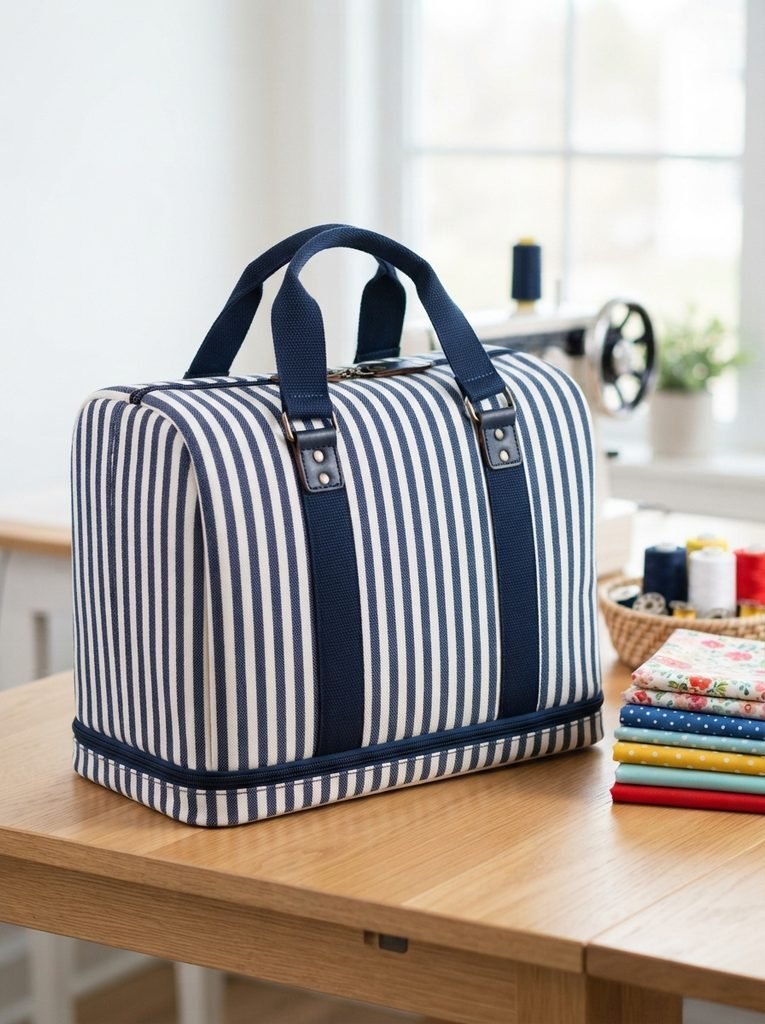
If you take your machine to classes or a friend’s house, a bag style cover is so useful. Add padding with fusible fleece and stitch strong webbing handles across the top, reinforced with box stitches. Some people add a zipper along the bottom so the cover closes like a bag. Honestly, I’d only carry the machine by the handles if they’re stitched through all layers and reinforced well. Machines are heavy.
Start Your 30-Day Home Reset
Stop waiting for a "perfect" free weekend. Grab the 30-day plan and start feeling lighter in your own home by tomorrow.
View the 30-Day Plan Printable PDF · Instant download8. Aesthetic Linen Cover With Ruffle Trim
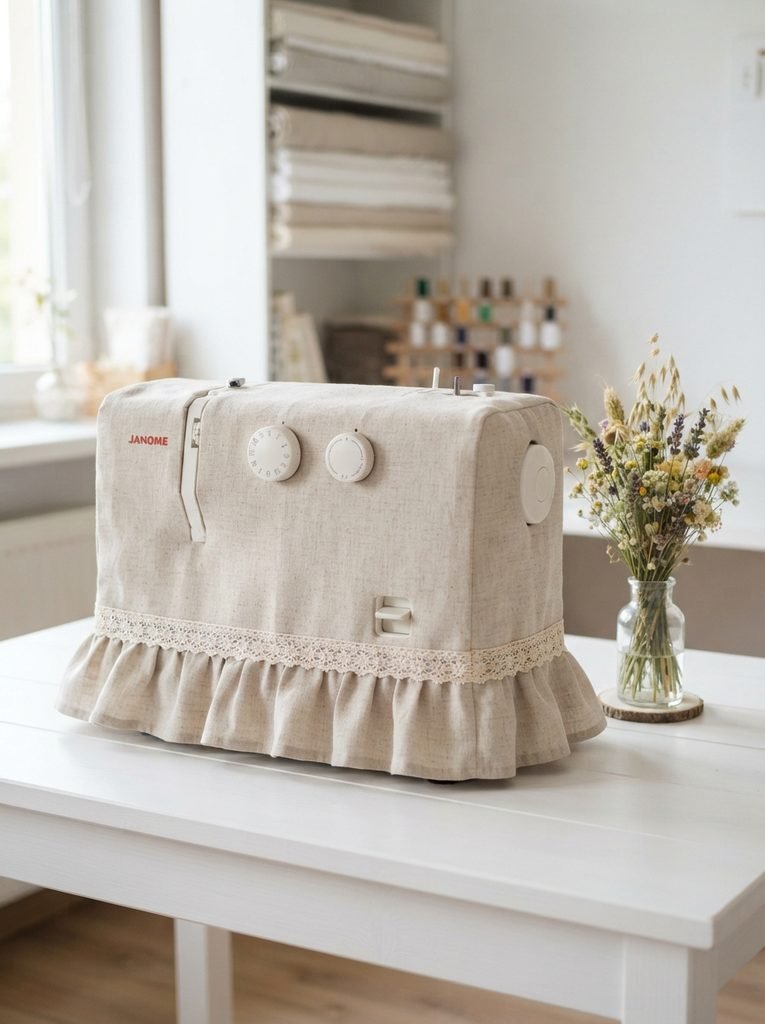
For a soft, aesthetic look, linen with a ruffled hem is so pretty. It fits beautifully in a calm, neutral sewing space. Cut a strip about one and a half times the cover’s bottom edge, gather it and sew it to the hem. Prewash the linen first, because it shrinks quite a bit. In my experience, this one gets the most compliments from visitors, and it’s no harder than the basic cover.
9. Gingham Cover With Bias Binding
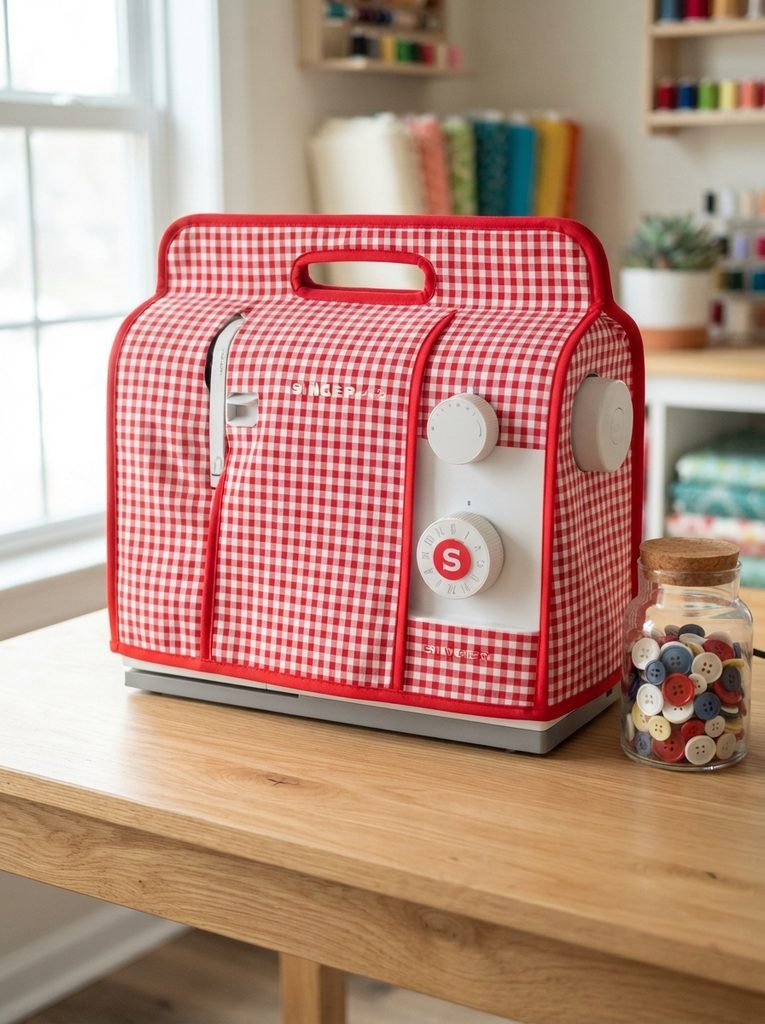
Gingham is timeless and cheerful, and bias binding is the perfect way to finish it. Instead of hiding seams inside, sew the cover wrong sides together and bind the seams on the outside. It creates a bold, graphic outline. I’d suggest making your own binding from a contrasting solid fabric. Honestly, it’s easier than it sounds and gives you so many more color choices.
10. Cover With a Handle Opening on Top
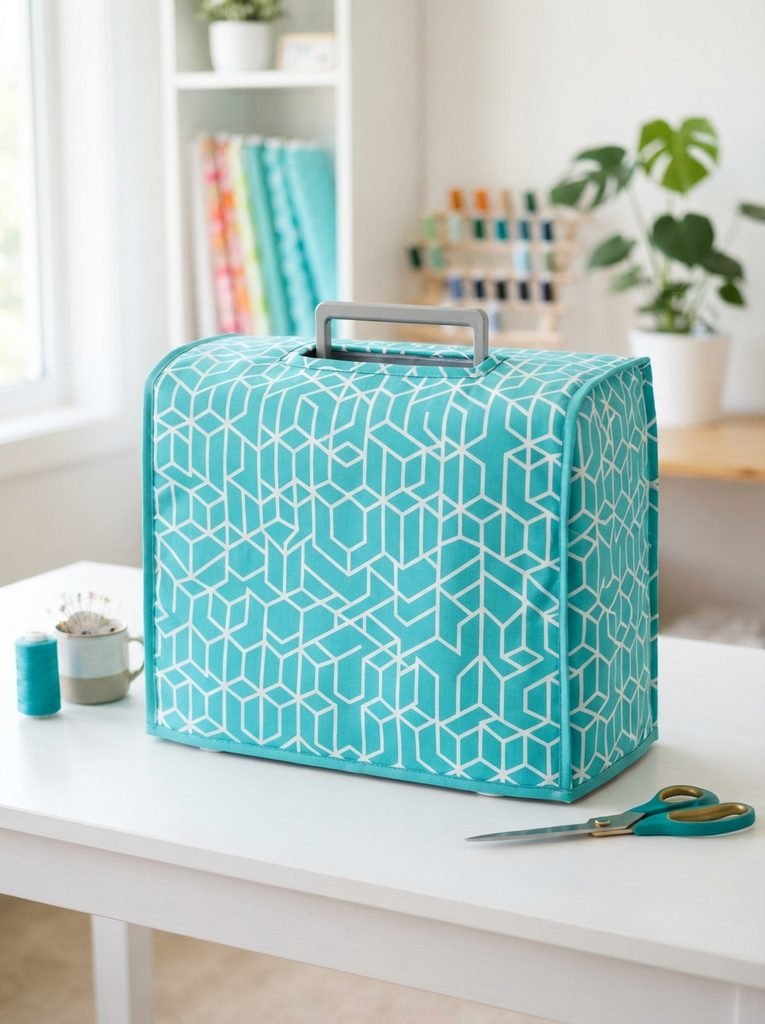
This is a really practical upgrade. A slot in the top of the gusset lets your machine’s built in handle poke through, so you can lift the machine without removing the cover. Measure the handle’s position before cutting. Finish the slot like a large buttonhole or with a small facing. In my experience, it’s the detail that makes a cover feel thoughtfully made.
11. Contrast Stitching Cover
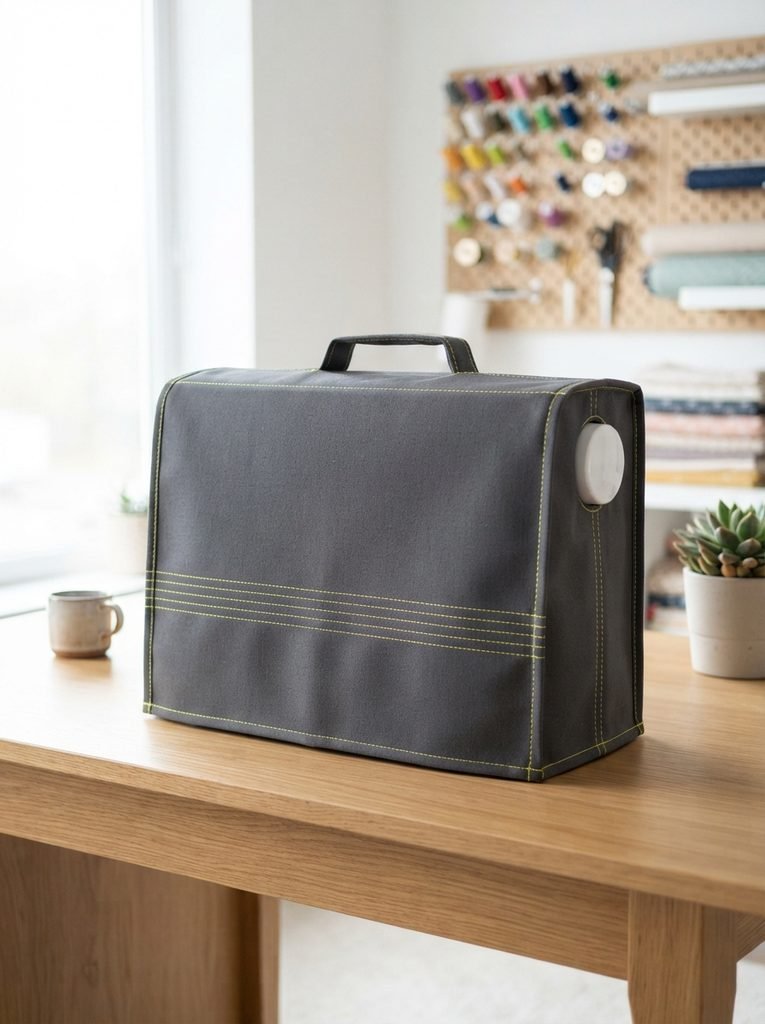
A plain solid cover becomes modern and striking with contrast stitching. Pick a thread color that really pops against the fabric, like yellow on grey or white on navy. Topstitch along every seam and add a few decorative lines across the front. A tip I picked up: use a slightly longer stitch length and a topstitching needle with a bigger eye. Thicker topstitching thread looks bolder and neater.
12. Matching Cover and Pin Cushion Set
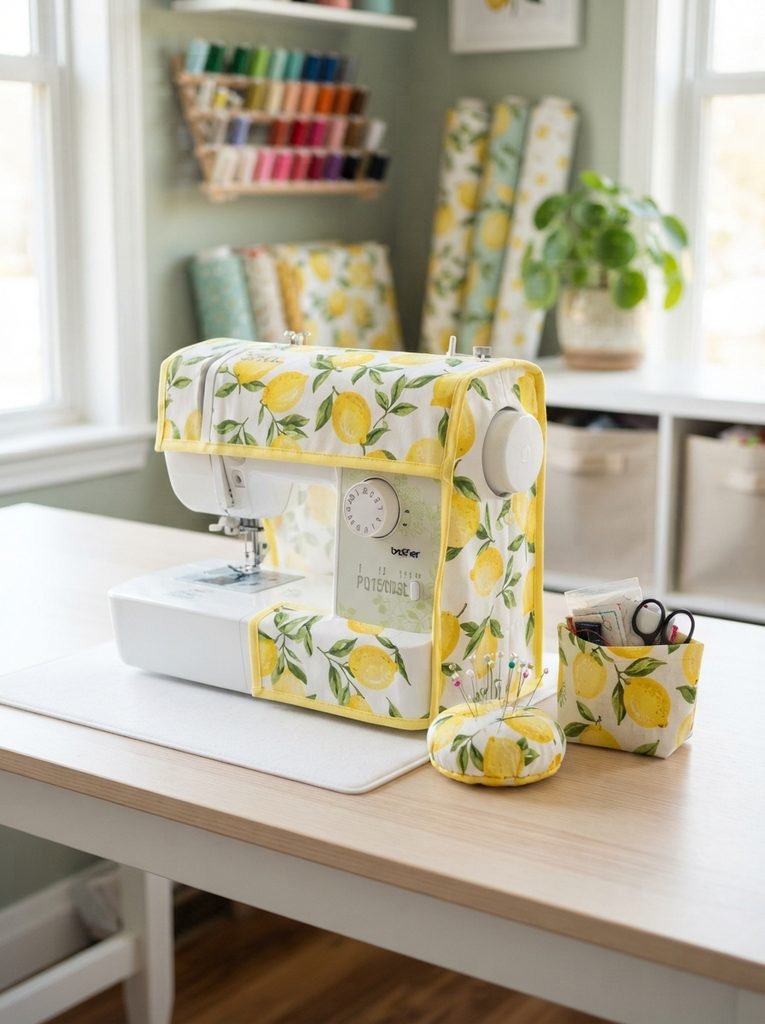
Once you’ve made your cover, use the leftover fabric to make a matching pin cushion or thread catcher. A coordinated set makes your sewing space look really pulled together. It also makes a wonderful gift for a friend who sews. Honestly, you’ll have enough scraps left over from almost any cover for at least one matching piece.
Final Thoughts on Sewing Machine Cover
A sewing machine cover is quick to make, protects your machine and adds personality to your sewing space. Start with the basic free pattern, then try pockets, quilting or patchwork to make it your own. Honestly, it’s one of those projects you’ll wish you’d made years ago.


Amir Ali is the founder and site administrator of HomeDecorEdge, a modern home decor and interior design platform. Since starting the site, he has combined his passion for interior design, practical styling, and color coordination with hands-on content strategy and site management. He guides authors, curates high-quality articles, and ensures readers have access to actionable, visually inspiring, and user-focused home decor advice for apartments, small rooms, and family homes.