

My first sewing machine sat in its box for three months. I was honestly a little scared of it. When I finally set it up, I made the mistake of jumping into a project way too hard and nearly gave up. What really helped was working through projects in a smart order, where each one taught me one new thing. Straight seams first, then hems, then zippers and curves. That’s exactly how this list works. Each of these 12 sewing machine projects teaches a skill you’ll use forever, and you’ll end up with useful things for your home along the way.
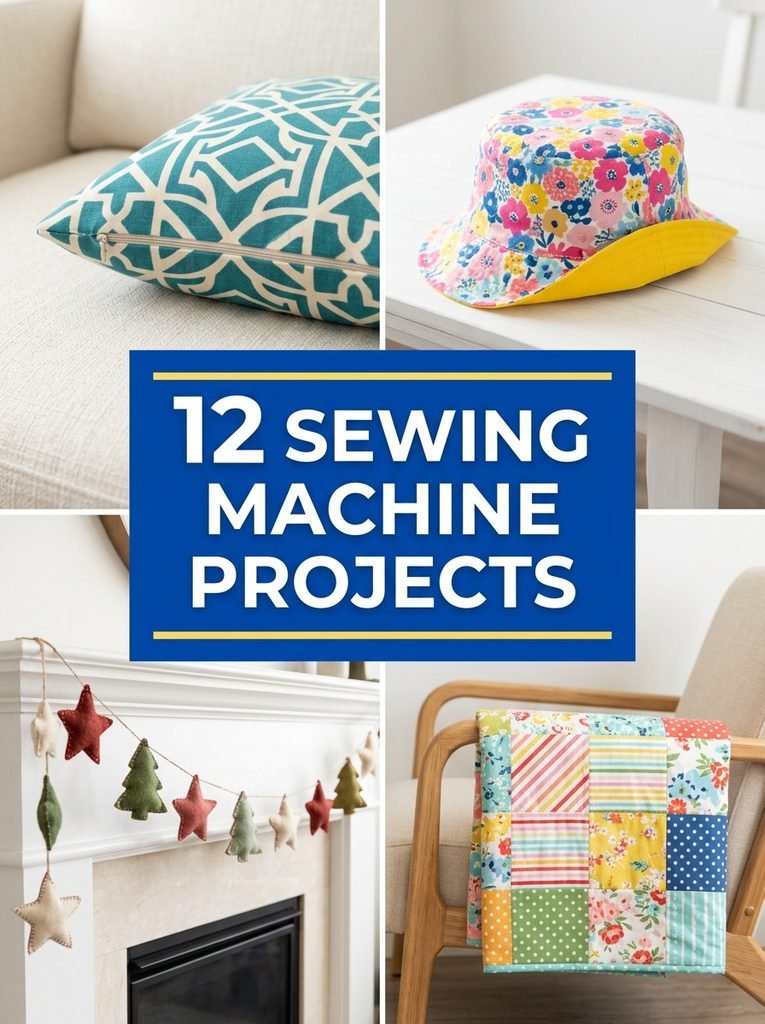
1. Envelope Pillow Cover
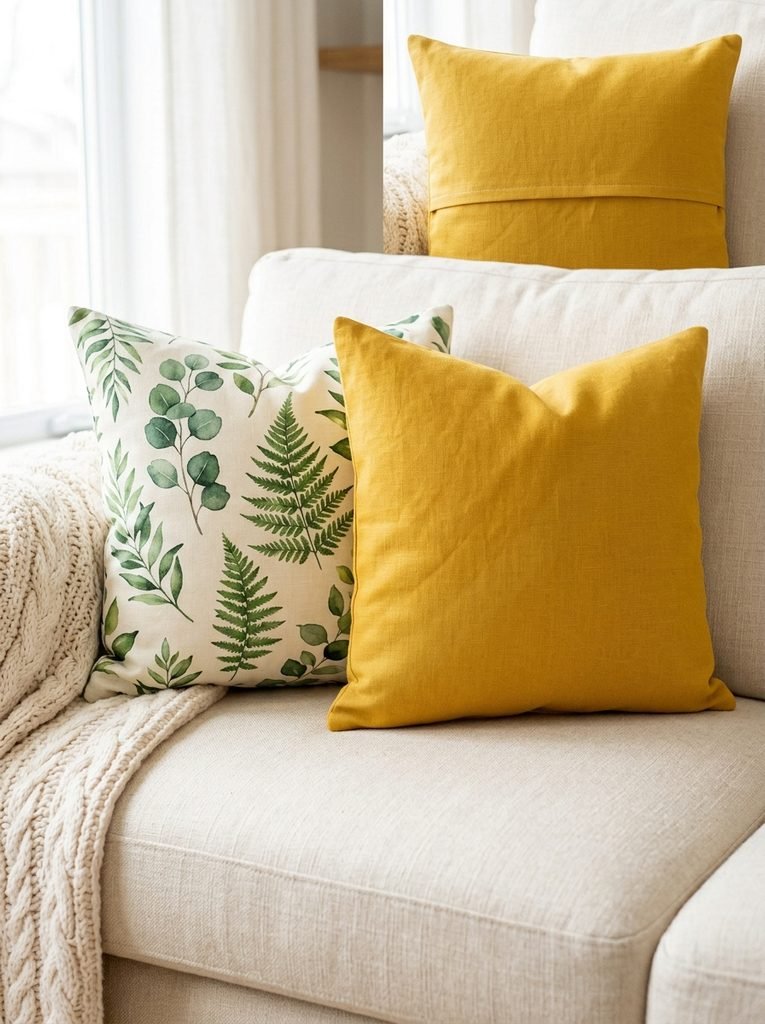
Skill you’ll learn: straight seams.
An envelope pillow cover is the perfect first project because it’s all straight lines and there’s no zipper. The back is just two overlapping panels that let the pillow slip in. Honestly, it’s the best way to get comfortable guiding fabric through the machine. Use a sturdy cotton or linen so the fabric doesn’t shift. A tip I picked up: make the cover an inch smaller than your pillow insert. The pillow looks plump and full instead of floppy.
2. Fabric Table Runner
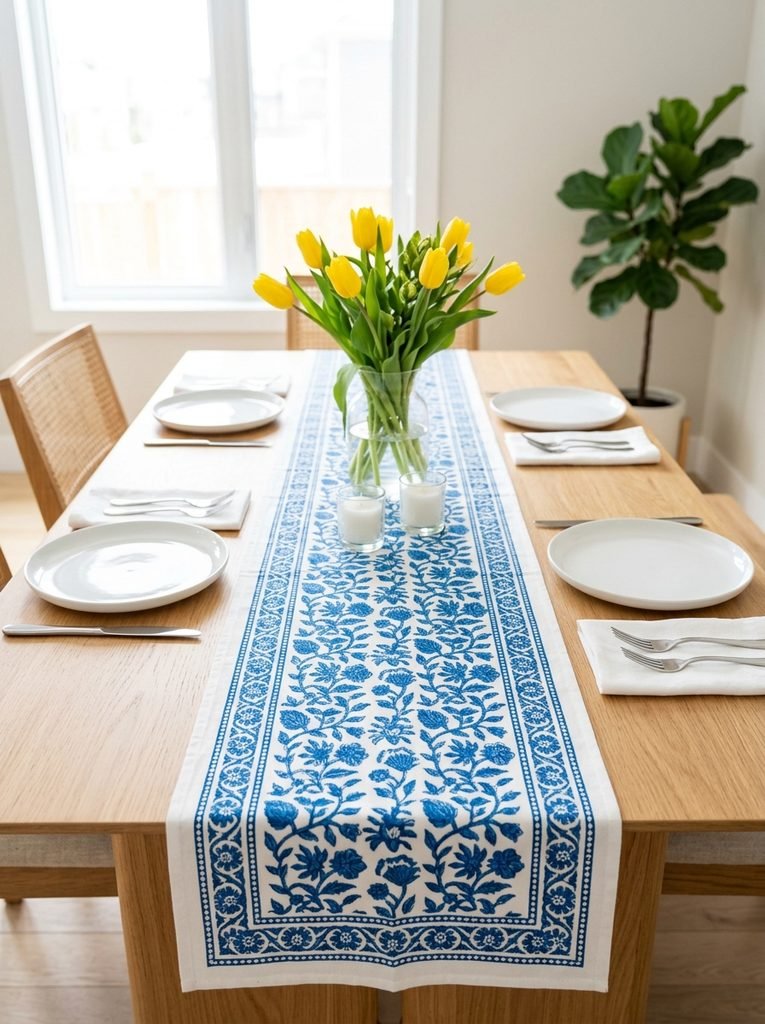
Skill you’ll learn: hemming and pressing.
A table runner is a long rectangle with neat hems, and that makes it great practice for keeping your stitching straight over a long distance. You’ll also learn how much pressing matters. Press each hem fold before you sew it. In my experience, a well pressed hem looks professional even if your stitching isn’t perfect. I like making two runners in different prints so I can switch them with the seasons.
3. Quilted Pot Holders
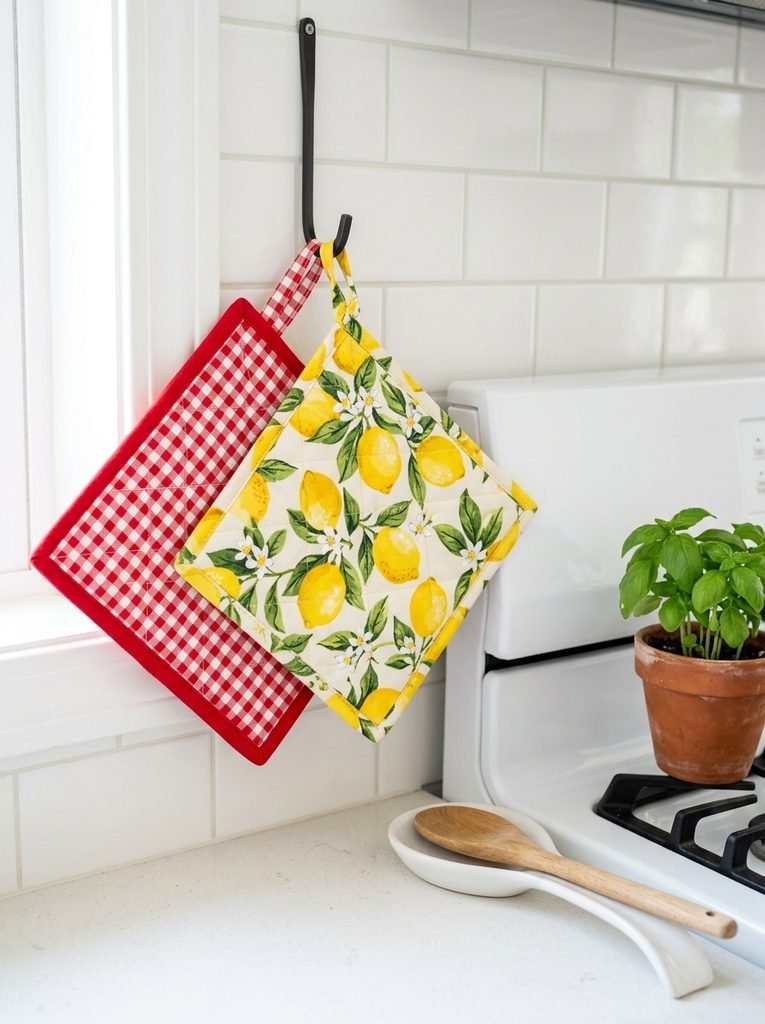
Skill you’ll learn: layering and simple quilting.
Pot holders are a small, low pressure way to try quilting. You’ll practice sewing through several layers and finishing edges with binding.
Materials Needed: Two cotton fabric squares, two layers of insulated batting plus one layer of cotton batting, binding strips or ready made bias tape, pins or clips, a ruler, a fabric marker, and thread.
How to Make It: Stack the back fabric face down, then the batting layers, then the top fabric face up. Pin well. Draw diagonal lines with a fabric marker and sew along them to quilt the layers together. Trim the edges even. Sew the binding around the edge, tucking in a small loop at one corner for hanging, then fold it over and stitch it down. A tip I picked up: always use insulated batting for at least one layer. Regular batting alone won’t protect your hands from hot pans.
4. Kitchen Apron
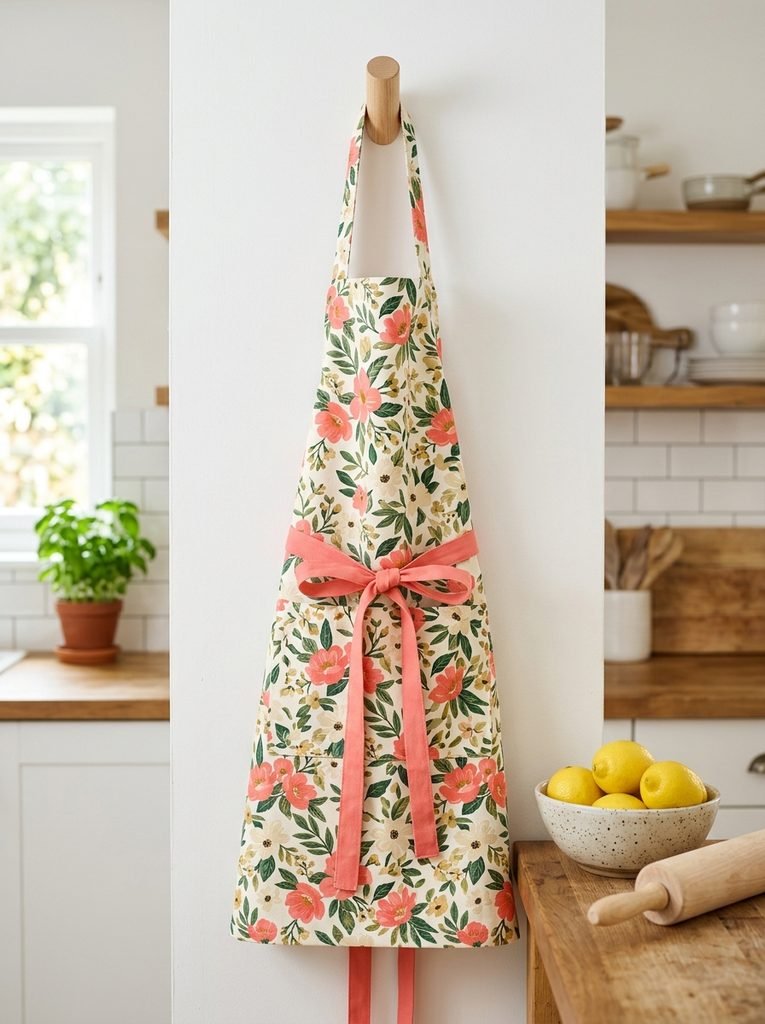
Skill you’ll learn: pockets and straps.
An apron is a great step up because it adds pockets and straps. It’s also a gift almost everyone appreciates.
Materials Needed: Sturdy cotton canvas or twill, extra fabric for the pocket and ties, pins, a ruler, chalk, scissors, and thread.
How to Make It: Cut the main apron shape, a simple rectangle with angled cuts at the top corners. Hem all edges by folding twice and stitching. Fold and sew long strips for the neck strap and waist ties, then turn them right side out and press. Hem the pocket, press its edges under and topstitch it to the front. Attach the neck strap and ties with a small stitched box with an X through it. In my experience, that box stitch is what keeps straps from ripping off later.
5. Café Curtains
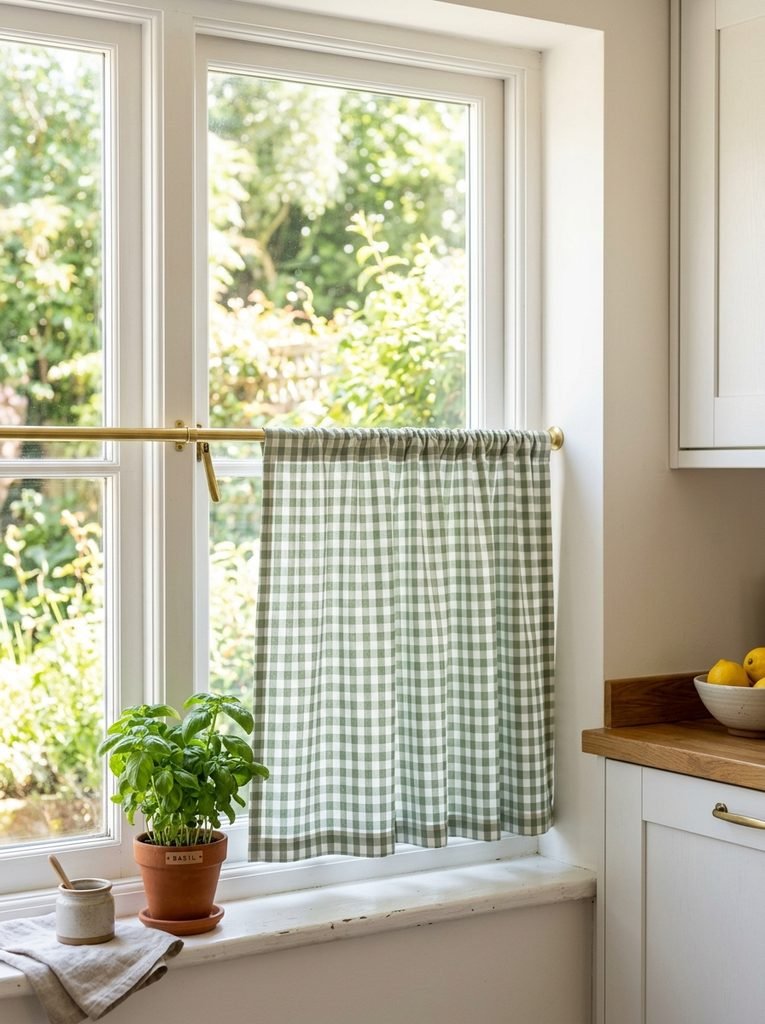
Skill you’ll learn: rod pocket casing.
Café curtains cover the lower half of a window. They’re small, cute and really practical for kitchens and bathrooms. You’ll learn to make a rod pocket, which is just a wide hem at the top that the rod slides through. Measure the window carefully and add extra width so the curtains gather softly. Honestly, these are one of the quickest ways to make a room feel freshly decorated. A light cotton or linen lets daylight through beautifully.
6. Zippered Cushion Cover
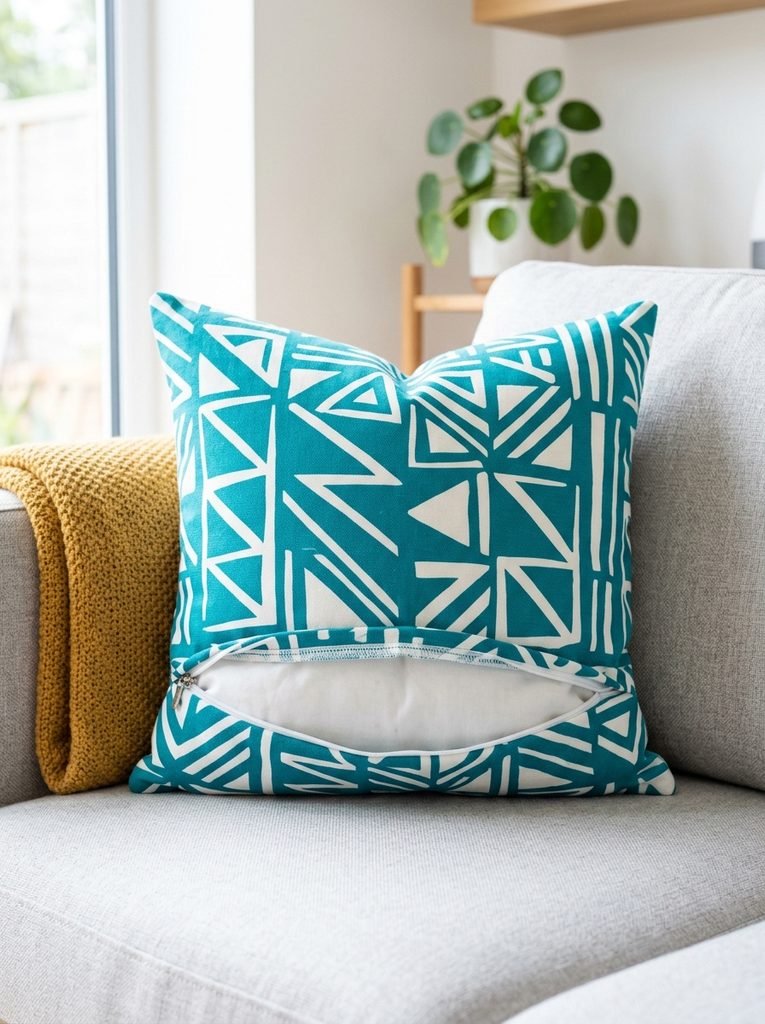
Skill you’ll learn: installing a zipper.
Zippers scare a lot of people, but a cushion cover is the gentlest way to learn. Once you’ve done one, you’ll never avoid zippers again.
Materials Needed: Two fabric squares, a zipper about 2 inches shorter than the cushion width, a zipper foot, pins or clips, and thread.
How to Make It: Place the two squares right sides together and sew along the bottom edge for about an inch and a half from each end, using a normal stitch. Sew the middle section of that seam with your longest basting stitch and press it open. Place the zipper face down over the basted seam and stitch it in place with the zipper foot. Unpick the basting stitches to reveal the zipper. Open the zipper halfway, then sew around the other three sides. Turn right side out. A tip I picked up: always open the zipper before sewing the last sides, or you won’t be able to turn the cover.
7. Padded Laptop Sleeve
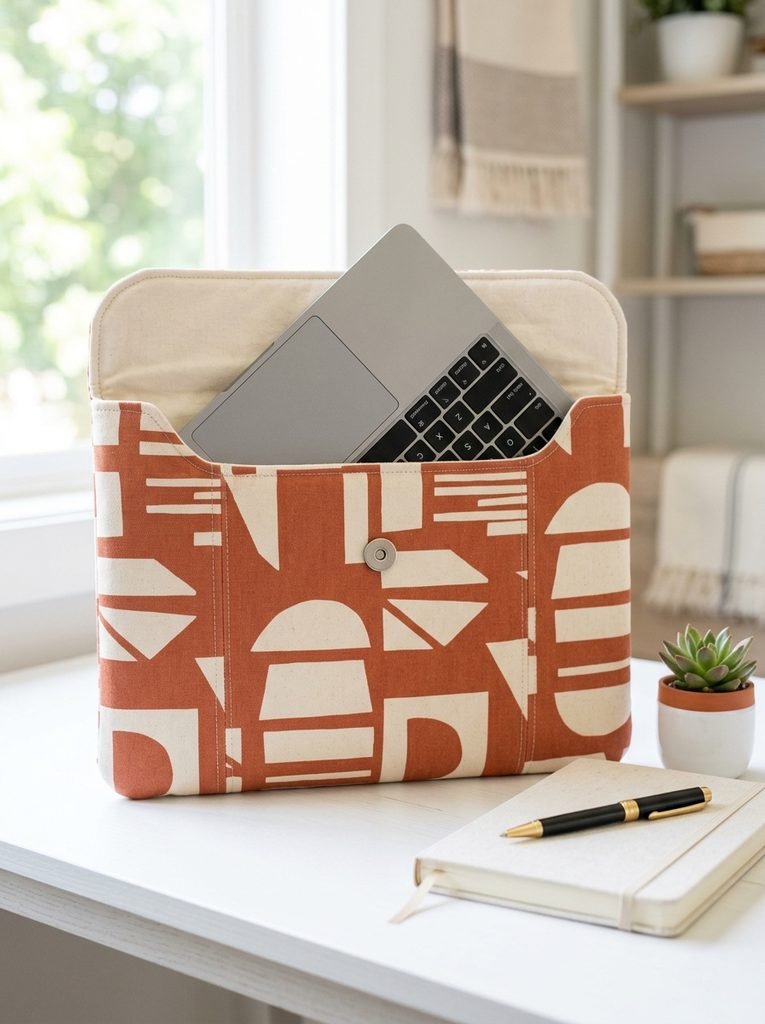
Skill you’ll learn: interfacing and lining.
A laptop sleeve teaches you how interfacing and padding give a project structure. You’ll also learn to sew a lining. Measure your laptop and add room for the thickness of the padding. Fusible fleece is my favourite here, because it adds cushioning and stiffness in one step. I’d suggest adding a flap with a magnetic snap. It keeps the laptop secure and looks really neat.
Start Your 30-Day Home Reset
Stop waiting for a "perfect" free weekend. Grab the 30-day plan and start feeling lighter in your own home by tomorrow.
View the 30-Day Plan Printable PDF · Instant download8. Reversible Bucket Hat
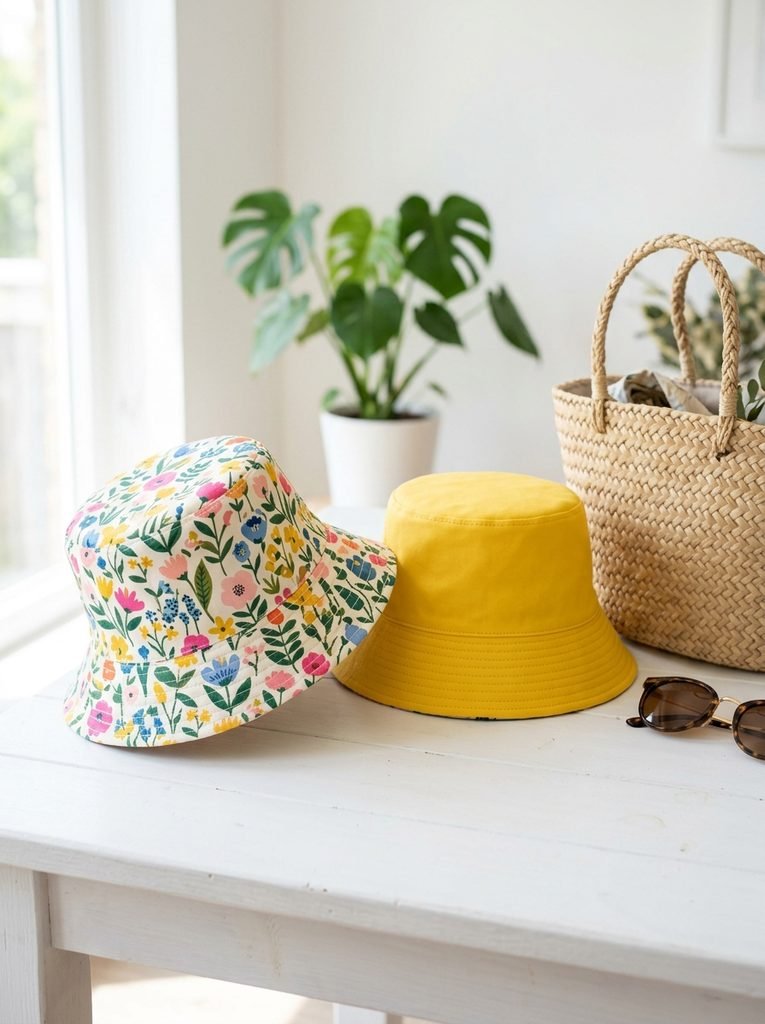
Skill you’ll learn: sewing curves.
A bucket hat is where you’ll really learn to sew curves. The crown, the side band and the brim are all curved, so you’ll practice going slowly and turning the fabric as you sew. Making it reversible means you get two looks in one. Clip into the curved seam allowances before turning, so the seams lie smooth. In my experience, rows of topstitching around the brim give it that nice firm shape.
9. Hanging Wall Organizer
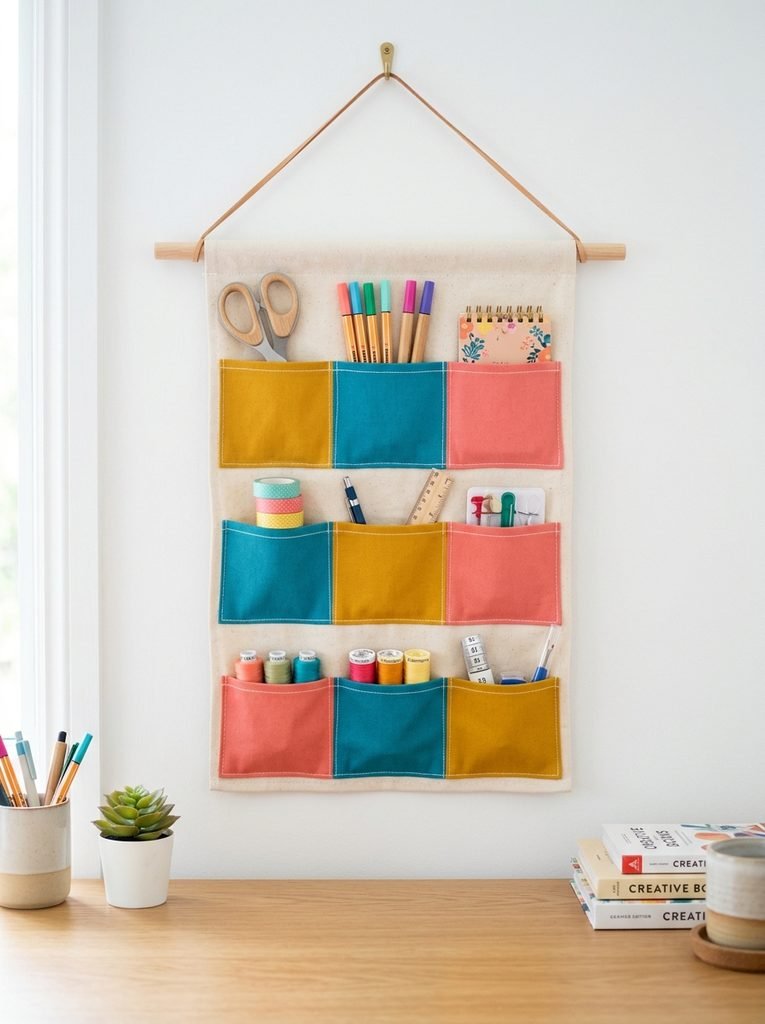
Skill you’ll learn: pleated pockets and planning.
A wall organizer helps you plan a project with lots of parts. You’ll measure and place pockets evenly, and you can add small pleats so they hold more. Use a sturdy canvas or duck cloth for the base, otherwise it sags. I like using different colored pockets for a fun, cheerful look. Honestly, it’s as useful in a sewing room as it is in a kids’ room or a home office.
10. Felt Christmas Garland
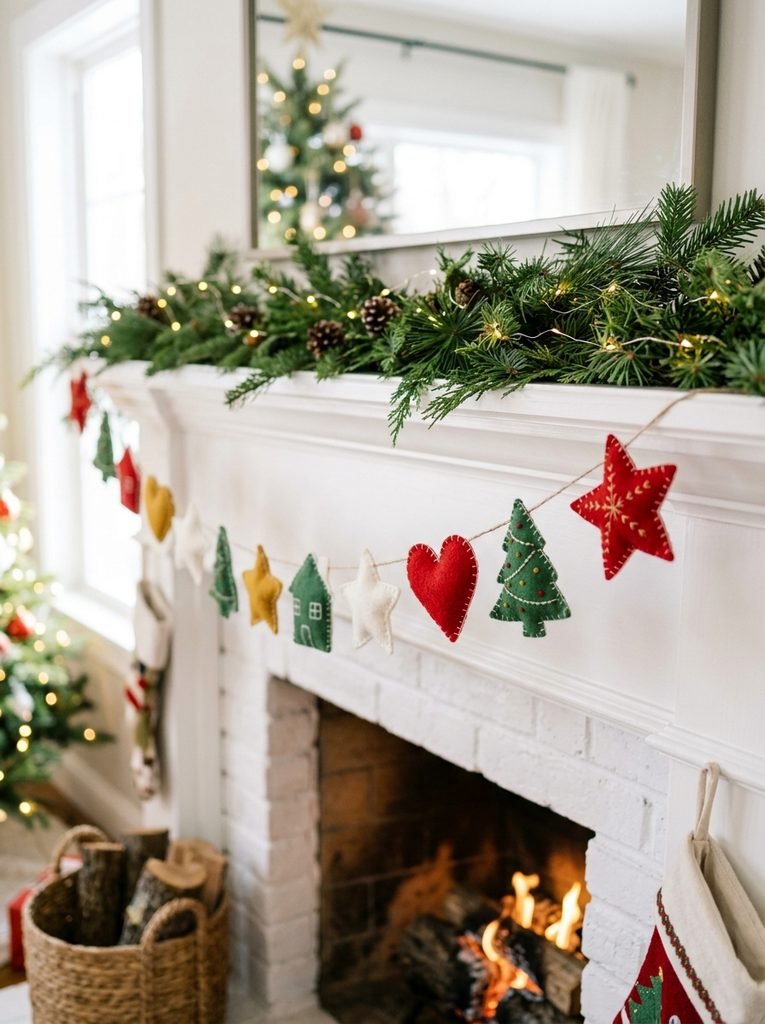
Skill you’ll learn: sewing felt and continuous stitching.
Felt is wonderful to sew because the edges don’t fray. That makes this a really relaxing project. Cut simple shapes, stack two pieces together for each one and stitch around the edges. Then feed the shapes through the machine one after the other to join them into a garland. A tip I picked up: use a slightly longer stitch length on felt. It looks neater and doesn’t stretch the fabric.
11. Machine Embroidered Tea Towels
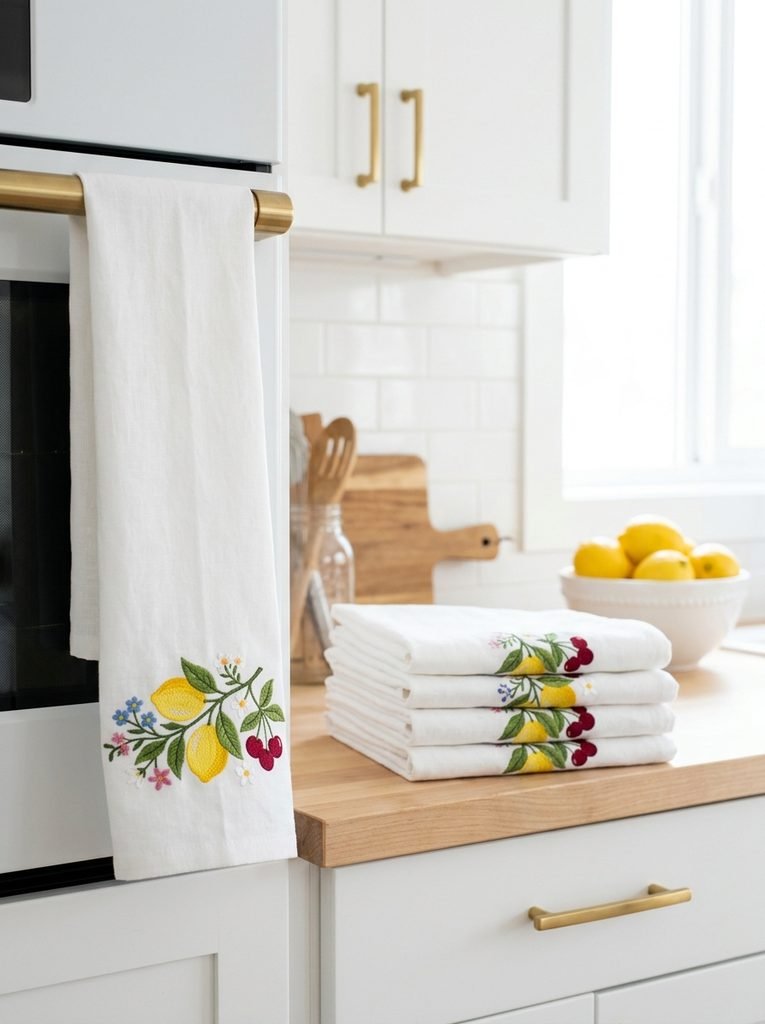
Skill you’ll learn: decorative and embroidery stitches.
Most sewing machines have decorative stitches that people never use. Tea towels are the perfect place to try them. You can stitch borders, simple motifs or even free motion embroidery with a darning foot. Use a tear away stabilizer under the fabric so it doesn’t pucker. In my experience, plain linen towels with a pop of colorful stitching make a really lovely housewarming gift.
12. Simple Patchwork Throw Quilt
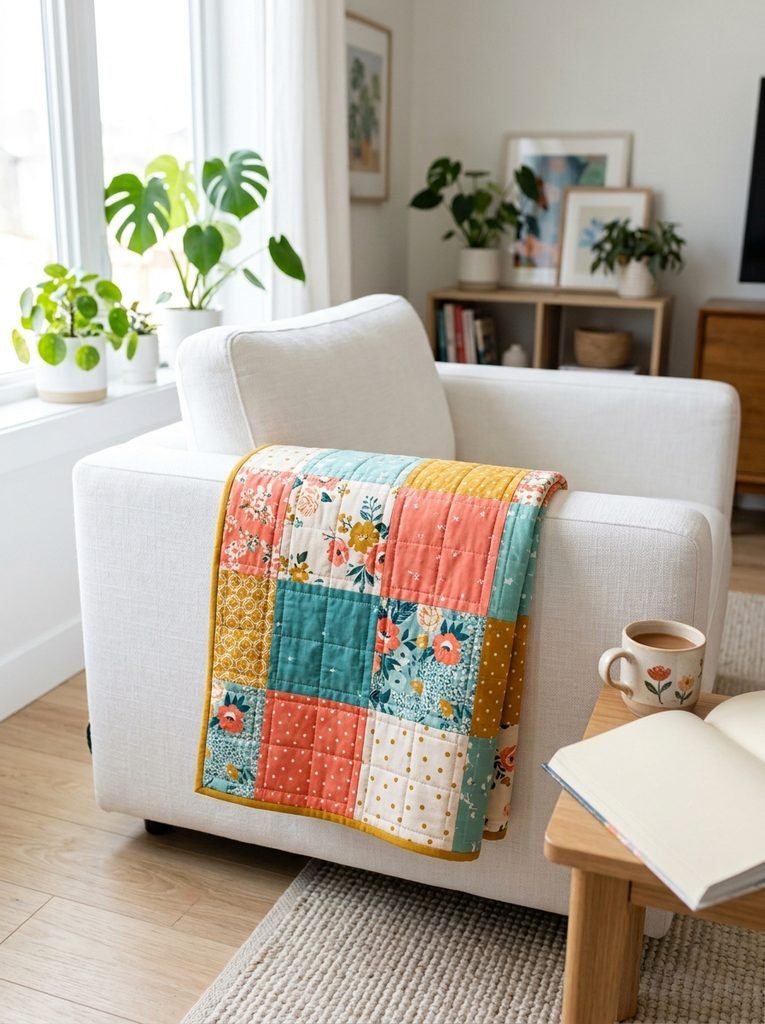
Skill you’ll learn: piecing and finishing a quilt.
This is the project that brings all your skills together. A throw quilt made from large simple squares is very achievable, and it feels like a real accomplishment. You’ll practice accurate seam allowances, pressing seams, layering and quilting straight lines. Big squares mean fewer seams, so it comes together faster. Honestly, finishing your first quilt is one of the best feelings in sewing.
Final Thoughts on Sewing Machine Projects
The best way to learn is one skill at a time, so work through these sewing machine projects in order and let each one build your confidence. Take it slow, press as you go and don’t worry about perfection. Before long, you’ll be choosing projects because you want them, not because they look easy.


Amir Ali is the founder and site administrator of HomeDecorEdge, a modern home decor and interior design platform. Since starting the site, he has combined his passion for interior design, practical styling, and color coordination with hands-on content strategy and site management. He guides authors, curates high-quality articles, and ensures readers have access to actionable, visually inspiring, and user-focused home decor advice for apartments, small rooms, and family homes.