

Honestly, a wood accent wall is one of those upgrades that genuinely changes how a whole room feels without touching the layout or furniture at all, and it’s far more approachable as a weekend project than most people assume going in. I was genuinely surprised the first time I tackled one at how much of the work is actually just planning the layout and cutting boards to length, with the installation itself being the fastest part of the whole process. This list covers 12 diy wood accent wall ideas across different rooms and budgets, along with some honest technique notes about installation methods, since choosing the wrong adhesive or fastener for your specific wall type is genuinely the most common mistake people make on this project.
This post contains affiliate links. If you purchase through these links I may earn a small commission at no extra cost to you.
1. Install Wood Plank Panels as Your Base
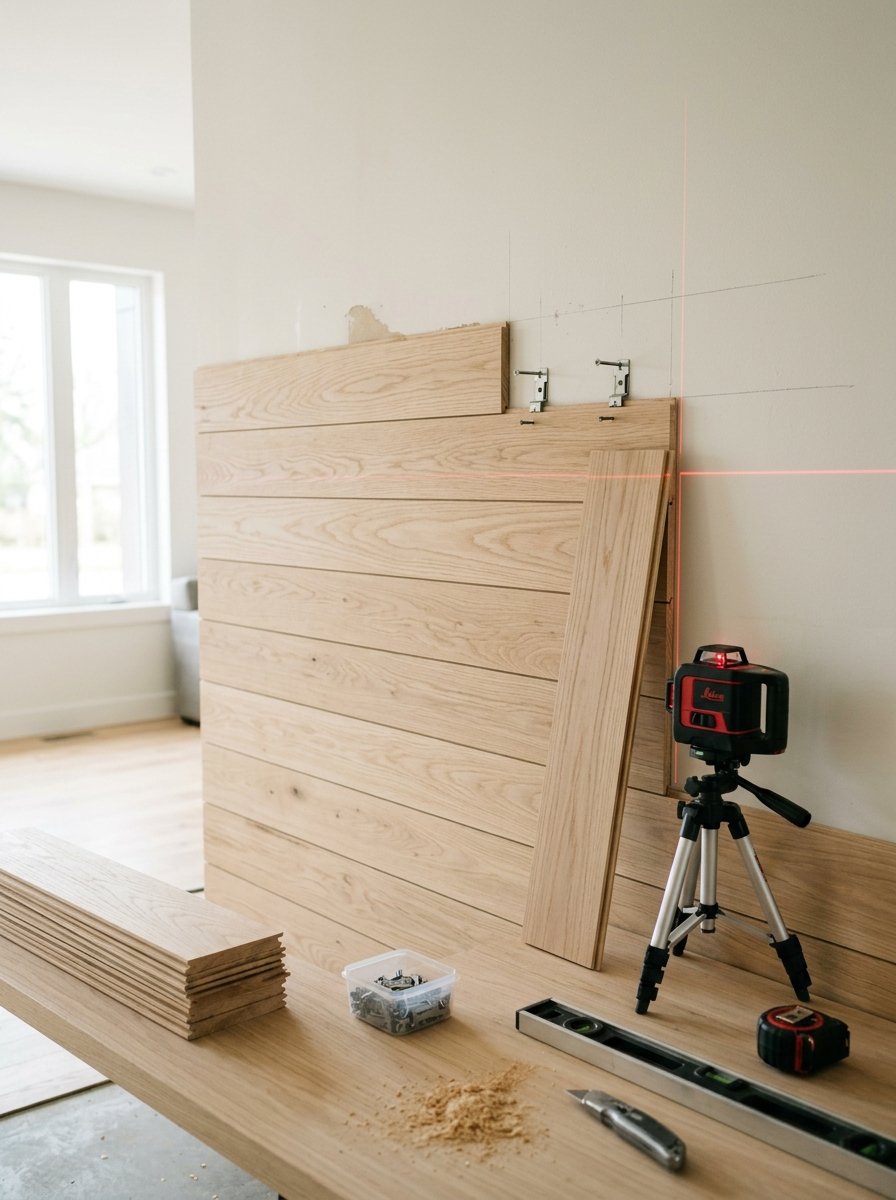
Honestly, pre-cut plank panels genuinely save you the most time and effort on this whole project, since they arrive at a consistent width and thickness rather than requiring you to rip individual boards down to size yourself. This particular panel style comes ready to install straight out of the box, which means your first weekend project attempt doesn’t need to include a trip to rent a table saw.
Materials Needed:
- Wood plank wall panels
- Level
- Measuring tape
How to Make It:
- Measure the wall and calculate how many panels you’ll need with a small buffer for cutting.
- Mark a level starting line at the base of the wall before installing the first row.
- Install panels working from the bottom row upward, checking level frequently.
- Stagger the seams between rows so they don’t line up vertically.
- Trim the final row to fit the remaining space at the top or edge of the wall.

2. Finish with a Rich Interior Stain
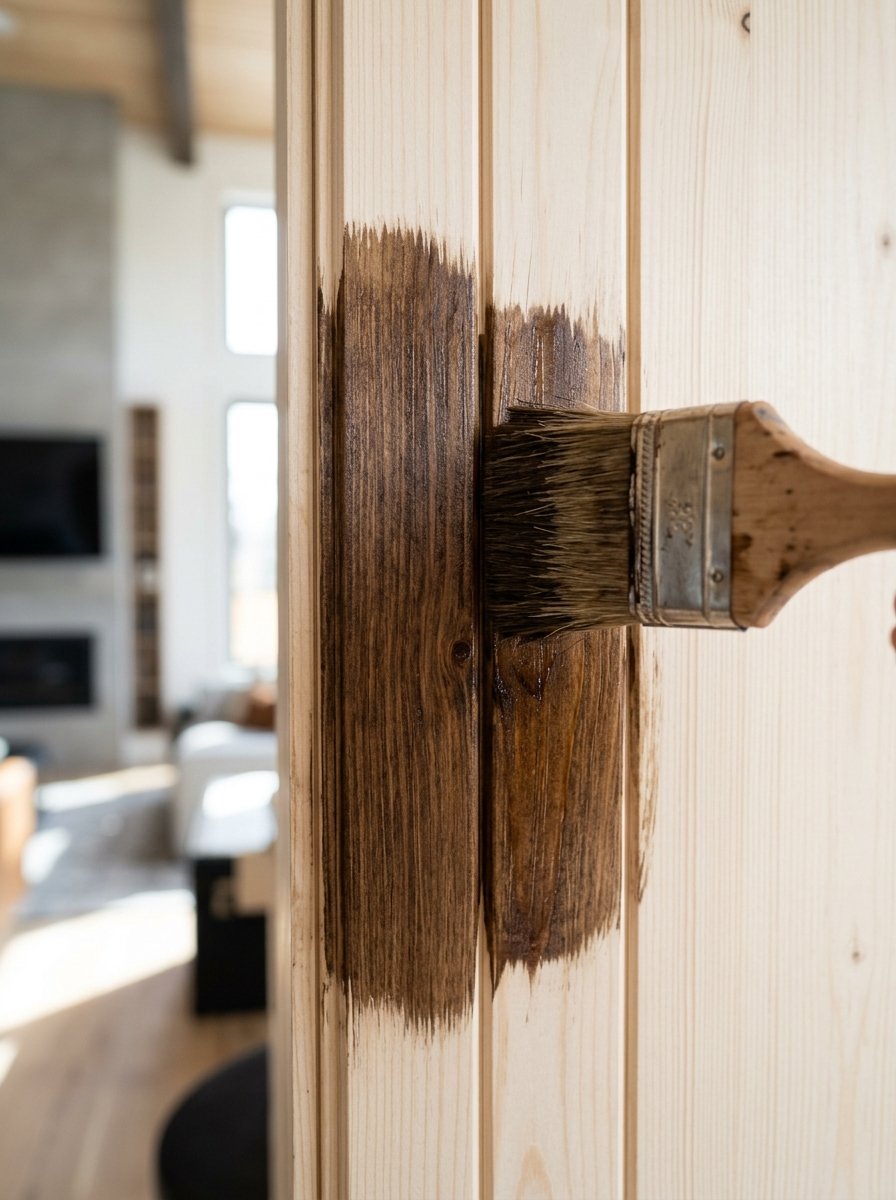
Genuinely, the stain color you choose does more to set the mood of the room than almost any other decision on this whole project, since a warm honey tone reads completely differently than a deep espresso or a gray washed finish. I’d recommend testing your chosen stain on an offcut piece of the same wood first, since raw wood samples in a store rarely match how the stain actually looks once it’s absorbed into your specific panels.
Materials Needed:
- Wood stain interior
- Staining brush or cloth
- Drop cloth for protecting the floor
How to Make It:
- Test the stain on a scrap piece of the same wood panel first.
- Lay down a drop cloth to protect flooring from drips.
- Apply the stain evenly with a brush or cloth, working with the wood grain.
- Wipe away excess stain after the recommended absorption time.
- Let the stain cure fully before touching or leaning anything against the wall.

3. Secure Panels with Construction Adhesive
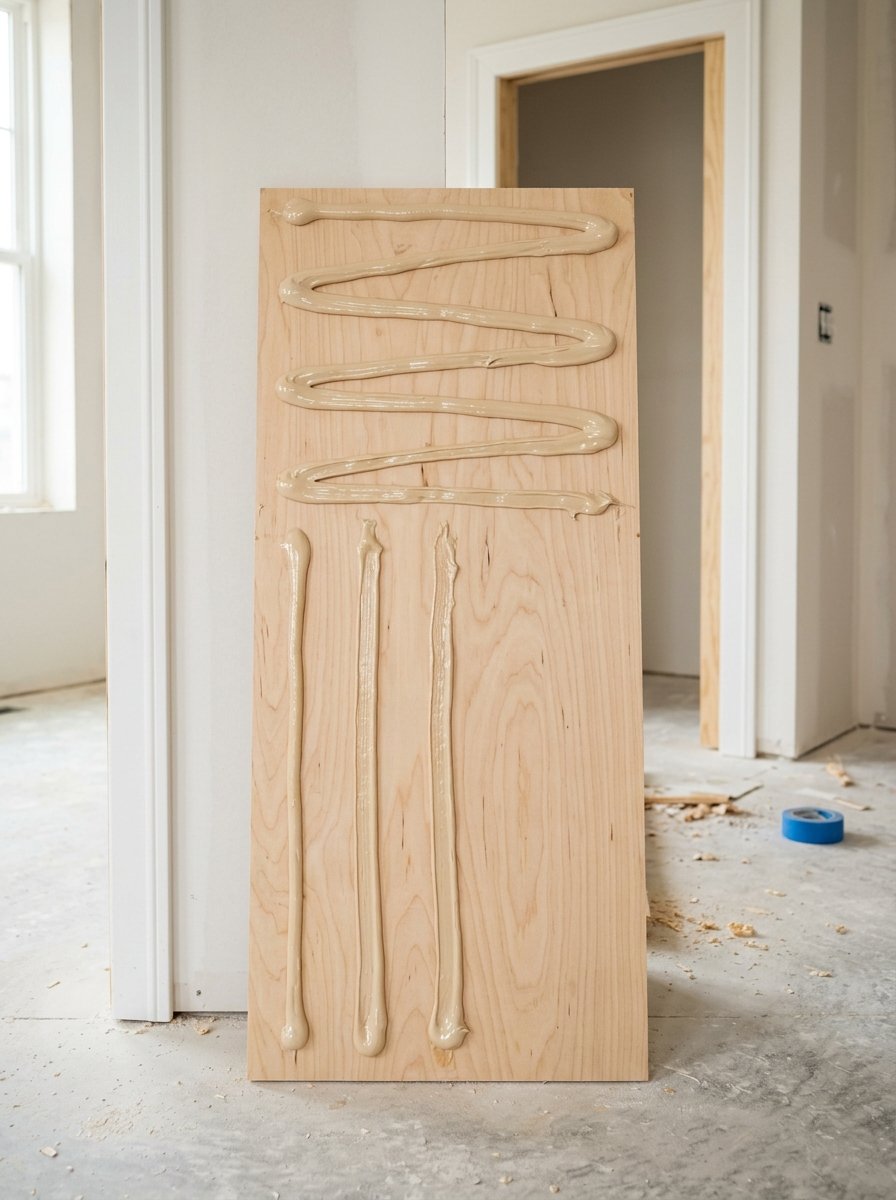
Honestly, adhesive genuinely works best when your wall surface is flat drywall without much texture, since it creates a strong bond without needing to hit wall studs the way nails or screws do. This means you get much more flexibility in panel placement, though it’s worth noting that adhesive mounted panels are genuinely more difficult to remove later if you ever want to change the wall back.
Materials Needed:
- Liquid nails adhesive
- Caulk gun
- Wood plank wall panels
How to Make It:
- Clean the wall surface to remove dust before applying adhesive.
- Load the adhesive into a caulk gun and apply in a zigzag pattern on the panel back.
- Press the panel firmly against the wall, holding for the recommended time.
- Use temporary support like tape or a brace while the adhesive sets.
- Let the adhesive cure fully before moving to the next panel.

4. Fasten Securely with a Brad Nail Gun
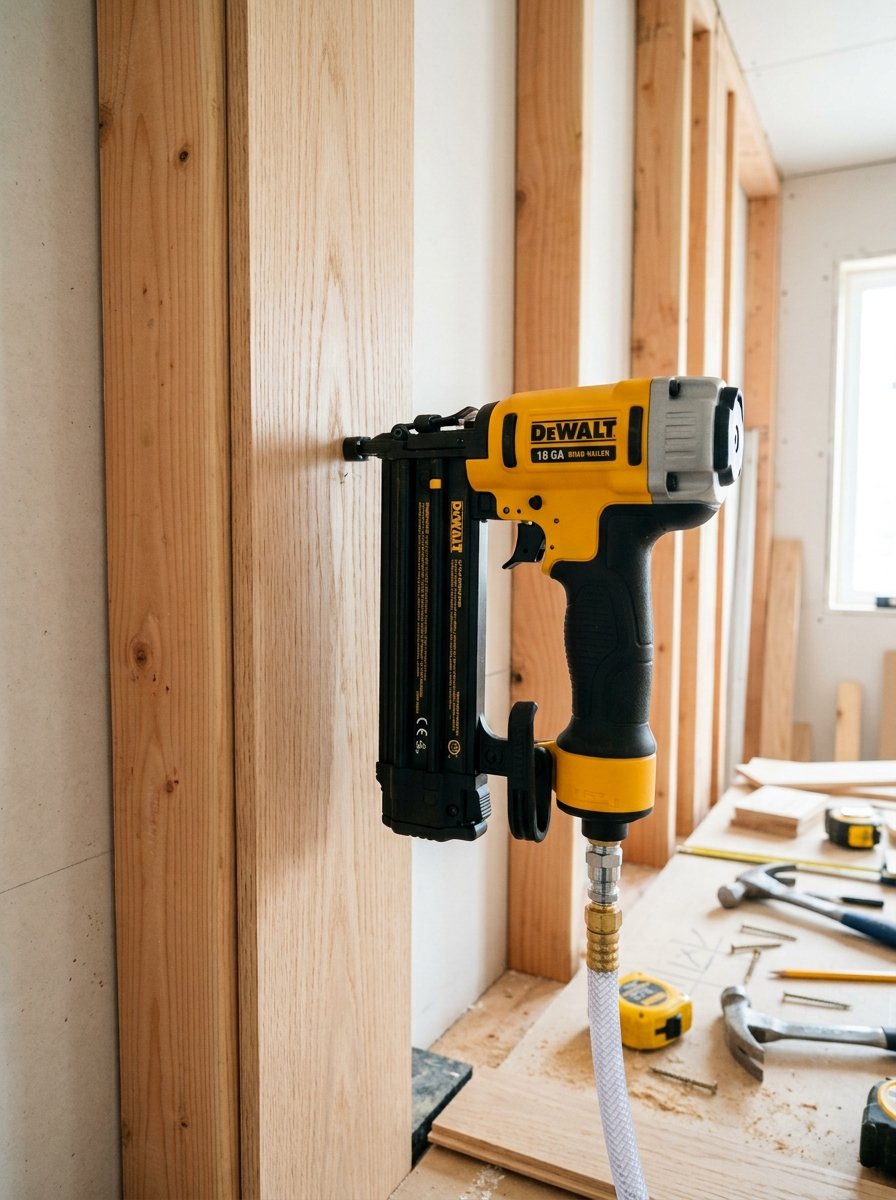
Genuinely, for a heavier wood panel or anything installed in a higher traffic area like a hallway, a brad nailer into actual wall studs gives you a much more permanent, reliable hold than adhesive alone typically manages. I’d recommend combining a bit of adhesive with brad nails for the best of both approaches, the adhesive fills gaps and adds overall bond strength while the nails hold everything firmly in place while it cures.
Materials Needed:
- Nail gun brad
- Stud finder
- Wood plank wall panels
How to Make It:
- Locate wall studs using a stud finder and mark their position.
- Position each panel against the wall aligned with the stud locations.
- Nail through the panel into the studs at regular intervals.
- Countersink nail heads slightly below the surface for a clean finish.
- Fill nail holes with matching wood filler once installation is complete.

5. Choose Moisture Safe Wood for a Bathroom
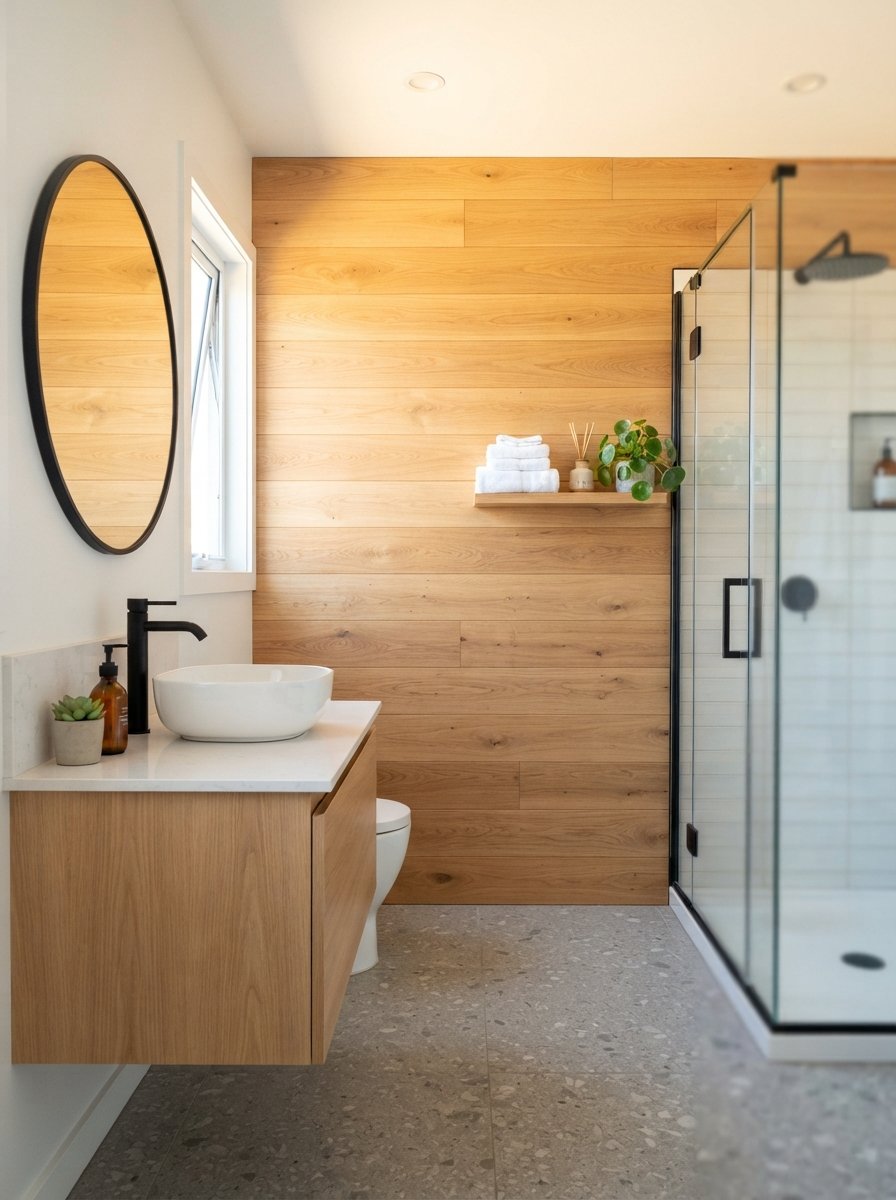
Genuinely, a bathroom accent wall needs wood and a finish that can actually handle regular humidity exposure, since standard interior boards left unsealed will warp and swell within a season of steamy showers. Sealing every surface, including the edges and back of each panel, with a proper moisture resistant topcoat matters more here than in any other room on this list.
6. Design a Bedroom Feature Wall
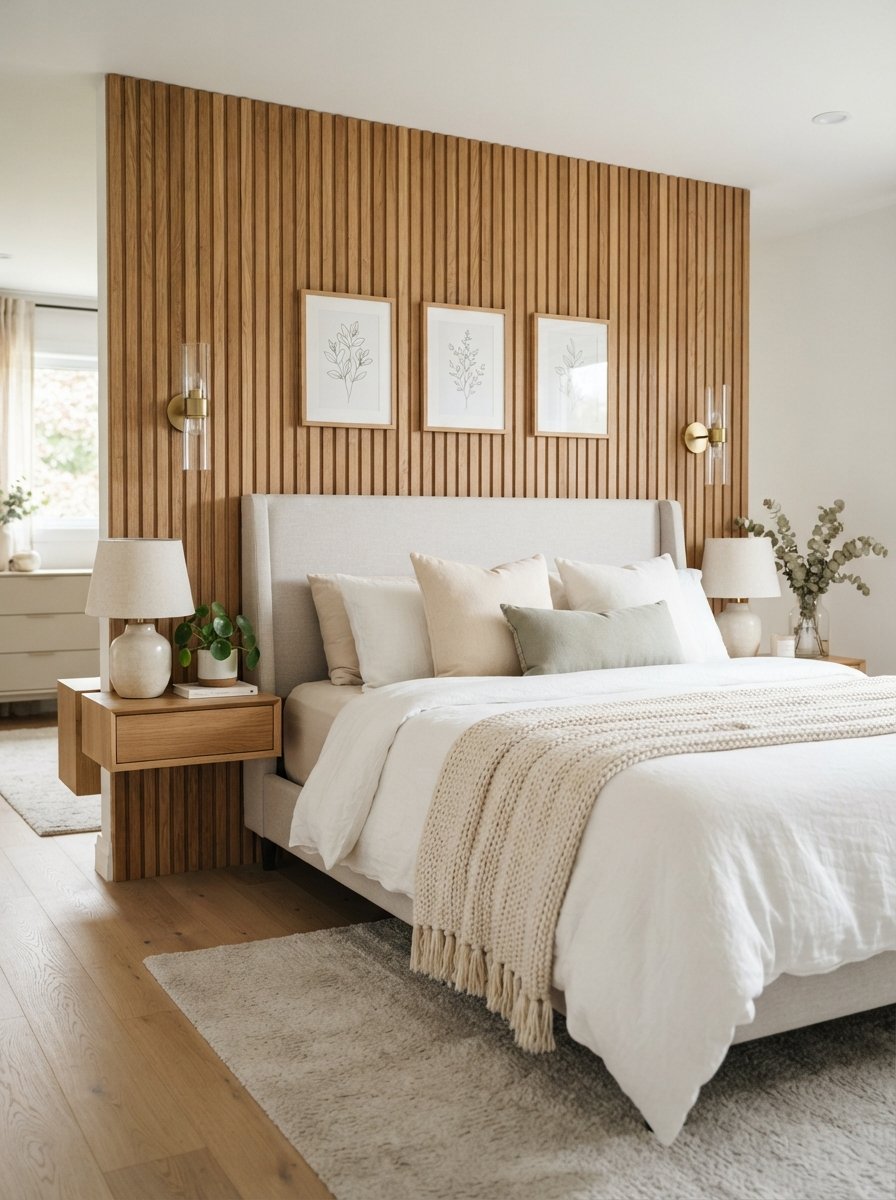
Genuinely, a bedroom accent wall works best positioned directly behind the headboard, since that’s the wall your eye naturally lands on the moment you walk into the room. This placement pairs well with the same focal point thinking used in 15 diy bed frame ideas, where the headboard and accent wall together create one cohesive visual statement rather than two competing elements.
7. Style a Hallway with Vertical Slats
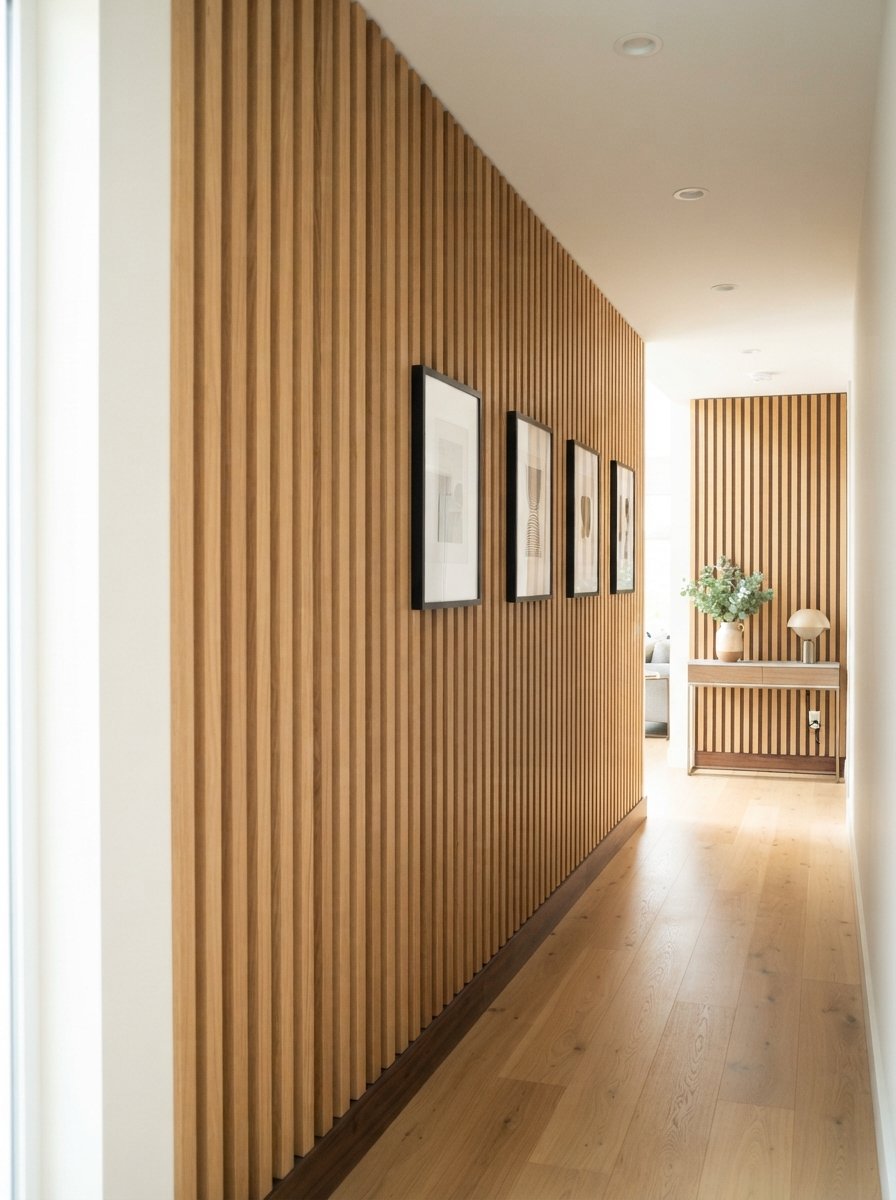
Honestly, a hallway genuinely benefits from a vertical slat pattern more than a horizontal one, since the upward lines actually make a narrow space feel taller and less confined than it would otherwise. This pattern also handles a long, narrow wall run more gracefully than large horizontal planks, which can start to feel repetitive over an extended hallway length.
8. Build the Wall on a Genuine Budget
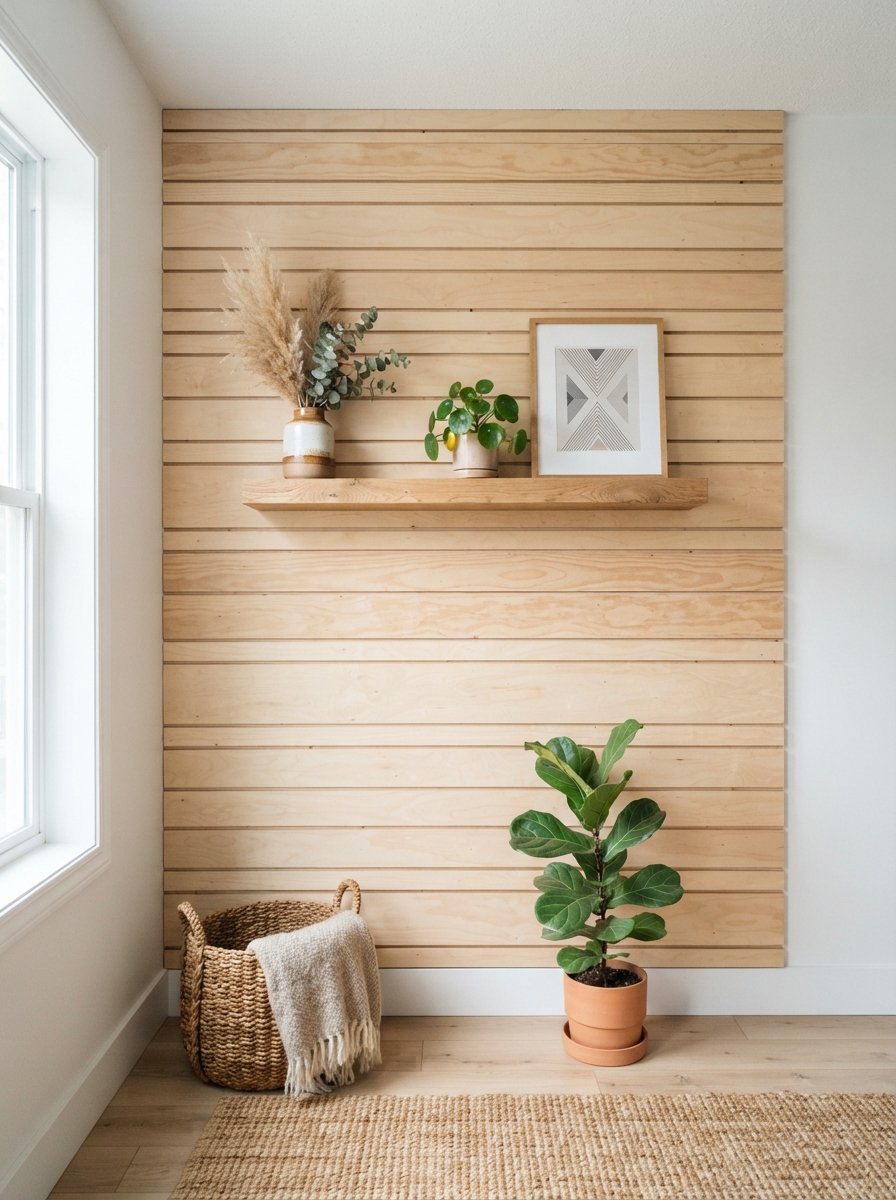
Honestly, using thin luan plywood strips cut to size yourself, rather than pre-made panels, cuts the material cost significantly if you’re willing to put in the extra cutting time upfront. This budget approach pairs well with the same resourceful thinking covered in 12 diy staircase makeover ideas, where a bit more manual effort delivers a similar finished look for meaningfully less money.
9. Create a Herringbone Pattern Wall
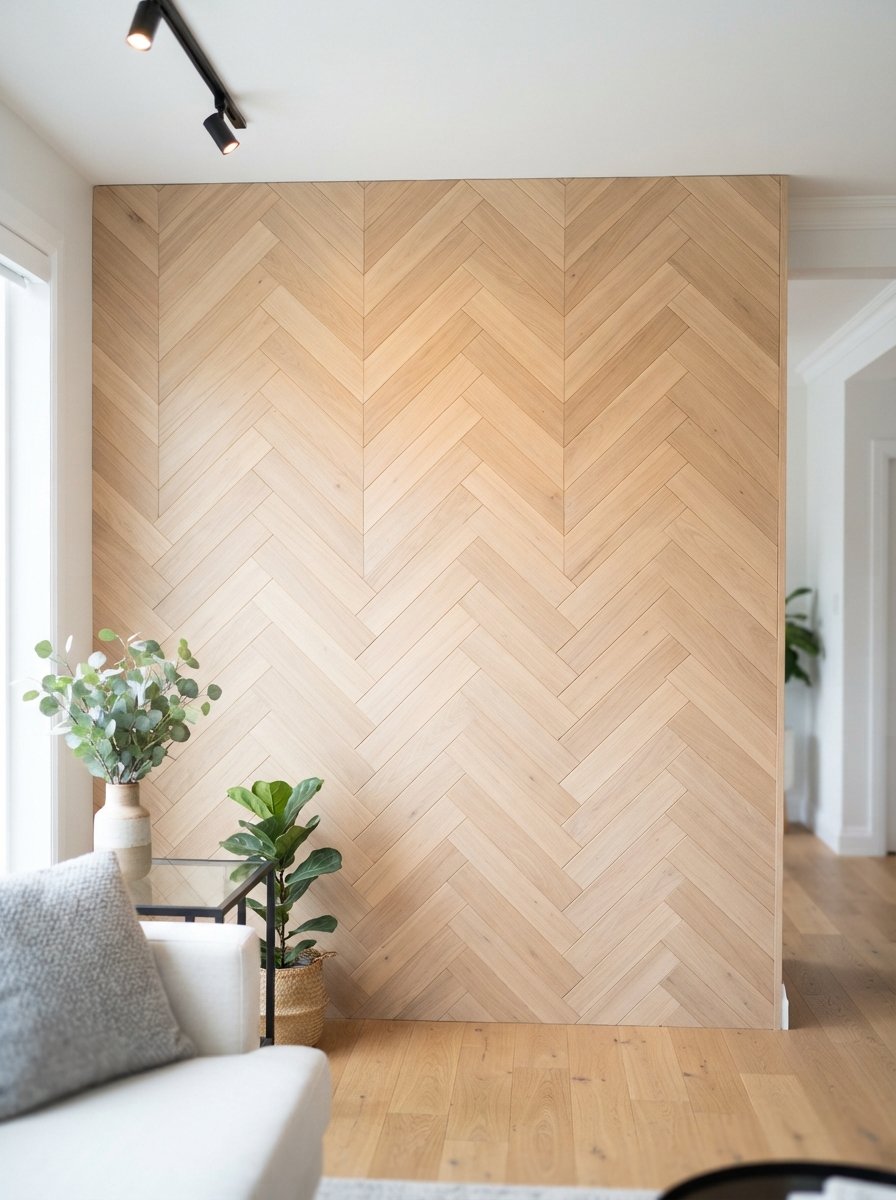
Genuinely, a herringbone pattern is honestly the most visually striking option on this entire list, but it also requires the most precise angle cutting of any pattern here, since every single piece needs a consistent 45 degree cut to line up correctly. I’d genuinely recommend practicing your angle cuts on scrap wood before starting on the actual wall, since a herringbone pattern shows even small inconsistencies far more obviously than a simple straight plank layout would.
10. Try an Easy Step by Step Approach for Beginners
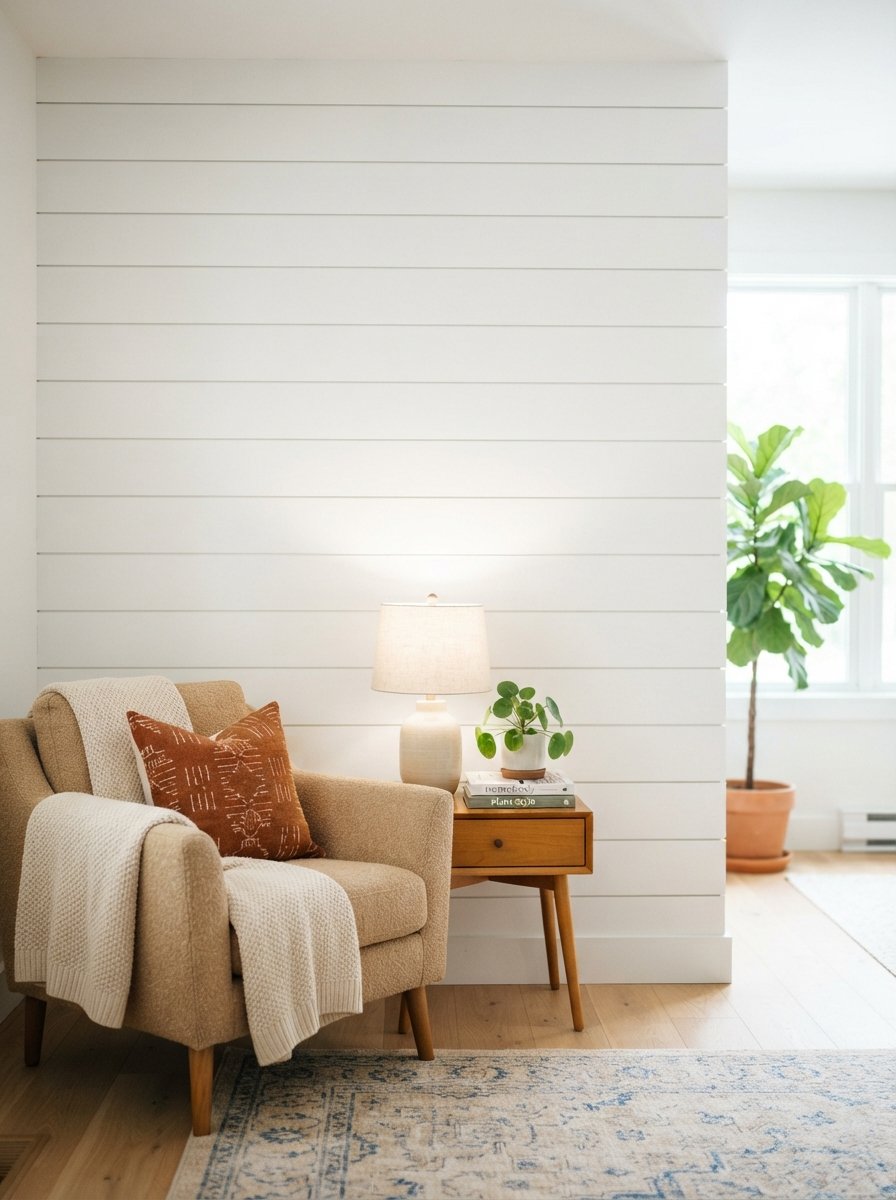
Honestly, if this is your very first wood wall project, sticking to simple horizontal planks installed with adhesive alone, skipping stain in favor of paint, and choosing a small accent section rather than covering an entire wall genuinely sets you up for a first attempt that actually succeeds. Building confidence with a smaller, simpler project first makes a more ambitious pattern like herringbone feel far more approachable the second time around.
11. Combine Multiple Wood Tones for Depth
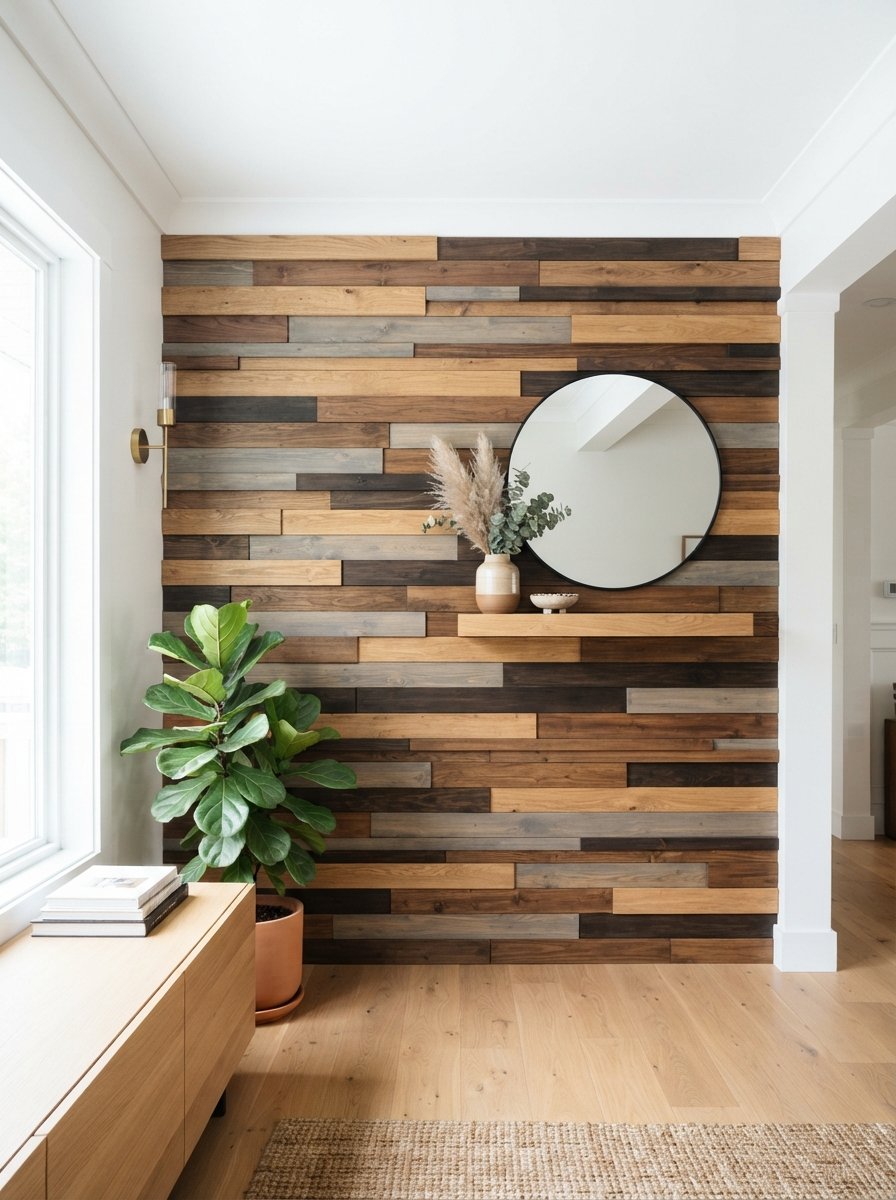
Genuinely, mixing two or three different stain shades across your panels, rather than using a single uniform color throughout, creates a noticeably more dimensional, less flat looking finished wall. This technique works especially well when the tones stay within the same general color family, warm browns together, or cool grays together, rather than mixing warm and cool tones that can end up clashing.
12. Add a Geometric Accent Pattern
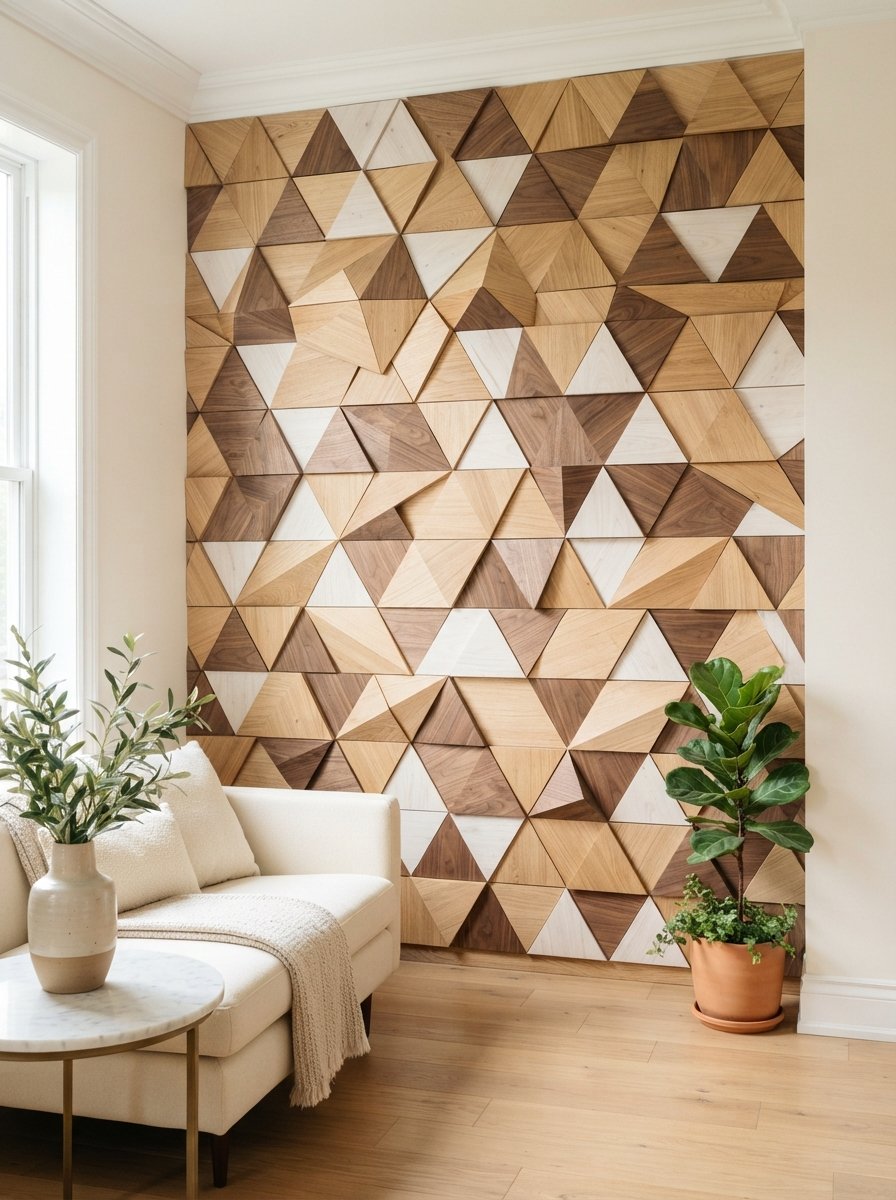
Beyond straightforward plank or herringbone layouts, cutting panels into triangles or diamond shapes and arranging them into a genuine geometric mosaic creates a truly unique wall feature that stands apart from anything store bought could replicate. This approach honestly takes considerably more planning and cutting time than the other patterns on this list, but delivers a piece that genuinely looks custom designed rather than following a standard template.
Final Thoughts on DIY Wood Accent Wall Ideas
Honestly, what makes a wood accent wall such a satisfying project is how much the finished result depends on planning rather than raw skill, since careful measuring and a level starting line genuinely matter more than any advanced woodworking technique. Start with a simple horizontal plank layout on a smaller wall section, and you’ll build the exact confidence and installation experience needed to tackle a more ambitious pattern like herringbone or a full room feature wall down the line.


Amir Ali is the founder and site administrator of HomeDecorEdge, a modern home decor and interior design platform. Since starting the site, he has combined his passion for interior design, practical styling, and color coordination with hands-on content strategy and site management. He guides authors, curates high-quality articles, and ensures readers have access to actionable, visually inspiring, and user-focused home decor advice for apartments, small rooms, and family homes.