

An empty tin can is a planter, a lantern, a vase, a pencil holder and a piece of wall art, all waiting in the recycling bin. These diy tin can ideas turn that free material into pretty decor for the garden, the porch, the desk and the wall, with paint, twine and a little patience doing most of the work.
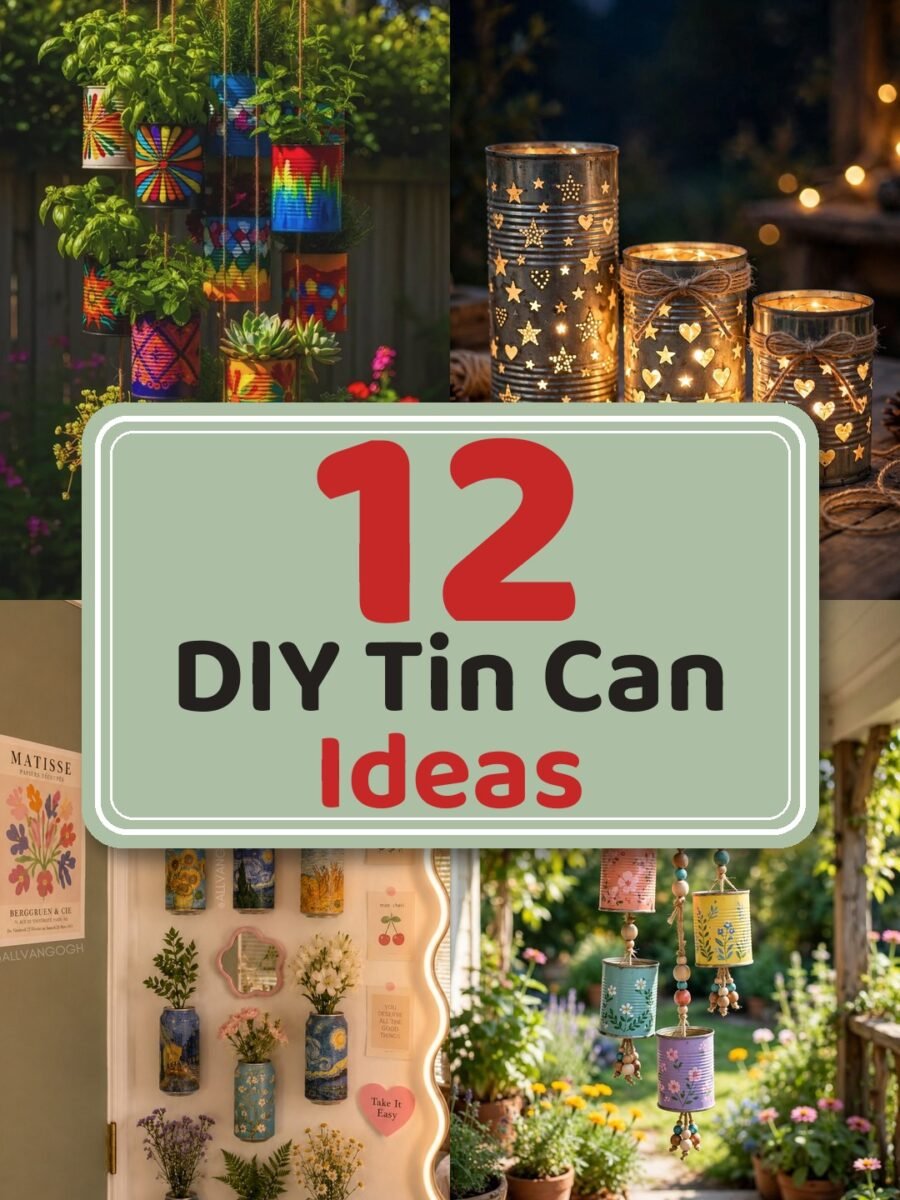
The twelve ideas below cover the whole range: a hanging garden wall, glowing punched lanterns, a Van Gogh can wall, a pastel wind chime, a rainbow planter row, a storybook pyramid, decoupage desk cans, French label vases, geometric gold cans, smile storage cans, floral cans and a wall of little cans. For more rescued and repurposed pieces, our upcycle decor projects pair perfectly with these ideas.
You need very little to start: clean empty cans, sandpaper, gloves, paint and brushes, a nail and hammer, twine, and plants or LED tea lights. One safety rule matters before anything else: tin can cut edges are sharp, so file or sand every rim smooth and wear gloves while you work.
Pick one project and make it tonight. A single painted can on a shelf is a nice start, but a row of them, or a wall of them, is where the magic shows. Wash three cans, paint them bright, and let the collection grow from there.
Quick Picks
- Best place to start: Hanging Garden Wall (idea 1)
- Easiest glow: Punched Star Lanterns (idea 2)
- Most charming: Van Gogh Can Wall (idea 3)
1. Hanging Garden Wall
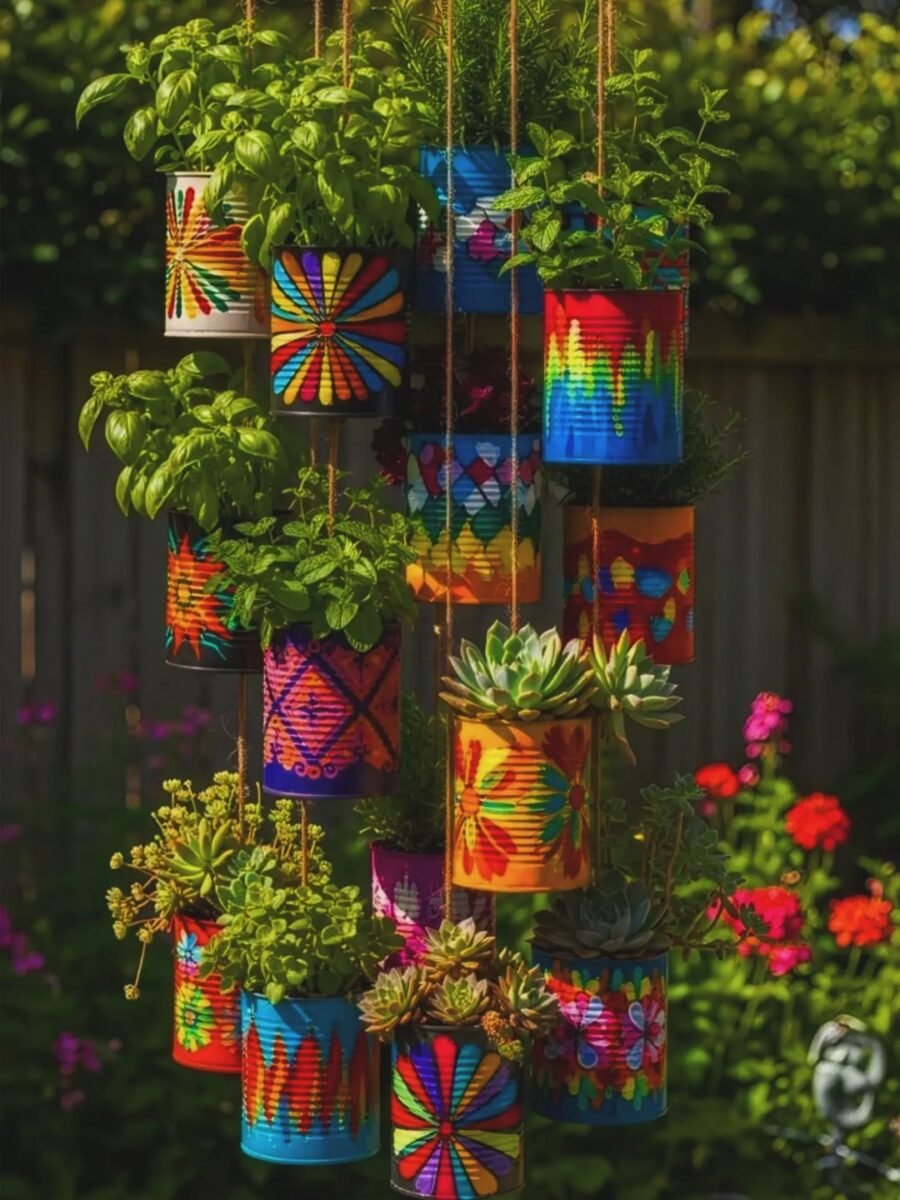
BuildOne afternoonThe biggest transformation
This hanging garden is the project to start with, because it uses the most cans and makes the biggest change for the least money. About fifteen cans, hung at different heights on twine, turn a plain fence or wall into a wall of flowers. The painting is folk art simple: stripes, dots, suns and flowers, so no steady hand is needed.
Materials Needed
- About fifteen clean empty tin cans in mixed sizes
- Sandpaper and work gloves
- Outdoor acrylic paint and brushes
- A nail and hammer for drainage holes
- Strong twine or jute rope
- Potting soil and small plants or herbs
- Screws or hooks for hanging
How to Make It
- Wash every can, peel off the labels, and let the cans dry fully.
- File or sand every rim smooth, and wear gloves while you work, because cut tin edges are sharp.
- Punch three or four small drainage holes in the base of each can with a nail.
- Paint each can in a bright color, then add simple flowers, stripes, dots or sunbursts.
- Thread twine through two small holes near the top rim of each can and knot it firmly.
- Hang the cans at staggered heights from hooks or a rail, so every plant gets light.
- Fill with potting soil and small plants or herbs, water lightly, and let the excess drain away.
Tip: Keep the soil light and the plants small. A can full of wet soil is heavy, so hang the garden from solid hooks, not adhesive strips.
2. Punched Star Lanterns

BuildAbout 1 hourEvening glow for pennies
Three cans, a nail, and a little patience make lanterns that glow like bought ones. The punched stars and hearts throw soft patterns across the table, and the whole project costs almost nothing. These are evening lanterns for porches, tables and shelves, and they look best in a little group.
Materials Needed
- Three clean empty tin cans
- Sandpaper and work gloves
- Water and a freezer, or a folded towel
- A nail and a hammer
- Spray paint or acrylic paint
- Twine or ribbon
- Battery LED tea lights
How to Make It
- Wash the cans, remove the labels, and sand every rim smooth while wearing gloves.
- Fill each can with water and freeze it solid, so the can holds its shape while you punch.
- Draw stars and hearts on the frozen can with a marker, keeping the pattern simple.
- Tap a nail through each mark with the hammer, working gently so the holes stay neat.
- Let the ice melt, empty the cans, and dry them fully.
- Paint the outside, then tie twine or ribbon around the rim if you like.
- Set a battery LED tea light inside each lantern and place it on a steady surface.
Tip: Use LED or battery candles only, never a real flame in a can, and keep the lanterns away from paper and fabric. For more glowing jar ideas, see our epsom salt mason jar luminaries.
3. Van Gogh Can Wall

BuildOne weekendA gallery wall from cans
Nine cans and nine little paintings make a gallery wall that guests always stop to look at. Each can copies a Van Gogh favorite, Starry Night swirls, bright Sunflowers, purple Irises, so the wall feels like an art show and a flower display at once. It is easier than it looks, because the paintings are small and loose.
Materials Needed
- Nine clean empty tin cans in one size
- Sandpaper and work gloves
- White primer
- Acrylic paint in blue, yellow, green and purple
- Small flat and round brushes
- Clear sealer spray
- Wall hooks, screws or a wooden mounting board
- Small jars or cups that fit inside the cans
How to Make It
- Wash the cans, remove the labels, and sand every rim smooth while wearing gloves.
- Prime each can white so the bright paint colors stay true.
- Paint one Van Gogh scene on each can, keeping the brushwork loose and simple.
- Let the paint dry fully, then seal each can with clear sealer so the paint lasts.
- Fix hooks or a wooden board to the wall, spacing the cans in neat rows.
- Set a small jar or cup inside each can to hold water for the flowers.
- Add fresh flowers, changing the water every few days so the stems stay fresh.
Tip: Paint the sky first, then the swirls and flowers on top. Loose brushstrokes read as Van Gogh from across the room, and nobody sees a wobble.
4. Pastel Wind Chime

Five pastel cans, hung at different lengths from a branch, make a wind chime that is all color and soft movement. Mint, coral, yellow, blue and lavender, each with a small painted flower, catch the light and turn gently in the breeze. Hang it where you can see it from a window, and keep the cans light so they move freely.
You’ll need: five clean cans, pastel paint, twine, a branch, and small beads.
Best for: A porch that needs color and gentle movement
5. Rainbow Planter Row

A row of bright cans turns a plain railing into the happiest spot in the garden. Yellow, turquoise, pink, orange and teal, each holding herbs or flowers, make a rainbow that needs no other decoration. Line the cans up in color order and let the plants spill over the rims. For more ways to dress the garden, see our 46 garden decor ideas to beautify your outdoor space.
You’ll need: five clean cans, bright paint, potting soil, and herbs or flowers.
Best for: A sunny railing or garden fence
6. Storybook Can Pyramid
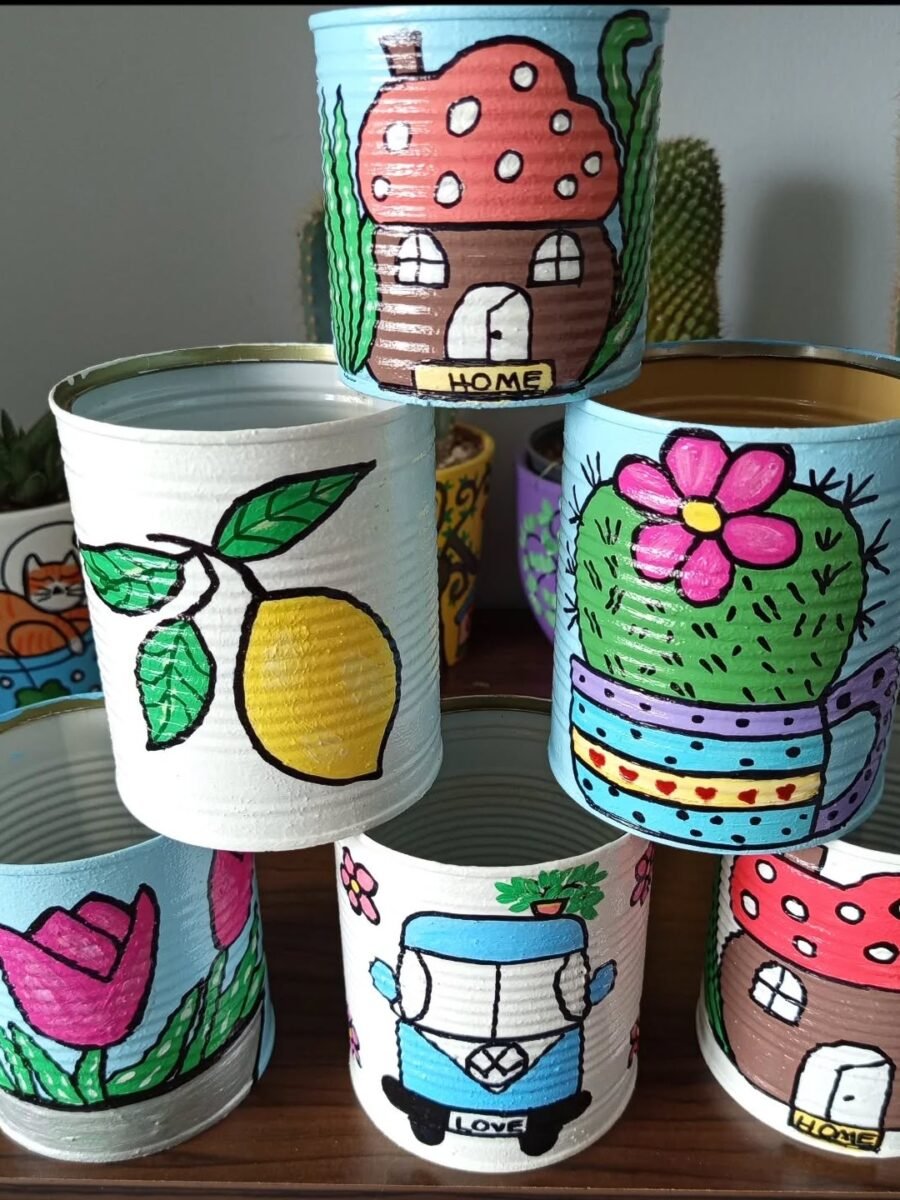
Stack six painted cans into a pyramid and each one tells a little story: a mushroom house that says HOME, a sunny lemon, a green cactus in bloom, a blue camper van, and a pink tulip. It is a display piece, not a planter, so paint it as carefully as a picture and keep it where children and guests can see it up close.
You’ll need: six clean cans, acrylic paint, brushes, and a steady shelf.
Best for: A shelf that needs a storybook touch
7. Decoupage Desk Cans
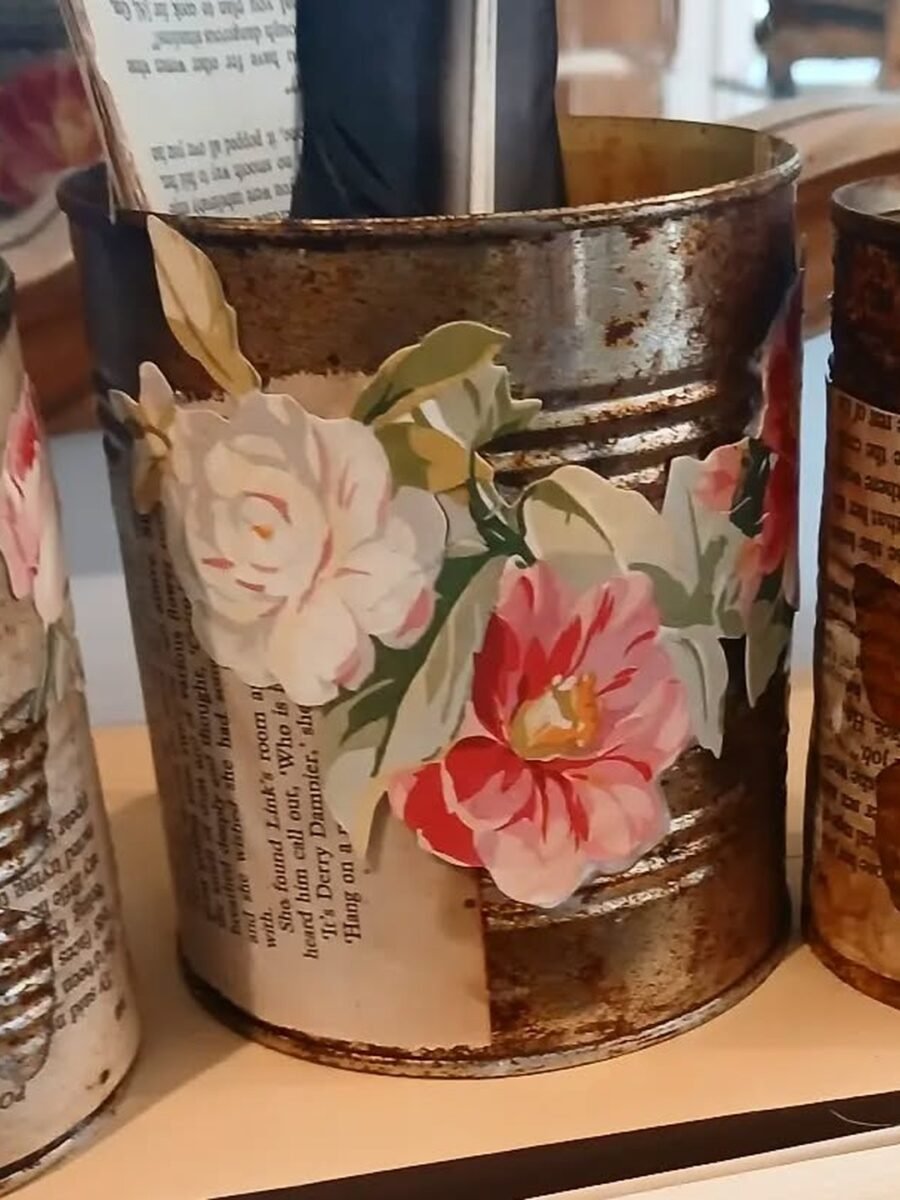
Old book pages and painted roses turn three rusty cans into desk storage with a vintage soul. The distressed finish, the printed text and the soft pink flowers suit a reading corner or a craft desk perfectly. Fill them with pens, brushes or scissors, and the prettiest storage on the desk will be the one that cost nothing.
You’ll need: three clean cans, old book pages, decoupage glue, paint, and brushes.
Best for: A desk that needs pretty storage
8. French Label Vases
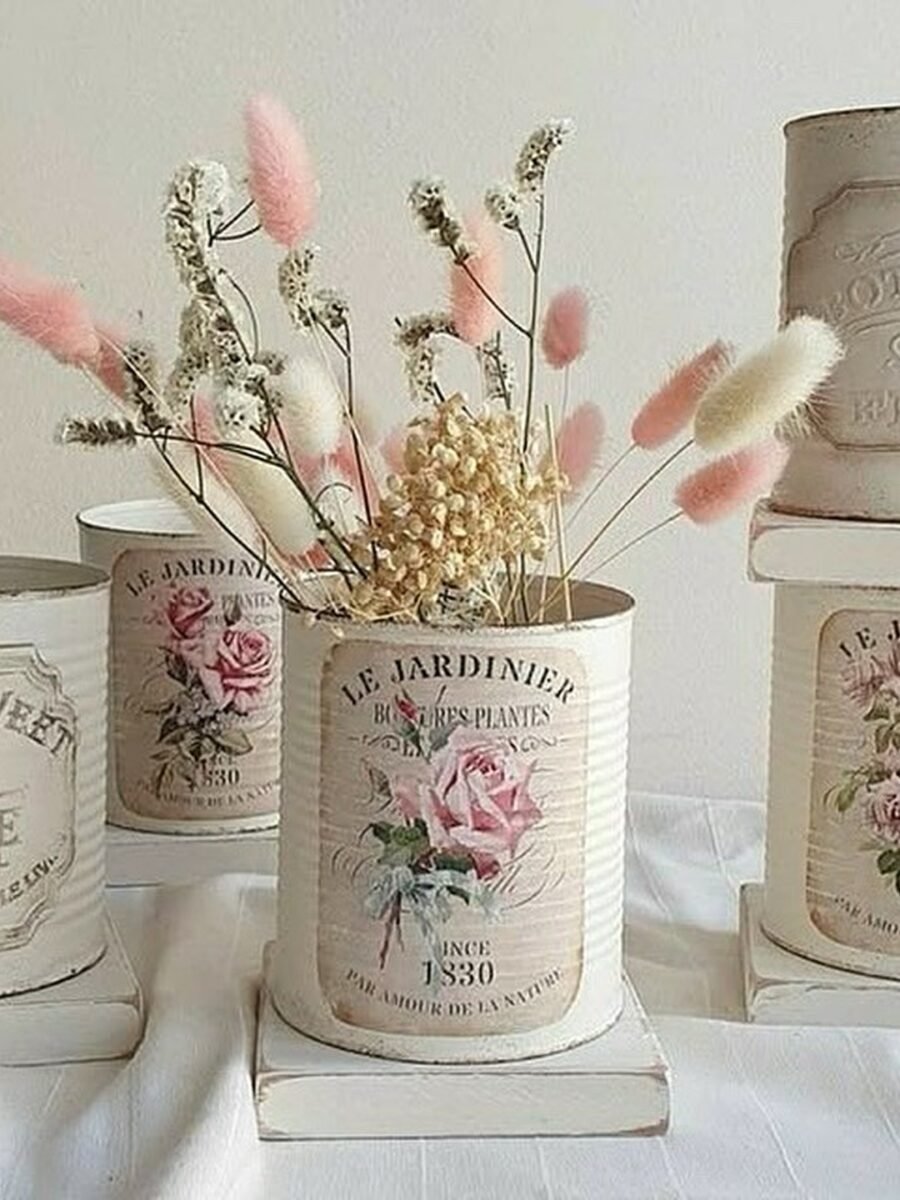
Distressed white paint and vintage French labels give these cans the look of an old Paris flower shop. LE JARDINIER, HOME SWEET HOME, and a date from 1830, each holding dried flowers and soft pink bunny tails. Group all five together on a table or shelf, where the labels can be read and the dried stems can fan out.
You’ll need: five clean cans, white paint, printed French labels, glue, and dried flowers.
Best for: A soft, vintage style room
9. Geometric Gold Cans

Bold black and white shapes with metallic gold turn three plain cans into a modern desk set: one holds markers, one holds a green plant, and one keeps coins. The diagonal stripes and triangles look sharp against a white desk, and the gold catches the light. Tape the lines before you paint, so the edges stay crisp.
You’ll need: three clean cans, white, black and gold paint, tape, and a plant.
Best for: A modern desk or a small space
10. Smile Storage Cans

Six dark green cans with smiling faces and the word SMILE make storage that makes people grin. The speckled paint looks like stone, the pink cheeks soften the faces, and the little shelf keeps the whole family together. Use them for pens, brushes, keys or small toys, anywhere a smile is welcome.
You’ll need: six clean cans, dark green paint, white and pink paint, and a small shelf.
Best for: A cheerful shelf in any room
11. Hand Painted Floral Cans
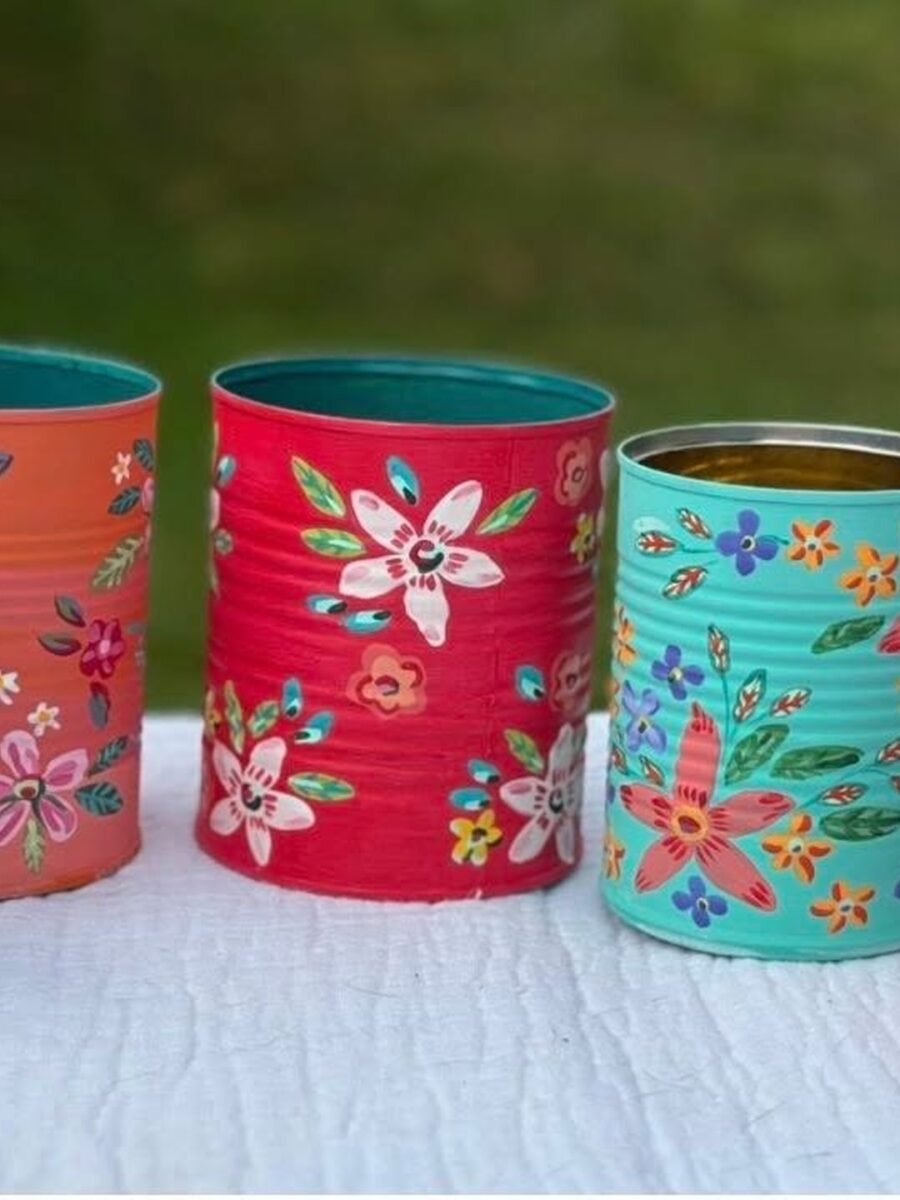
Big bright flowers on maroon, orange, red, turquoise and coral make these cans the loudest, happiest piece in the room. Each can carries a different flower, so the row feels like a garden bed on a shelf. Seal the paint well if the cans will live outside, and use them as planters or as vases for fresh cut stems.
You’ll need: five clean cans, bright acrylic paint, brushes, and a clear sealer.
Best for: A burst of color on a table or shelf
12. Wall of Little Cans
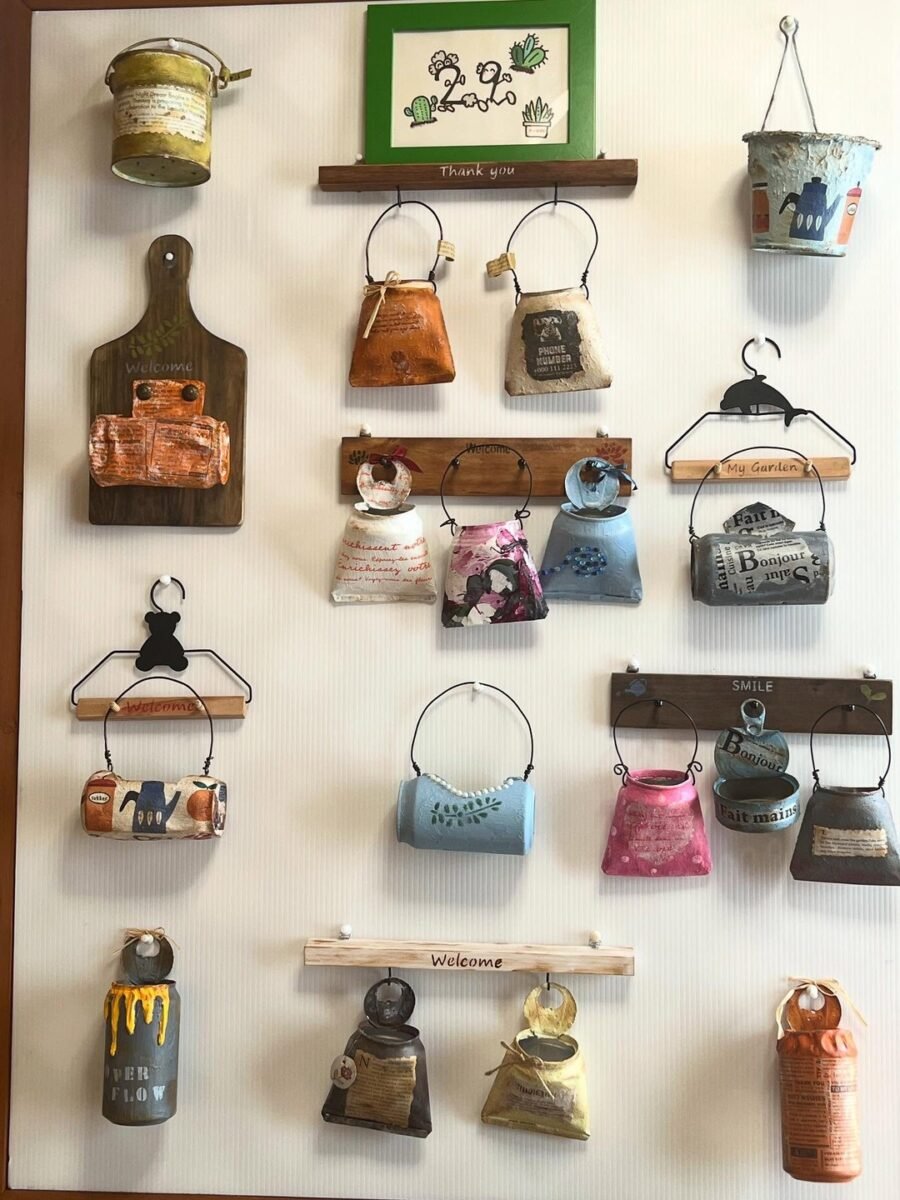
A wall of little cans is storage that doubles as decoration. Small cans in many colors and patterns hang from hooks and wooden boards, each one holding brushes, tools, scissors or craft supplies. Start with one board and a few cans, then add more as the collection grows, and the wall becomes a display of its own.
You’ll need: small clean cans, paint, hooks, wooden boards, and screws.
Best for: A craft room or a small wall that needs storage
Frequently Asked Questions
How do you prepare a tin can for crafting?
Wash the can well, peel off the label, and dry it fully. Then file or sand the rim smooth, because cut tin edges are sharp, and wear gloves while you work. Punch drainage holes in the base if the can will hold a plant, and prime it before painting so the paint sticks.
How do you punch holes in a tin can without denting it?
Fill the can with water and freeze it solid first. The ice holds the can firm, so the nail goes through cleanly without denting the sides. Draw your pattern on the frozen can, tap the nail through each mark, then let the ice melt and dry the can.
Can I use a real candle in a tin can lantern?
No, never use a real candle or any open flame in a tin can lantern. The metal gets hot and the can often sits near paper, fabric or dry plants. Use battery LED tea lights only. They glow just as warmly and you can leave them on without worry.
What paint sticks to tin cans?
Acrylic paint made for outdoor use works well, but prime the can with white primer first so the color stays bright and sticks to the metal. For cans that live outside, finish with a clear sealer spray. Spray paint also works, in thin coats, with the same primer underneath.
How do you hang tin cans on a wall without them falling?
Use proper wall hooks or screws, not adhesive strips, and spread the weight across a board or rail when you hang several cans together. Keep the soil light and the plants small. A can full of wet soil is heavier than it looks, so test the hold before you walk away.
Do tin can planters need drainage holes?
Yes, every planter can needs drainage holes, or the roots sit in water and rot. Punch three or four small holes in the base with a nail, set the can on a saucer or tray, and water lightly. A little gravel in the bottom helps too, but the holes matter most.
Final Thoughts on Diy Tin Can Ideas
Twelve ideas, and the pattern is simple: clean the can, smooth the rim, paint it bright, then give it a job. A hanging garden, a glowing lantern, a Van Gogh wall, a wind chime, a planter row, and all the small cans in between. Empty cans are free, and the prettiest decor in this list cost almost nothing to make. For more rescued pieces, see our diy old window decor ideas.
Start with the cans in your own recycling bin tonight. Wash three, sand the rims, paint them in your favorite colors, and see how quickly one small project turns into a shelf full of them.

