

Polymer clay is one of the easiest crafts to start at home, because a few small blocks of clay can become earrings, dishes, beads, planters and tiny sculptures, all with tools you probably already own. These DIY polymer clay ideas are all beginner friendly, and each one ends with something you can wear, gift or display. One safety rule comes first, before any making: polymer clay must be oven cured with good ventilation, never in a microwave, and never in a food oven without protection, so use a dedicated craft oven or a foil tent. Finished pieces are not food safe unless sealed with a food safe finish, so keep them decorative, and wash your hands after handling raw clay.
Polymer clay is different from air dry clay, because it stays soft until you bake it, so you can rework a piece for as long as you like and it only hardens in the heat. That makes it perfect for jewelry and small detailed work, where you want time to get the shape right. Our air dry clay crafts use the no bake kind, while every idea here is oven cured polymer clay.
You do not need a craft room or expensive tools. A roller, a blade, a needle tool, parchment paper and a baking tray cover almost every idea on this page, and a foil tent plus an oven thermometer keep your baking safe and even. For more clay inspiration beyond polymer, our clay crafts ideas cover other clay types and techniques to try next.
Work through the list in order, because the first three ideas are full step by step builds that teach you conditioning, marbling and beading. Once those feel easy, the other nine ideas are simple shaping projects you can finish in an afternoon, one small beautiful thing at a time.
Quick Picks
- Best place to start: Polymer Clay Earrings (idea 1)
- Easiest gift to make: A Marbled Trinket Dish (idea 2)
- Best statement piece: A Beaded Polymer Clay Necklace (idea 3)
1. Polymer Clay Earrings
BuildAbout 1 hourBeginner friendly
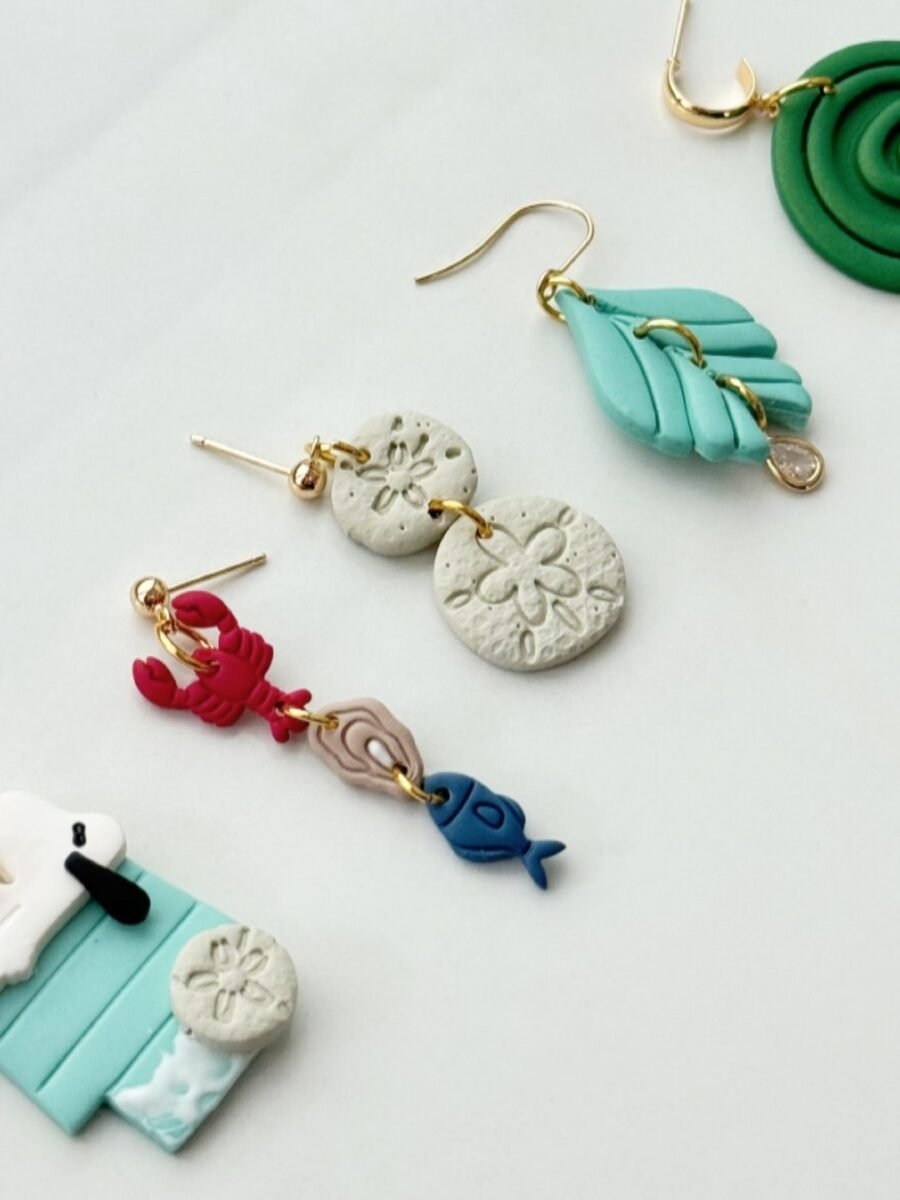
Earrings are the best first polymer clay project, because a small piece of clay makes a full pair, and the baking time is short. Roll the clay thin, cut your shapes, and add a hook, and you have jewelry that looks bought, not made. Start with simple shapes, like leaves, circles and teardrops, and save the tiny sculpted details for your second pair.
Materials Needed
- Polymer clay blocks in 2 to 3 colors you love together
- Earring hooks and small jump rings, one set per pair
- A clay roller or a smooth acrylic roller
- A tissue blade or a sharp craft knife
- A needle tool or a toothpick for the hook holes
- Parchment paper and a baking tray
- Fine grit sandpaper for smoothing baked edges
How to Make It
- Condition each color by kneading it until it is soft and smooth, then roll it out to about 3 mm thick on parchment paper.
- Cut your shapes with a blade or a small cutter, and make matching pairs side by side so the sizes stay equal.
- Poke a small hole near the top of each piece with a needle tool, where the jump ring will go, and smooth the edges with your fingertip.
- Bake on parchment paper in a ventilated oven following the clay brand temperature and time, and let the pieces cool fully before you touch them.
- Sand any rough edges lightly, then open a jump ring, link the clay piece to the earring hook, and close the ring tight.
Tip: Bake a test piece first in a color you do not mind losing, so you can check the temperature and time before you bake the pair you love.
2. A Marbled Trinket Dish
BuildAbout 45 minutesBeginner friendly
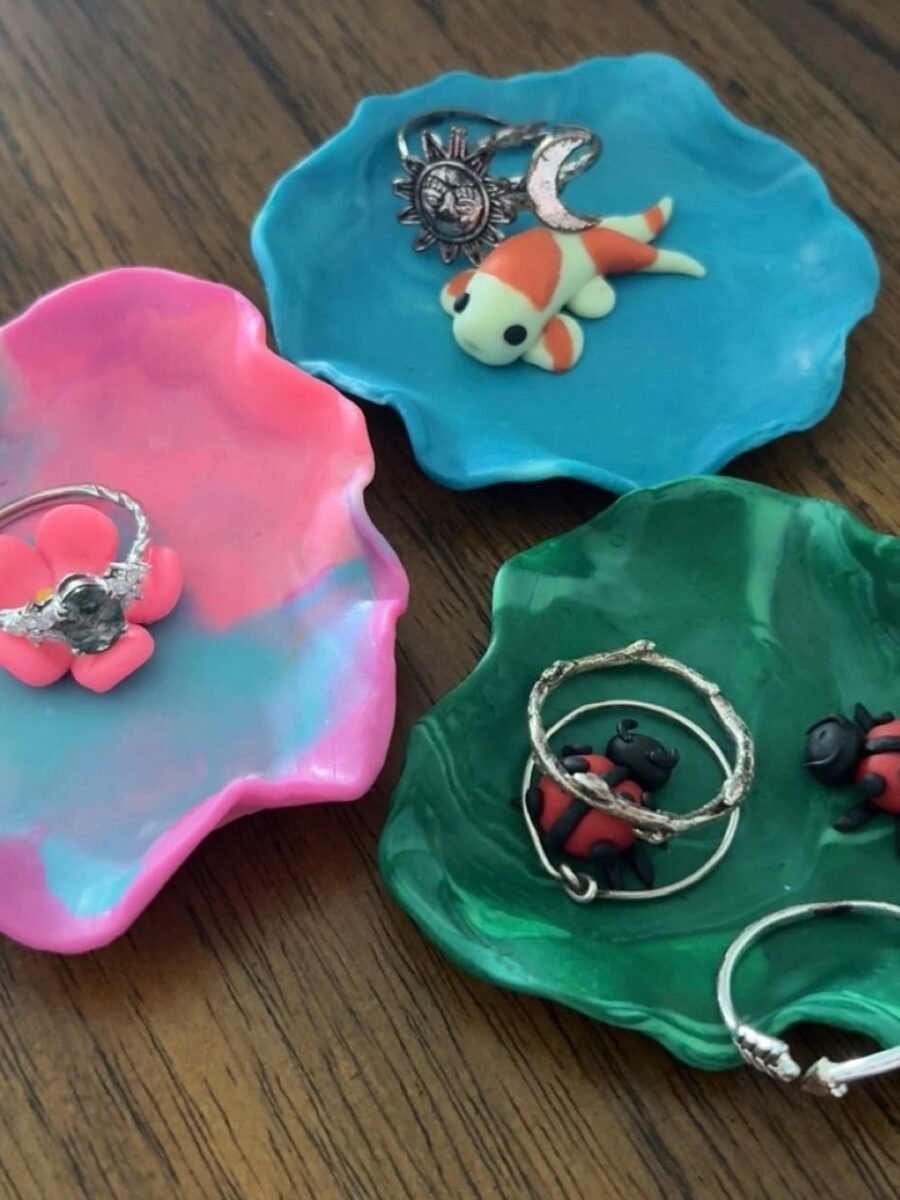
A trinket dish is the prettiest way to keep rings and small treasures from wandering around the house. Marbled clay makes every dish one of a kind, because no two swirls ever come out the same. Drape the clay over a small bowl, bake it in shape, and you have a dish that looks like it came from a pottery studio.
Materials Needed
- Polymer clay in 2 to 3 colors for marbling
- A small oven safe bowl to use as a mold
- A clay roller
- A tissue blade or a sharp craft knife
- Foil and parchment paper
- Fine grit sandpaper
- A clear gloss sealer for a shiny finish
How to Make It
- Twist two or three colors together loosely, then roll the clay into a sheet about 4 mm thick, keeping the marble swirls visible.
- Cut a circle slightly wider than your bowl, then lay the clay gently over the upturned bowl so it drapes into a dish shape.
- Trim the wavy edge with a blade, leaving it uneven on purpose, because a hand cut edge looks more handmade than a perfect circle.
- Bake the dish on the bowl in a ventilated oven following the brand instructions, and let it cool on the bowl so it keeps its curve.
- Sand the rim smooth and brush on a thin coat of gloss sealer for shine, then let it dry fully before you use it.
Tip: Do not overmix the colors, because too much kneading turns marble into mud. Stop while you can still see clear streaks of each color.
3. A Beaded Polymer Clay Necklace
BuildAbout 1 hourBeginner friendly
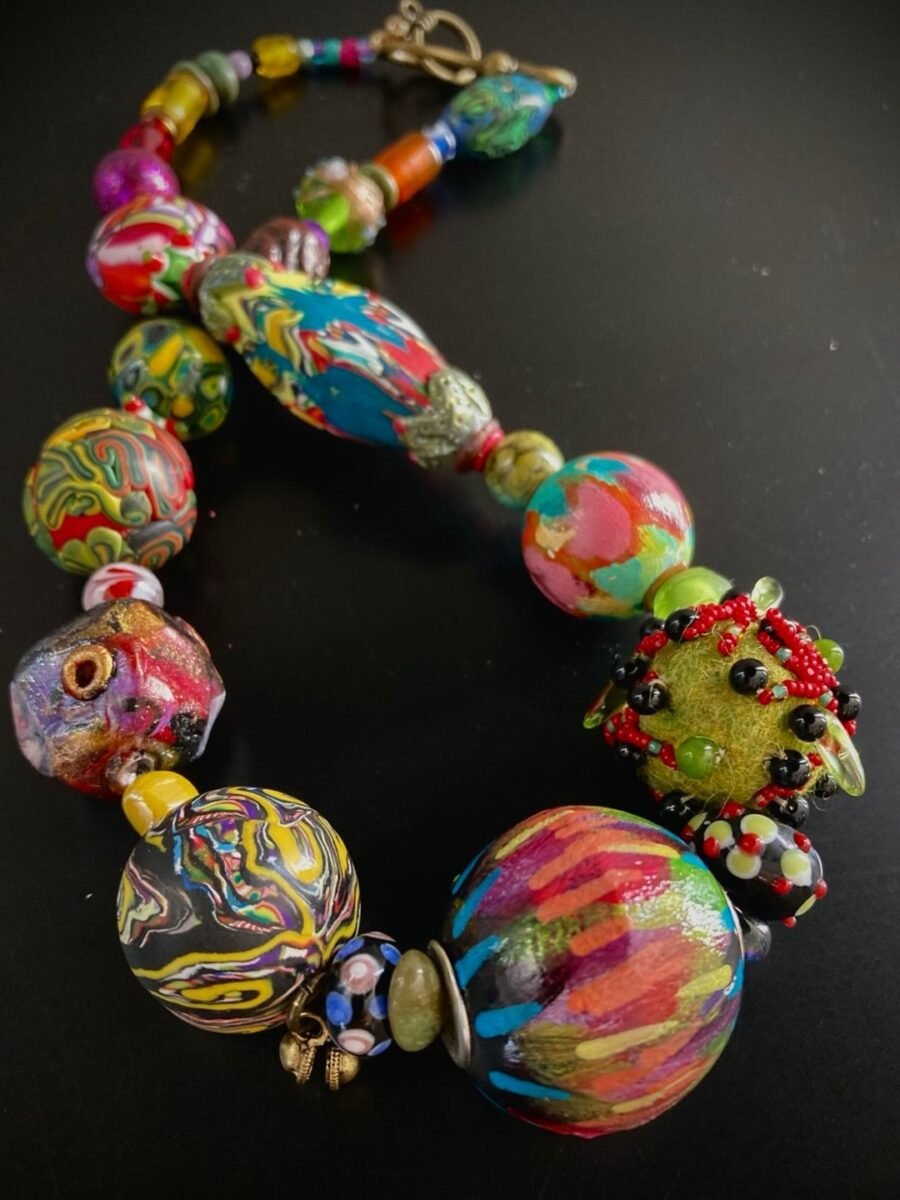
Handmade beads turn a simple necklace into a statement, because the size, the swirl and the color mix are all yours to choose. Roll big marbled beads for a bold look, or small neat ones for something you can wear every day. String them on a cord with a clasp, and the necklace is ready to wear the same evening you make it.
Materials Needed
- Polymer clay in several colors for marbling
- A bead roller, or clean hands and a flat surface
- A needle tool or a wooden skewer for bead holes
- A strong cord or beading wire
- A clasp and crimp beads
- Parchment paper and a baking tray
- A foil tent for baking
How to Make It
- Roll small balls of clay in your colors, then twist and roll them together lightly to make marbled beads in mixed sizes.
- Push a skewer through the center of each bead to make the hole, and wiggle it gently so the hole stays open while baking.
- Bake the beads on parchment paper under a foil tent in a ventilated oven following the brand temperature and time.
- Let the beads cool fully, then thread them onto the cord in the order you planned, with a spacer bead between the largest ones.
- Finish with the clasp, crimp the ends tight, and check that the necklace sits evenly before you wear it.
Tip: Roll all your beads first, then bake them in one batch, because beads baked together share the same color depth and finish.
4. A Mini Succulent Planter
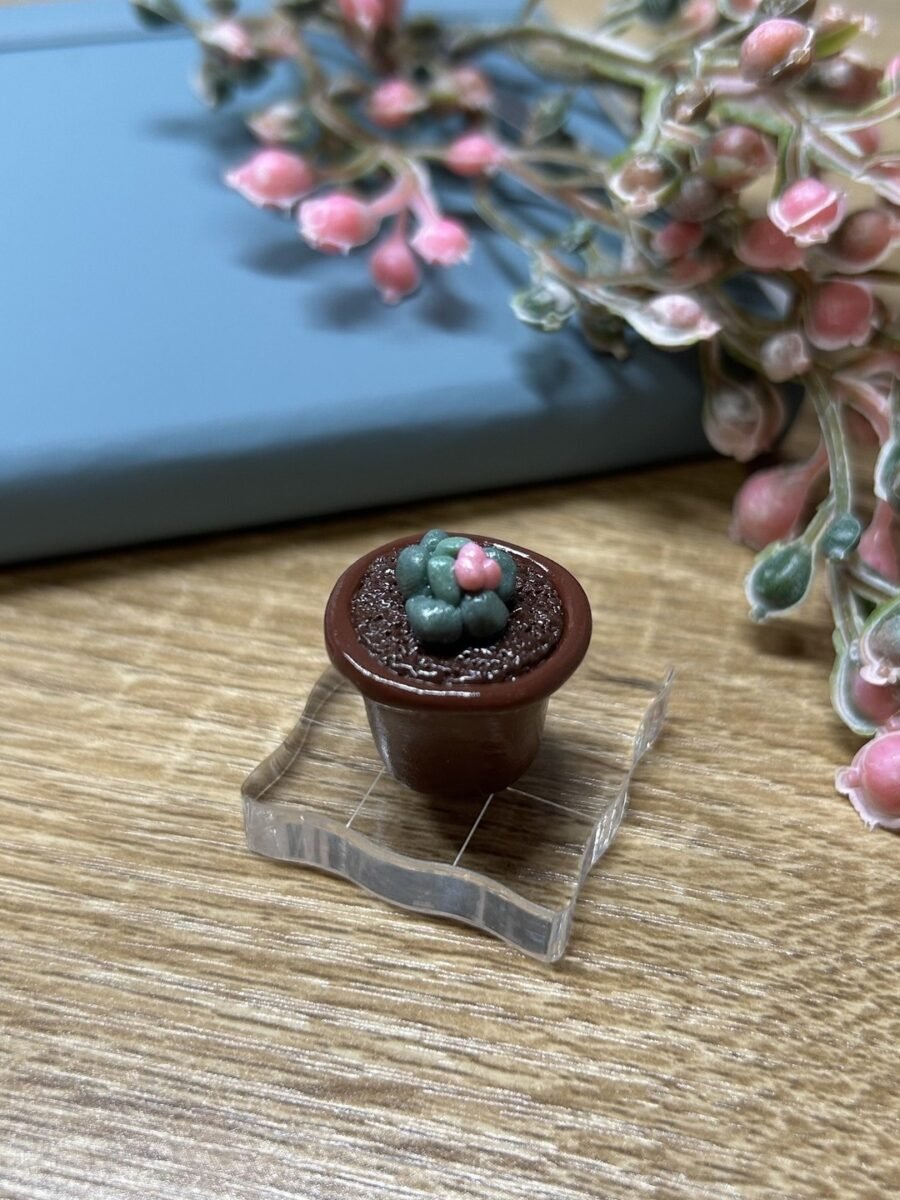
A miniature succulent never needs watering, and that is exactly why it works so well on a desk. Shape a tiny pot from brown clay, add small green leaves one by one, and bake the whole piece together so the plant and pot become one solid piece. Set it on a clear stand near a window, and it looks like a real plant from across the room.
You’ll need: polymer clay in green and brown, a small pot shape or mold, and a clear stand for display.
Best for: Desks, shelves and small plant lovers
5. Patterned Clay Coasters
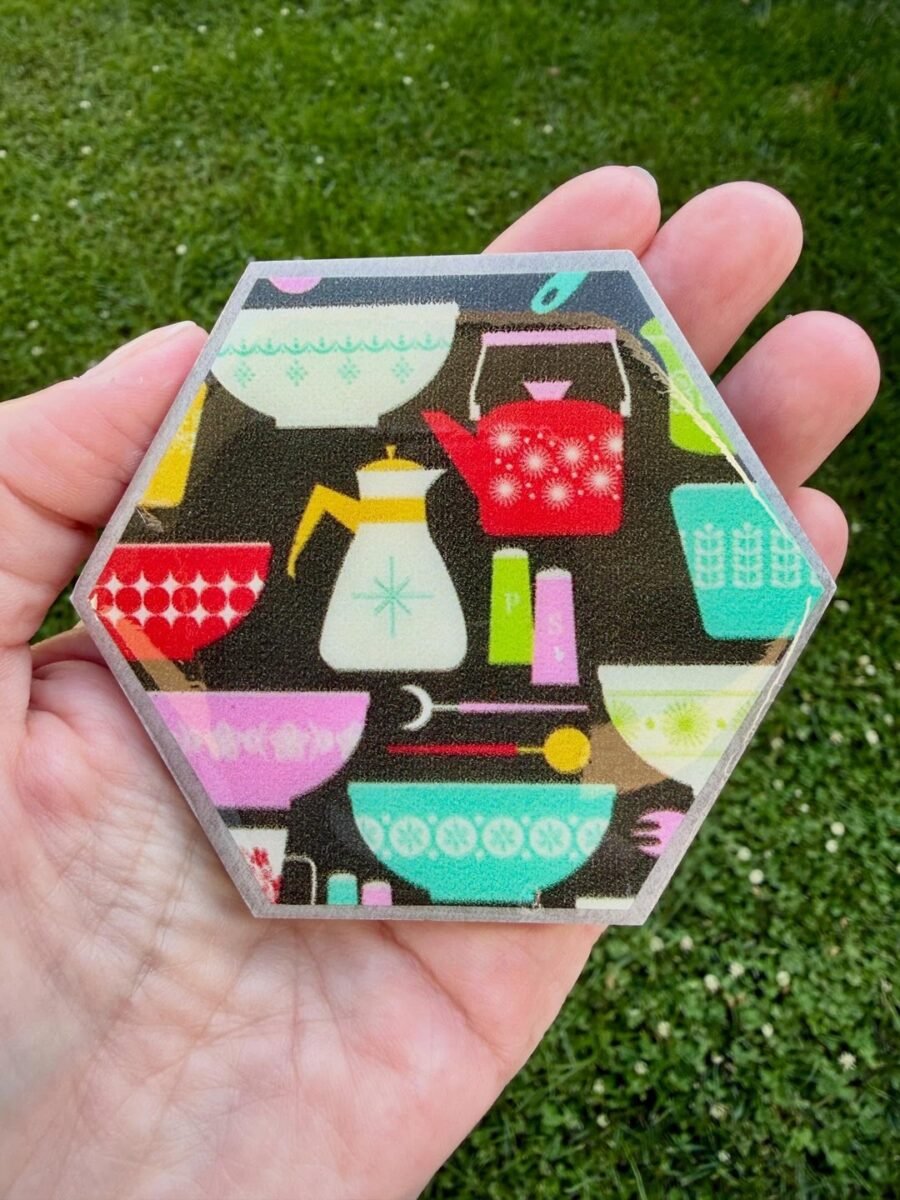
Coasters are the fastest polymer clay project on this page, because one rolled sheet makes a whole set. Roll the clay to an even thickness, press in a pattern with a stamp or a textured sheet, cut your shapes, and bake them flat so they sit steady under a mug. Seal them with gloss so spills wipe off, and remember they are for drinks, not food, so keep them decorative and dry.
You’ll need: polymer clay in your base color, a patterned stamp or printed transfer, a hexagon cutter, and gloss sealer.
Best for: Coffee tables that need a pop of color
6. Cute Character Keychains
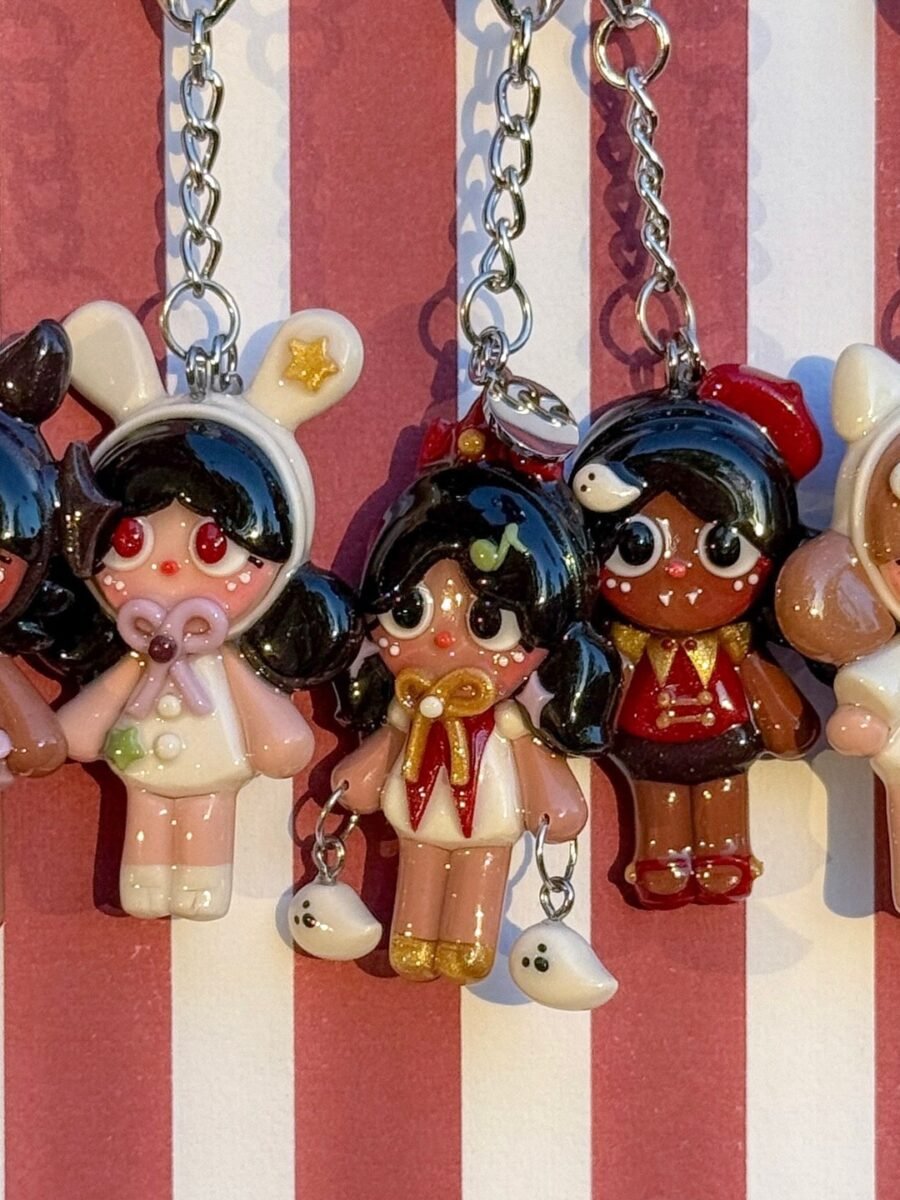
A tiny character on a keychain turns an everyday object into something that makes you smile every time you grab your keys. Sculpt a small doll or animal from colored clay, keep the features big and simple so they survive baking, and push an eye pin into the top before it goes in the oven. Once it cools, add the ring and chain, and it is ready to clip onto a bag.
You’ll need: polymer clay in several bright colors, eye pins, keychain rings and chains, and a needle tool.
Best for: Bags, keys and small gifts
7. Floral Fridge Magnets
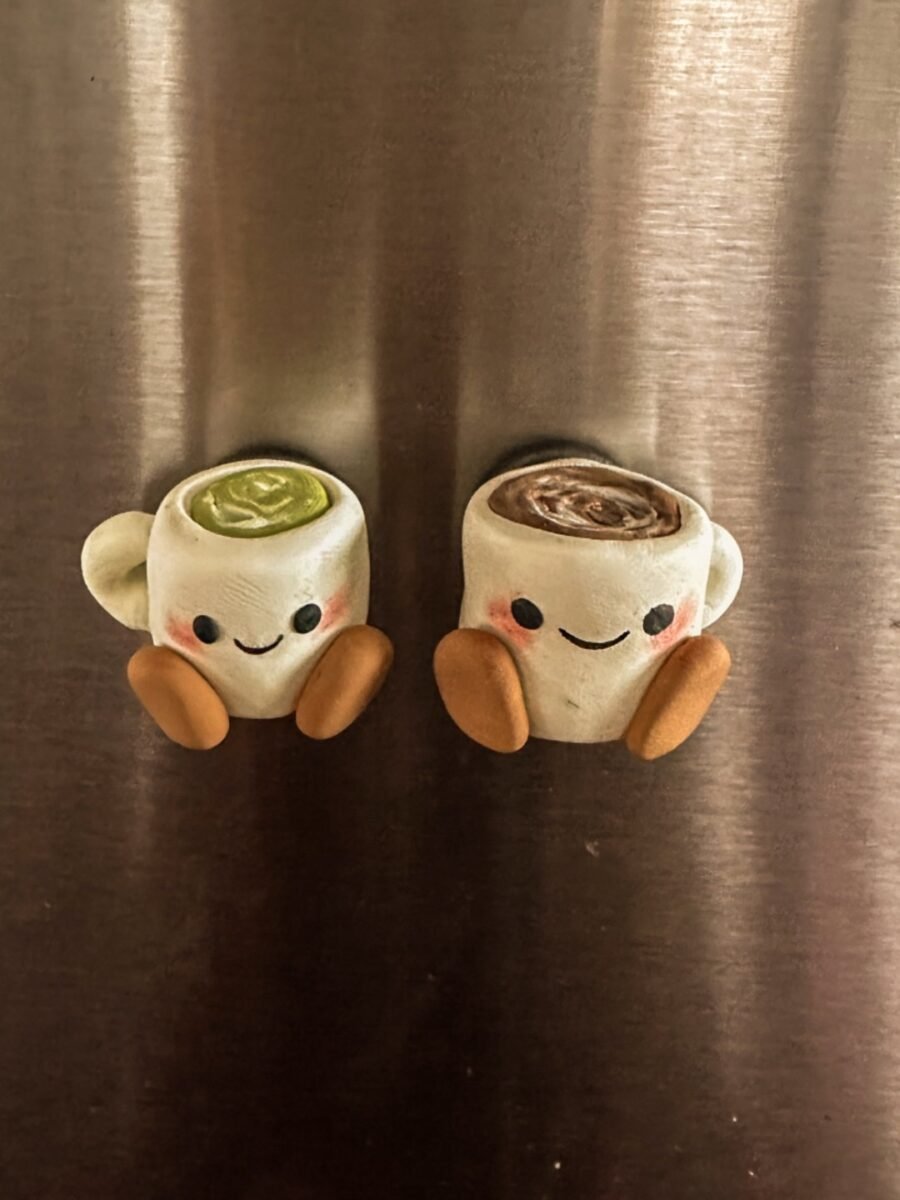
Fridge magnets are tiny canvases, and flowers are the easiest design to get right on the first try. Shape small ovals and circles, press in petals with a toothpick, and bake them flat so they sit flush on the fridge. Glue a strong magnet to the back once they are cool, and make a matching set, because one magnet looks lonely and six look like a collection.
You’ll need: polymer clay in pastel colors, small round magnets, strong glue, and a baking tray lined with parchment.
Best for: Fridges that need a little joy
8. An Octopus Candle Holder
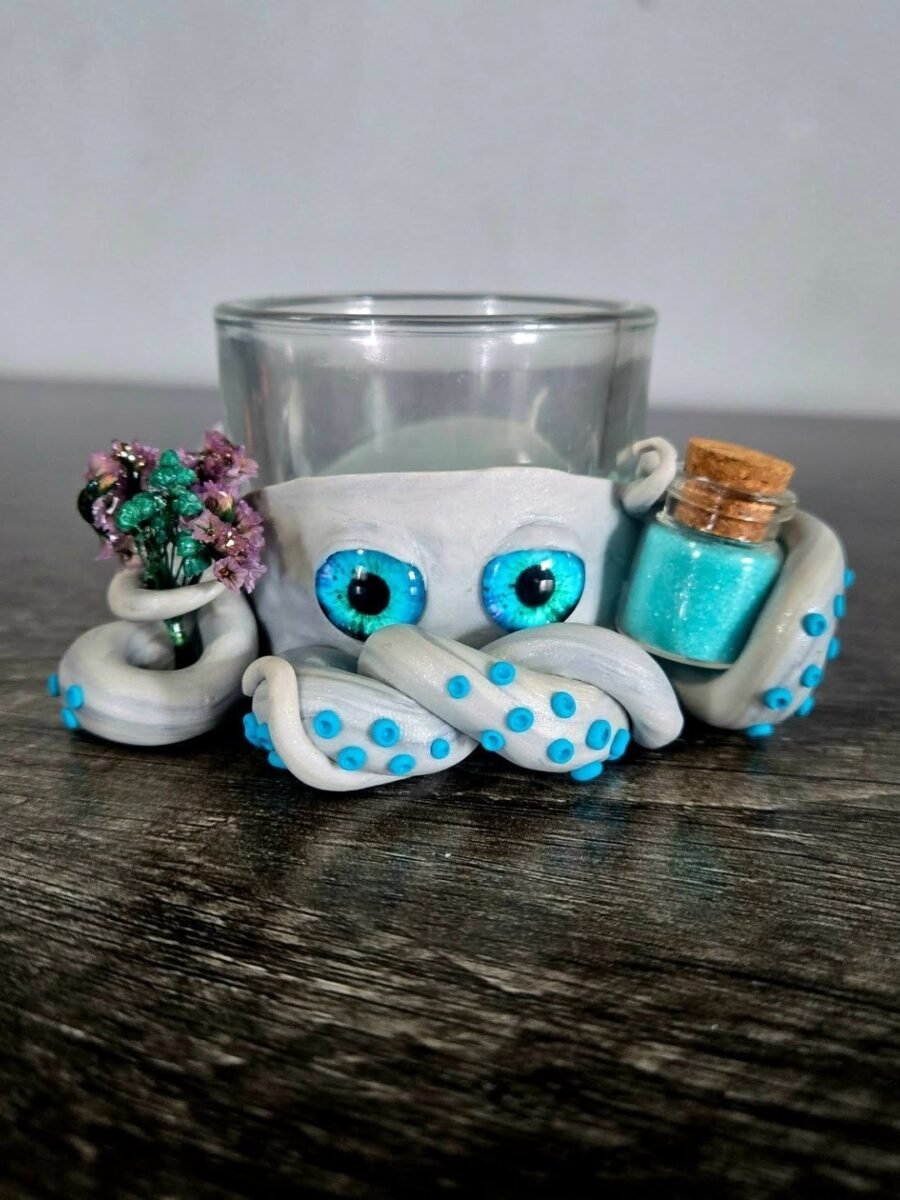
This octopus wraps its tentacles around a glass votive cup, so the candle flame is safely inside glass while the clay stays outside it. Sculpt the body and tentacles around the cup, add big blue eyes and tiny suction cups, and bake the clay on the cup so the shape holds. Never let the clay touch a flame, and always use a glass holder between the candle and the clay, because polymer clay is not heat proof on its own.
You’ll need: polymer clay in grey and blue, a glass votive cup, a needle tool, and a baking tray lined with parchment.
Best for: Whimsical shelves and candle lovers
9. Tiny Gradient Vases
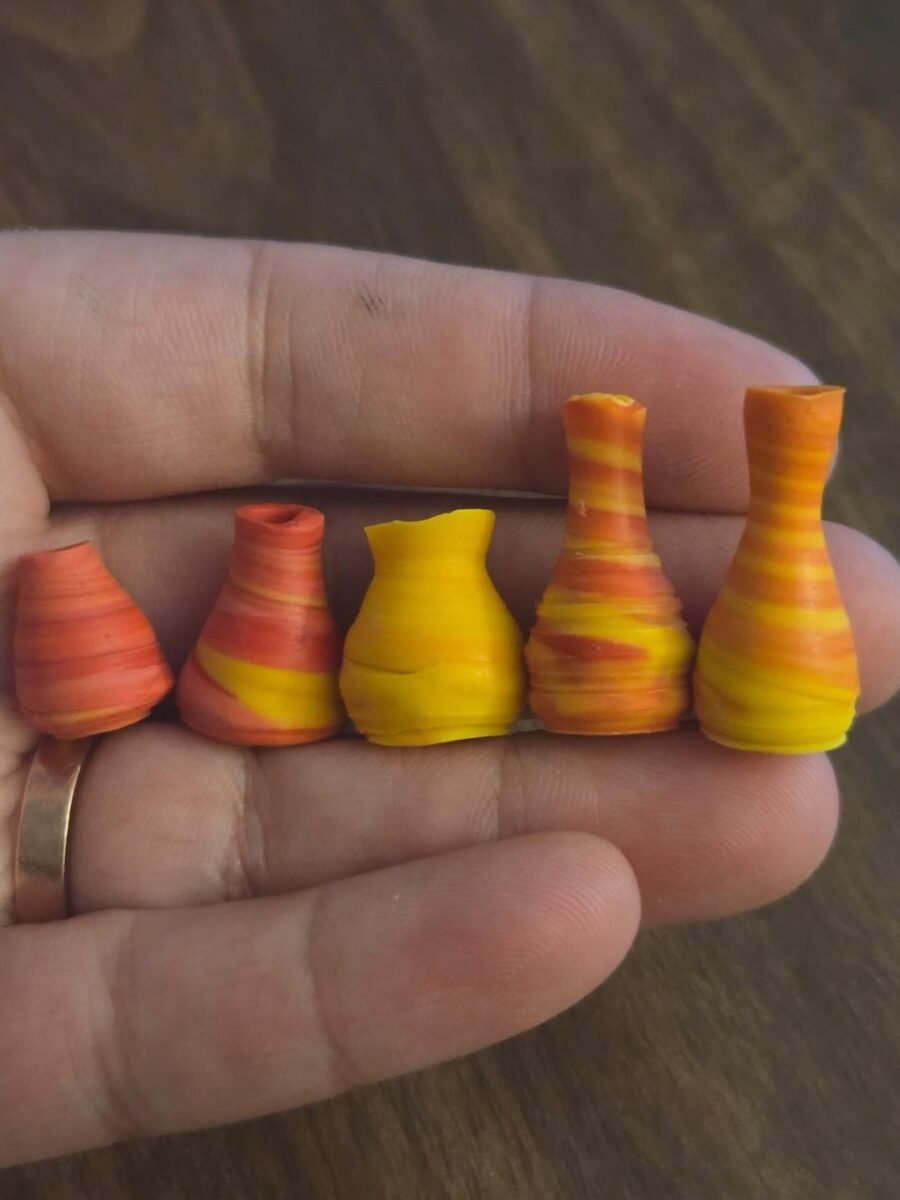
These tiny vases are barely taller than a finger, but their swirled gradients make them look like blown glass. Blend warm colors into a gradient roll, shape small vase forms around a skewer, and hollow the center so a single dried stem can sit inside. Bake them standing upright, then add gloss for shine, and group them in threes on a shelf for the best effect.
You’ll need: polymer clay in warm orange, red and yellow, a skewer for hollowing, and gloss sealer.
Best for: Tiny dried flowers and shelf styling
10. A Sweet Fox Figurine
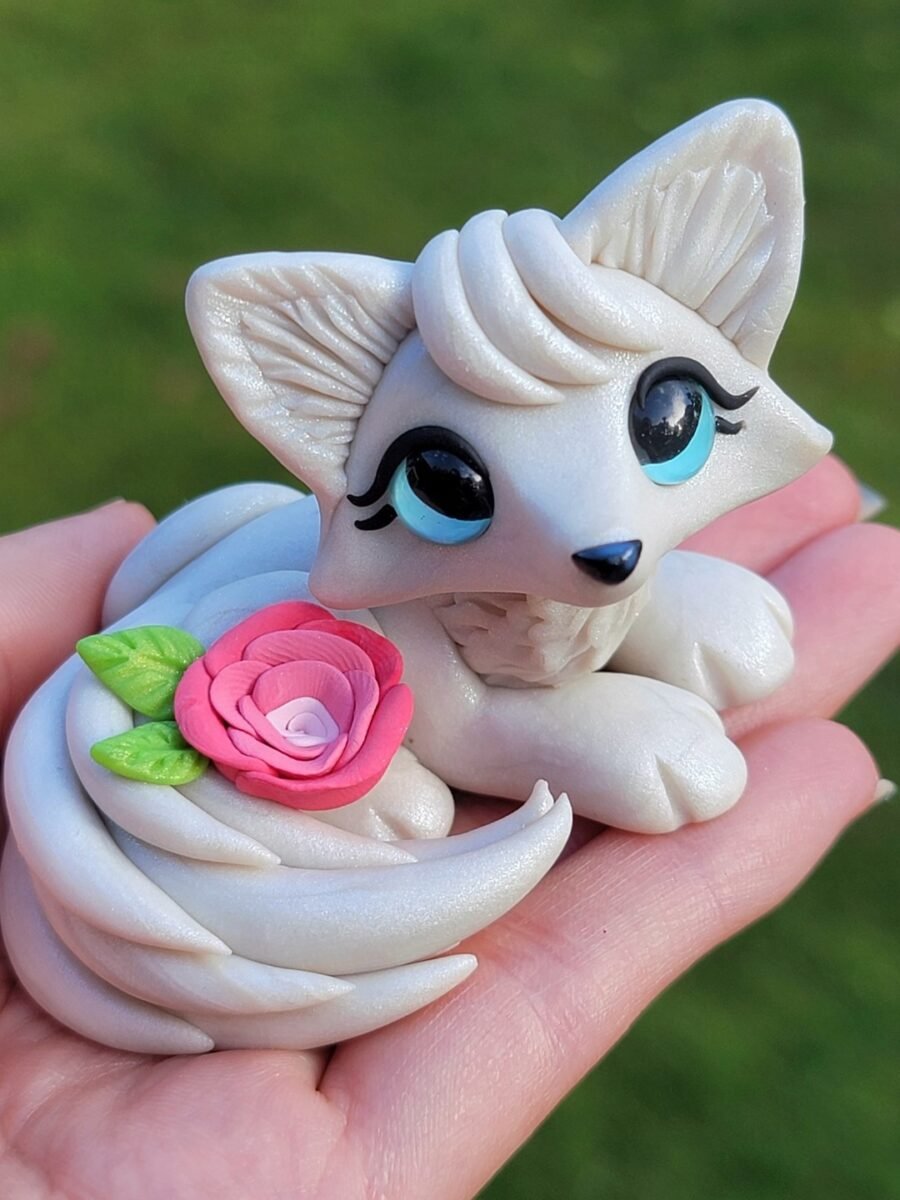
A small animal figurine is the most satisfying polymer clay project, because it feels like real sculpting. Build the fox from simple shapes, a curled body, a pointed face and tall ears, then add the eyes and a tiny rose with a needle tool for detail. If you love sculpting animals, our polymer clay cat project shows a feline friend made the same way, with the same step by step approach.
You’ll need: white and pink polymer clay, a needle tool for fur texture, and a small wood slice for display.
Best for: Animal lovers and shelf displays
11. A Woodland Wall Plaque
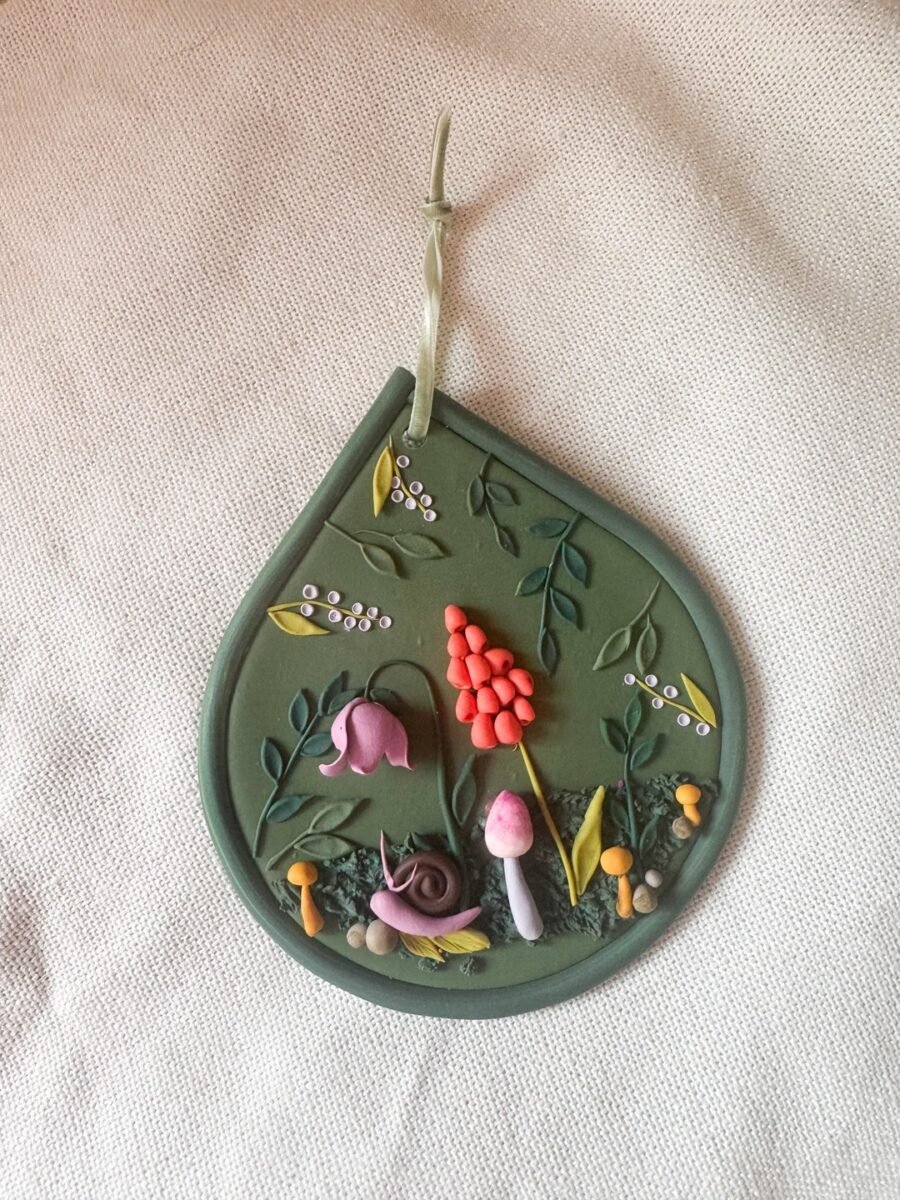
A wall plaque is just a flat piece of clay with a story pressed into it, and woodland details suit it perfectly. Cut a teardrop shape, press on tiny mushrooms, berries and leaves, and poke a hole at the top for the cord before baking. Hang it in a hallway or above a desk, where the small details reward a closer look.
You’ll need: polymer clay in green and earthy tones, a teardrop cutter, a cord for hanging, and gloss sealer.
Best for: Walls that need a small handmade touch
12. A Flower Bookmark
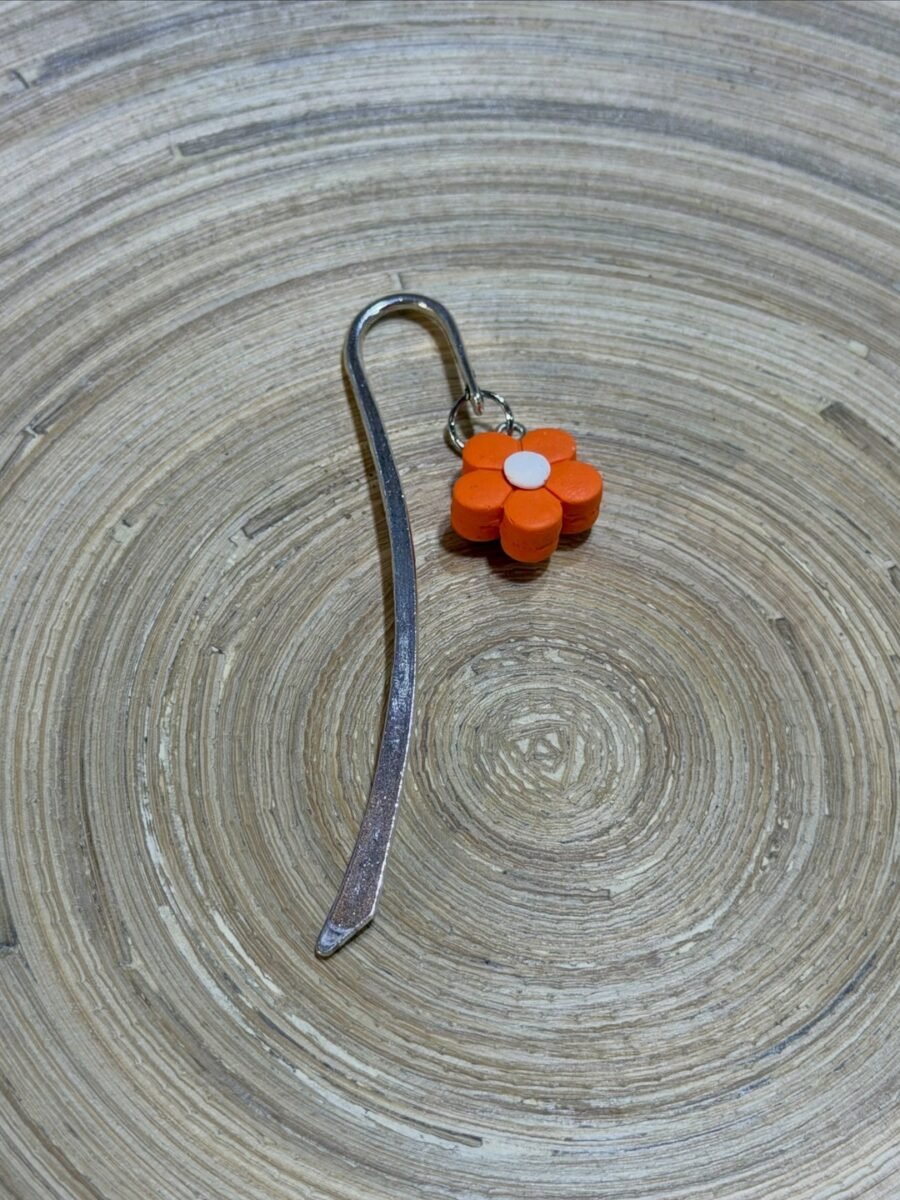
A flower charm on a bookmark is a ten minute project that turns reading into a small daily pleasure. Shape five simple petals around a white center, bake the flower flat, and glue it to a metal hook bookmark with a jump ring. It is light enough not to damage pages, bright enough to find fast, and lovely enough to gift with a book.
You’ll need: polymer clay in orange and white, a metal hook bookmark base, a jump ring, and strong glue.
Best for: Book lovers and quick handmade gifts
Frequently Asked Questions
What is polymer clay and how is it different from air dry clay?
Polymer clay is a soft modeling clay that stays workable until you bake it in an oven, when it hardens into a durable solid. Air dry clay hardens in the air over a day or two, while polymer clay only hardens with heat, so you can rework it for as long as you like before baking. Air dry clay crafts show what the air dry kind is best for, while the ideas here all use oven cured polymer clay.
How do I bake polymer clay safely?
Bake polymer clay in a well ventilated room, following the temperature and time printed on your clay brand, and never guess the temperature. Use a dedicated craft oven or cover your pieces with a foil tent so the clay never touches a food oven surface, and never microwave polymer clay. Wash your hands after handling raw clay, and let baked pieces cool fully before you sand or handle them.
Are polymer clay pieces food safe?
No, finished polymer clay pieces are not food safe unless they are sealed with a food safe finish, and even then they should stay decorative. Do not use polymer clay dishes, cups or trays for food or drink, and never store food in them. The trinket dishes and planters here are for jewelry, keys and plants only, which is exactly how they look their best.
What tools do I need to start with polymer clay?
You need very little: a few blocks of polymer clay, a roller, a blade or craft knife, a needle tool or toothpick, parchment paper and a baking tray. A foil tent and an oven thermometer help a lot, and fine sandpaper plus a gloss sealer give a smooth professional finish. Buy a small starter set first, then add colors once you know which ones you reach for most.
How do I keep polymer clay colors bright after baking?
Bake at the temperature on the package, never hotter, because overheating darkens colors and can scorch pale clay. Cover pieces with a foil tent to shield them from direct heat, and let them cool slowly in the oven with the door closed. A thin coat of gloss sealer after baking also deepens the colors and protects them from scratches.
Can a complete beginner make these polymer clay ideas?
Yes, these twelve ideas were chosen for beginners. Earrings, trinket dishes and bead necklaces need only rolling, cutting and baking, and the rest are simple shaping and decorating. Start with one idea, bake a test piece first, and build your skills one small project at a time.
Final Thoughts on Diy Polymer Clay
Twelve ideas, and the pattern is simple: start small, bake carefully, and finish with a gloss. Earrings, dishes and beads teach you the basics, while planters, coasters, magnets and figurines let you play with shape and color. Pick the three you like most, make them in one weekend, and you will have handmade pieces to wear, gift and display all around the house.
Keep the safety rules in mind every time you bake: good ventilation, a foil tent or a dedicated craft oven, never a microwave, and decorative use only unless a food safe finish is applied. Start tonight with one pair of earrings, and by the weekend your hands will know the clay well enough to try something bigger.

