

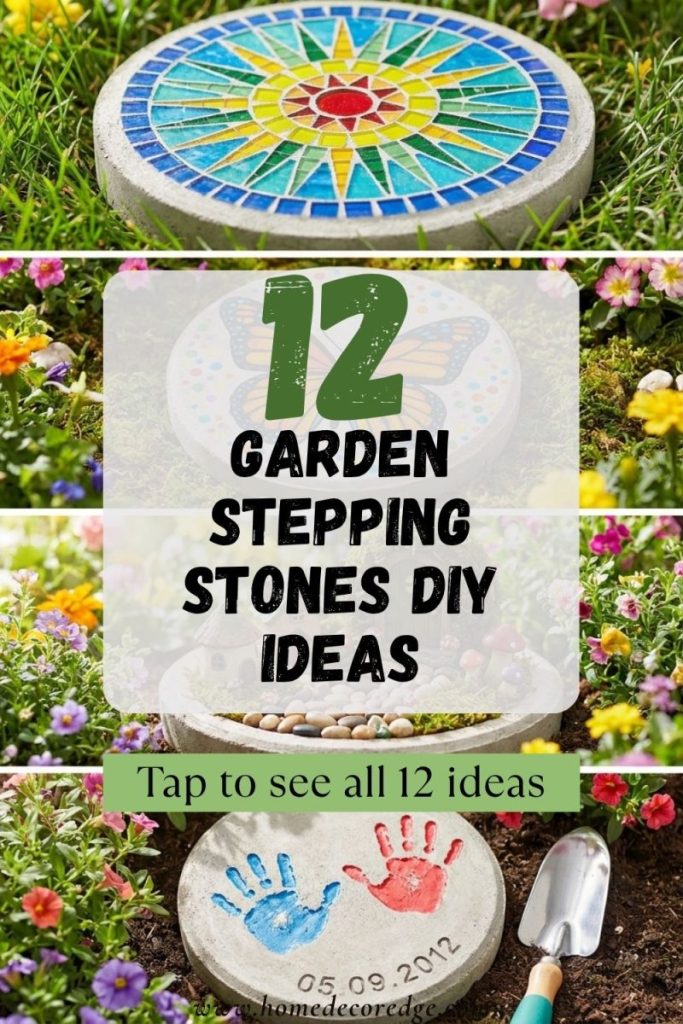
I’m Amir — and DIY garden stepping stones are one of the most genuinely satisfying garden projects because the finished pieces are both beautiful to look at and practically useful every single day. Every time someone walks along a path made from handmade stepping stones they are walking across something created specifically for that garden and that family. Our kids pressed their handprints into concrete stepping stones three summers ago and those stones still sit in the garden path — they have become genuinely precious as the children have grown and their hands have changed. These 12 garden stepping stones DIY ideas cover every technique from simple concrete molds and beautiful mosaic designs to painted butterfly patterns fairy garden stones and complete walkway projects.
This post contains affiliate links. If you purchase through these links I may earn a small commission at no extra cost to you.
1. Stepping Stone Mold Concrete DIY Garden Easy
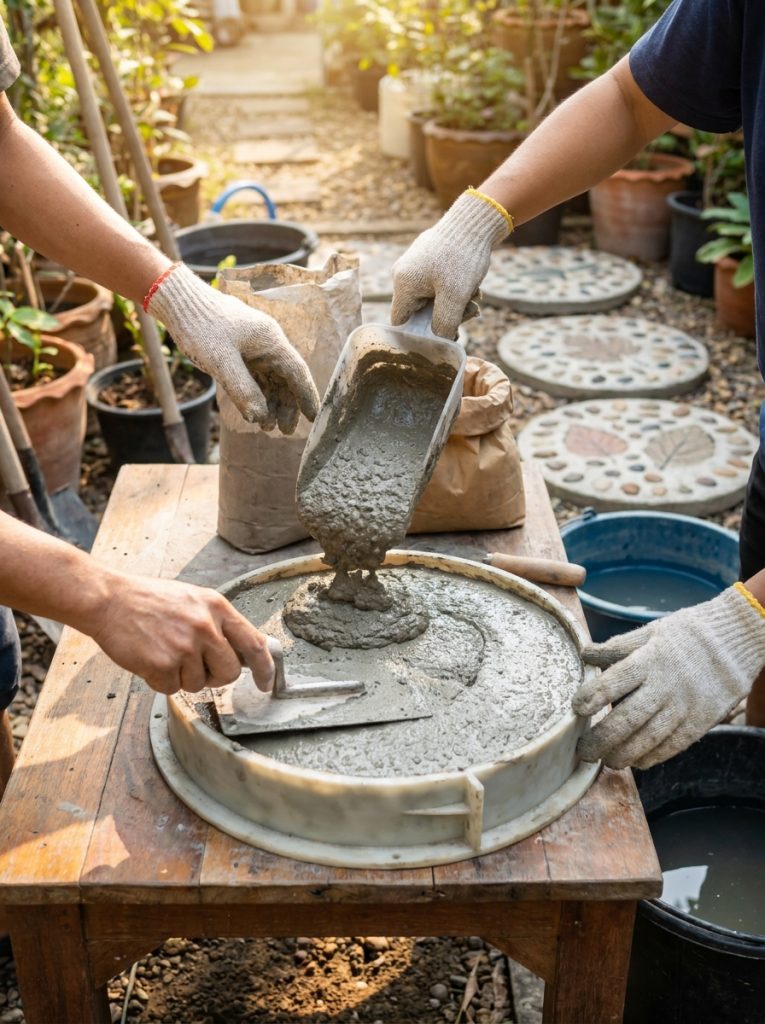
A stepping stone mold makes the concrete casting process completely achievable — this stepping stone mold creates the perfect circular stepping stone shape that fits beautifully into any garden pathway. The reusable mold produces consistent professional-looking stones every time and the smooth interior surface creates the perfect base for painting mosaic decoration or handprint pressing before the concrete sets.

Stepping Stone Mold Concrete DIY
Reusable stepping stone mold — creates perfect circular shapes for beautiful handmade garden path stones
Check Price on AmazonMaterials Needed:
- Stepping stone mold
- Concrete mix
- Water and mixing bucket
- Trowel for smoothing
- Release spray for mold
How to Make It:
- Spray mold interior with release agent to prevent sticking
- Mix concrete to smooth peanut butter consistency — not too wet
- Pour concrete into mold filling completely and tap to remove air bubbles
- Smooth surface with trowel until flat and even
- Allow to set for 24 hours before removing from mold
- Cure completely for 48 hours before placing in garden pathway
2. Mosaic Stepping Stones DIY Garden Beautiful
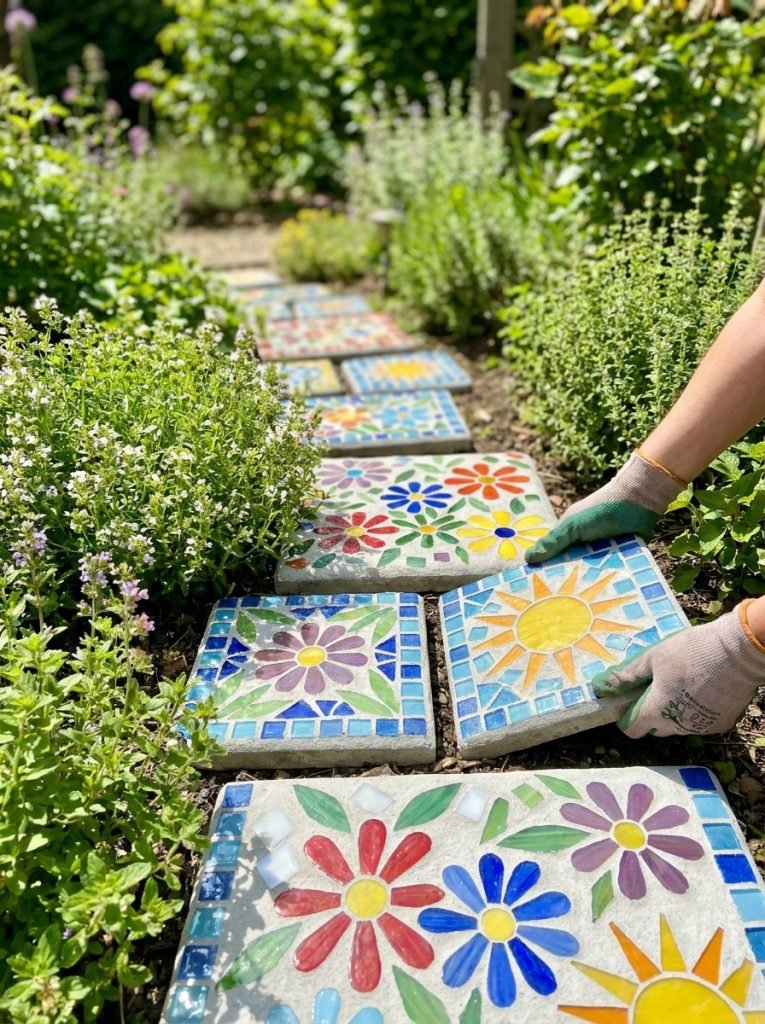
Mosaic stepping stones create the most visually stunning and genuinely durable garden path features — this mosaic tiles stepping stone kit includes colorful glass tiles, grout, and all the materials needed for creating beautiful mosaic stepping stone designs. The glass tiles catch sunlight beautifully creating a sparkling quality in garden paths that changes with the light throughout the day.
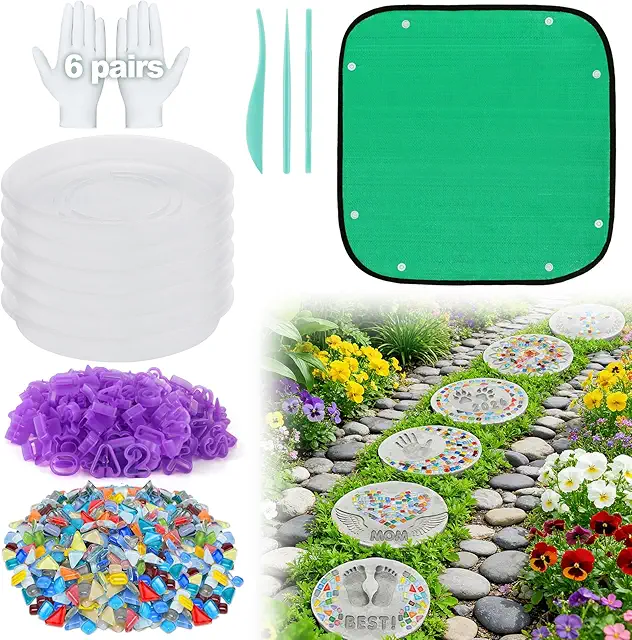
Mosaic Tiles Stepping Stone Kit
Colorful glass mosaic tile kit — tiles grout and materials for stunning sparkling stepping stone designs
Check Price on AmazonMaterials Needed:
- Concrete stepping stone base
- Colorful glass mosaic tiles
- Tile adhesive
- Grout and grout sealer
- Tile nippers for shaping
How to Make It:
- Plan mosaic design on paper before starting — flower mandala or geometric pattern
- Apply tile adhesive to stone surface in small sections
- Press mosaic tiles firmly into adhesive following planned design
- Allow adhesive to cure completely for 24 hours
- Apply grout between tiles pressing firmly into all gaps
- Wipe away excess grout and seal when fully dry for outdoor durability
3. Painted Stepping Stones DIY Garden Easy
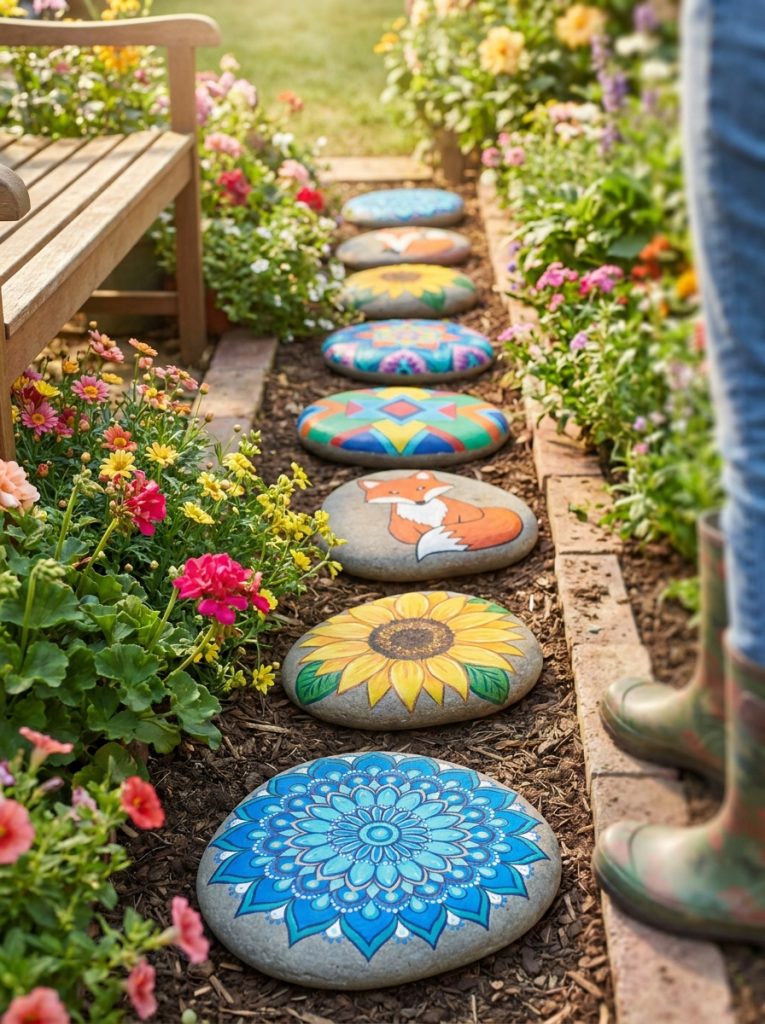
Painted stepping stones transform plain concrete into beautiful garden path art — this outdoor stepping stone paint is specifically formulated for outdoor concrete surfaces with UV-resistant pigments that keep colors vibrant through all weather conditions. The paint applies smoothly to concrete stepping stones and the wide color range allows any design from simple patterns to detailed botanical paintings.

Stepping Stone Paint Outdoor Craft
UV-resistant outdoor concrete paint — keeps stepping stone colors vibrant through all weather conditions
Check Price on AmazonMaterials Needed:
- Concrete stepping stone base
- Outdoor UV-resistant paint
- Paintbrushes in different sizes
- Pencil for sketching design
- Outdoor sealer for finishing
How to Make It:
- Clean stone surface completely and allow to dry
- Apply white base coat and let dry completely
- Lightly sketch design in pencil on the white base
- Paint main design areas first working from background to foreground
- Add fine detail work with small brush when base colors are dry
- Seal with outdoor waterproof sealer for lasting beautiful results
4. Butterfly Stepping Stones DIY Garden Easy
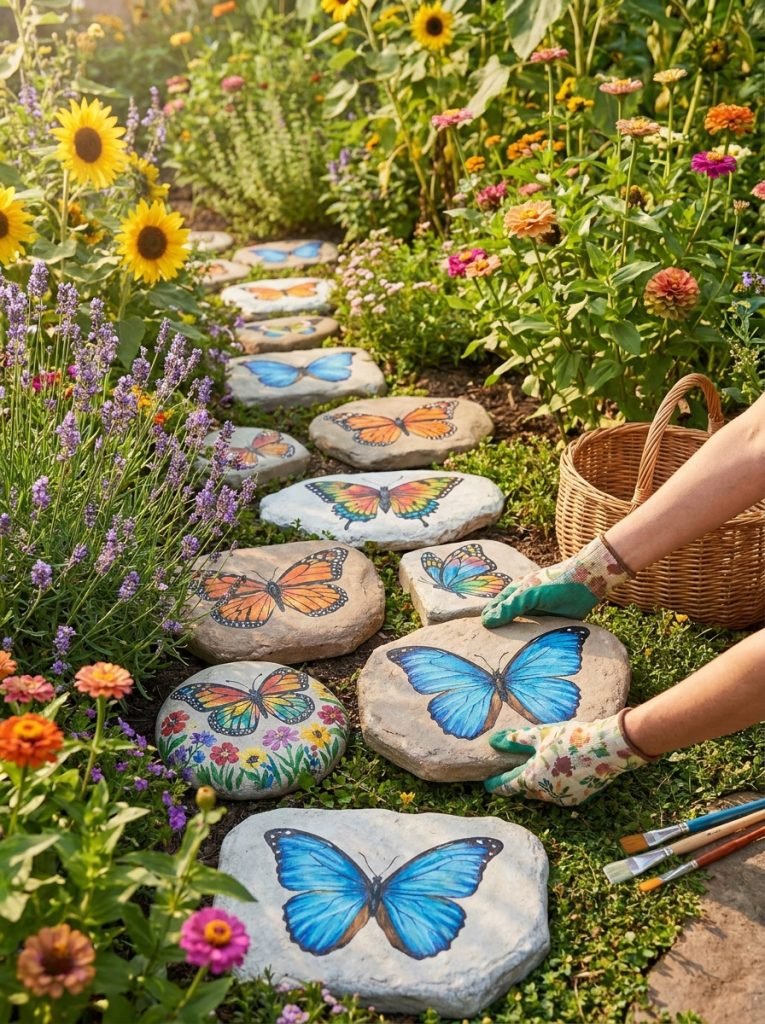
Butterfly stepping stones create the most beautiful nature-inspired garden path — the bold wing patterns of different butterfly species translate stunningly onto stepping stone surfaces and a pathway of different butterfly designs creates a genuinely beautiful butterfly garden walk. Blue morpho wings, orange monarch patterns, and colorful garden butterfly designs each require different color combinations creating a visually diverse and stunning butterfly stepping stone pathway.
Materials Needed:
- Concrete stepping stones
- Outdoor paint in butterfly colors
- Fine detail paintbrush
- Reference images of butterfly species
- Outdoor sealer
How to Make It:
- Choose butterfly species for each stone — different species for variety
- Apply pale background color suited to each butterfly design
- Paint wing outline shapes first in light pencil then paint
- Add wing pattern details — spots veining and markings
- Add body and antennae with fine brush
- Seal completely when dry for lasting outdoor butterfly garden path
5. Kids Stepping Stones DIY Projects Handprint
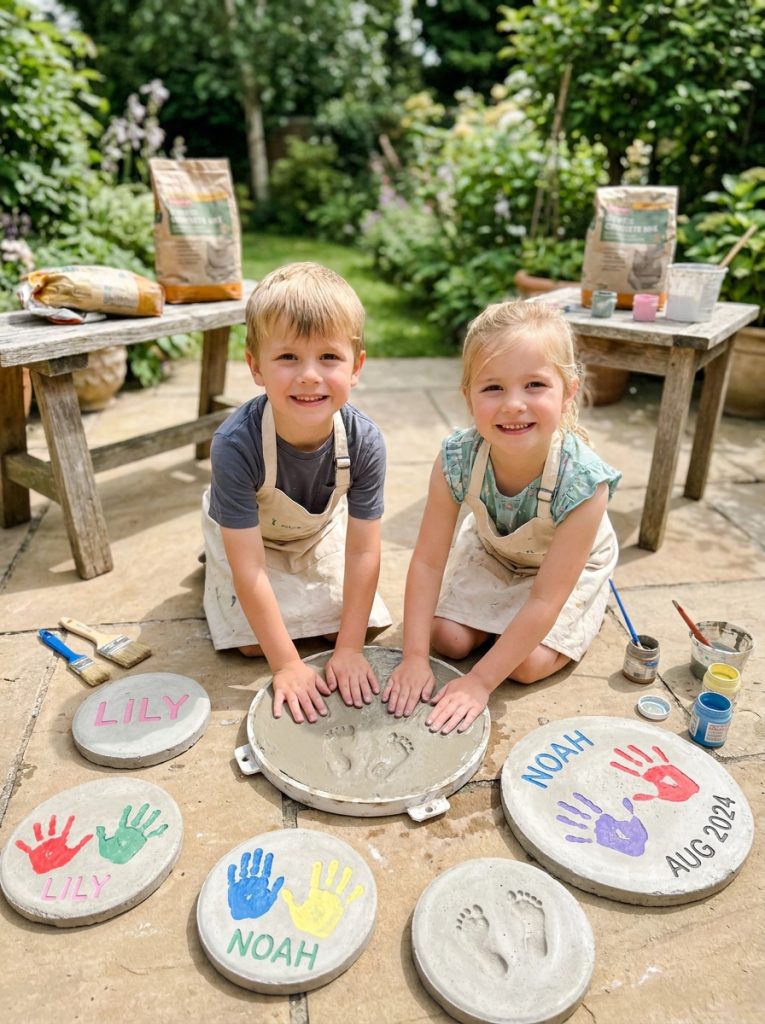
Kids handprint stepping stones are the most precious garden keepsake DIY — fresh concrete pressed with a child’s hand and marked with their name and date creates a permanent garden treasure that grows more meaningful with every year that passes. Our three-year-old’s handprint stone from last summer is already noticeably smaller than her hand today and that difference makes it more precious not less. For more kids garden ideas check our 25 outdoor play area for kids post.
Materials Needed:
- Concrete mix
- Stepping stone mold
- Child’s clean hand or foot
- Stick for writing name and date
- Release spray
How to Make It:
- Mix concrete to smooth firm consistency
- Pour into mold and smooth surface carefully
- Wait 20 to 30 minutes until concrete is firm but not set
- Press child’s hand firmly and evenly into surface
- Lift hand cleanly straight up without smearing
- Write child’s name and date with a stick then allow full cure
6. Concrete Mix Stepping Stones DIY Garden
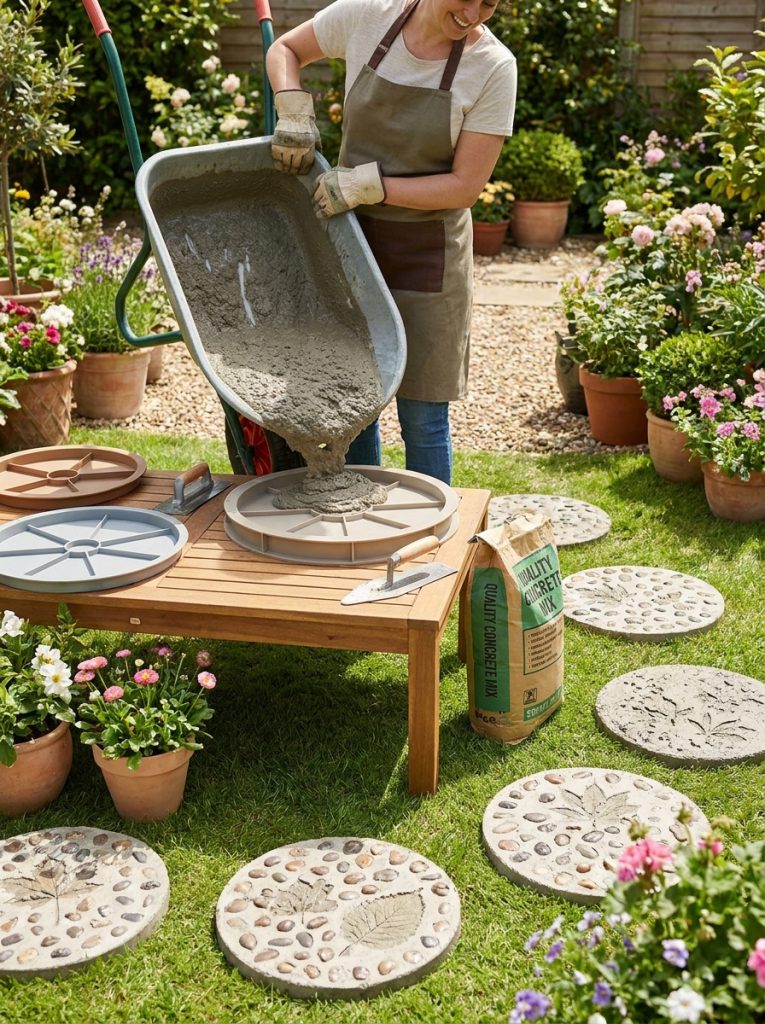
Quality concrete mix is the most important ingredient for beautiful and lasting garden stepping stones — this concrete mix produces the perfect consistency for stepping stone casting with enough strength for decades of garden foot traffic and all weather exposure. The right concrete to water ratio creates a smooth workable mix that captures fine decoration detail while setting to a genuinely strong and durable final stone.

Concrete Mix Stepping Stones Garden
Quality concrete mix — perfect consistency for strong durable stepping stones that last decades in garden paths
Check Price on AmazonMaterials Needed:
- Quality concrete mix
- Water and mixing bucket
- Trowel and gloves
- Multiple stepping stone molds
- Level surface for curing
How to Make It:
- Add concrete mix to bucket and add water gradually mixing thoroughly
- Achieve smooth peanut butter consistency — no lumps or dry patches
- Pour into prepared molds filling completely
- Tap molds firmly on ground to eliminate air bubbles
- Smooth surfaces flat with trowel
- Cover with damp cloth and cure 48 hours before removing from molds
7. Fairy Garden Stepping Stones DIY Easy
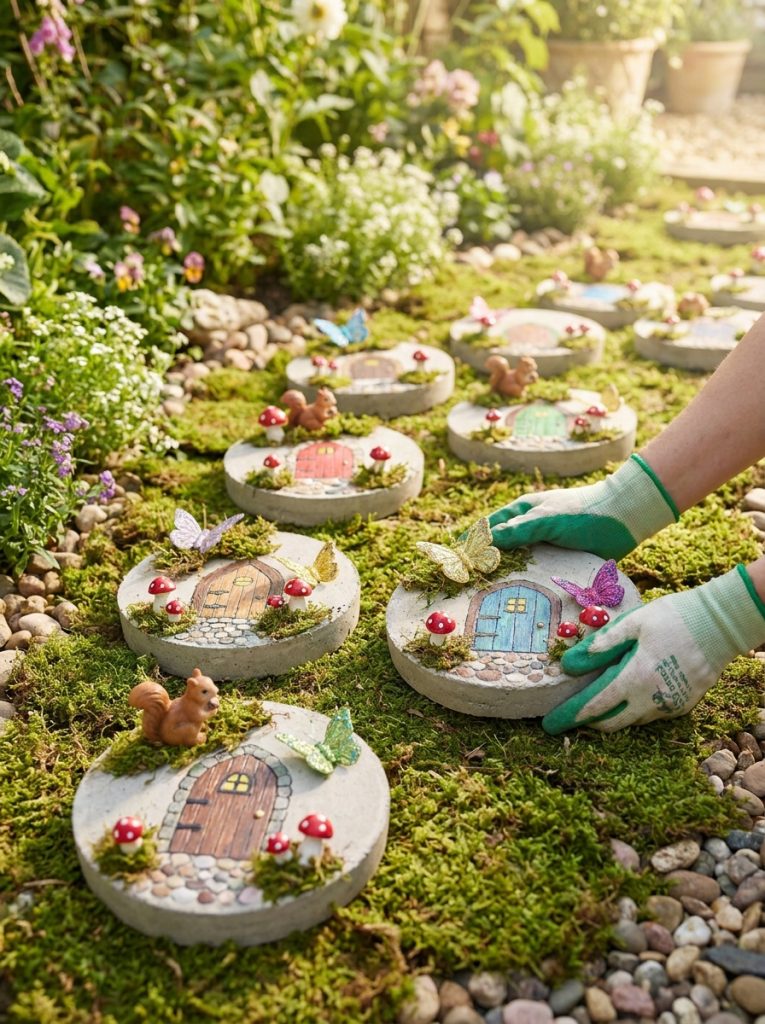
Fairy garden stepping stones create the most enchanting and magical garden pathway — miniature fairy doors painted at the stone edges, tiny mushroom and toadstool paintings, woodland creature details, and magical starlight patterns all transform ordinary stepping stones into genuinely magical fairy garden path features. A complete fairy garden stepping stone pathway creates a garden space of genuine enchantment that children find completely captivating and adults find utterly charming.
Materials Needed:
- Painted stepping stone base
- Fine detail paintbrush
- Fairy garden-themed paints — green brown red white
- Reference images of fairy garden elements
- Outdoor sealer for finishing
How to Make It:
- Paint stone with mossy green base coat
- Add small painted fairy door on the lower edge of stone
- Paint tiny mushrooms and toadstools in classic red and white
- Add small woodland creature details — hedgehog rabbit or fairy silhouette
- Add star or sparkle details with white paint
- Seal completely for lasting outdoor fairy garden magic
8. Walkway Pathway Stepping Stones DIY Garden
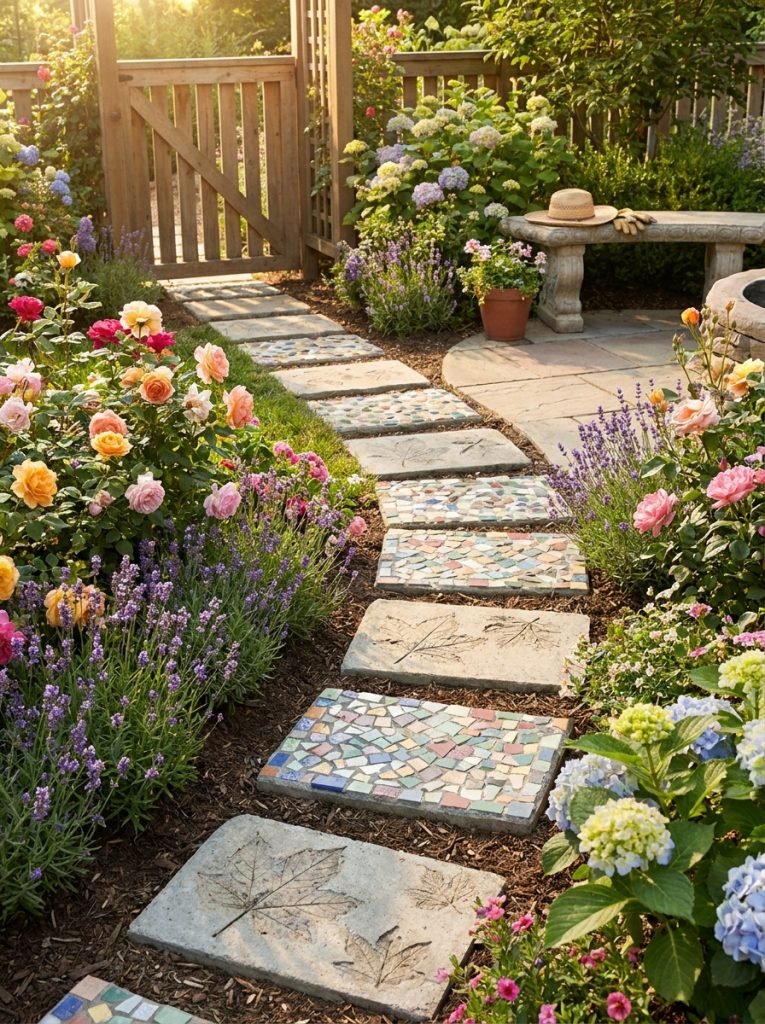
A complete DIY stepping stone walkway transforms garden movement from a practical necessity into a beautiful garden feature — stones placed at a natural walking stride distance through planted areas create a garden pathway with genuine handmade character that no manufactured path material can replicate. The combination of different stone designs along a single pathway creates a beautiful visual journey through the garden. For more garden path ideas check our 60 garden border ideas post.
Materials Needed:
- Multiple DIY stepping stones
- Garden marking paint or string line
- Spade for excavation
- Sharp sand for bedding
- Level for checking flat placement
How to Make It:
- Mark out pathway route with string line or marking paint
- Place stones at comfortable stride distance and mark positions
- Excavate each stone position to stone depth plus 5cm for sand bed
- Add sharp sand and level each position carefully
- Place each stepping stone and check level in all directions
- Backfill around stones with soil and plant low ground cover between them
9. Flower Bed Stepping Stones DIY Garden Easy
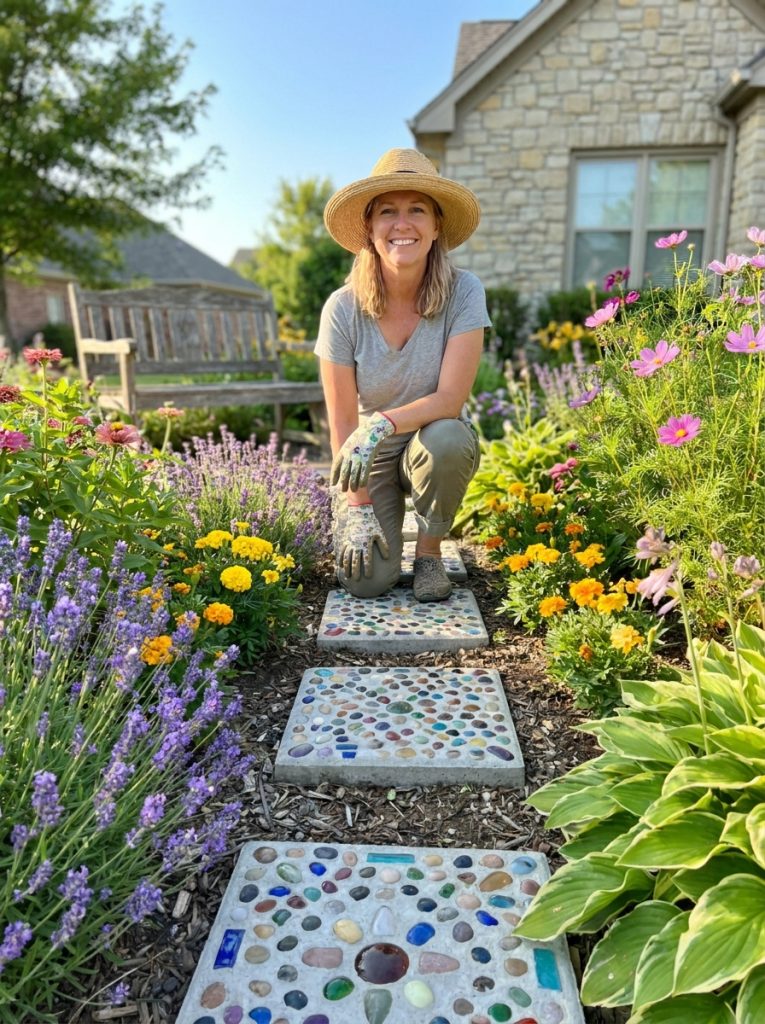
Flower bed stepping stones serve the double purpose of providing practical access through planted areas while adding beautiful decorative elements within the border design — painted or mosaic stepping stones placed within a flower bed create genuinely beautiful garden features that suit the planted surroundings. The stones allow maintenance access without compacting soil around plant roots while creating beautiful design moments within the planting.
Materials Needed:
- Decorative stepping stones
- Trowel for positioning
- Sharp sand for bedding
- Low ground cover plants for between stones
How to Make It:
- Plan stepping stone positions within the flower bed before starting
- Remove soil at each position to stone depth plus 3cm
- Add sharp sand base and level carefully
- Place stepping stone and firm into position
- Check level and adjust sand bed as needed
- Plant low-growing ground cover plants between stones for natural integration
10. Sealed Waterproof Stepping Stones DIY Outdoor
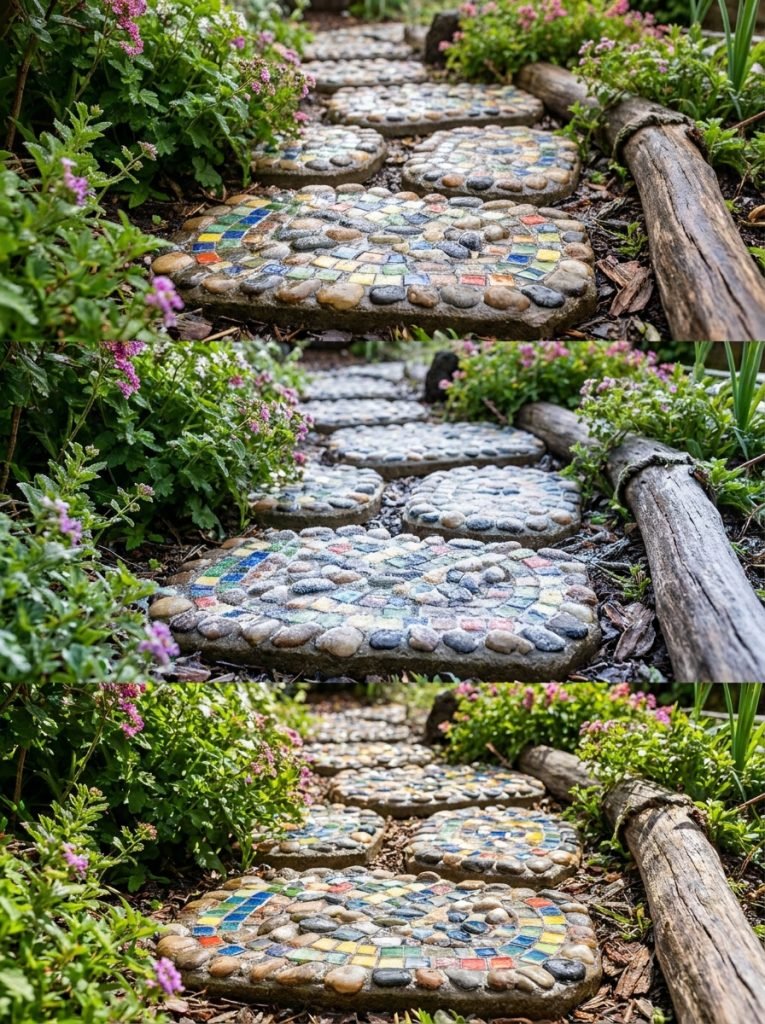
Waterproof sealing protects any DIY stepping stone investment through all weather conditions — this stepping stone outdoor sealer creates a clear durable protective coating that keeps painted designs vibrant and mosaic grout intact through rain frost and all outdoor garden exposure. Properly sealed stepping stones last for decades maintaining their beauty through every garden season without fading or deteriorating.

Stepping Stone Sealer Outdoor Waterproof
Clear outdoor stepping stone sealer — protects painted and mosaic designs through all weather for decades
Check Price on AmazonMaterials Needed:
- Completed decorated stepping stones
- Outdoor waterproof clear sealer
- Clean dry cloth
- Well-ventilated outdoor space
How to Make It:
- Ensure stone is completely clean and dry before sealing
- Apply first sealer coat in smooth even strokes
- Allow first coat to dry 30 minutes completely
- Apply second coat for maximum weather protection
- Allow full 24 hour cure before placing in garden
- Re-seal annually for lasting protection and continued beauty
11. Walkways Stepping Stones DIY Garden Design
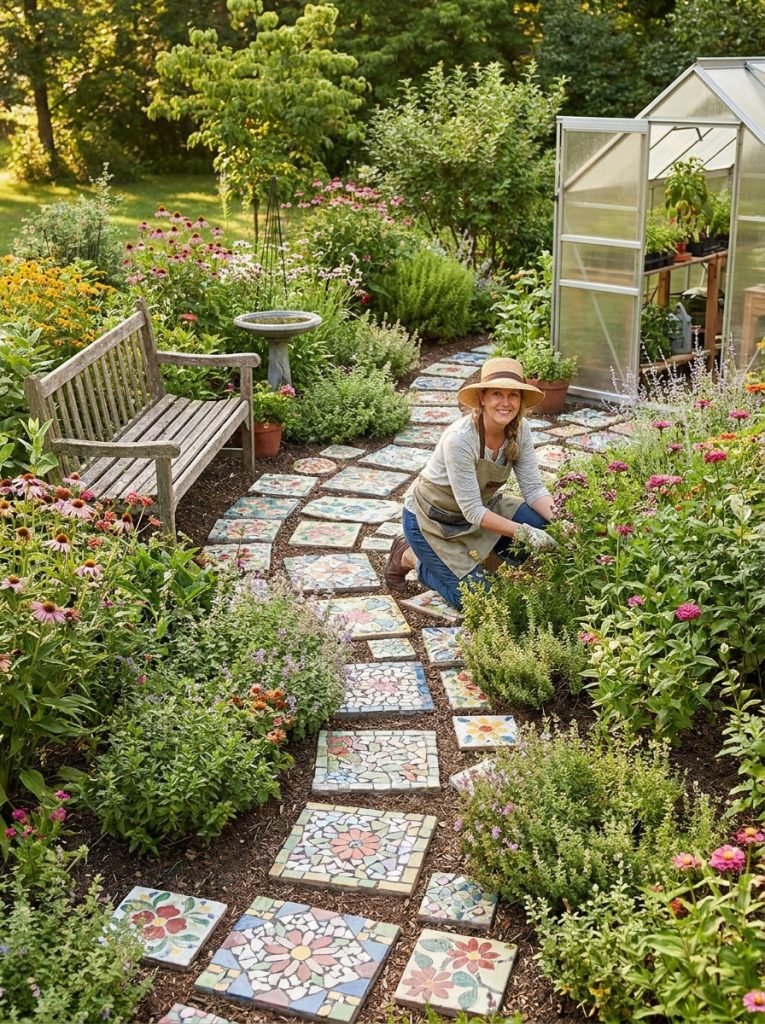
A thoughtfully designed stepping stone garden walkway is one of the most beautiful improvements any garden can receive — a gently curved path of decorative handmade stones winding through planted areas, connecting the garden entrance to a seating area or feature point, creates a garden design of genuine beauty and practical elegance. The curved walkway draws the eye through the garden creating depth and inviting exploration of the whole space.
Materials Needed:
- Multiple decorative stepping stones
- Garden design sketch on paper
- String line for curve marking
- Sharp sand and spade
- Low ground cover plants
How to Make It:
- Sketch walkway design on paper planning the curve and stone positions
- Mark the curved path on the garden with string or hose
- Position stones along marked curve at walking stride intervals
- Excavate and bed each stone in sharp sand
- Check all stones are level with each other for comfortable walking
- Plant low ground cover between stones to soften pathway edges
12. Complete Garden Stepping Stones DIY Display
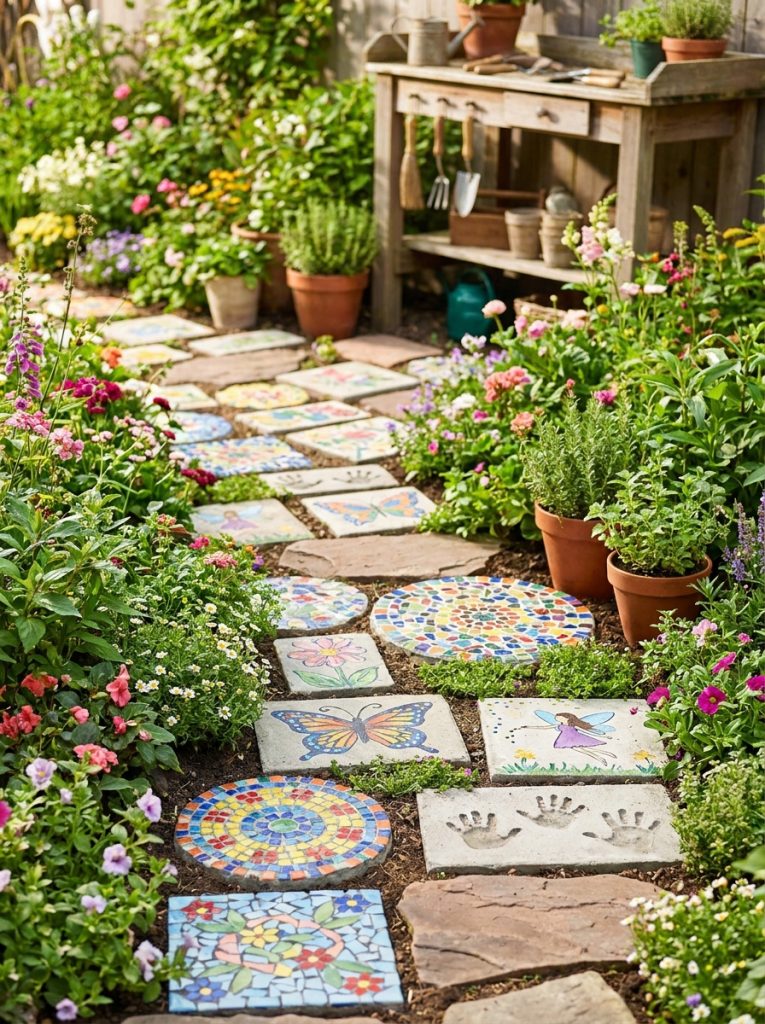
A complete garden stepping stones collection combining multiple designs and techniques creates the most beautiful and genuinely personal garden — mosaic stones sparkling in the sunshine, painted butterfly stones adding color to flower beds, fairy garden stones creating magical corners, precious kids handprint keepsakes, and thoughtfully designed walkways all together create a garden where every path tells the story of the family who made it. For more beautiful garden ideas check our diy yard decor and garden border ideas posts for more outdoor inspiration.
Final Thoughts on Garden Stepping Stones DIY
There you have it — 12 garden stepping stones DIY ideas from simple concrete molds and beautiful mosaic designs to painted butterfly patterns, magical fairy stones, and complete walkway projects. DIY garden stepping stones are genuinely one of the most rewarding outdoor projects because every stone placed in the garden is both practically useful and permanently beautiful — a handmade contribution to the garden that improves with age and grows more meaningful as the garden and family grow together around it. Start with one stone type that excites you most and let the garden pathway collection develop naturally from there.


Amir Ali is the founder and site administrator of HomeDecorEdge, a modern home decor and interior design platform. Since starting the site, he has combined his passion for interior design, practical styling, and color coordination with hands-on content strategy and site management. He guides authors, curates high-quality articles, and ensures readers have access to actionable, visually inspiring, and user-focused home decor advice for apartments, small rooms, and family homes.