

A small clay dish is the friendliest first clay project there is. It needs no kiln, no wheel and no special skill, just a block of air dry clay, a rolling pin and a flat surface. An hour of making gives you a trinket tray, a ring dish or a soap dish that looks bought, and it is yours from the first pinch.

These air dry clay dish ideas stay strictly on dishes: trinket trays, ring dishes, soap dishes, jewelry trays, small bowls and catch-all dishes. The first three are full builds with materials and steps, and the other nine are ready to copy from the photo. For the wider world of clay making beyond dishes, our air dry clay crafts cover ornaments, magnets, planters and wall art.
One safety note before you start: air dry clay dishes are decorative only, and they are not food safe unless they are sealed with a food-safe sealant. Keep them away from water unless they are sealed, and give a soap dish a proper waterproof seal. For more ways to use the same clay, our 45 air dry clay ideas for stylish diy home decor will keep you busy for months.
Quick Picks
- Start here: A Ring Dish With a Centre Cone (idea 1)
- Best gift: A Leaf-Shaped Jewelry Dish (idea 2)
- Most useful: A Stamped Soap Dish That Drains (idea 3)
1. A Ring Dish With a Centre Cone

BuildAbout 1 hour plus dryingRings stay upright and easy to find
This is the ring dish that started the whole trend: a shallow bowl with a cone in the middle that holds rings upright so you can see them at a glance. Roll the base flat, pinch up a low rim, then roll a small cone and press it firmly into the centre while the clay is still soft. Smooth the join with a wet finger so it dries as one piece.
Materials Needed
- Air dry clay, one block
- A rolling pin and a round cutter or a bowl to trace
- A small knife or clay tool
- A little water in a small pot for smoothing
- Fine sandpaper for the dry edges
- Acrylic paint and a clear varnish or sealant
How to Make It
- Roll the clay out to about 6mm thick on a sheet of baking paper so it does not stick to the table.
- Cut a circle about 12cm across and lift it onto a small upturned bowl so the edges droop into a shallow dish shape.
- Pinch the rim gently all the way round so it is even, then let the base firm up for about 20 minutes.
- Roll a cone about 5cm tall, score the bottom and the centre of the dish, add a dab of slip or water, and press the cone down firmly.
- Smooth the join with a wet finger until you cannot see the seam, then leave the whole dish to dry for 24 to 48 hours, turning it once.
- Sand any rough edges, paint the dish, and seal it with two thin coats of varnish so it stands up to daily handling.
- Leave the varnish to cure fully before you put rings on the cone, so nothing sticks.
Tip: Make the cone shorter than you think. A tall cone looks clever but tips the dish when a heavy ring slides down it, while a short cone holds rings steady.
2. A Leaf-Shaped Jewelry Dish
BuildAbout 45 minutes plus dryingNo mould needed, a real leaf does it
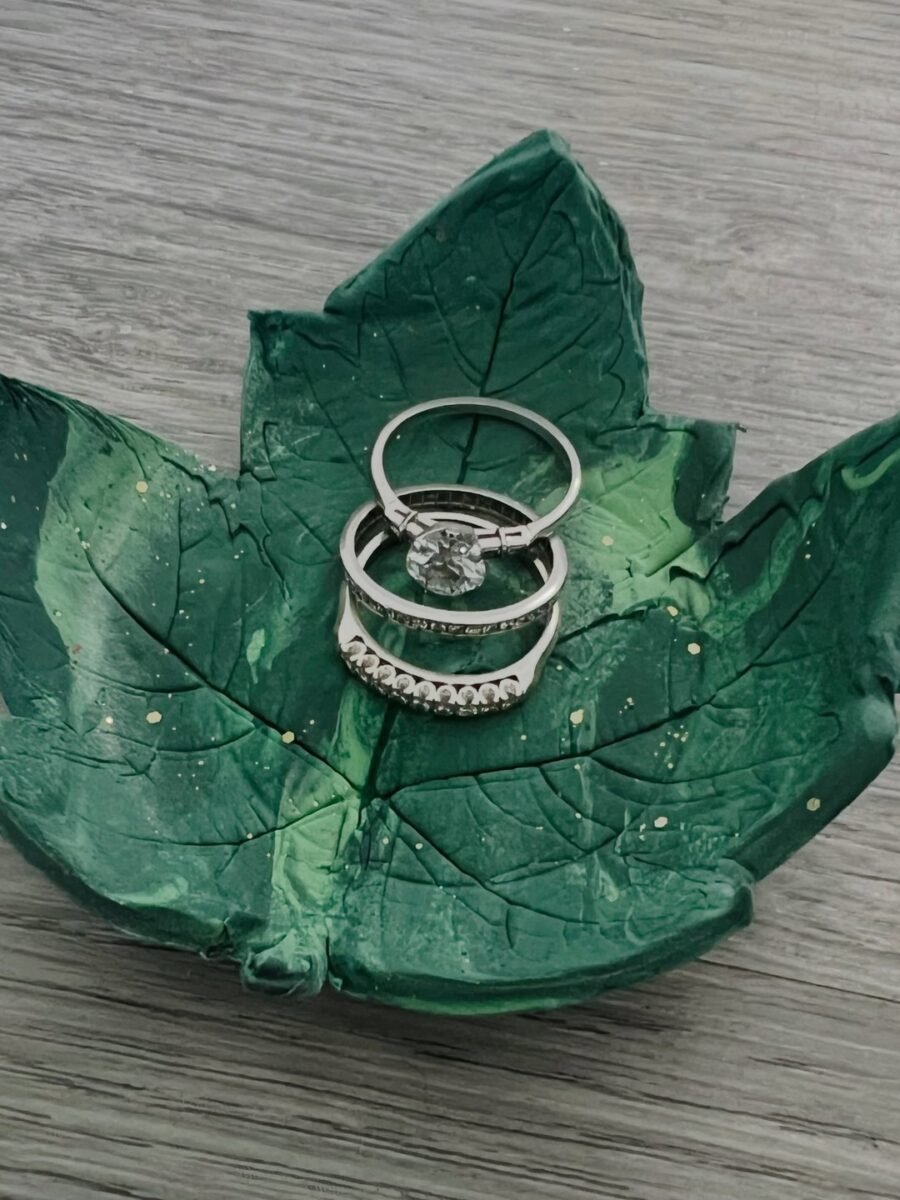
A real leaf is the best mould you will ever own, and it costs nothing. Press a large leaf into rolled-out clay, cut around it, and you get a dish with veins and a wavy edge that no cutter can copy. Paint it green with gold speckles, or leave it white and let the leaf print do the talking. It is a lovely gift dish because every one comes out different.
Materials Needed
- Air dry clay, one block
- One large fresh leaf with strong veins
- A rolling pin and a craft knife
- Baking paper
- Acrylic paint in green and gold, and brushes
- Clear varnish or sealant
How to Make It
- Pick a fresh leaf with clear veins and wash it gently, then pat it dry so it does not stick to the clay.
- Roll the clay to about 6mm thick on baking paper and lay the leaf face down on top.
- Roll over the leaf once, firmly, so the veins press into the clay, then peel the leaf away.
- Cut around the leaf shape with a craft knife and lift the dish onto a small bowl so the edges curl up as it dries.
- Leave it to dry for 24 to 48 hours, then sand the cut edge lightly so it feels smooth.
- Paint the dish green, dry-brush gold over the raised veins, and seal with two coats of varnish.
- Let the sealant cure for a full day before you put jewelry on it.
Tip: Press the leaf in while the clay is freshly rolled. If the clay has started to skin over, the veins will not print and the leaf will tear.
3. A Stamped Soap Dish That Drains
BuildAbout 1 hour plus dryingDrainage holes keep soap dry and firm
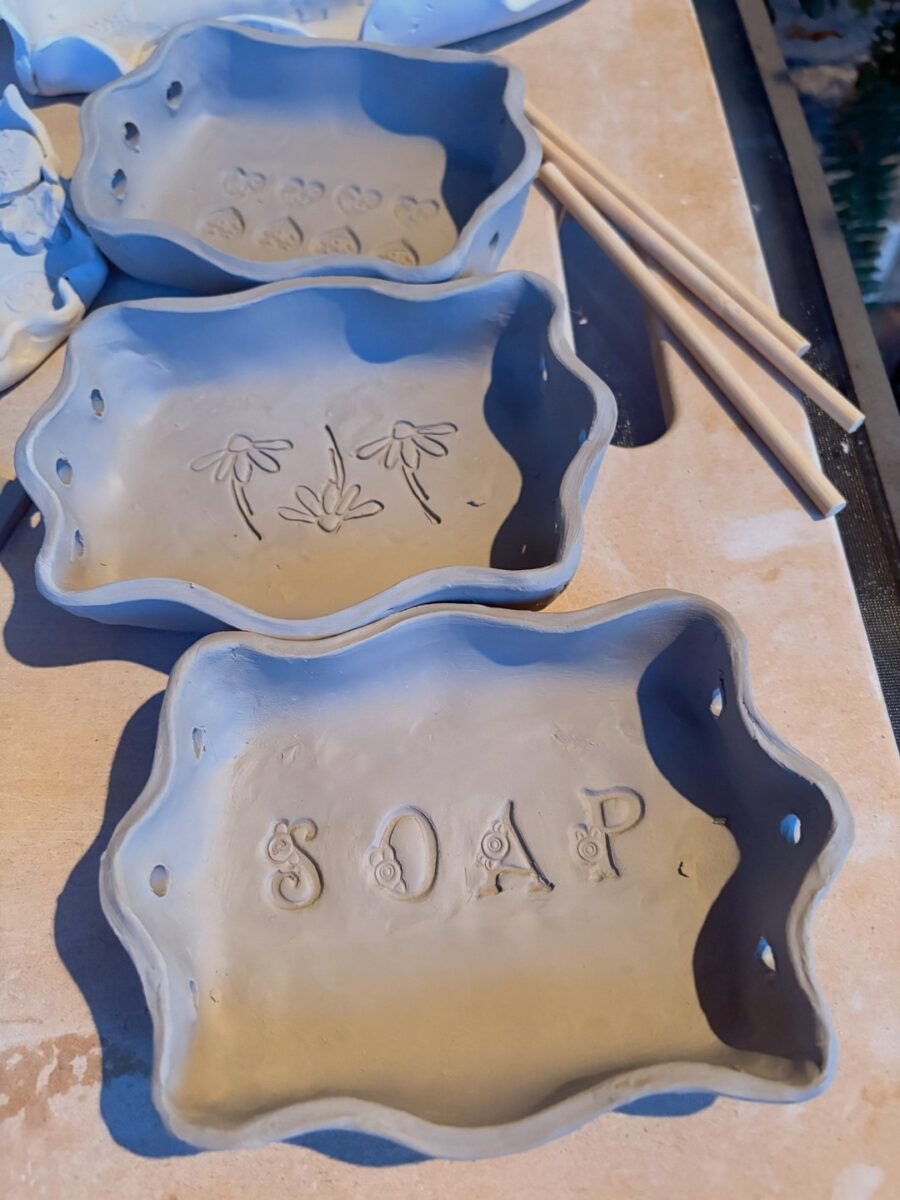
A soap dish is the one clay dish that has to work hard, so build it to drain. A shallow tray with a wavy rim and a few small holes lets water escape instead of pooling under the soap, and a stamped word like SOAP tells guests exactly what it is for. This is a practical make, and it is the dish in this list that gets used every single day.
Materials Needed
- Air dry clay, one block
- A rolling pin and a craft knife
- Letter stamps or a pointed tool for the word SOAP
- A straw or a skewer for drainage holes
- Baking paper and a small bowl for shaping
- Acrylic paint and a waterproof sealant
How to Make It
- Roll the clay to about 8mm thick, a little thicker than a trinket dish, because a soap dish carries weight and water.
- Cut a rounded rectangle about 14cm long and pinch the edges up to make a low rim.
- Stamp the word SOAP into the centre while the clay is soft, pressing each letter evenly.
- Push a straw through the base in three or four places to make drainage holes, then clear the plugs out cleanly.
- Set the dish on a small bowl to hold its curve and leave it to dry for 48 hours, turning it once so the base dries too.
- Sand the rim, paint it, and seal it with a waterproof sealant made for damp rooms, using two coats inside and out.
- Wait until the sealant is fully cured before the dish meets water, and re-seal it every few months if it is used daily.
Tip: Air dry clay dishes are decorative unless they are sealed with a food-safe or waterproof sealant, and even a sealed soap dish should never sit in standing water. Empty it and let it dry between uses.
4. A Checkerboard Trinket Dish

A checkerboard pattern turns a plain wavy dish into a statement piece, and this one adds a painted eye in the centre for good measure. Paint the checks with a fine brush and a steady hand, letting each colour dry before you start the next, so the edges stay crisp. It is a fun dish for earrings and small charms, and it looks far harder to make than it is.
You’ll need: air dry clay, purple and white acrylic paint, a fine brush, and clear varnish.
Best for: A bold trinket dish with real personality
5. A Sun and Moon Painted Dish
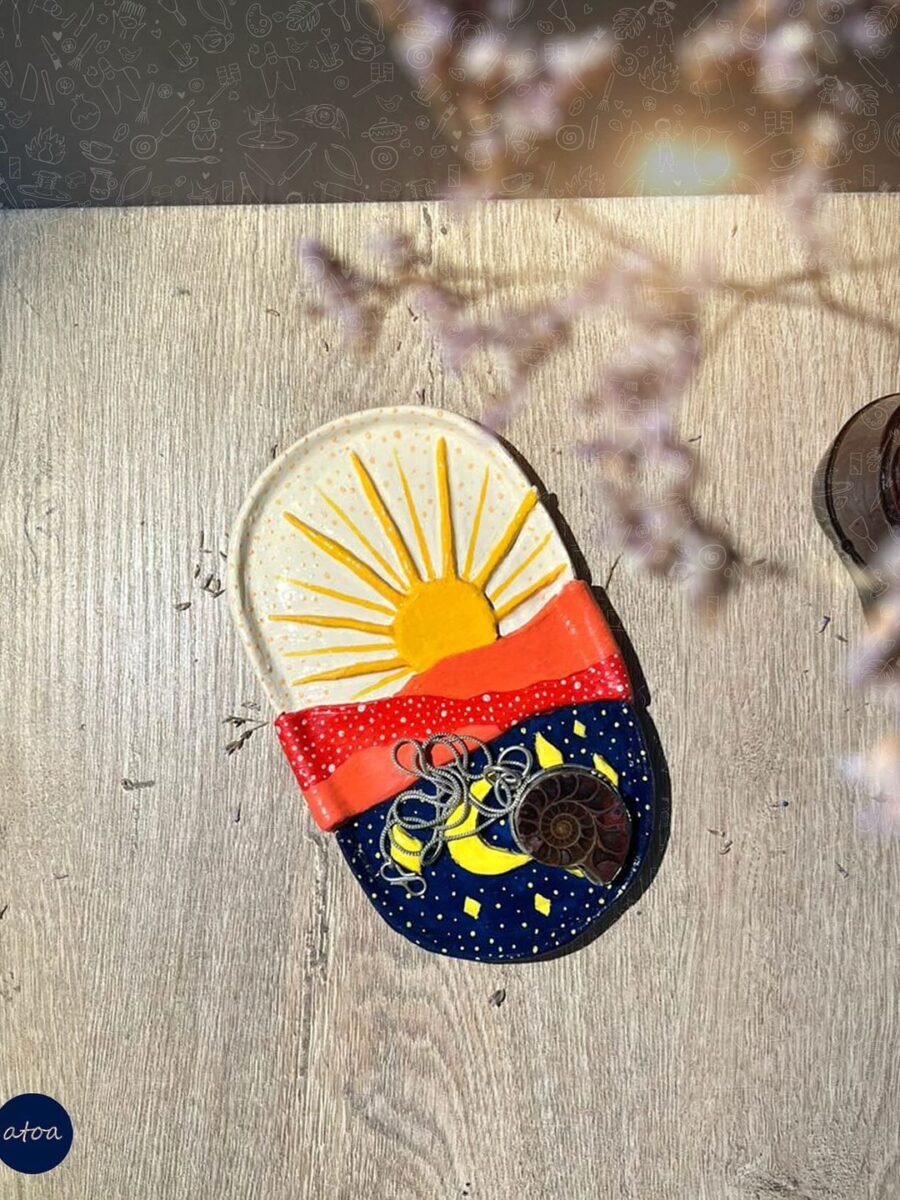
Paint a dish in bands and it becomes a tiny picture: a yellow sun at the top, a red band across the middle, and a starry night sky at the bottom. This one holds a few pieces of jewelry in its curve, which suits the day-and-night theme perfectly. Mask the bands with tape if your hand is not steady, and seal it well because painted dishes get handled a lot.
You’ll need: air dry clay, acrylic paint in yellow, red and navy, a fine brush, and clear varnish.
Best for: A painted dish that tells a little story
6. A Pair of Heart Ring Dishes

Two small heart dishes are better than one, because a pair makes a gift and a single dish makes a bedside ring holder. Cut the hearts with a cutter or a paper template, pinch the edges up gently, and paint them pink with tiny red hearts scattered across. For festive makes with the same paint and seal routine, our air dry clay christmas ornaments are a natural next project.
You’ll need: air dry clay, pink and red acrylic paint, a heart cutter or a paper template, and clear varnish.
Best for: Valentines gifts and bedside ring dishes
7. A Set of Lace-Edged Oval Dishes

Press a lace doily into soft clay and the pattern transfers like a print, giving a plain oval dish a delicate border with no painting skill needed. Make three in graduating sizes so they stack, and keep the smallest on top for rings. The set looks lovely on a dressing table, and the lace edge hides any wobble in your cutting.
You’ll need: air dry clay, white and pink acrylic paint, a lace doily or stamp for the pattern, and clear varnish.
Best for: A soft, pretty set for a dressing table
8. A Set of Floral Painted Trays
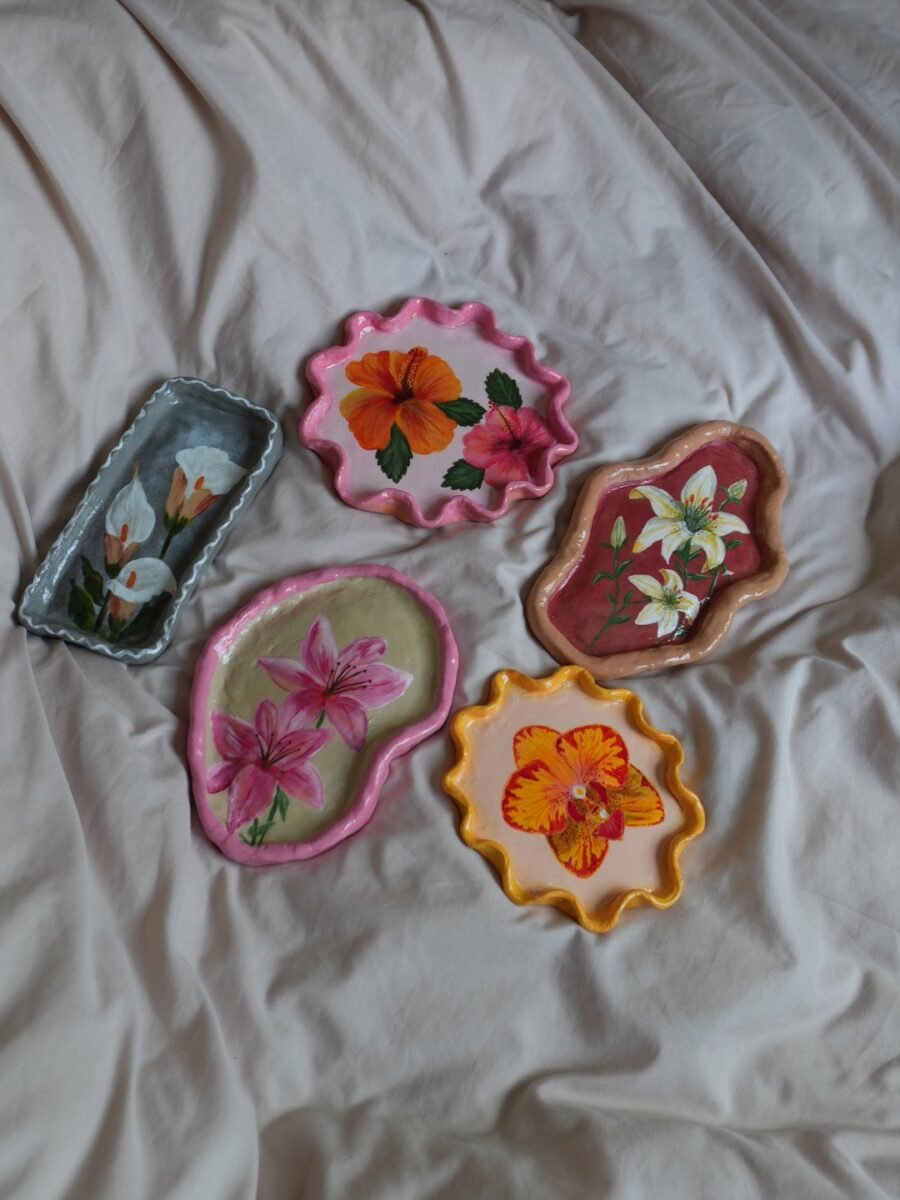
Five small trays, five different flowers, one afternoon of painting. Each tray in this set has its own bloom, hibiscus, lilies and poppies in pink, orange and red, with wavy edges painted to match. Make them all the same size so they sit neatly together, or vary the shapes and let the set look collected rather than matched.
You’ll need: air dry clay, acrylic paint in bright floral colours, fine brushes, and clear varnish.
Best for: A colourful set made in one afternoon
9. Scalloped Dishes With Gold Rims
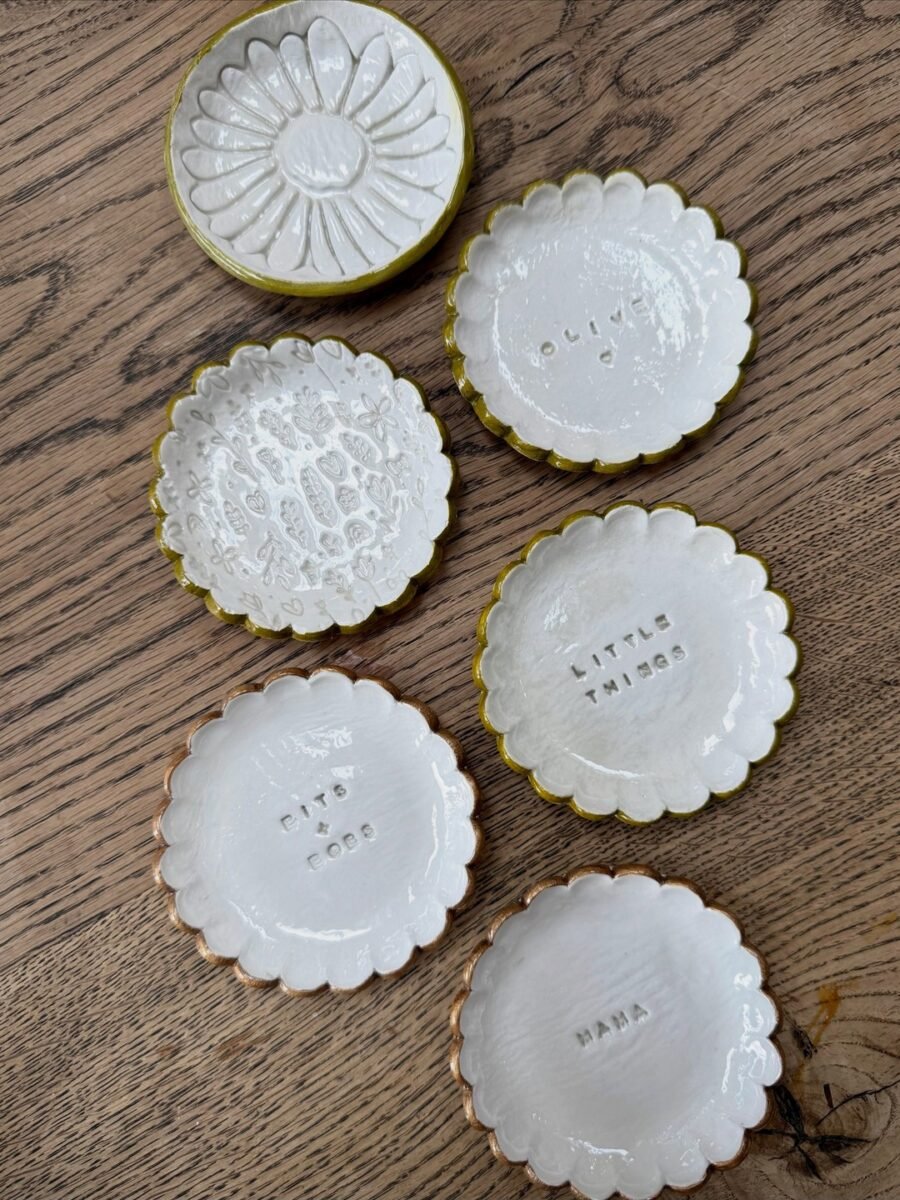
Scalloped edges and a thin gold rim make these little white dishes look like something from a gift shop, and the set of six means you can keep two and give four away. Cut the circles with a cup, press the scallops with a bottle cap, and paint the rim gold with a steady hand. A few are stamped with small words, which makes each dish feel personal.
You’ll need: air dry clay, white and gold acrylic paint, a scalloped cutter or a small cup, and clear varnish.
Best for: A neat matching set for gifts
10. A Mint Soap Dish in Use
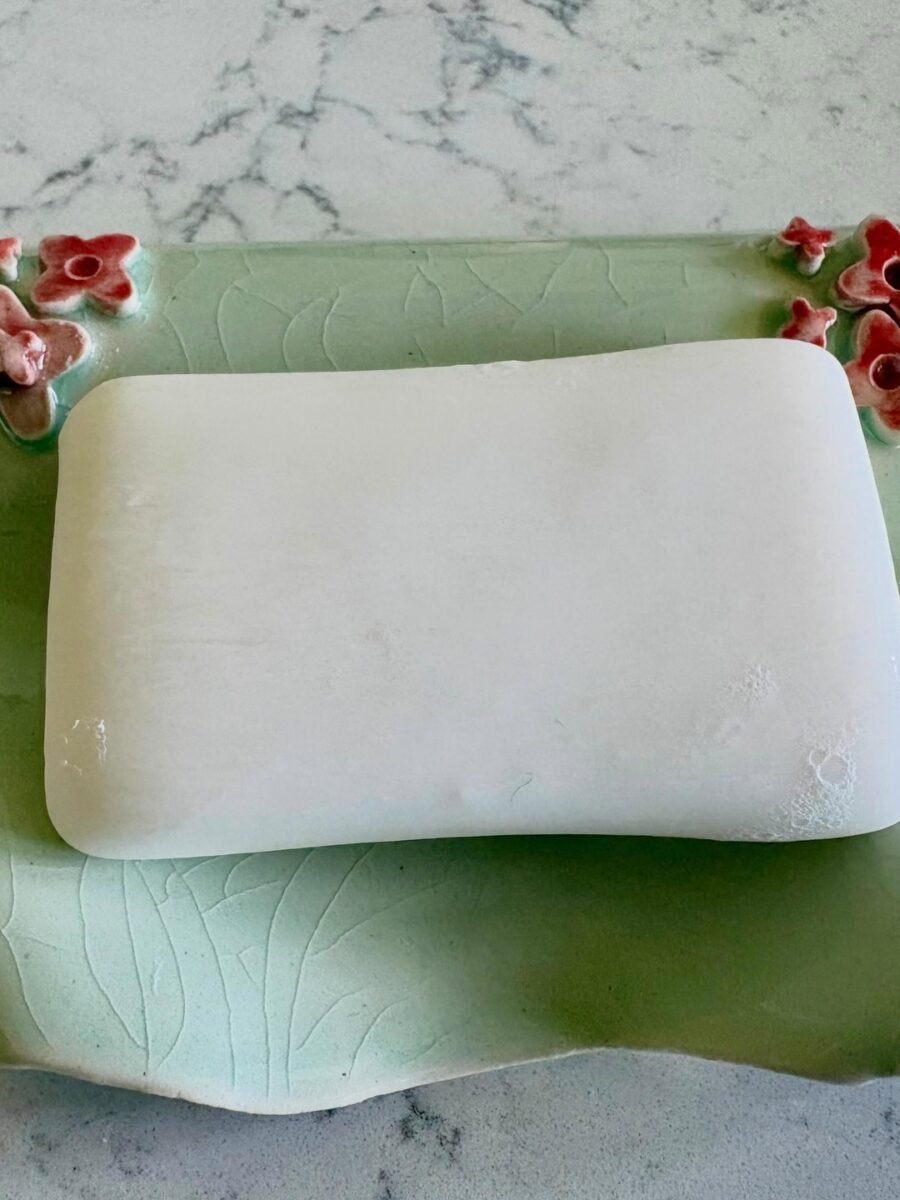
This is what a finished soap dish is for: a bar of soap sitting on a mint green dish, draining properly instead of going soft in a puddle. Paint it a calm colour that suits the bathroom, seal it with a waterproof sealant on every surface, and let it cure fully before the first wash. Keep it out of standing water and it will last far longer than an unsealed dish.
You’ll need: air dry clay, mint green acrylic paint, a waterproof sealant, and a bar of soap.
Best for: A bathroom dish that is already in use
11. Flower-Edged Mini Bowls
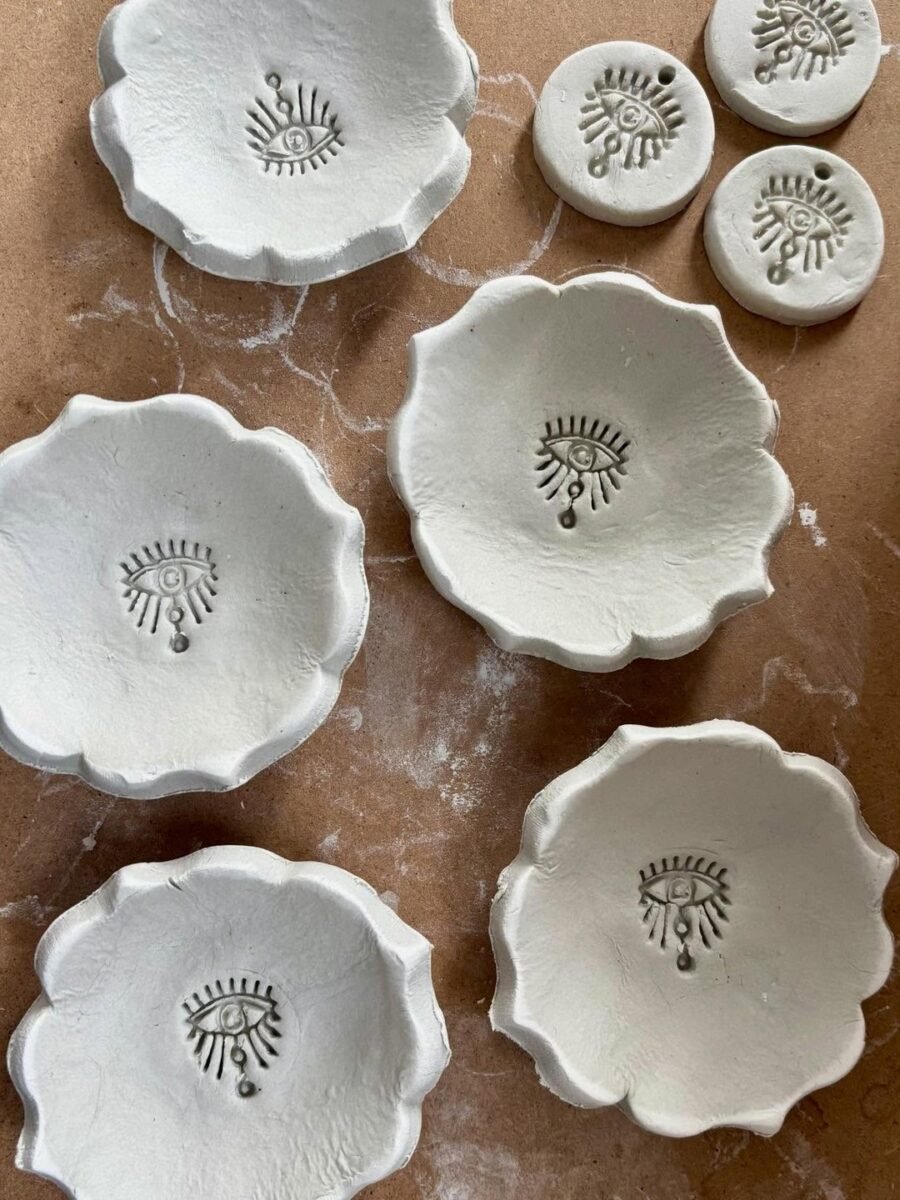
Pinch a small ball of clay into a flower-edged bowl and you have the perfect home for earrings, beads and buttons. These little white bowls are stamped with a small eye in the centre, which is a simple detail anyone can copy with a pointed tool. Make a batch of six while the clay is out, because one bowl is never enough once you start sorting small things.
You’ll need: air dry clay, white acrylic paint, a small stamp or a pointed tool, and clear varnish.
Best for: Tiny bowls for earrings, beads and buttons
12. Sky-Painted Oval Trays
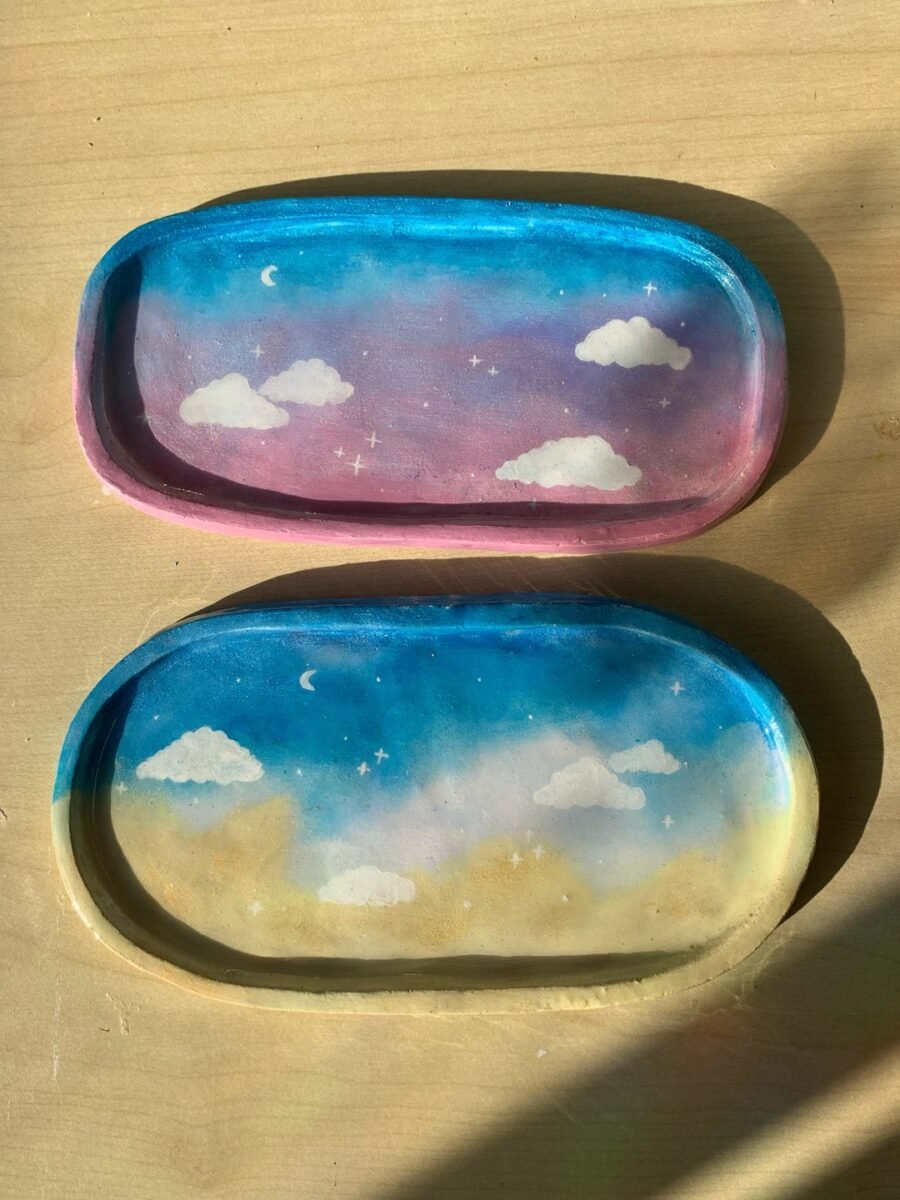
Paint the sky inside a tray and an ordinary catch-all becomes the prettiest thing on the desk. These two oval trays are painted with blue skies, soft pink clouds and tiny stars, one in daylight colours and one in dusk. Use them for keys, coins and hair ties, and keep the paint inside the rim so the edges stay clean.
You’ll need: air dry clay, blue, pink and white acrylic paint, a fine brush, and clear varnish.
Best for: A dreamy tray for a desk or a bedside table
Frequently Asked Questions
Are air dry clay dishes food safe?
No. Air dry clay dishes are decorative only, and they are not food safe on their own. If you want to serve food from one, seal it fully with a sealant that is labelled food safe, and follow the sealant instructions exactly. For everyday use, keep these dishes for rings, keys, soap and trinkets.
Can air dry clay dishes get wet?
Keep them away from water unless they are sealed. Unsealed air dry clay softens and crumbles when it gets wet. A soap dish or a bathroom dish needs a waterproof sealant on every surface, including the base, and it should be left to dry out between uses. Re-seal it every few months if it is used daily.
How long do air dry clay dishes take to dry?
Most small dishes take 24 to 48 hours to dry fully. Thicker pieces and soap dishes take the longer end of that range. Let them dry slowly at room temperature, away from radiators and direct sun, and turn them over halfway so the base dries too. Fast drying is the main cause of cracks.
What paint and sealant should I use on air dry clay dishes?
Use acrylic paint for colour, then seal with a clear varnish, Mod Podge or a waterproof sealant. Two thin coats beat one thick coat, and the sealant is what makes the dish wipeable. If the dish will touch food, use a sealant that is labelled food safe instead of an ordinary varnish.
Why did my air dry clay dish crack while drying?
Cracks usually mean the clay dried too fast or the thickness was uneven. Roll the clay to an even thickness, dry the dish slowly at room temperature, and keep it away from heat and sun. For a small crack, fill it with a little fresh clay while the piece is still damp, smooth it, and let it dry again.
What can I use air dry clay dishes for?
Use them for rings, earrings and necklaces by the bed or the sink, for keys and coins by the door, for a bar of soap, for a candle or incense, or as a small catch-all tray on a desk. They are light, handmade and easy to match to a room, which is why they make such good gifts.
Final Thoughts on Air Dry Clay Dish Ideas
Twelve dishes, and every one of them starts the same way: a ball of clay, a flat surface, and half an hour of making. Pick the ring dish with the cone if you want the classic, the leaf dish if you want a gift, and the stamped soap dish if you want something you will use every day.
Remember the two safety rules that run through this whole list: these dishes are decorative only unless they are sealed with a food-safe sealant, and they should stay away from water unless they are sealed. Make one this weekend, seal it properly, and it will sit on your dresser for years. If shaping clay has caught you, our polymer clay cat project is a fun next make.

