

A chicken coop can be cute on the inside too.
The same ideas you use in a garden shed work here. A little paint, a styled nesting area, a tidy feed corner.
And a well planned coop is easier to clean, keeps hens healthier and makes egg collecting a nicer part of the day.
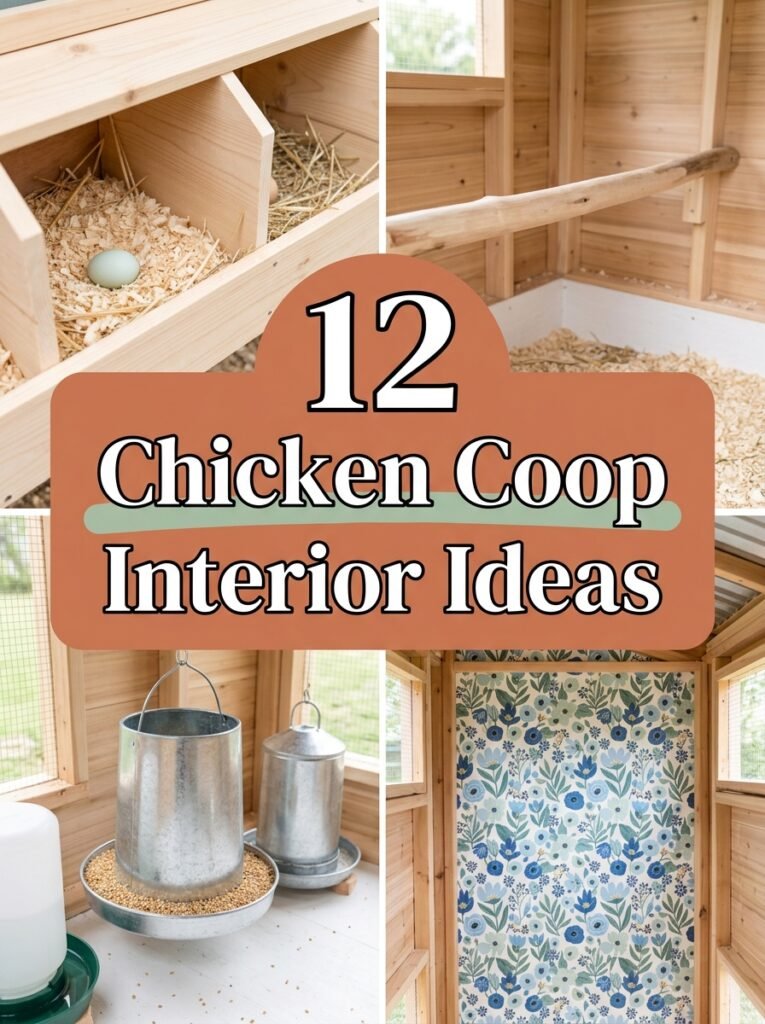
These 12 chicken coop interior ideas start with the practical basics and finish with fun styling touches.
1Add Comfortable Nesting Boxes
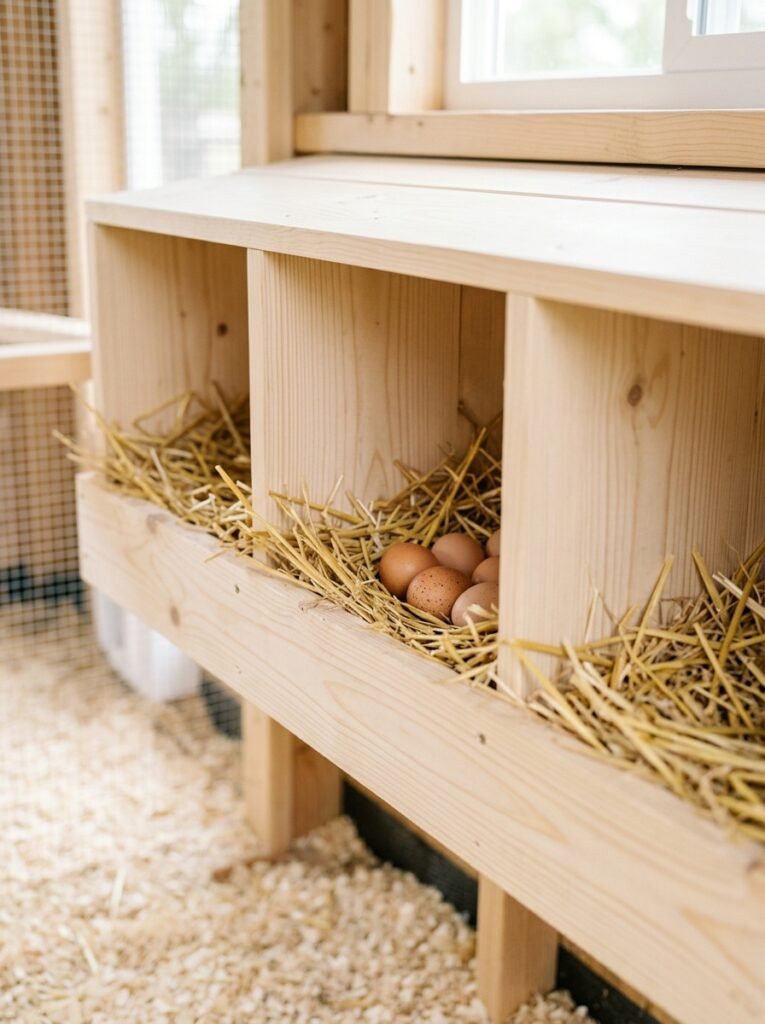
Good nesting boxes mean hens lay where you want them, not in random corners.
This chicken nesting box gives each hen a private spot. Plan about one box for every four hens.
- Easier egg collecting
- One per four hens
- Private and cozy
Project Card · 2 hours · Easy
Materials Needed
- Nesting box unit or plywood boxes about 12 inches square
- Exterior screws and drill
- Straw or pine shavings
- Ceramic or wooden fake eggs
How to Make It
- Pick the darkest, quietest wall in the coop.
- Mount the boxes about 18 to 24 inches off the floor, lower than the roost bars.
- Add a front lip so bedding stays inside.
- Fill each box with a few inches of clean straw or shavings.
- Place a fake egg in each box to show hens where to lay.

My Pick
Chicken Nesting Box
Private, enclosed boxes that help hens lay where you want them.
2Install a Proper Roosting Perch
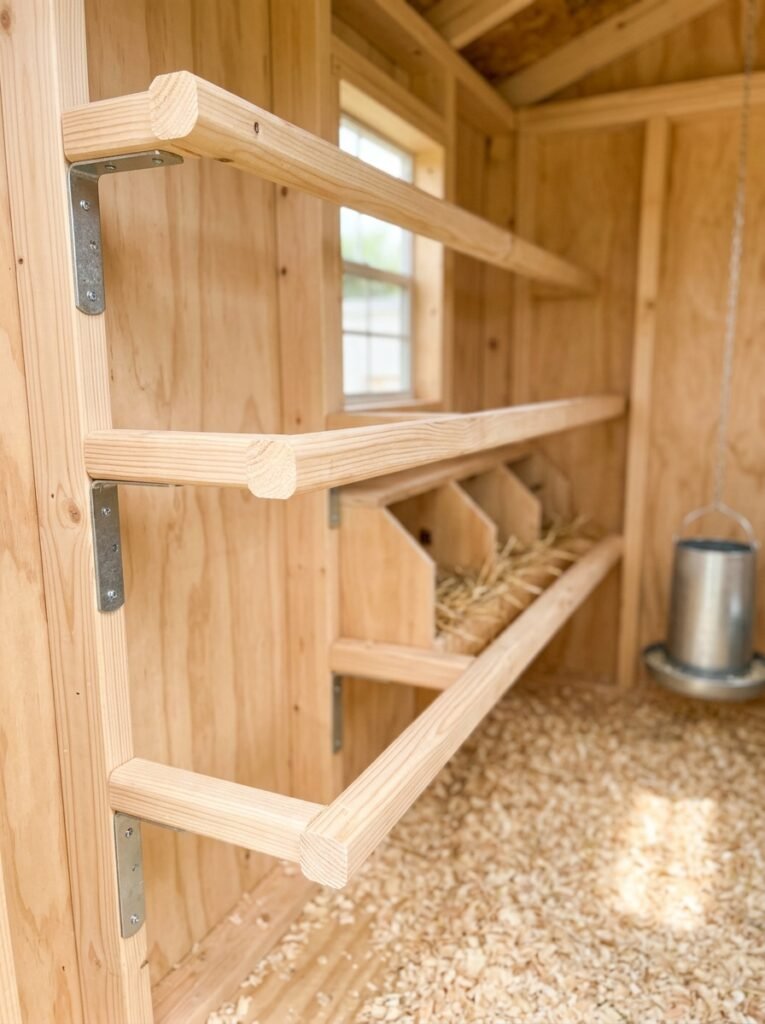
Chickens want to sleep up high. A proper roost keeps them off the dirty floor.
These roosting bars give a wide, flat surface so feet stay warm. Mount them higher than the nesting boxes.
- Off the floor
- Wide flat bars
- Above nest boxes
Project Card · 1 hour · Easy
Materials Needed
- 2×4 lumber with the wide side up, or roosting bars
- Sandpaper
- Screws and drill
- Measuring tape
How to Make It
- Allow about 8 to 10 inches of roost space per hen.
- Sand the edges so there are no splinters.
- Mount the bars higher than the nesting boxes, wide side facing up.
- Space multiple bars about 12 inches apart, staggered like a ladder.
- Keep bars away from walls so droppings fall straight down.

My Pick
Chicken Roosting Bars
Comfortable perches that keep hens off the floor at night.
3Set Up a Feeder and Water Station
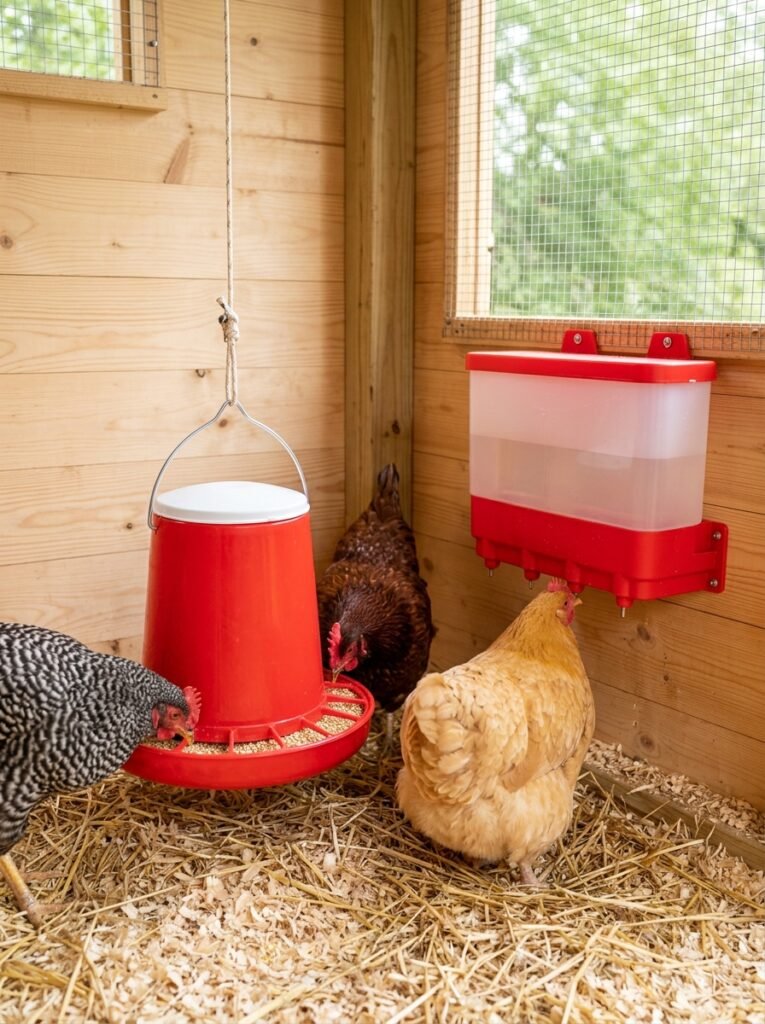
One clean corner for food and water keeps bedding cleaner.
This feeder and waterer set cuts waste. Raise it to back height so hens cannot scratch dirt into it.
- Less mess
- Raised height
- Clean water

My Pick
Chicken Feeder and Waterer Set
Keeps feed and water clean in one tidy corner.
4Add a Wallpaper Accent Wall
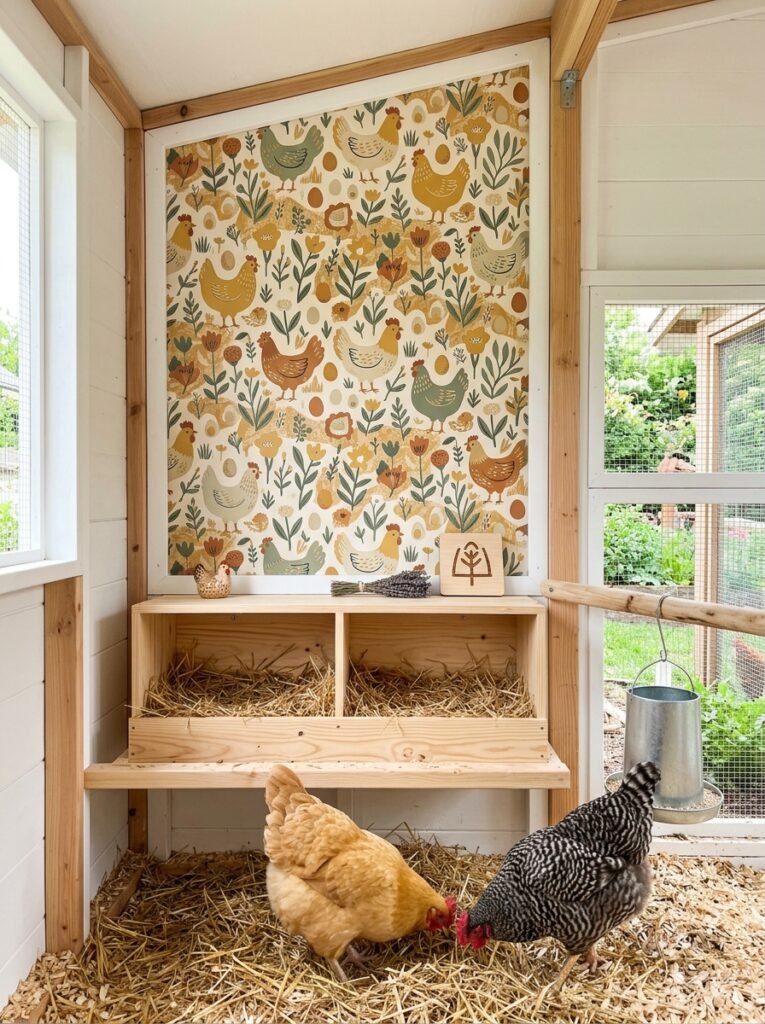
A patterned wall makes a plain coop look charming and intentional.
Use this peel and stick wallpaper only high up, above where hens can peck, since chickens should never eat paper or glue.
- Charming look
- Above pecking height
- Removable

My Pick
Peel and Stick Wallpaper
Removable pattern for an accent wall above pecking height.
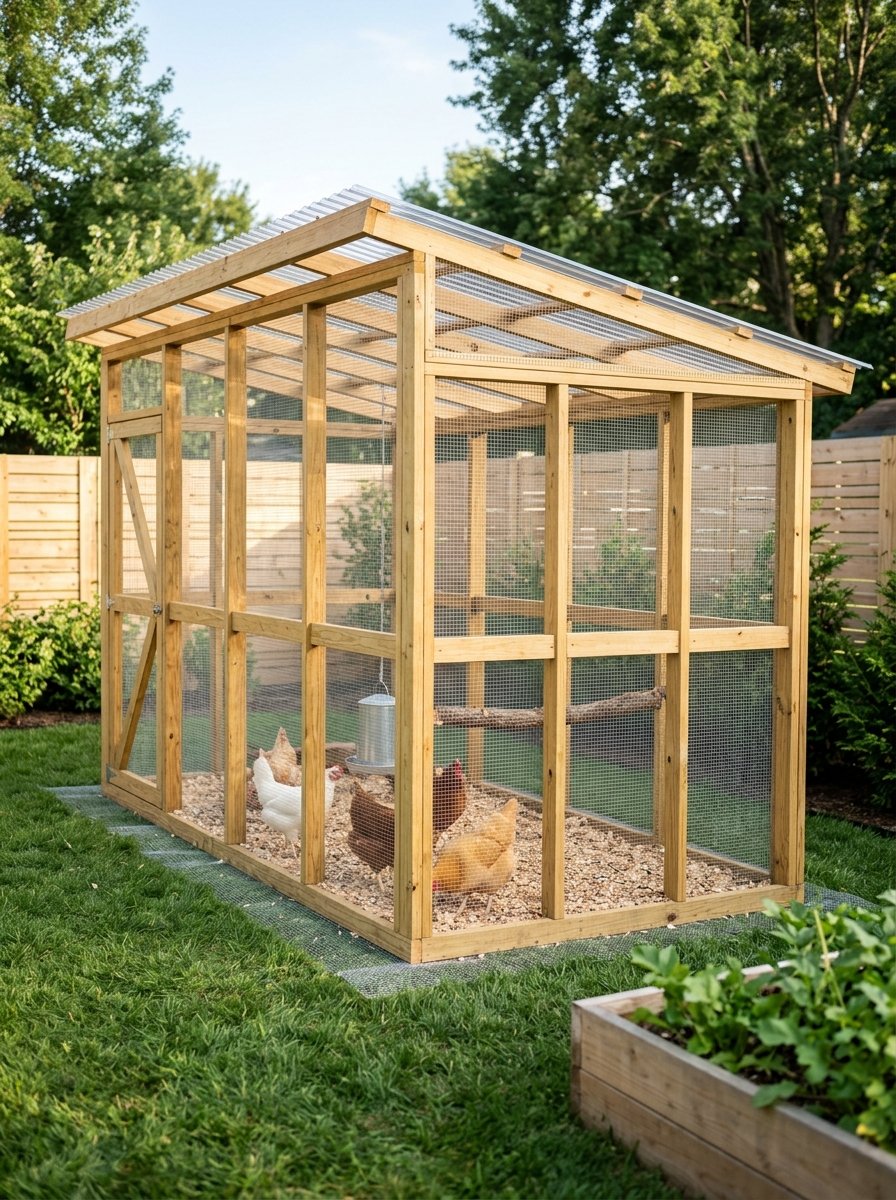
DIY Build Plans
8x12 Walk-In Chicken Run Plans
Predator-proof run for up to 10 chickens, with a full cut list, shopping list and 12 easy steps.
5Plan a Functional Layout
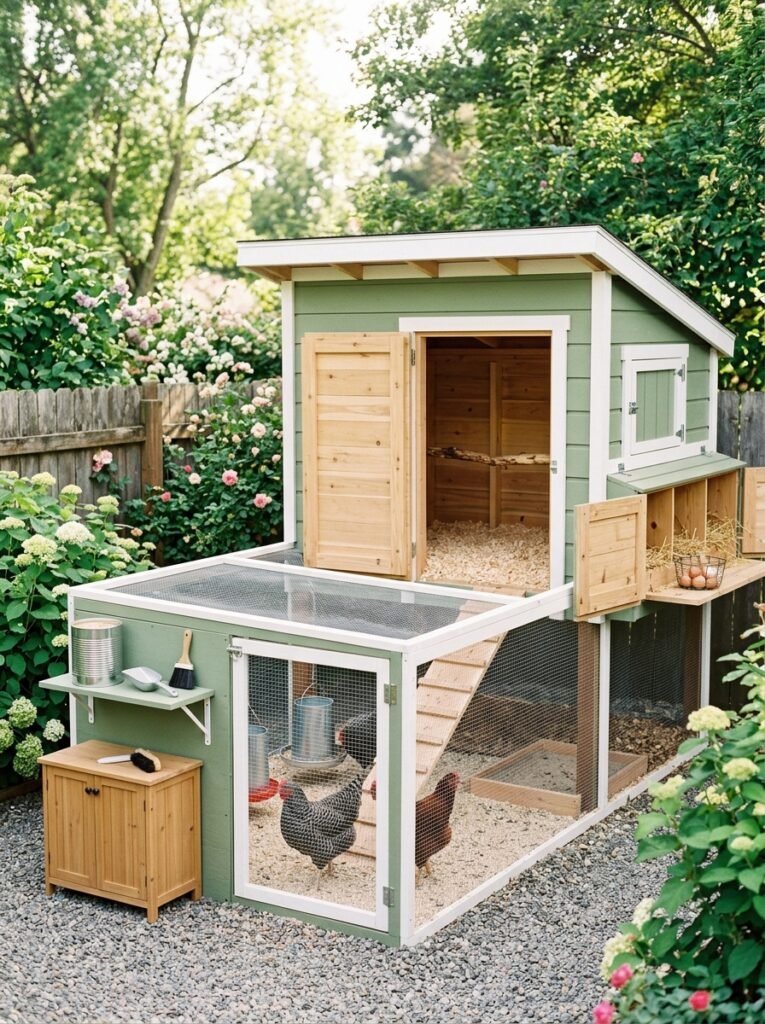
Give nesting, roosting and feeding their own zones.
Roosts away from nest boxes and feeders keep droppings out of eggs and food.
- Clear zones
- Cleaner eggs
- Faster cleaning
6Style with Shabby Chic Details
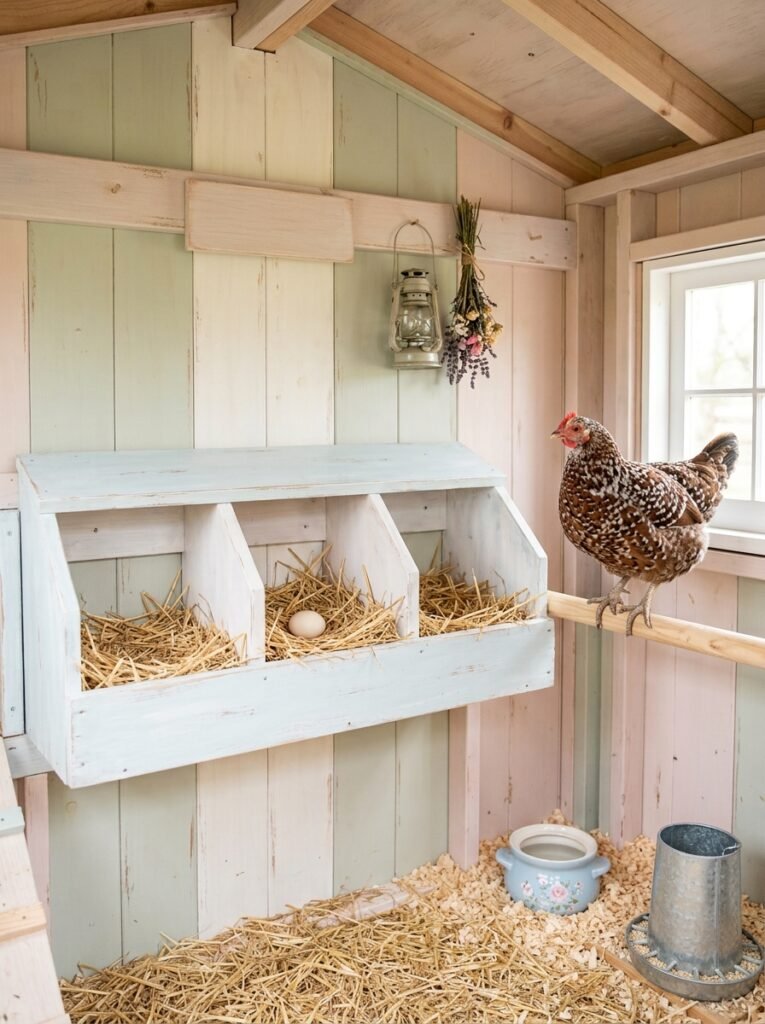
Soft pastel paint and a few vintage touches turn a coop into a garden cottage.
Use low VOC exterior paint and let it cure fully before the hens move back in.
- Cottage charm
- Pastel colors
- Let paint cure
7Organize a Large Coop
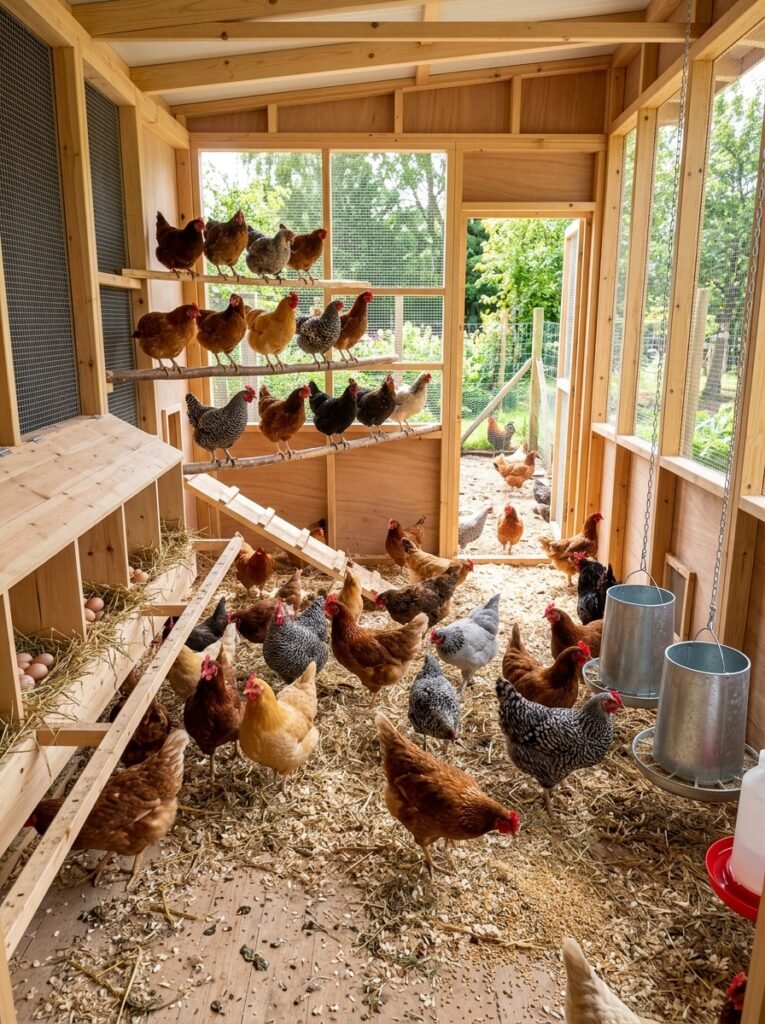
A bigger flock needs more nest boxes, longer roosts and a spot for supplies.
Clear zones mean less crowding and less pecking.
- Bigger flock
- Less crowding
- Supply storage
8Convert a Shed into a Coop
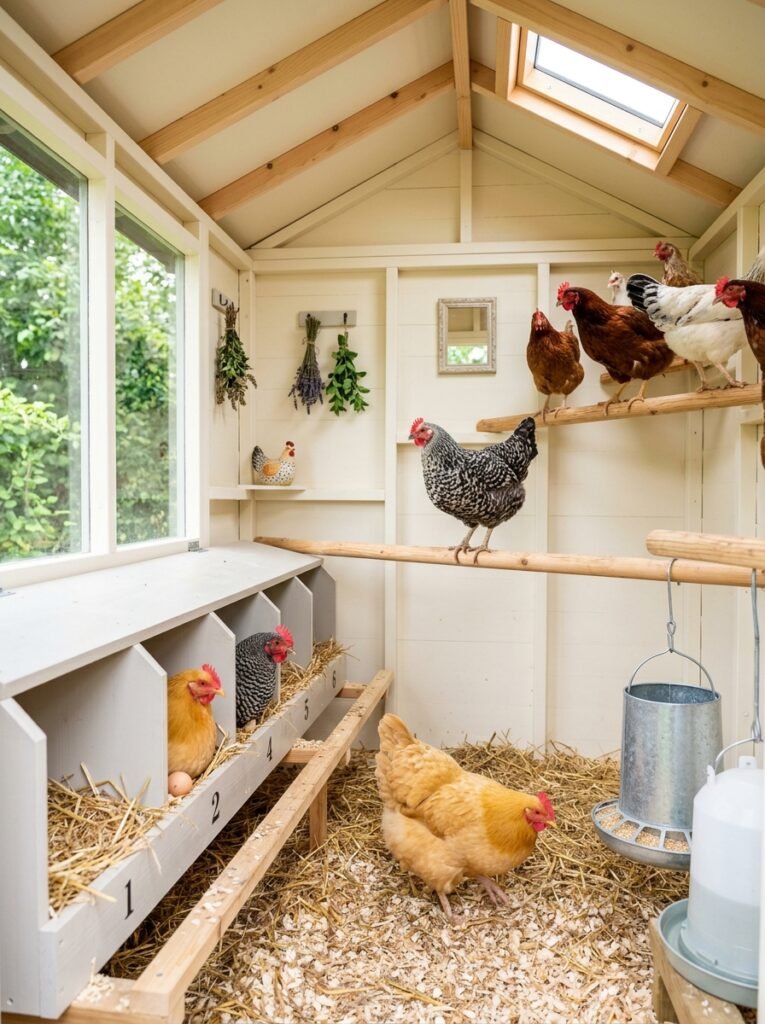
A shed already has walls and a roof. Add roosts, nest boxes and vents and it is a coop.
Cover any windows with hardware cloth so predators cannot get in.
- Faster build
- Walls and roof ready
- Predator proof windows
9Add Fancy Finishing Touches
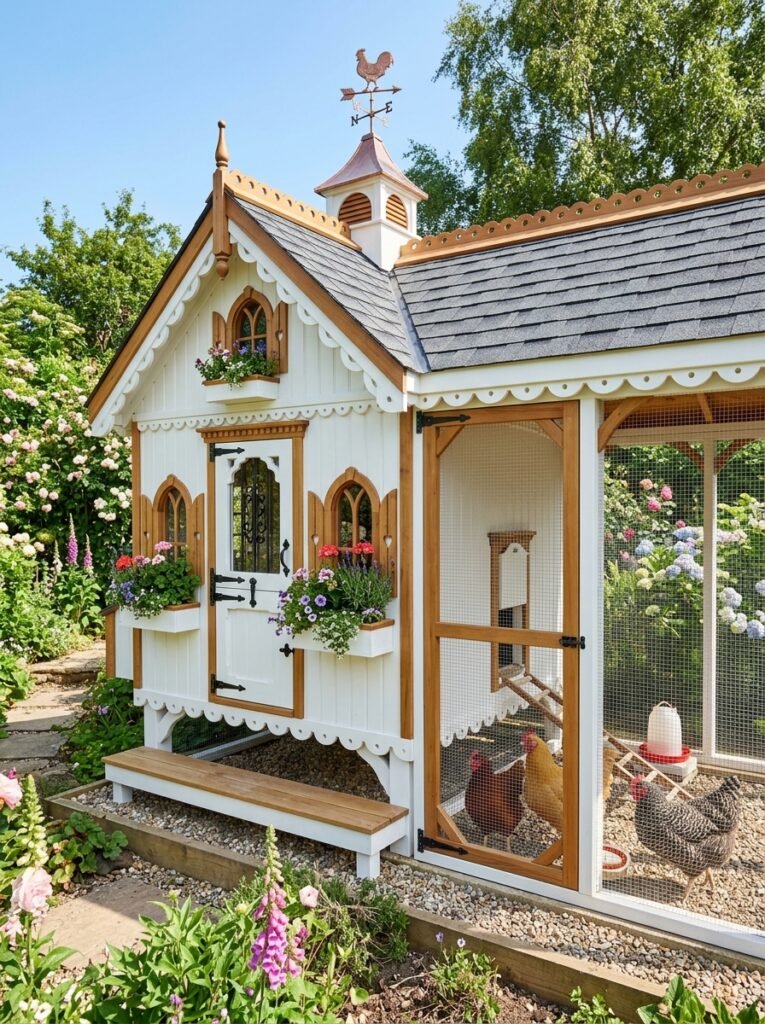
Trim, painted shutters and a proper door make the coop look like a tiny guest house.
Finish the door with a predator proof latch so it looks good and stays secure.
- Garden focal point
- Smart door
- Secure latch
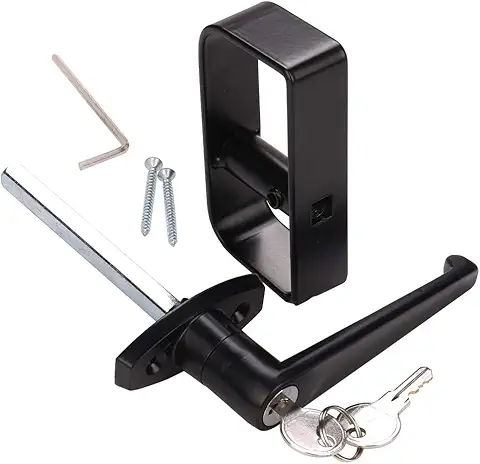
My Pick
Chicken Coop Lock Predator Proof
A predator proof latch that looks smart on a fancy coop door.
10Improve Ventilation Without Drafts
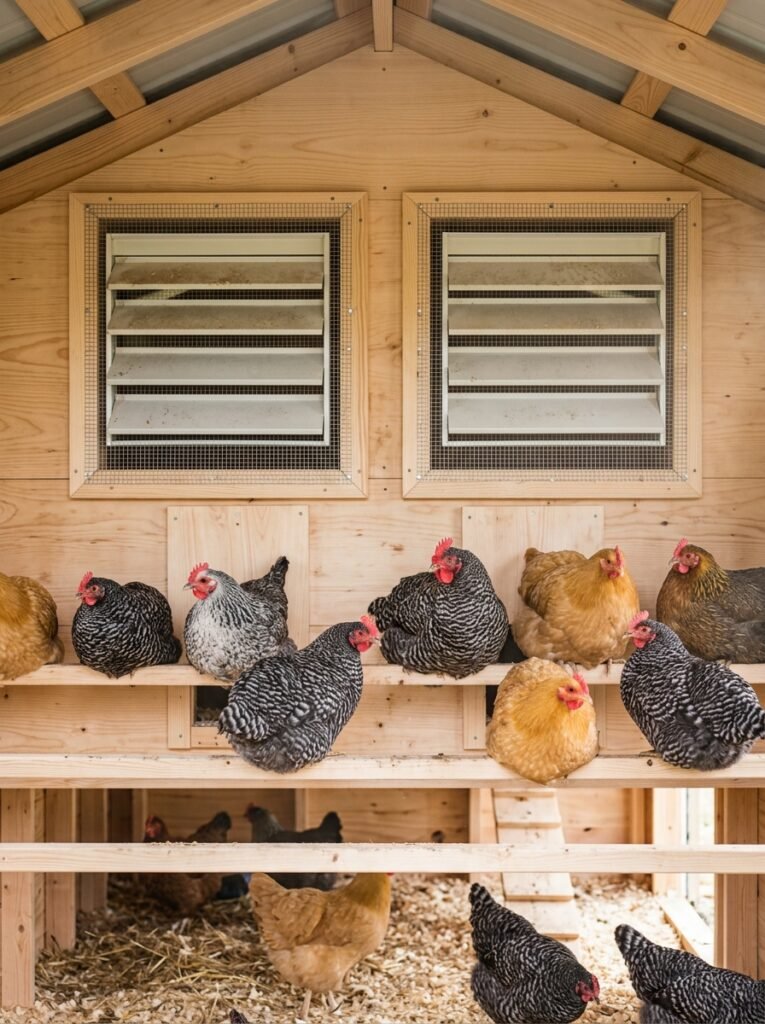
Good airflow removes moisture and ammonia. Put vents high, above the roosts.
In hot climates a coop ventilation fan helps move hot air out. Cover every vent with hardware cloth.
- Fresh air
- Vents up high
- No drafts on hens

My Pick
Chicken Coop Ventilation Fan
Moves stale, damp air out of the coop on hot days.
11Add Easy Clean Flooring
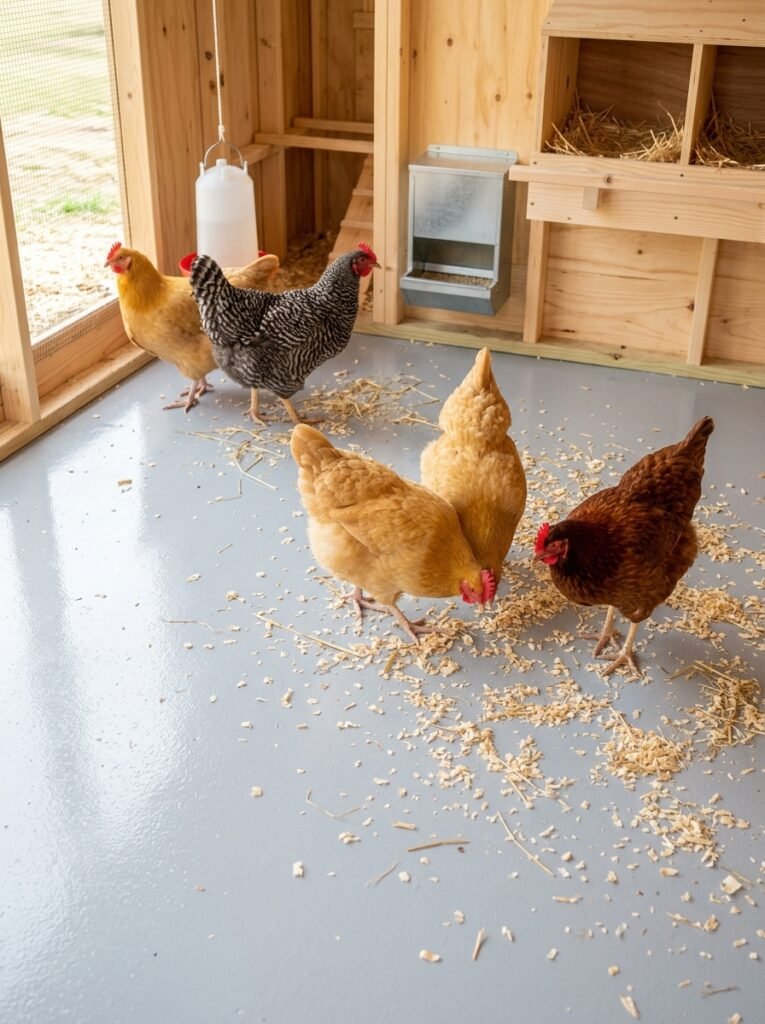
Sealed wood or vinyl floors wipe clean and do not soak up smells.
Top with a thick layer of pine shavings or straw for comfort.
- Wipe clean
- Less odor
- Faster chores
12Create a Dust Bath Corner
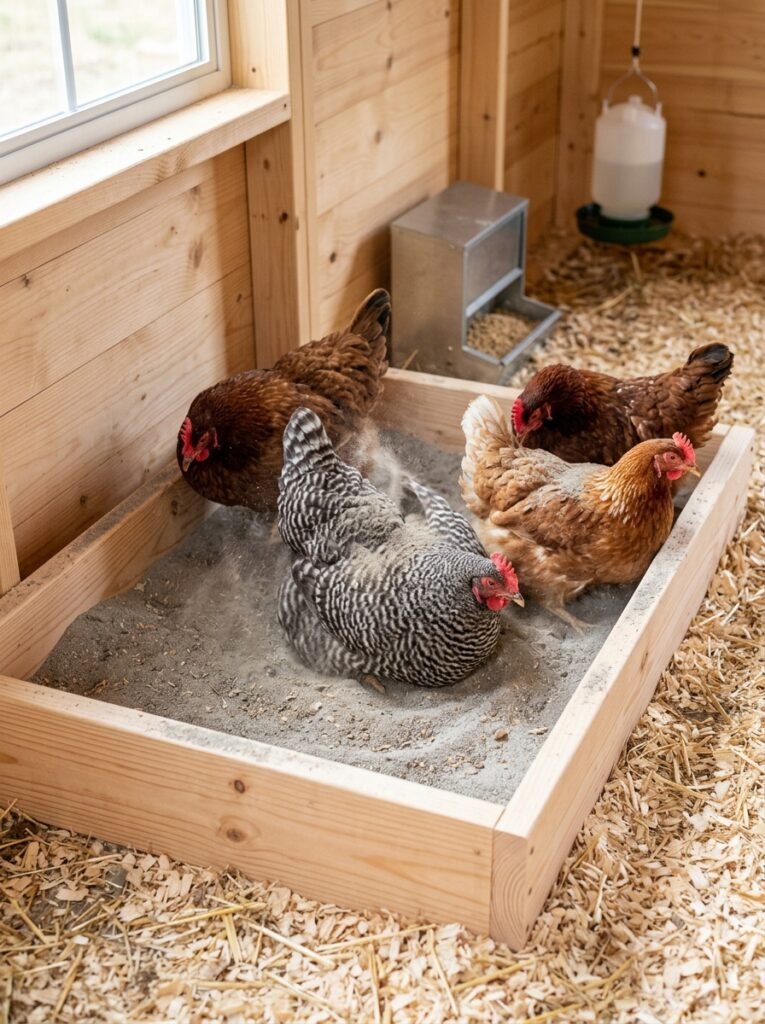
Hens love dust baths. It is how they keep mites away and feathers healthy.
Fill a shallow box with sand and fine dry soil in a sheltered corner.
- Healthy feathers
- Natural mite control
- Happy hens
Project Card · 30 minutes · Easy
Materials Needed
- Shallow wooden box or old tire
- Play sand
- Fine dry soil
- A spot sheltered from rain
How to Make It
- Pick a dry, sheltered corner in the coop or covered run.
- Set out a box about 2 feet wide and 8 inches deep.
- Mix roughly equal parts sand and fine dry soil.
- Fill the box and smooth the top.
- Top it up and keep it dry so the hens keep using it.
Frequently Asked Questions
How many nesting boxes do I need?
About one nesting box for every four hens is plenty. They often share favorite boxes anyway.
How high should roost bars be?
Higher than the nesting boxes, usually 2 to 4 feet off the floor, so hens sleep on the roost and not in the boxes.
Is it safe to decorate inside a chicken coop?
Yes, with care. Keep wallpaper and decor above pecking height, use low VOC exterior paint and let it cure fully first.
How do I ventilate a coop without drafts?
Put vents high on the walls above the roosts, cover them with hardware cloth and keep air from blowing directly on sleeping hens.
What bedding is best for a chicken coop?
Pine shavings or straw. Avoid cedar shavings, which can irritate chickens.
Final Thoughts on Chicken Coop Interior Ideas
A good coop interior balances function and charm. Nesting, roosting and feeding come first, then the pretty touches.
Start with good boxes and roosts, add a dust bath and better airflow, then have fun with paint and decor up high.


Amir Ali is the founder and site administrator of HomeDecorEdge, a modern home decor and interior design platform. Since starting the site, he has combined his passion for interior design, practical styling, and color coordination with hands-on content strategy and site management. He guides authors, curates high-quality articles, and ensures readers have access to actionable, visually inspiring, and user-focused home decor advice for apartments, small rooms, and family homes.